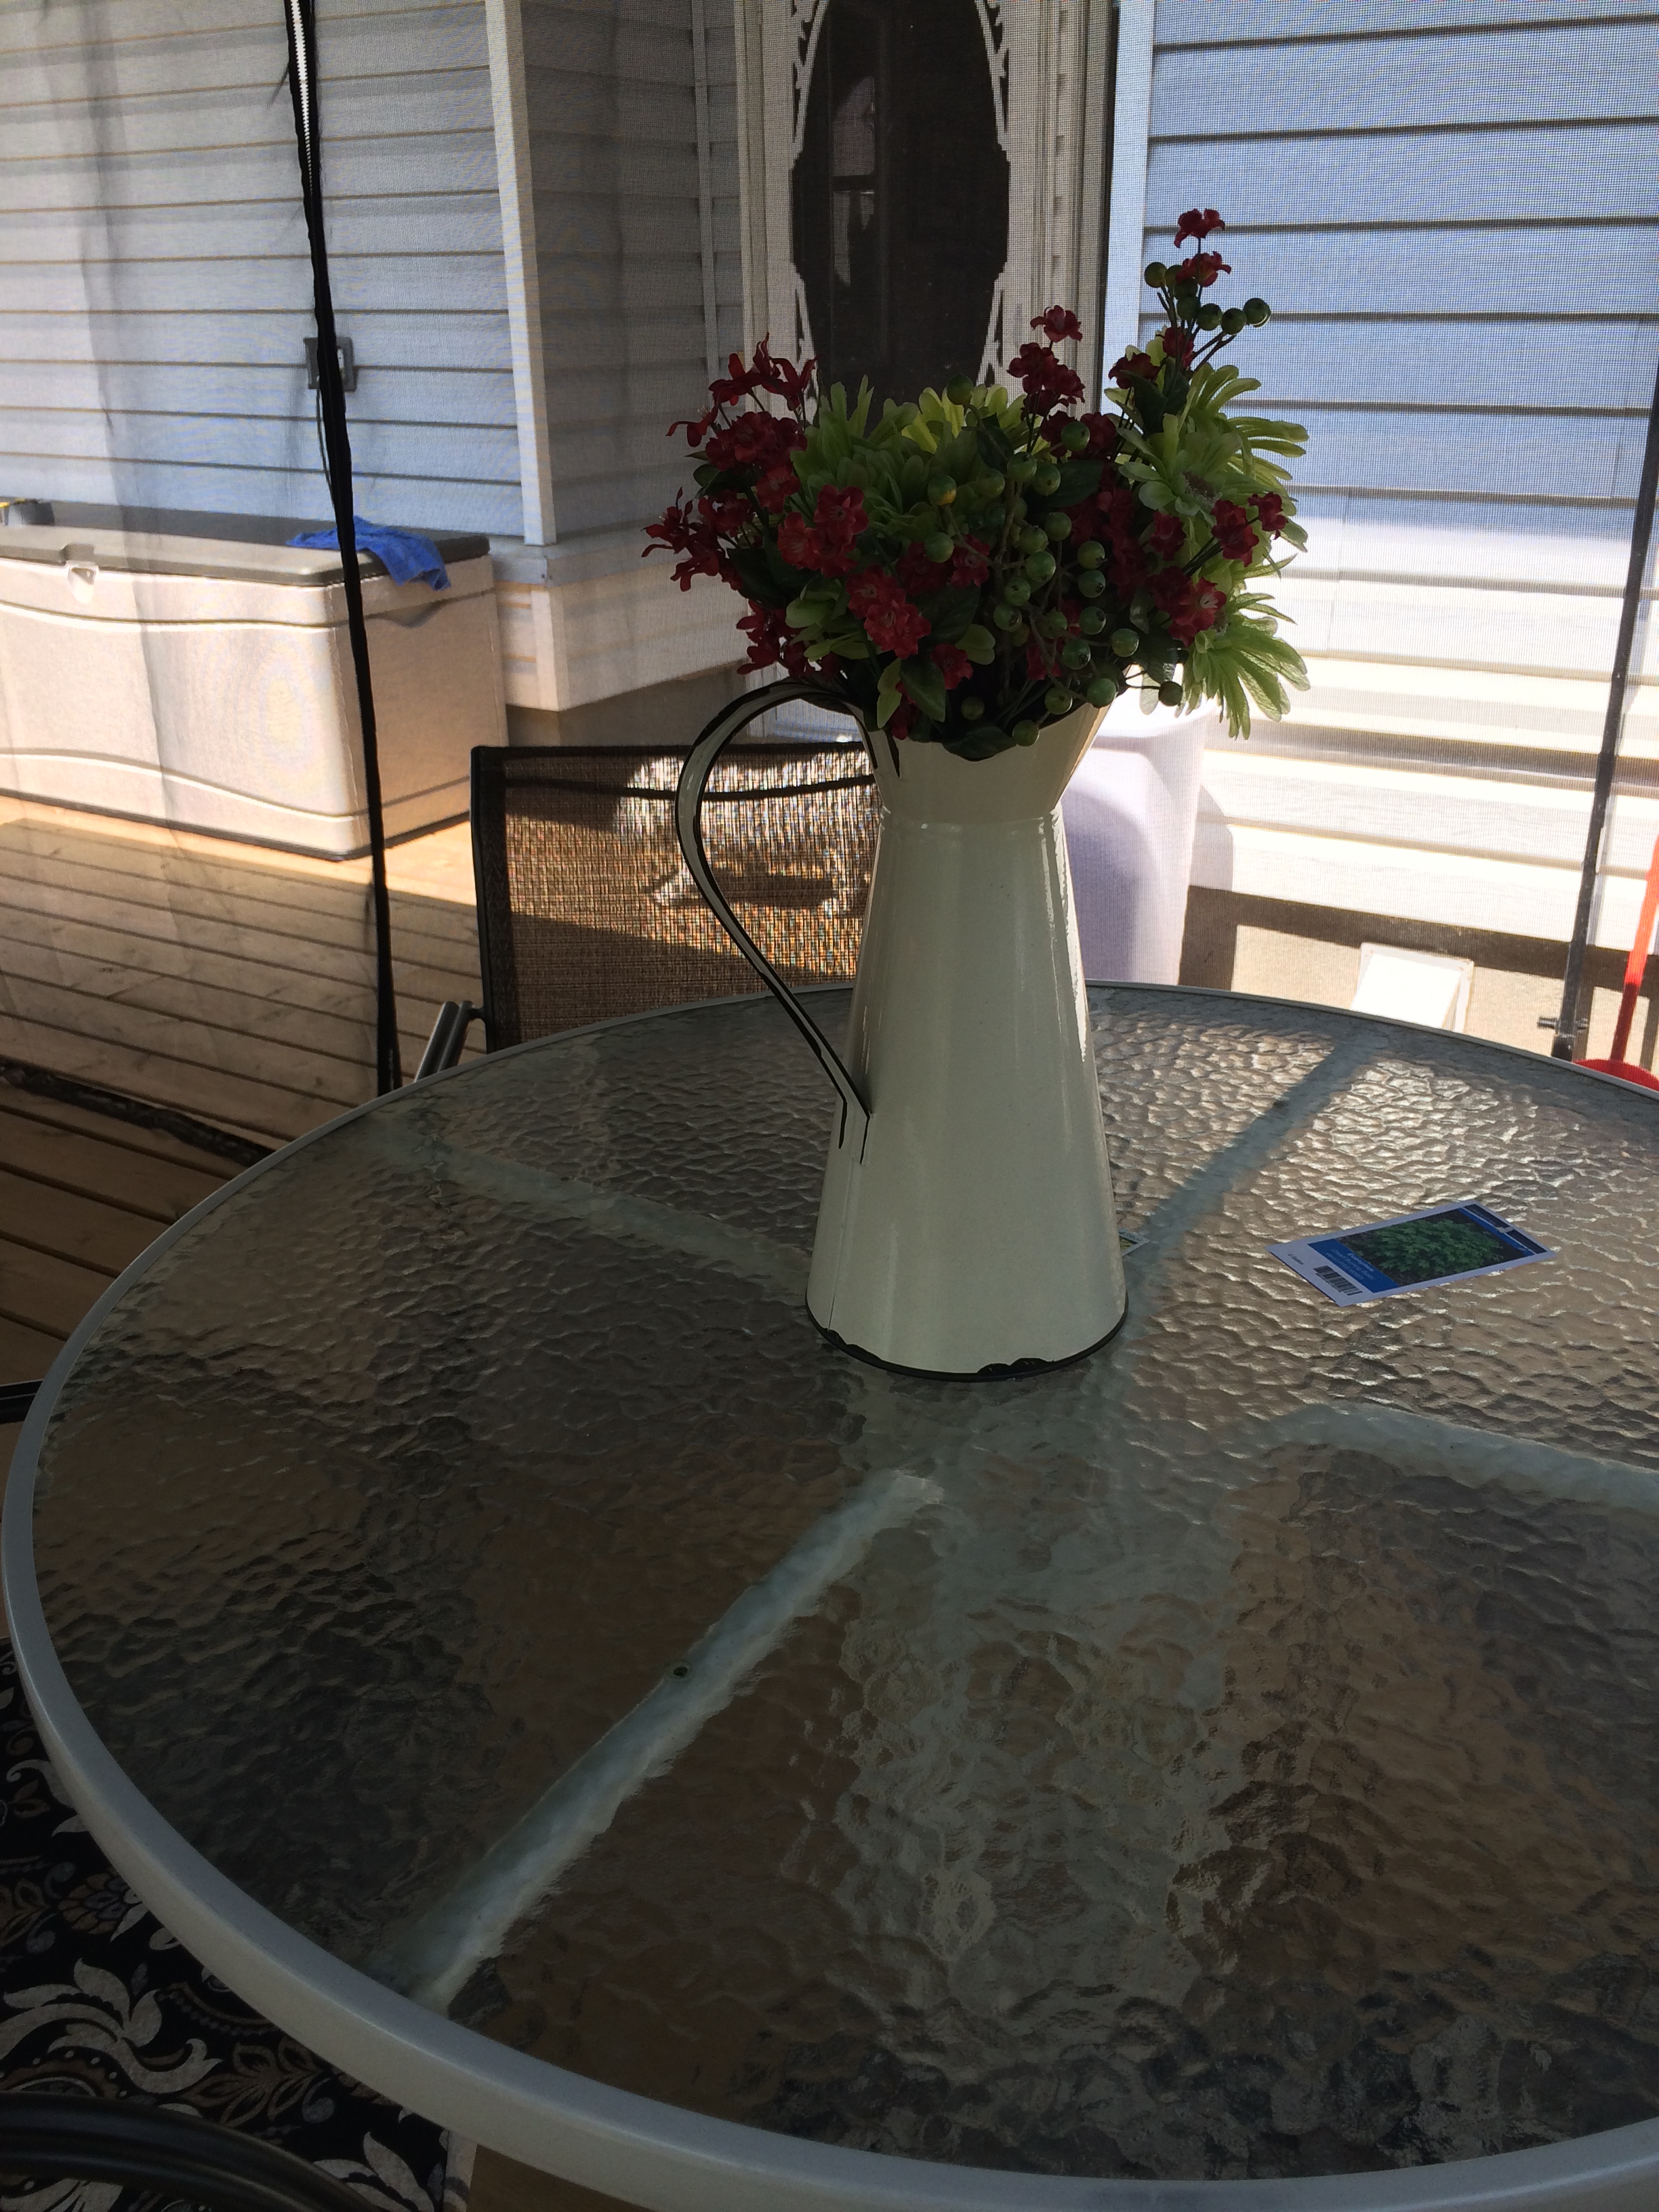
Still working on our backyard…

Unless you can afford to hire professional landscapers and pay them big bucks to do all your landscaping at once, the other option is to do-it-yourself, year by year.

Well, let me tell you, it’s a big job and it’s not cheap. But, every spring we have added, subtracted and changed our outdoor property to get it looking pretty and inviting. And, we still have lots more to do. But, hey, it keeps us busy and it’s great watching our work take effect as the season goes on.

It all started with a big, old, ugly and rotten tree in the middle of our backyard. We had that cut down in 2013, our first summer in this old 1972 ranch style house. There was no grass anywhere on the property. Ugh!! Here’s are a few photos from 2013.

Here’s our work-in-progress..

The new deck from two years ago looks great with the gazebo on it. At 16′ x 12′, the gazebo gives us plenty of shade and a nice breeze, too.

Beside the shed there is a lovely hosta garden.

When little Holly takes a break from exploring the yard, chasing the birds and chipmunks and hiding the hedges, she likes to have a rest in her bed.

We were trying out our new “patio lanterns,” and Peter caught me scooting by in my old pajamas.

The scent of our lilacs waft into our bedroom as we’re drifting off to sleep at night. By the way, this is a new variety of lilac that blooms three times over the season. It grows about 4′ high and 4′-5′ around. I just planted it this spring, so it’s only about three feet high, but it has already burst into glorious blooms. In one corner of  our yard we have some really big lilac bushes. Yahoo!

The stump of our Norway Maple that we cut down in 2013. It’s sort of interesting, don’t you think? We hollowed it out, added earth and planted some perennials in it. I added a birdbath to it and planted some awesome plants around it.

There’s so much more going on since we took these photos. The plants are going crazy and the grass is beautiful and lush, thanks to a nice big bag of grass fertilizer.

Anyway, that’s it for now, with lots more to come later.

Thanks, so much, for dropping by!

Our landscaping: from barren to beautiful!

As they say,”a picture is worth a thousand words.”

So, rather than bore you with a lot of text, I’m going to post some photos of our back yard. It’s still a work in progress, but it’s a far cry from what we inherited from the last owners. It’s only been three years since we bought the house and already we’re seeing our hard work pay off. It took a lot of sweat and elbow grease, but we think it was well worth it.

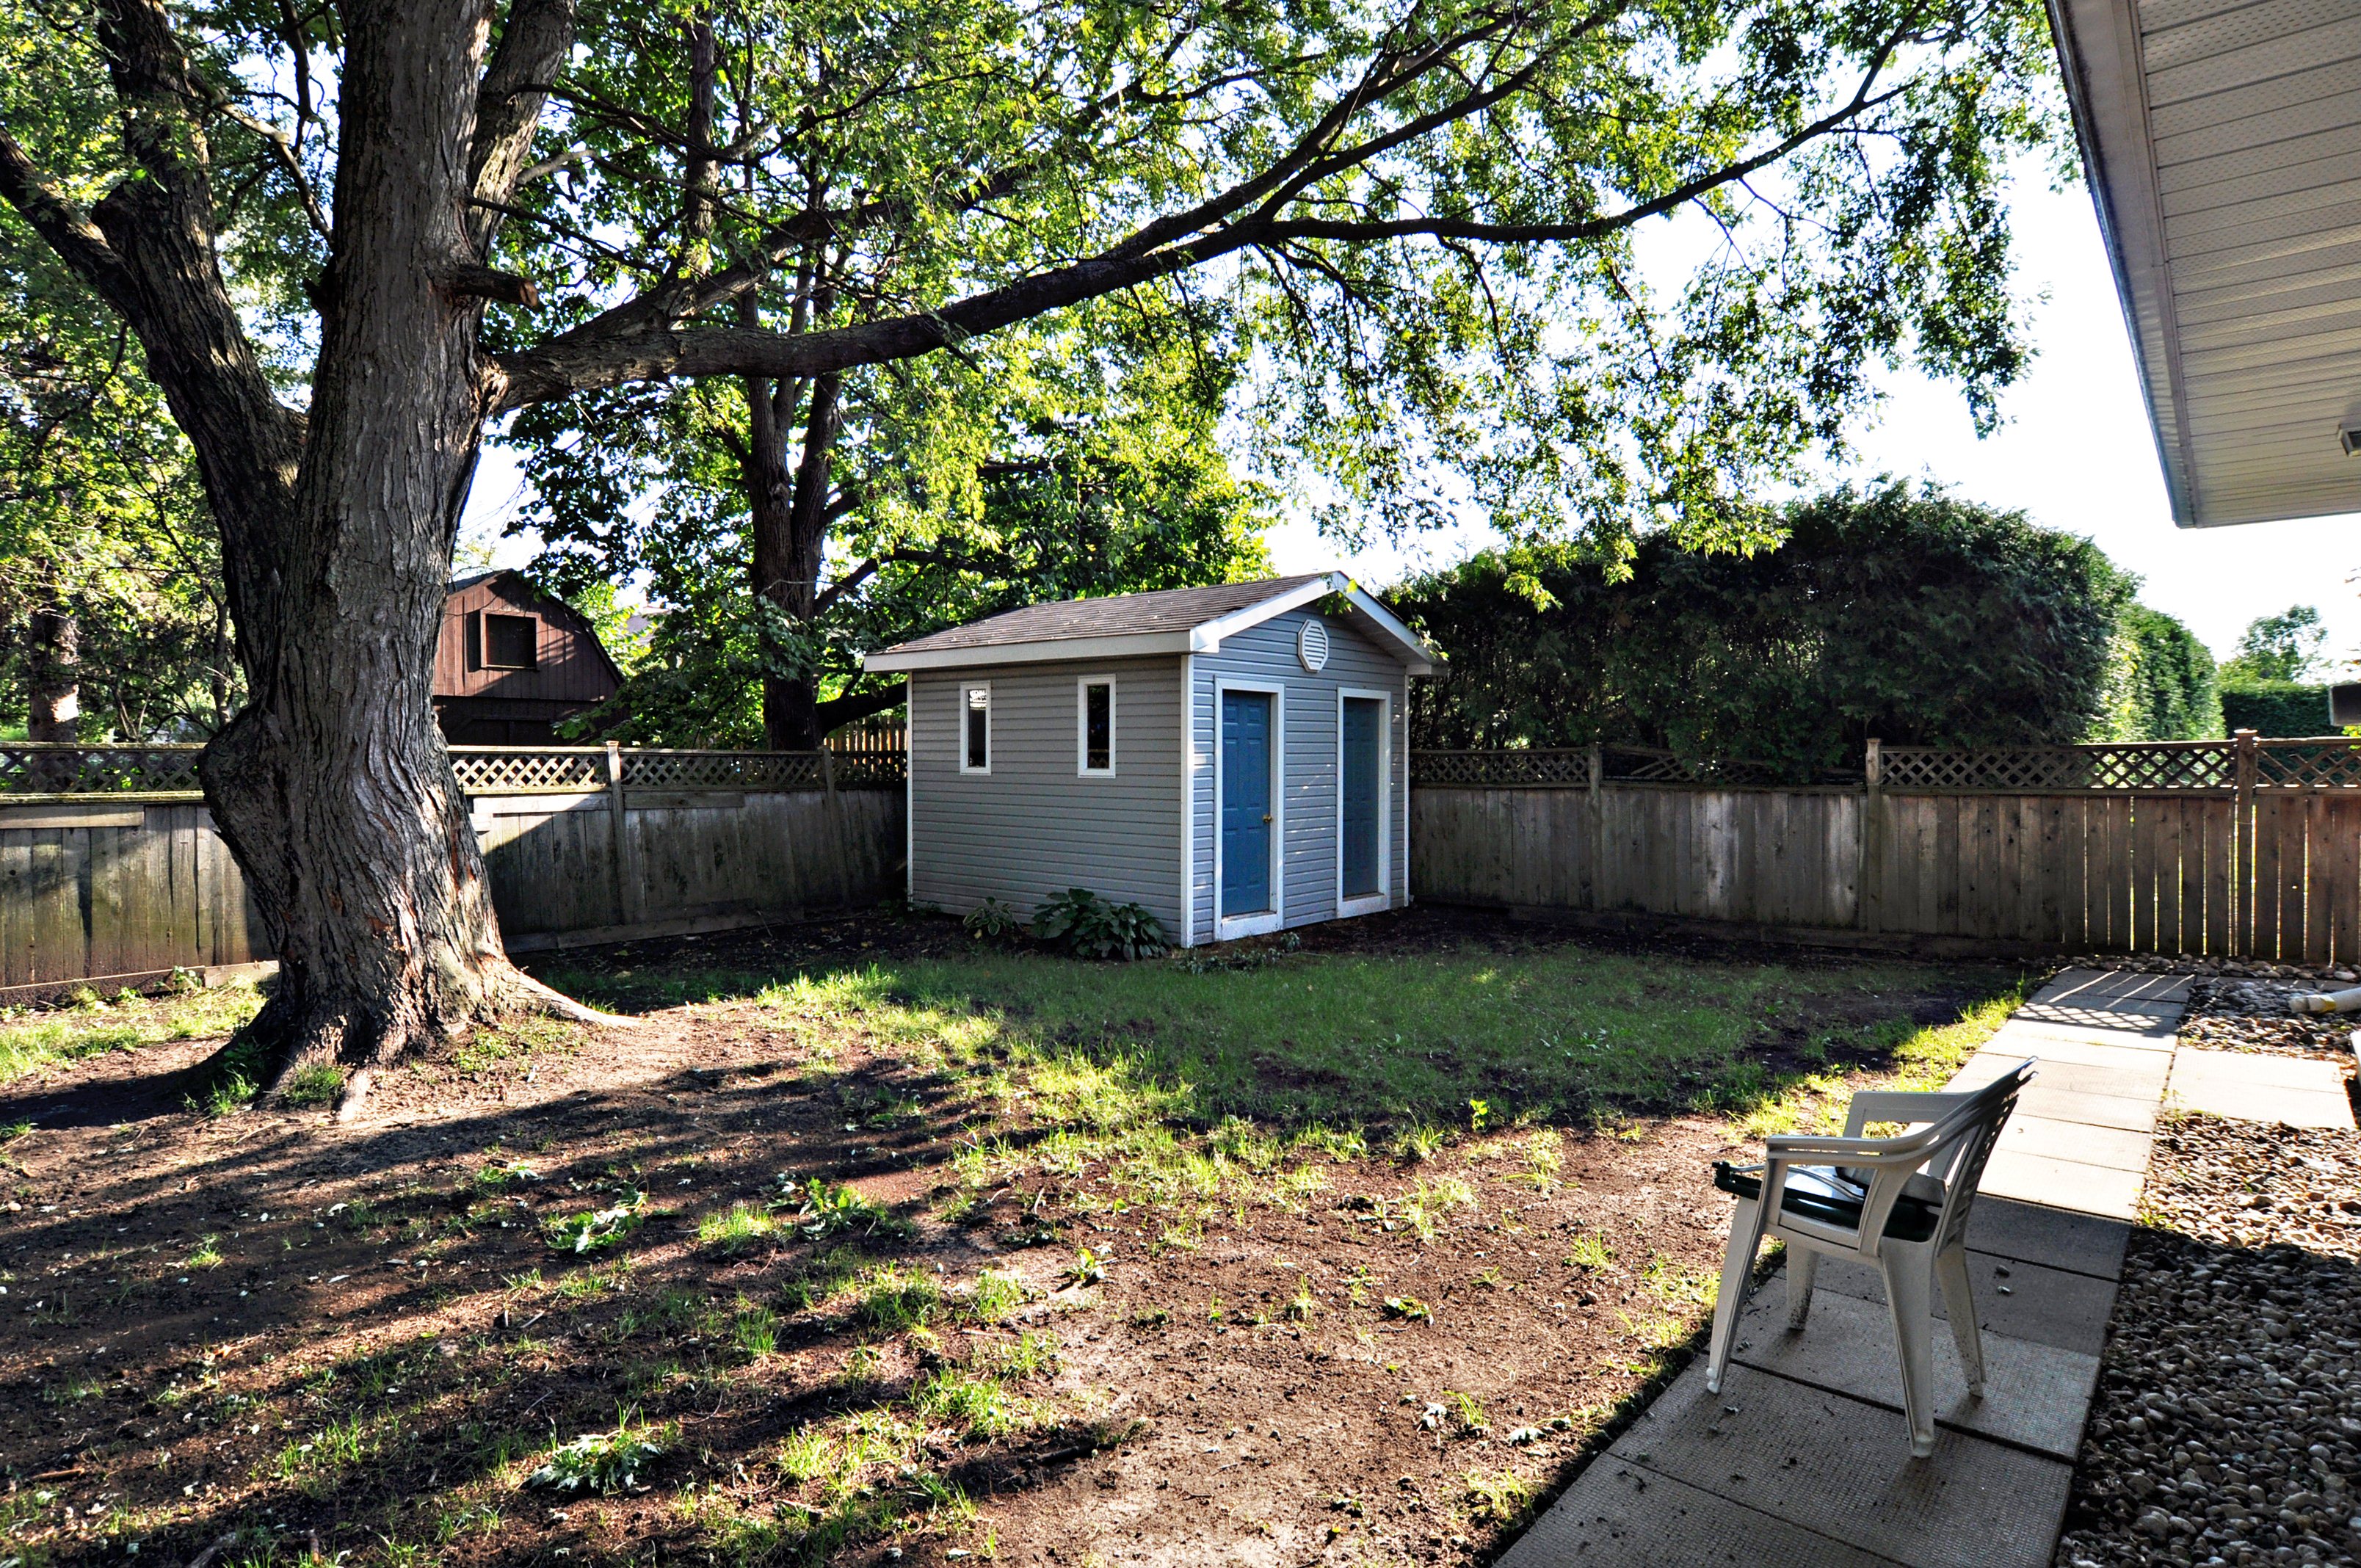
Here we go. First up is our back yard in 2013, when we bought the house. The patio required hours back-breaking work every week to keep the weeds out…they popped up as quickly as I pulled them out. Also, note the lack of privacy from our rear neighbours. The decades-old wood fence was literally falling over when we moved in, so we had a chain link fence installed and a cedar hedge planted the following year. Cedar trees grow about 12″ to 18″ per year; ours were scrawny, but six feet tall, so it won’t be long before they fill out and reach a height of 12′-15′, more than enough to give us some privacy.

FIRST, THE BEFORE PHOTO:

Here’s the old patio, freshly weeded. I took the photo quickly before the weeds grew back.
13 Tripp Aug 2 2014 (25)

So, last year we had a huge deck built (18′ x 24′) right off the back of the house. (Note the cedar hedge to the left, that’s how it looked when it was planted in November 2014. So, this is only it’s second growing season and it’s already filled in to give us some much needed privacy. Now, it just needs to get taller!
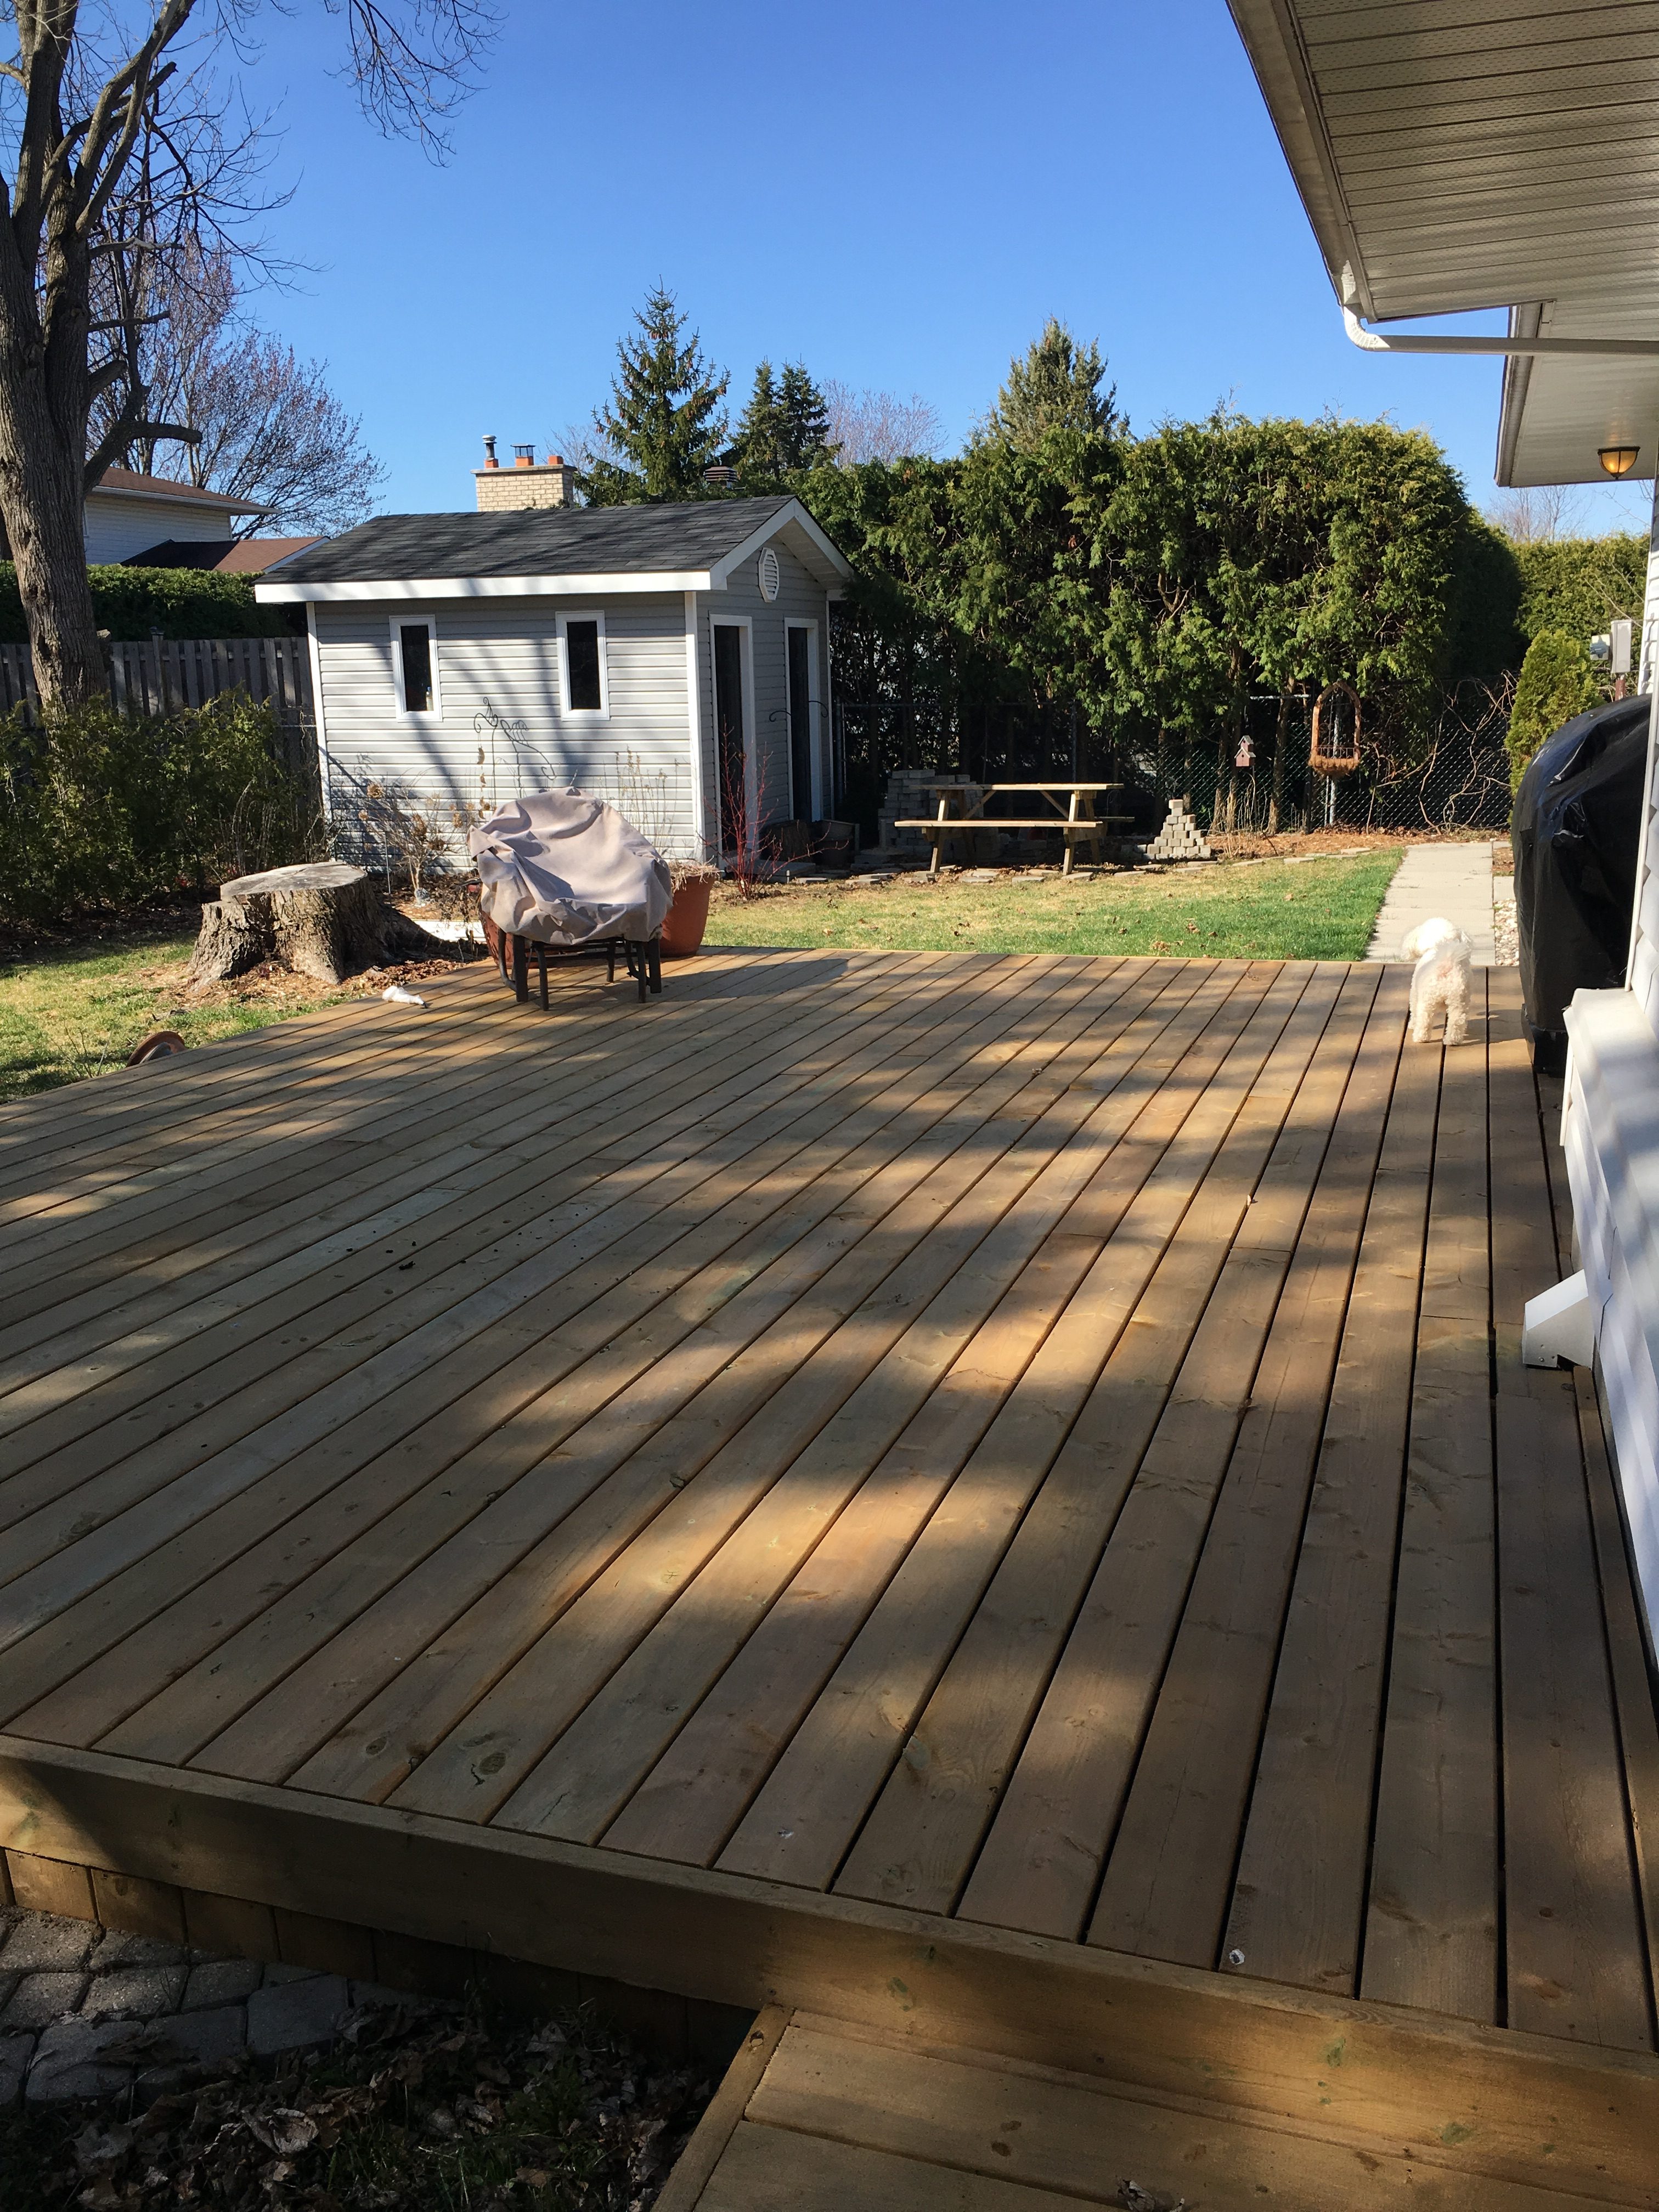
Backyard Makeover May 2016--in progress (9)

Then, we had a 12′ x 16′ gazebo installed on it to provide shade and protection from bugs. Always keeping in mind my shoe-string budget, we removed a huge pile of stones from the patio before they disappeared forever under the new deck. We then used the stones to create some planting beds next to the deck and in strategically located areas around the yard. Cost: Free! I added three compact shrubs in the planting bed and a ton of mulch (not one weed popped up all summer). 
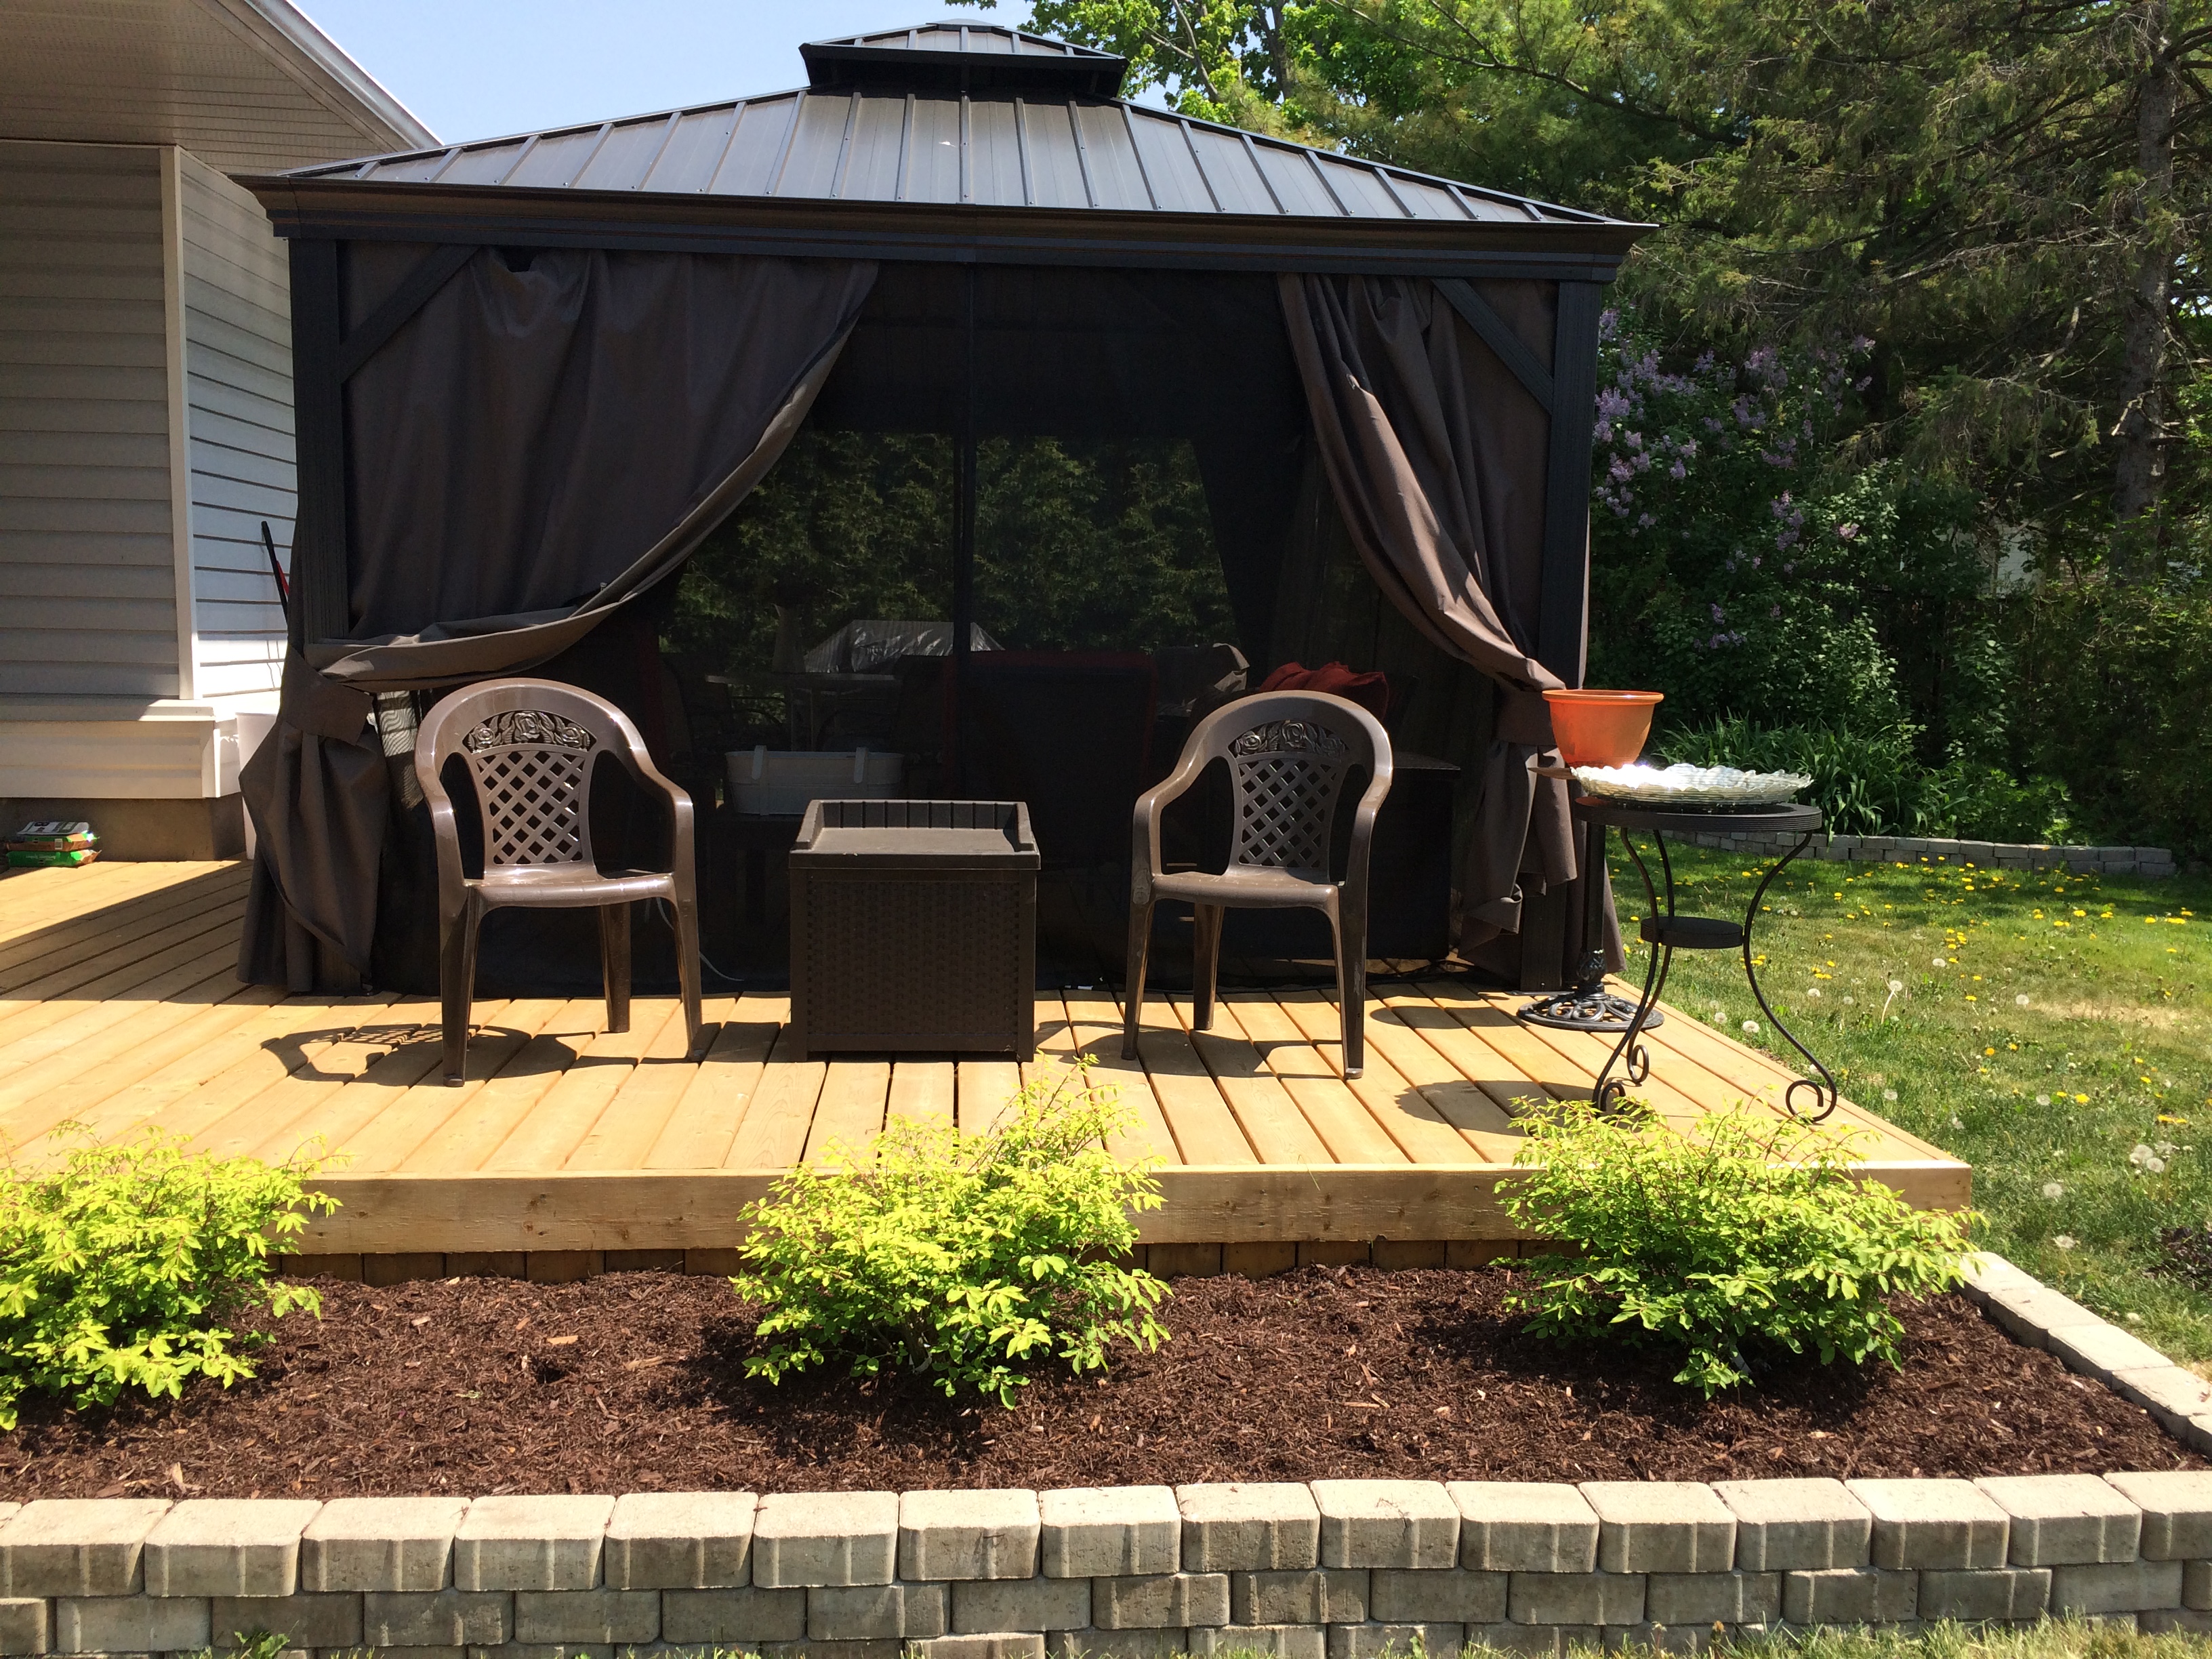
Backyard work in progress--May 2016 (68)

…and then a couple plants more for autumn colour…
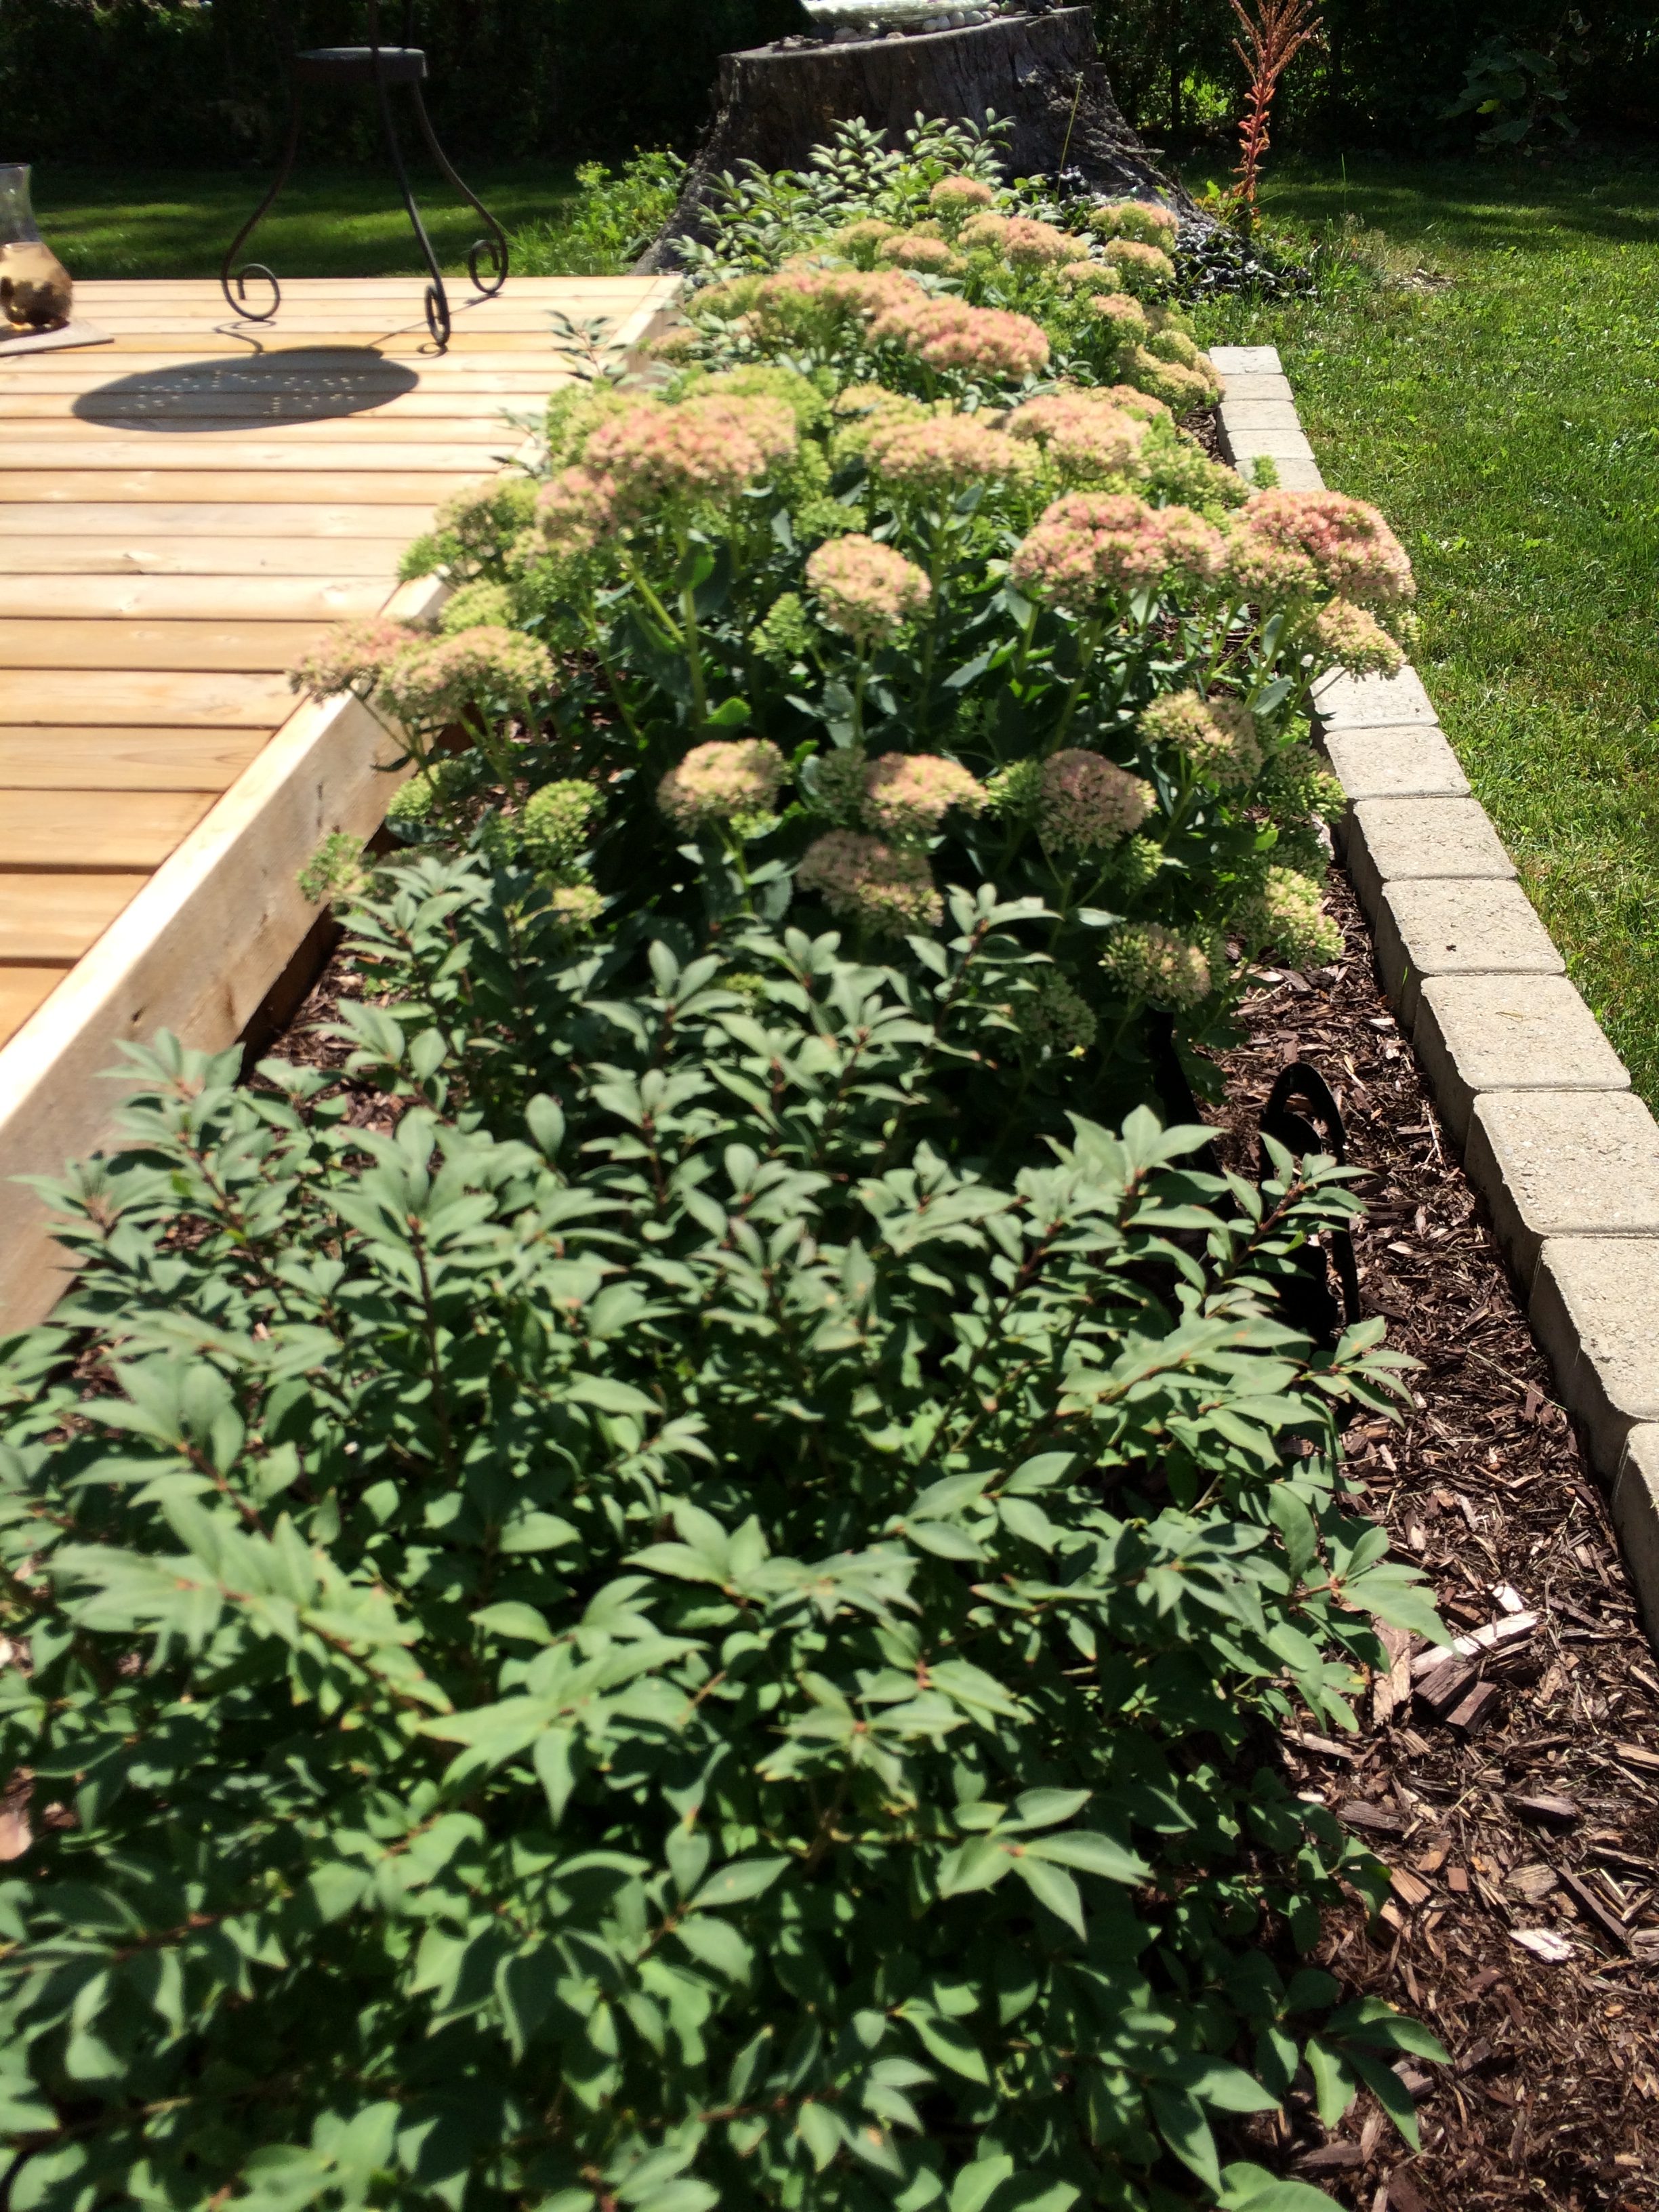
2016-09-04 12.06.07

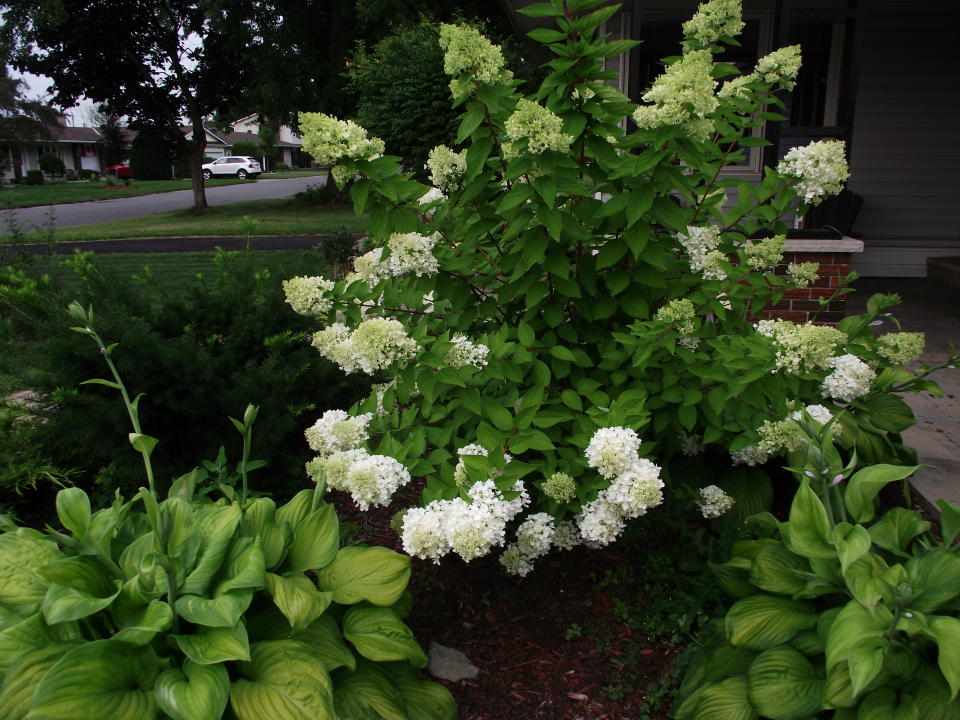
…and another planting bed beside of the garden shed. I planted a Snowball hydrangea bush here, which will grow to be 10′ high and 15′ wide…eventually. At the moment, this bed a half-way house for  some displaced hostas. Next year they will be moved to their permanent home along the front of the deck.
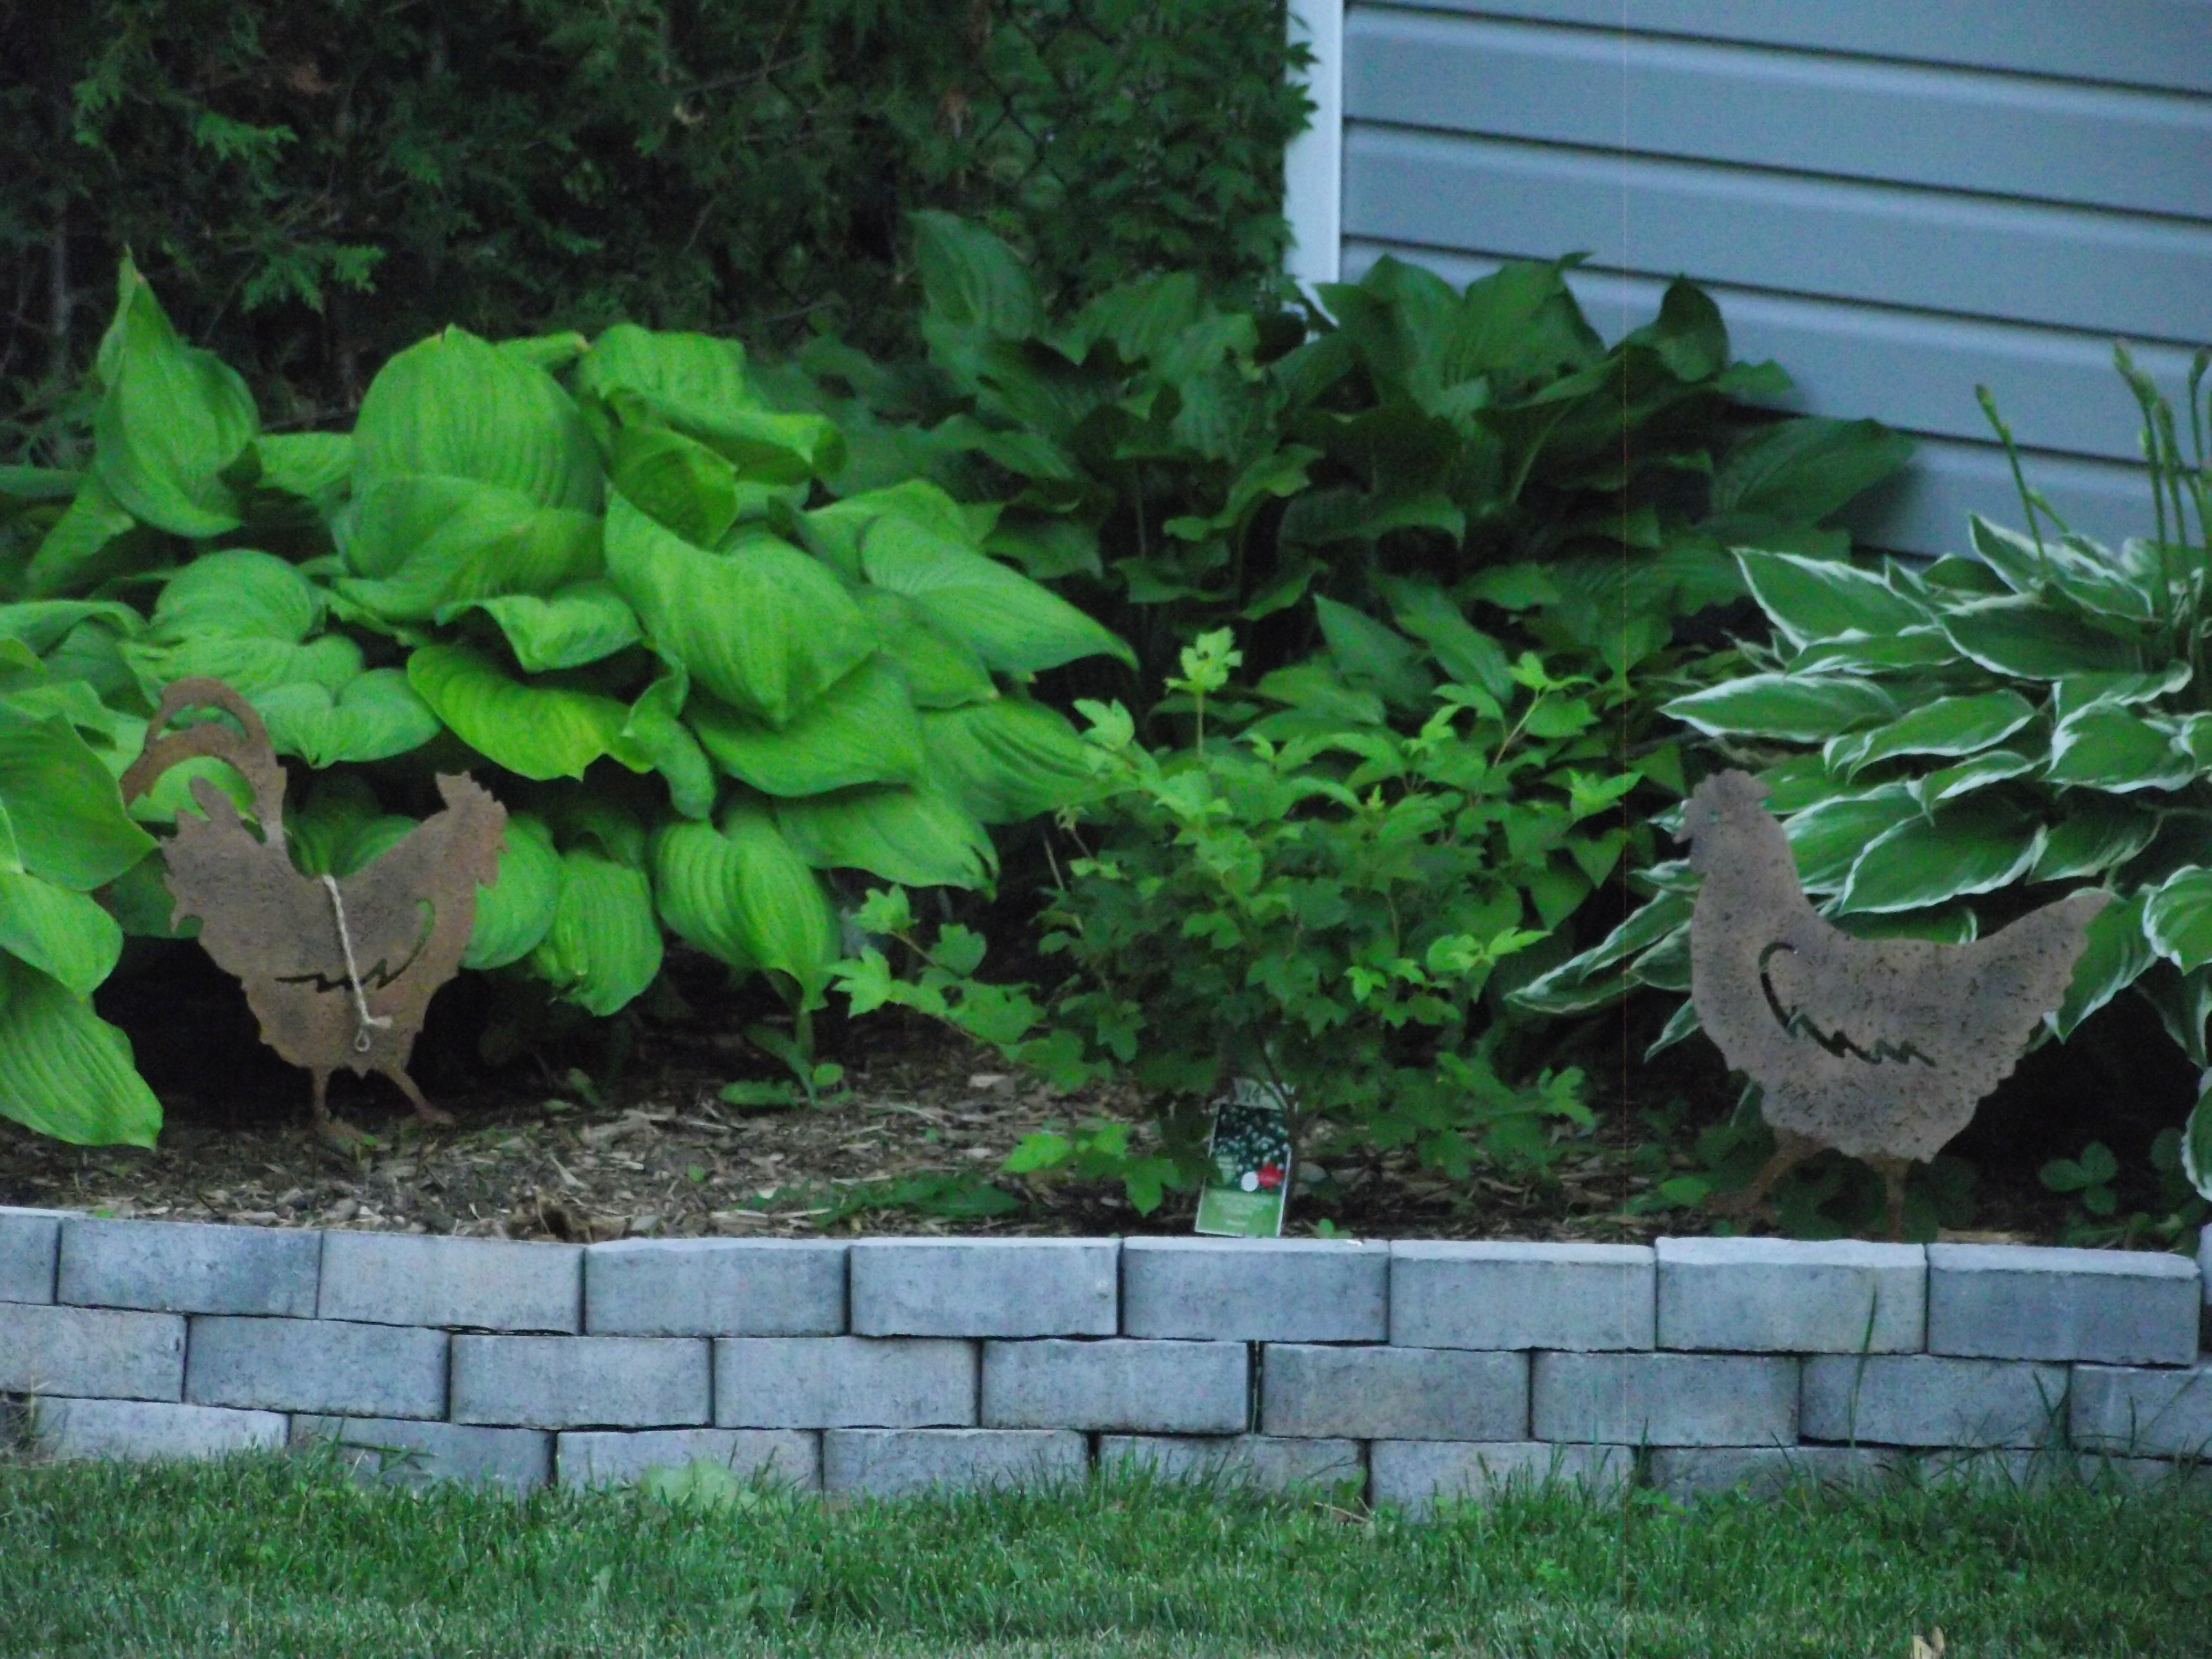
Backyard 2016-07-04 20.10 (33)

Below, is a photo of my favourite planting bed located along the fence near the garden shed. I wanted a very natural and eclectic look, so I incorporated a “mosaic on glass” window that I made, three huge stumps from a 40-year-old tree that we had to to have cut down, a rusty old wire planter and a cute birdhouse.
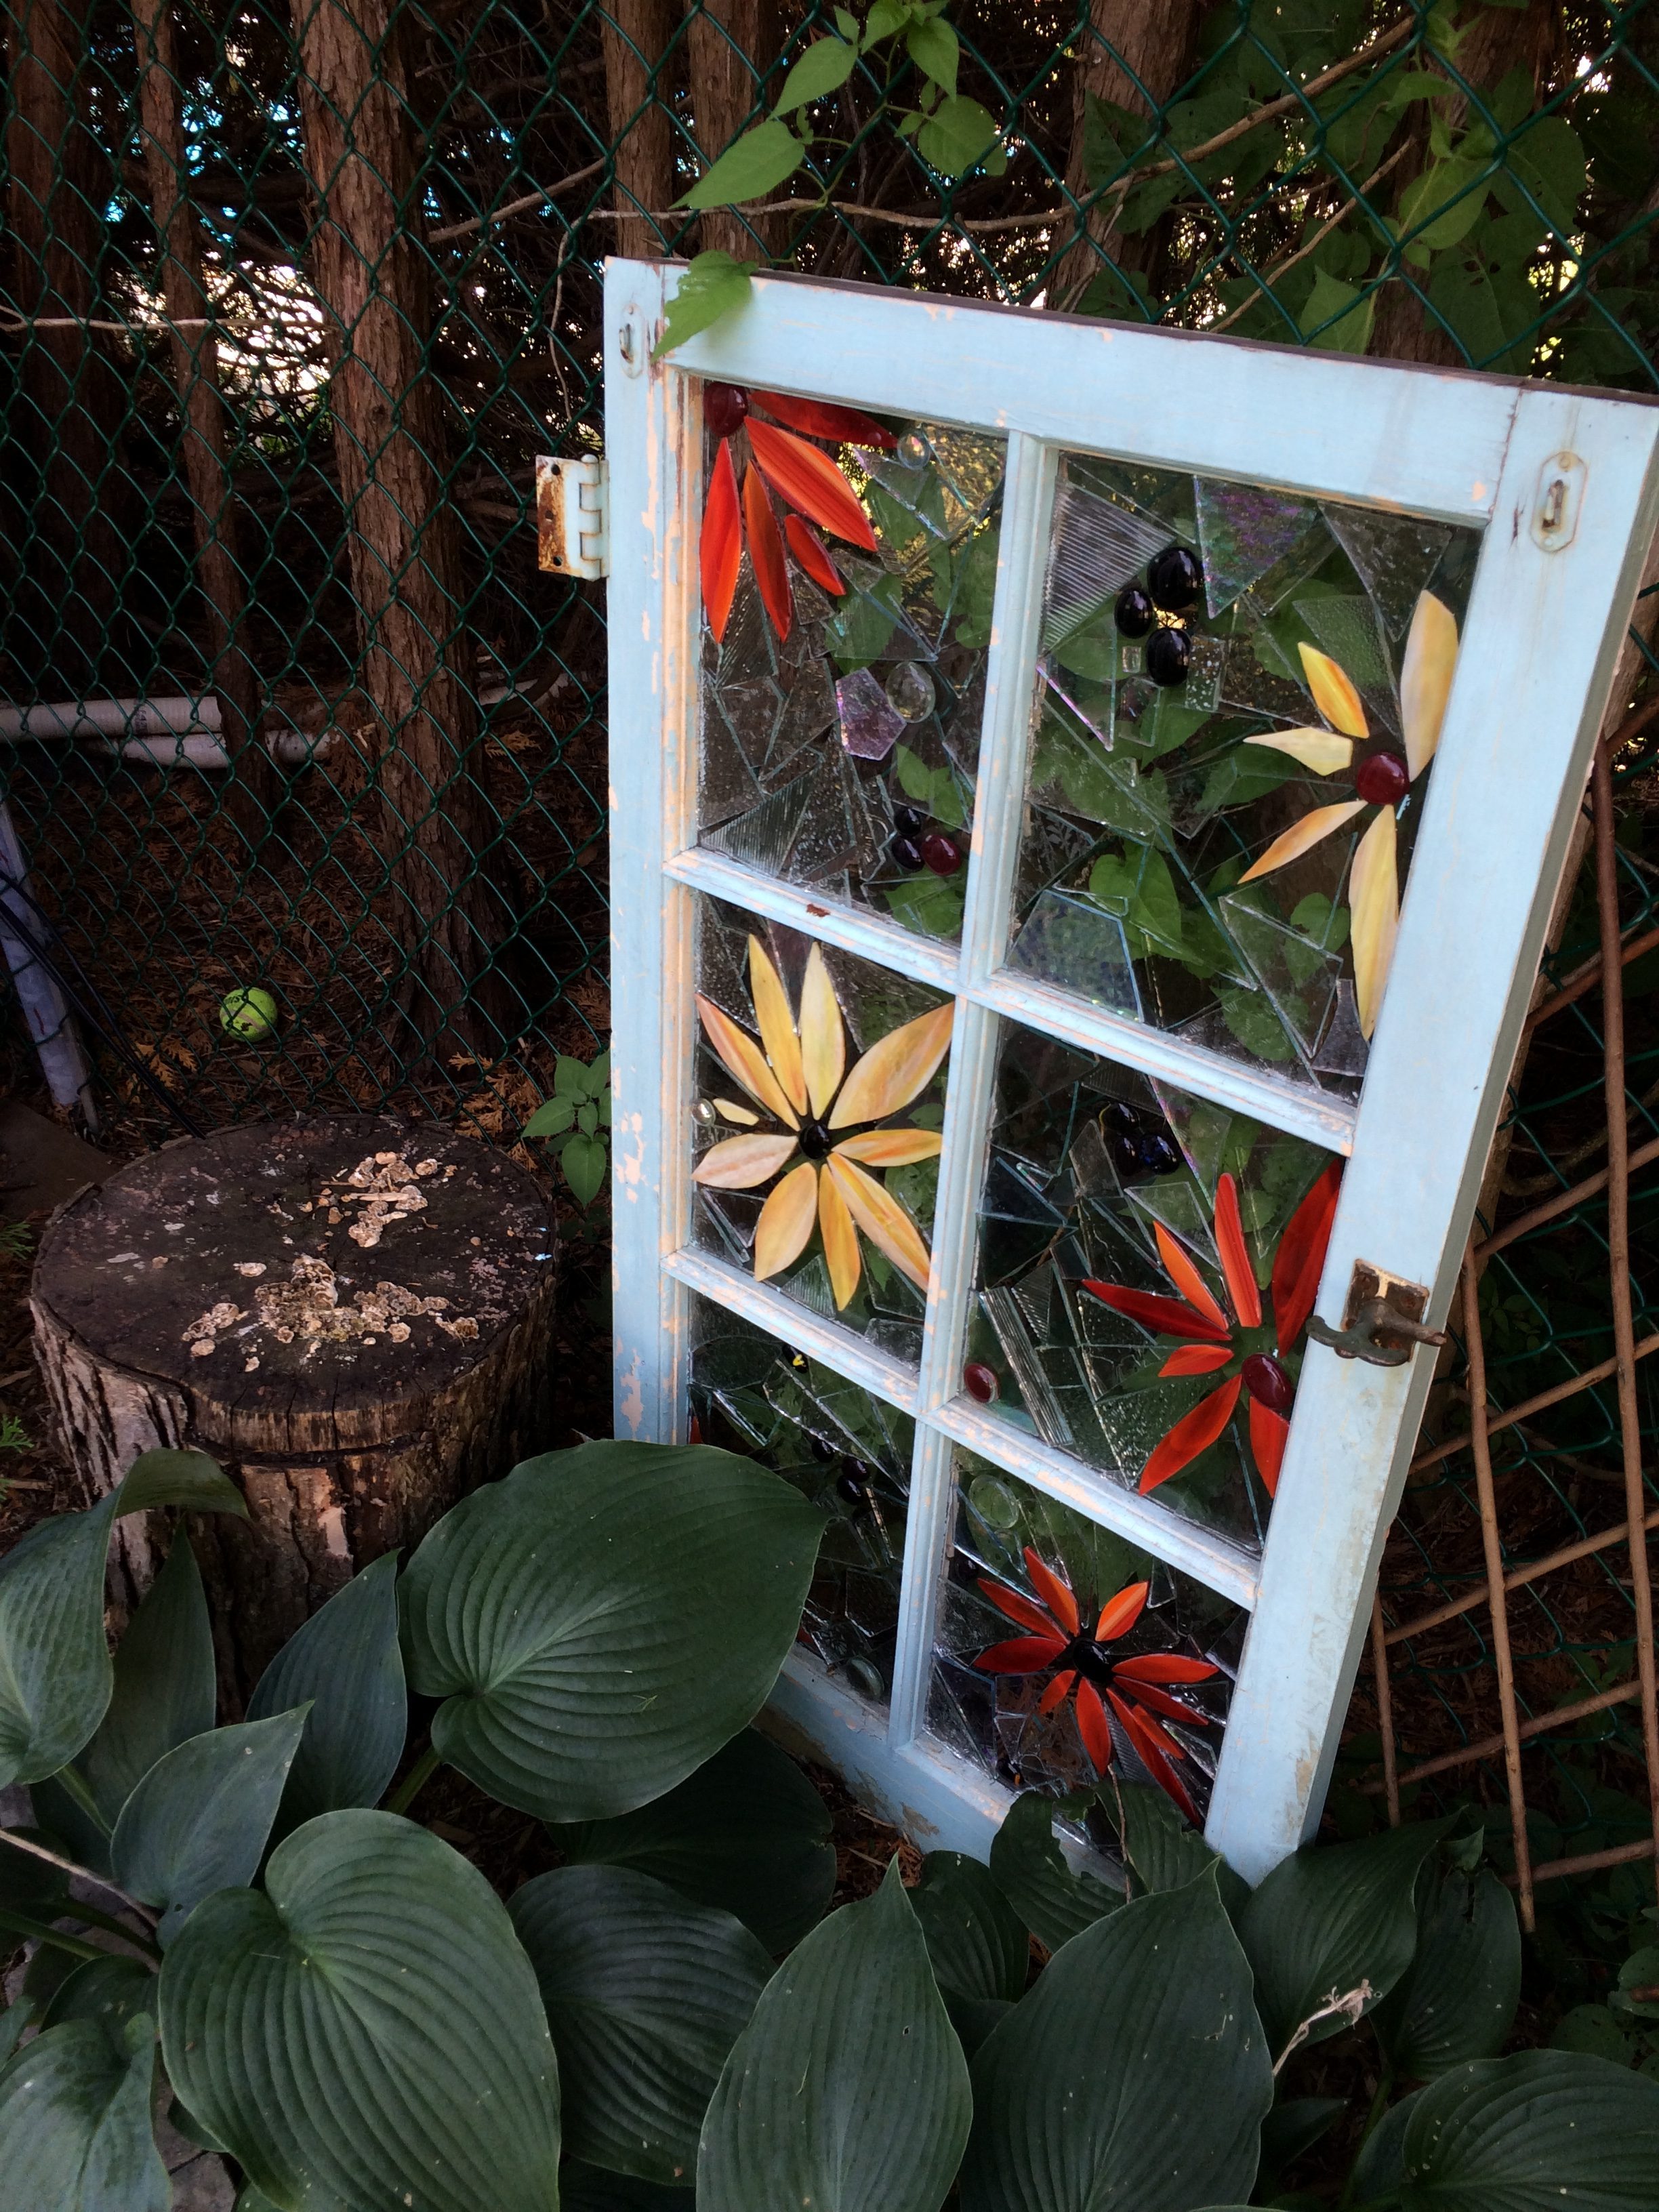
2016-09-04-12-03-36

Since I took this photo, the grass has become lush and green–despite this summer’s brutal heat. We pamper our grass with regular over-seeding, spring and fall fertilizers, regular mowing and by providing adequate water.
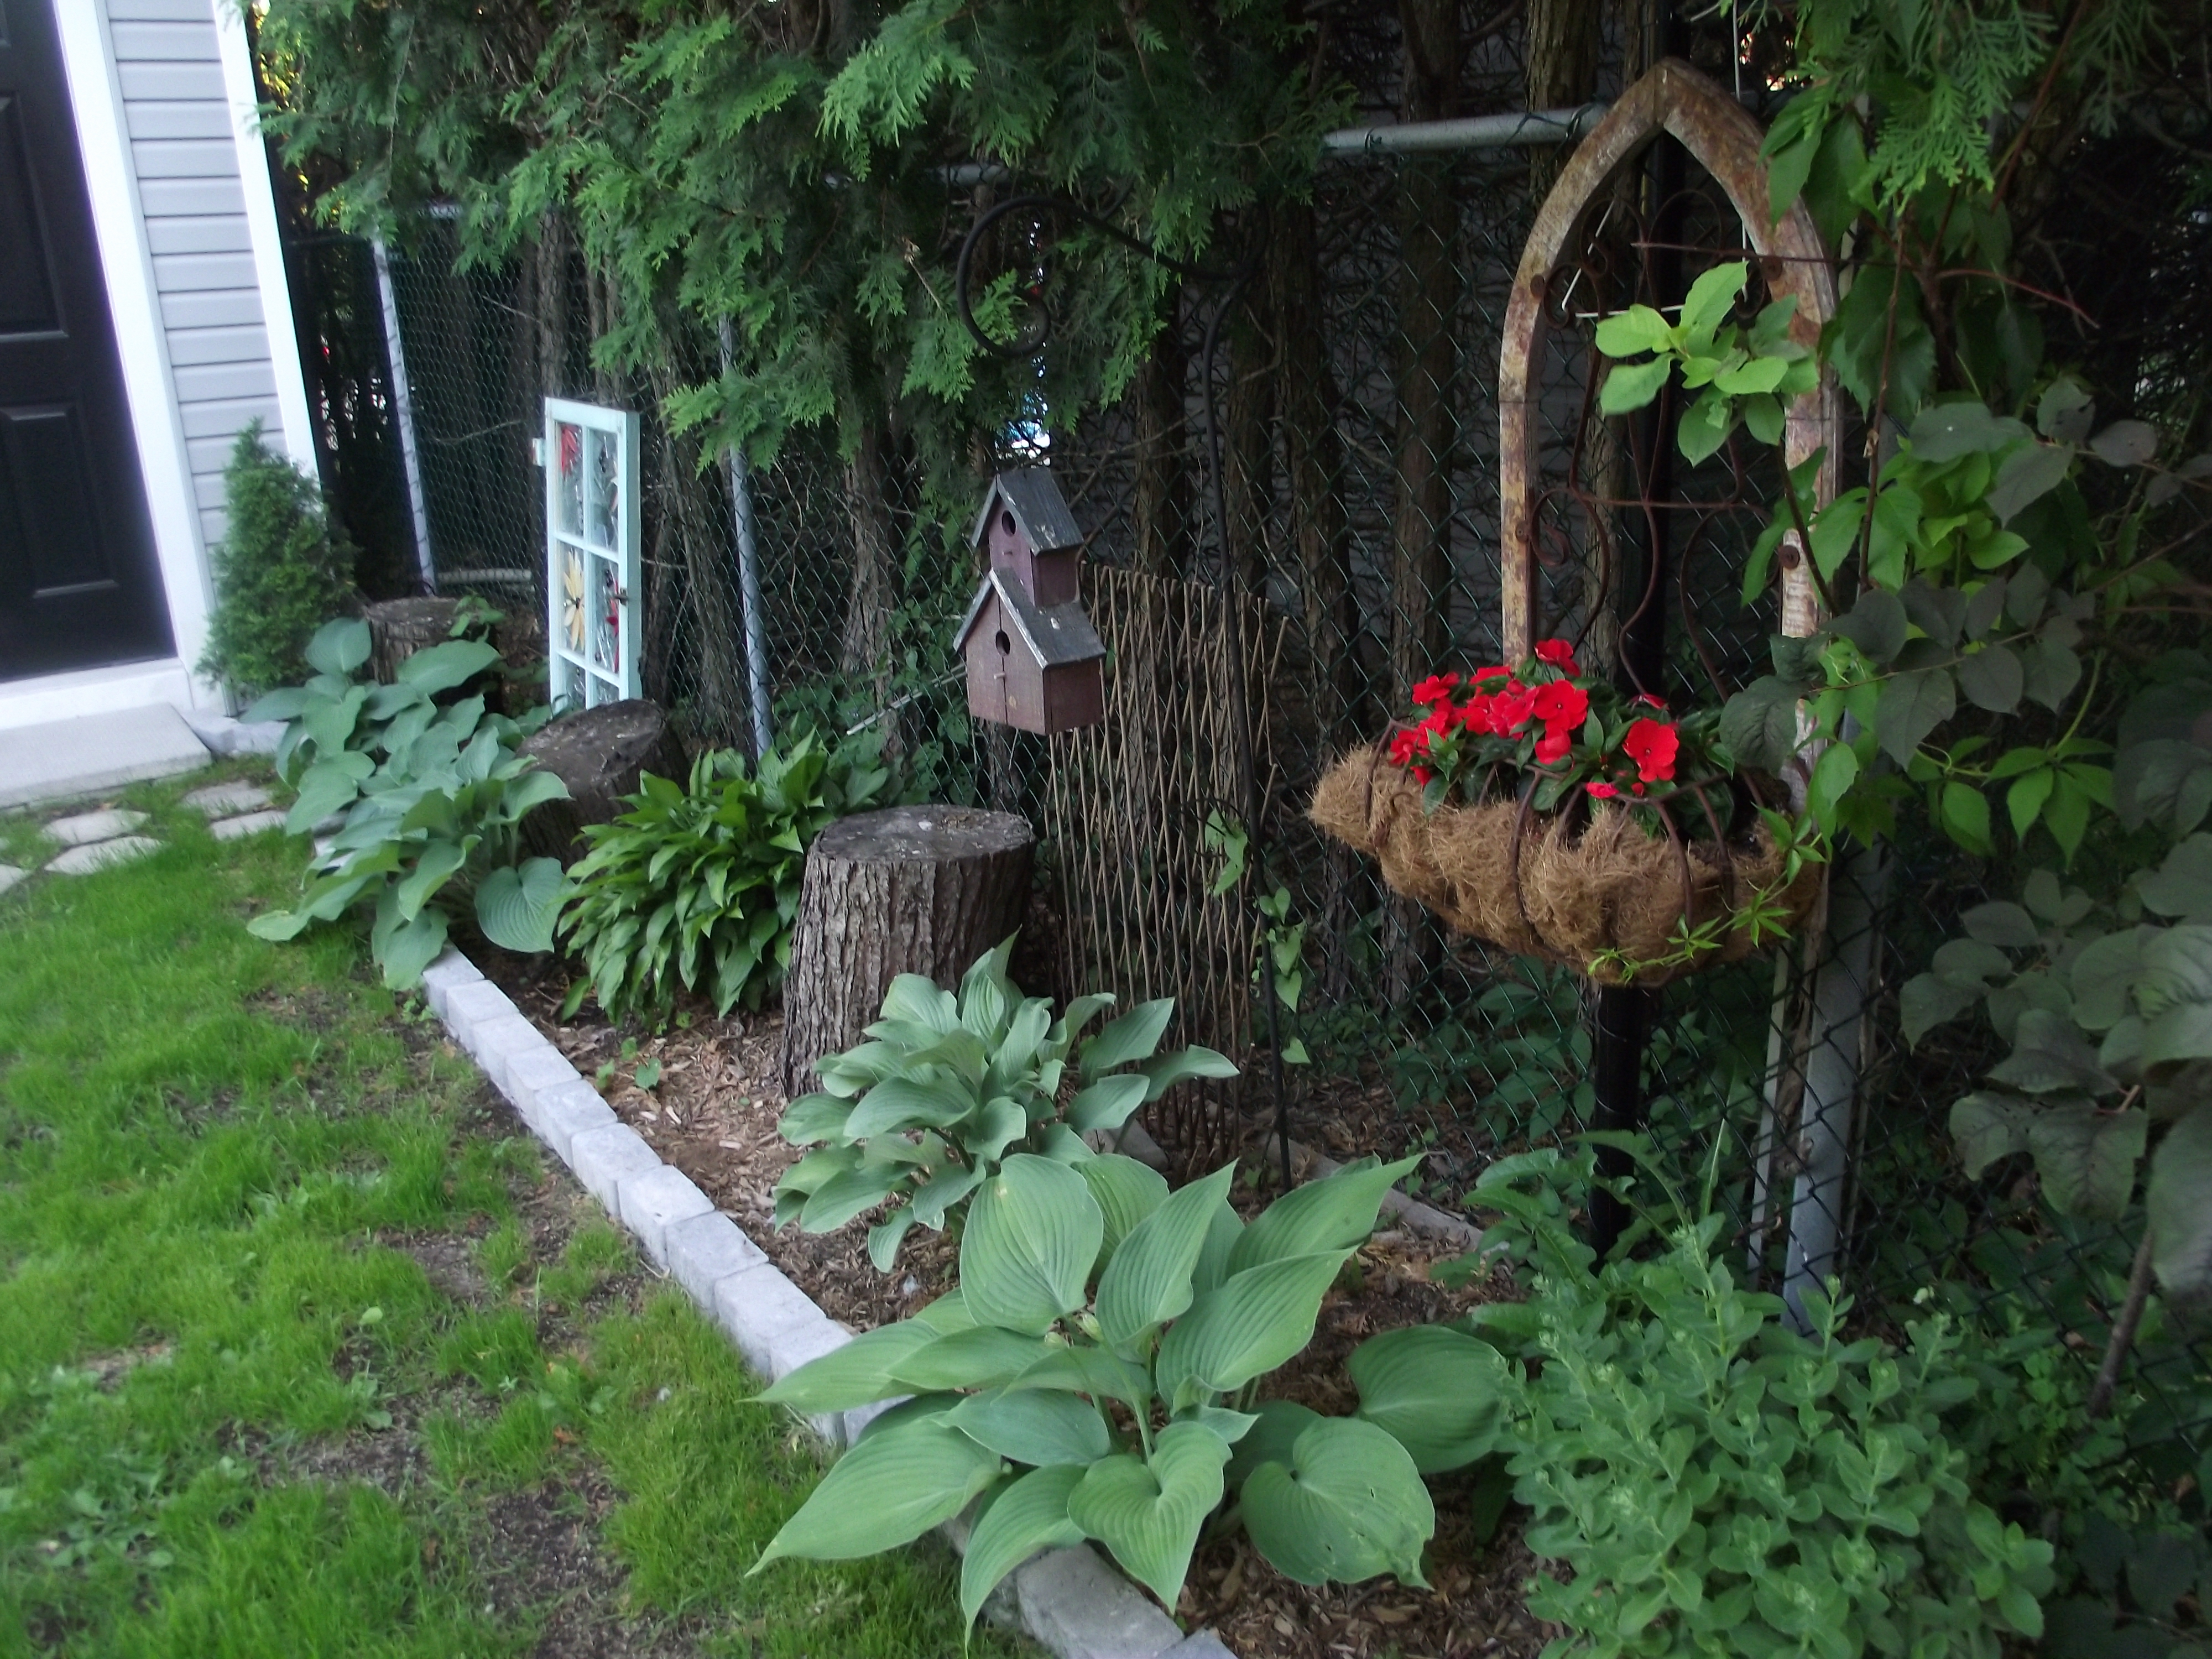
Backyard 2016-07-04 20.10 (3)

Here’s a closer look at this pretty and rustic planter that is hanging on the fence–a treasure I bought from a local antique dealer (very cheap).
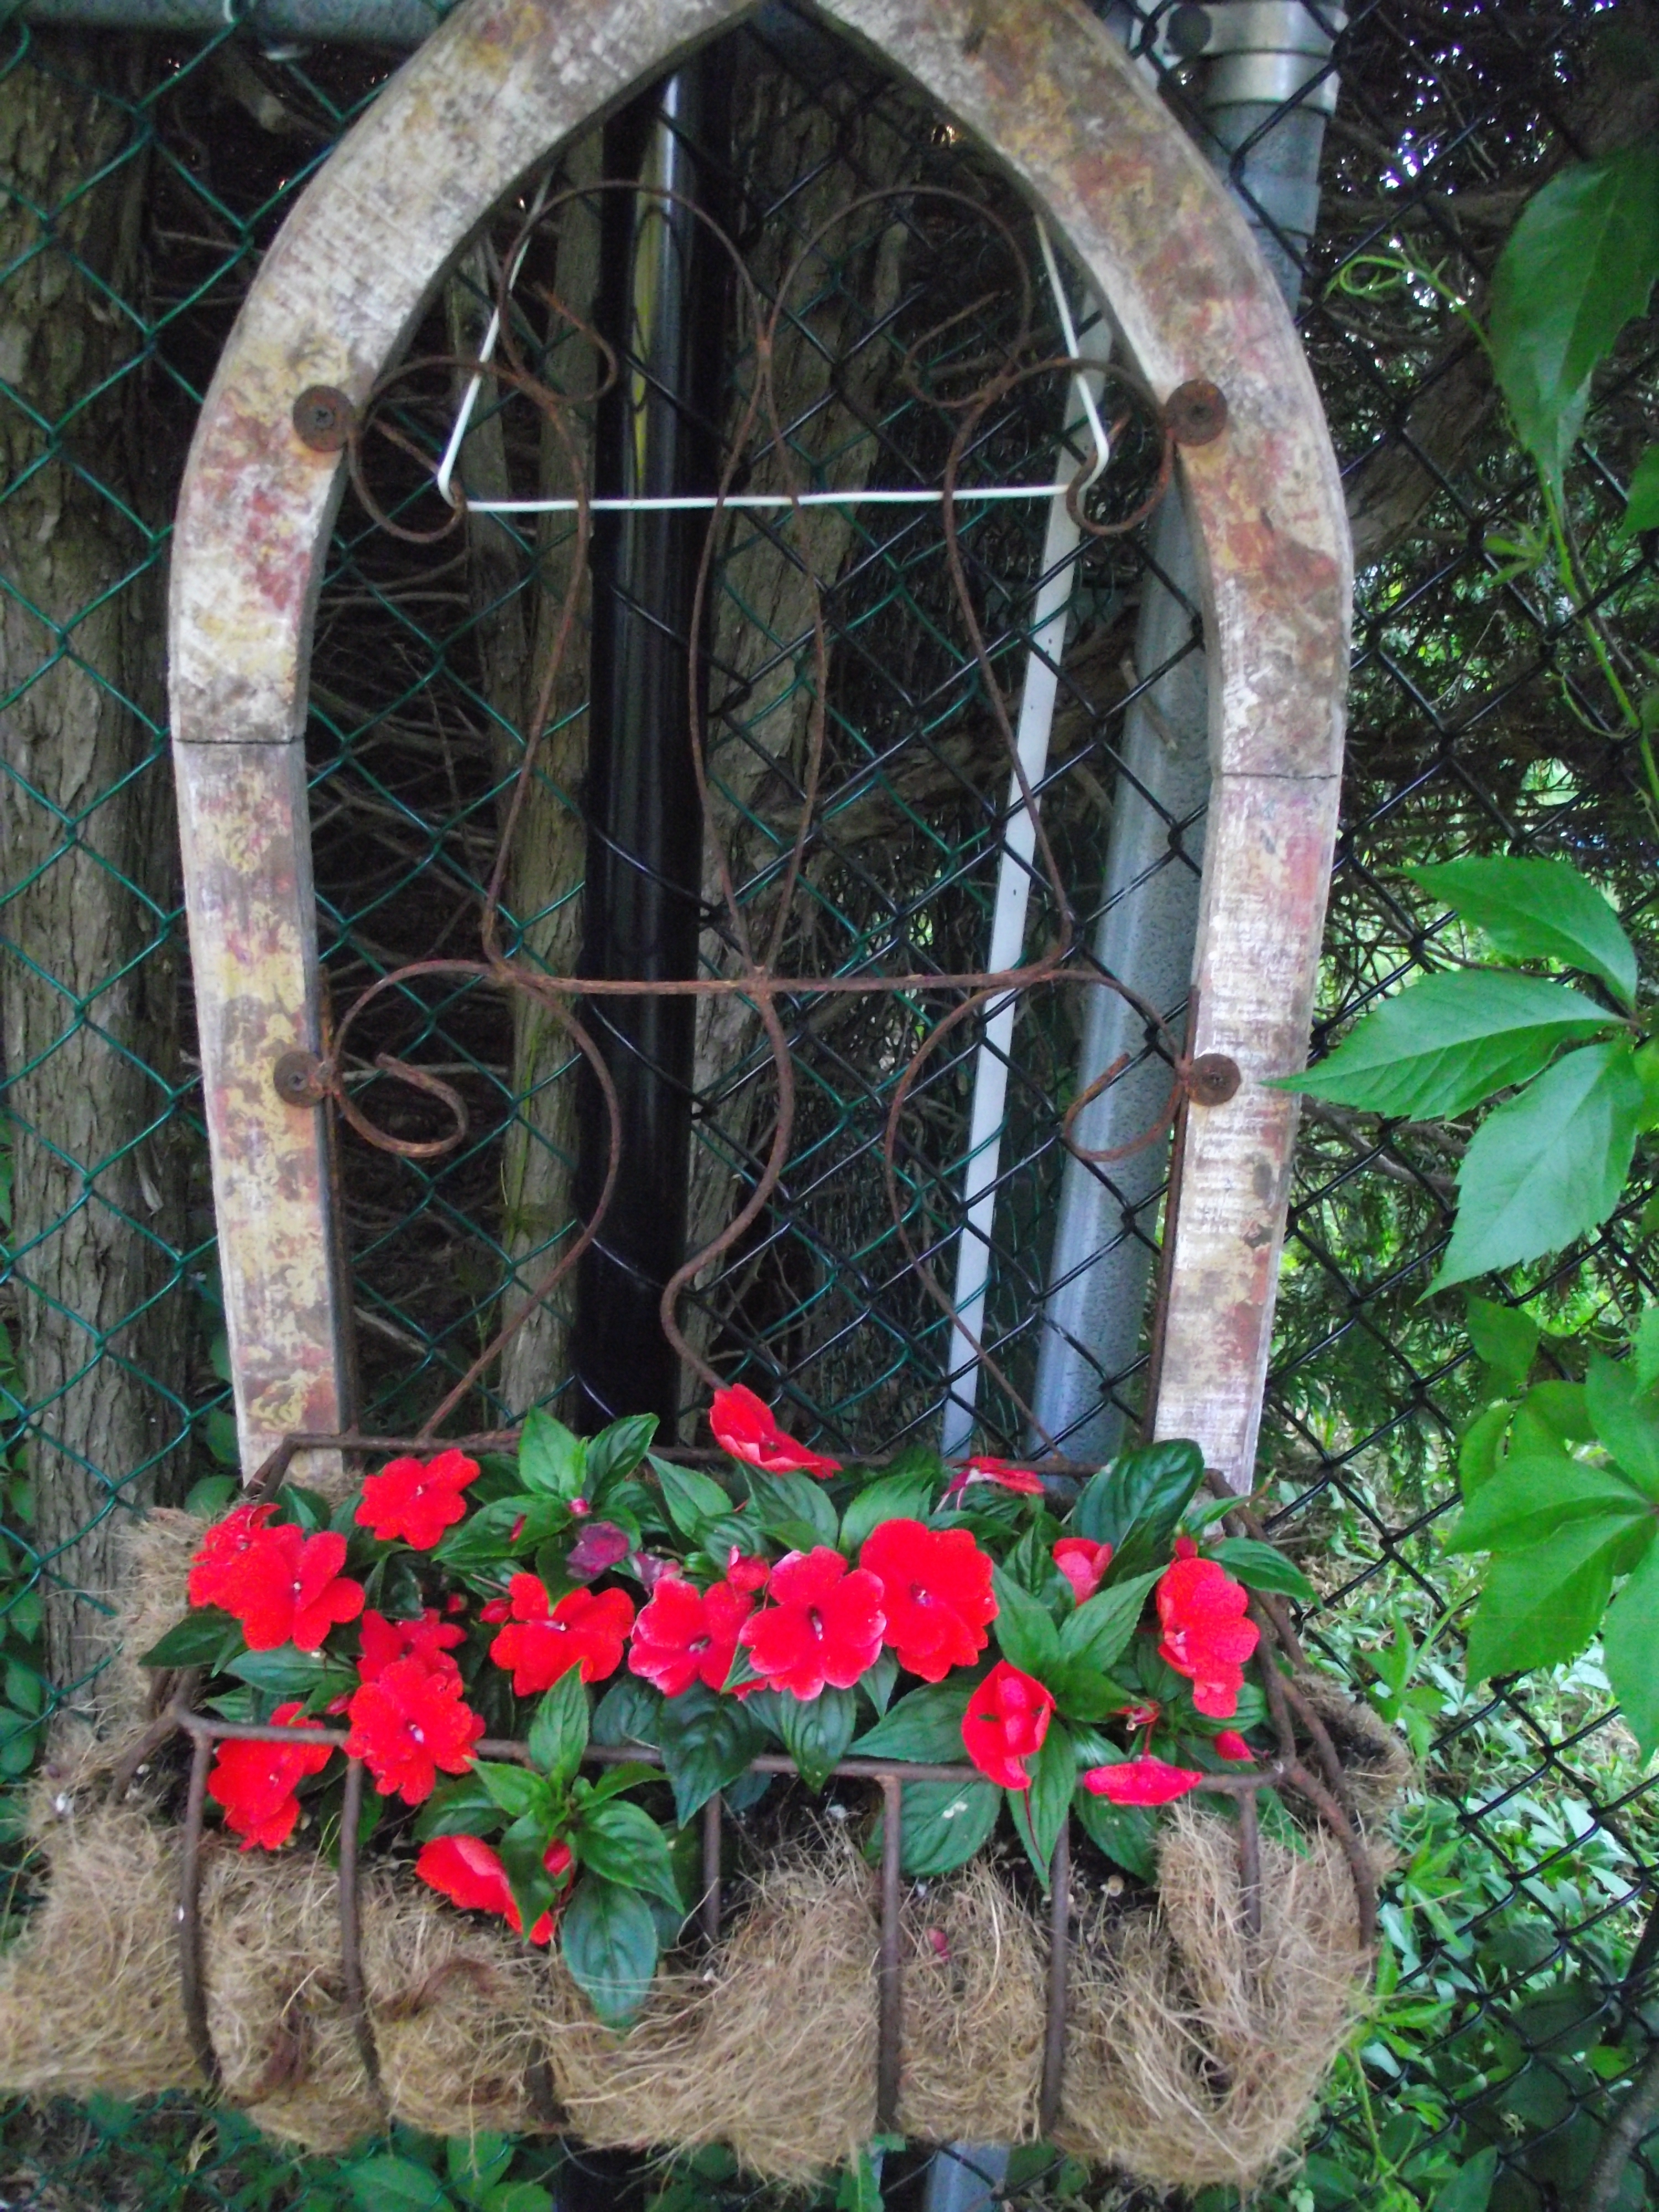
Backyard 2016-07-04 20.10 (8)

Next, is our orange lilies bed, with our lilac buses in the background. They totally fill up one corner of our yard.
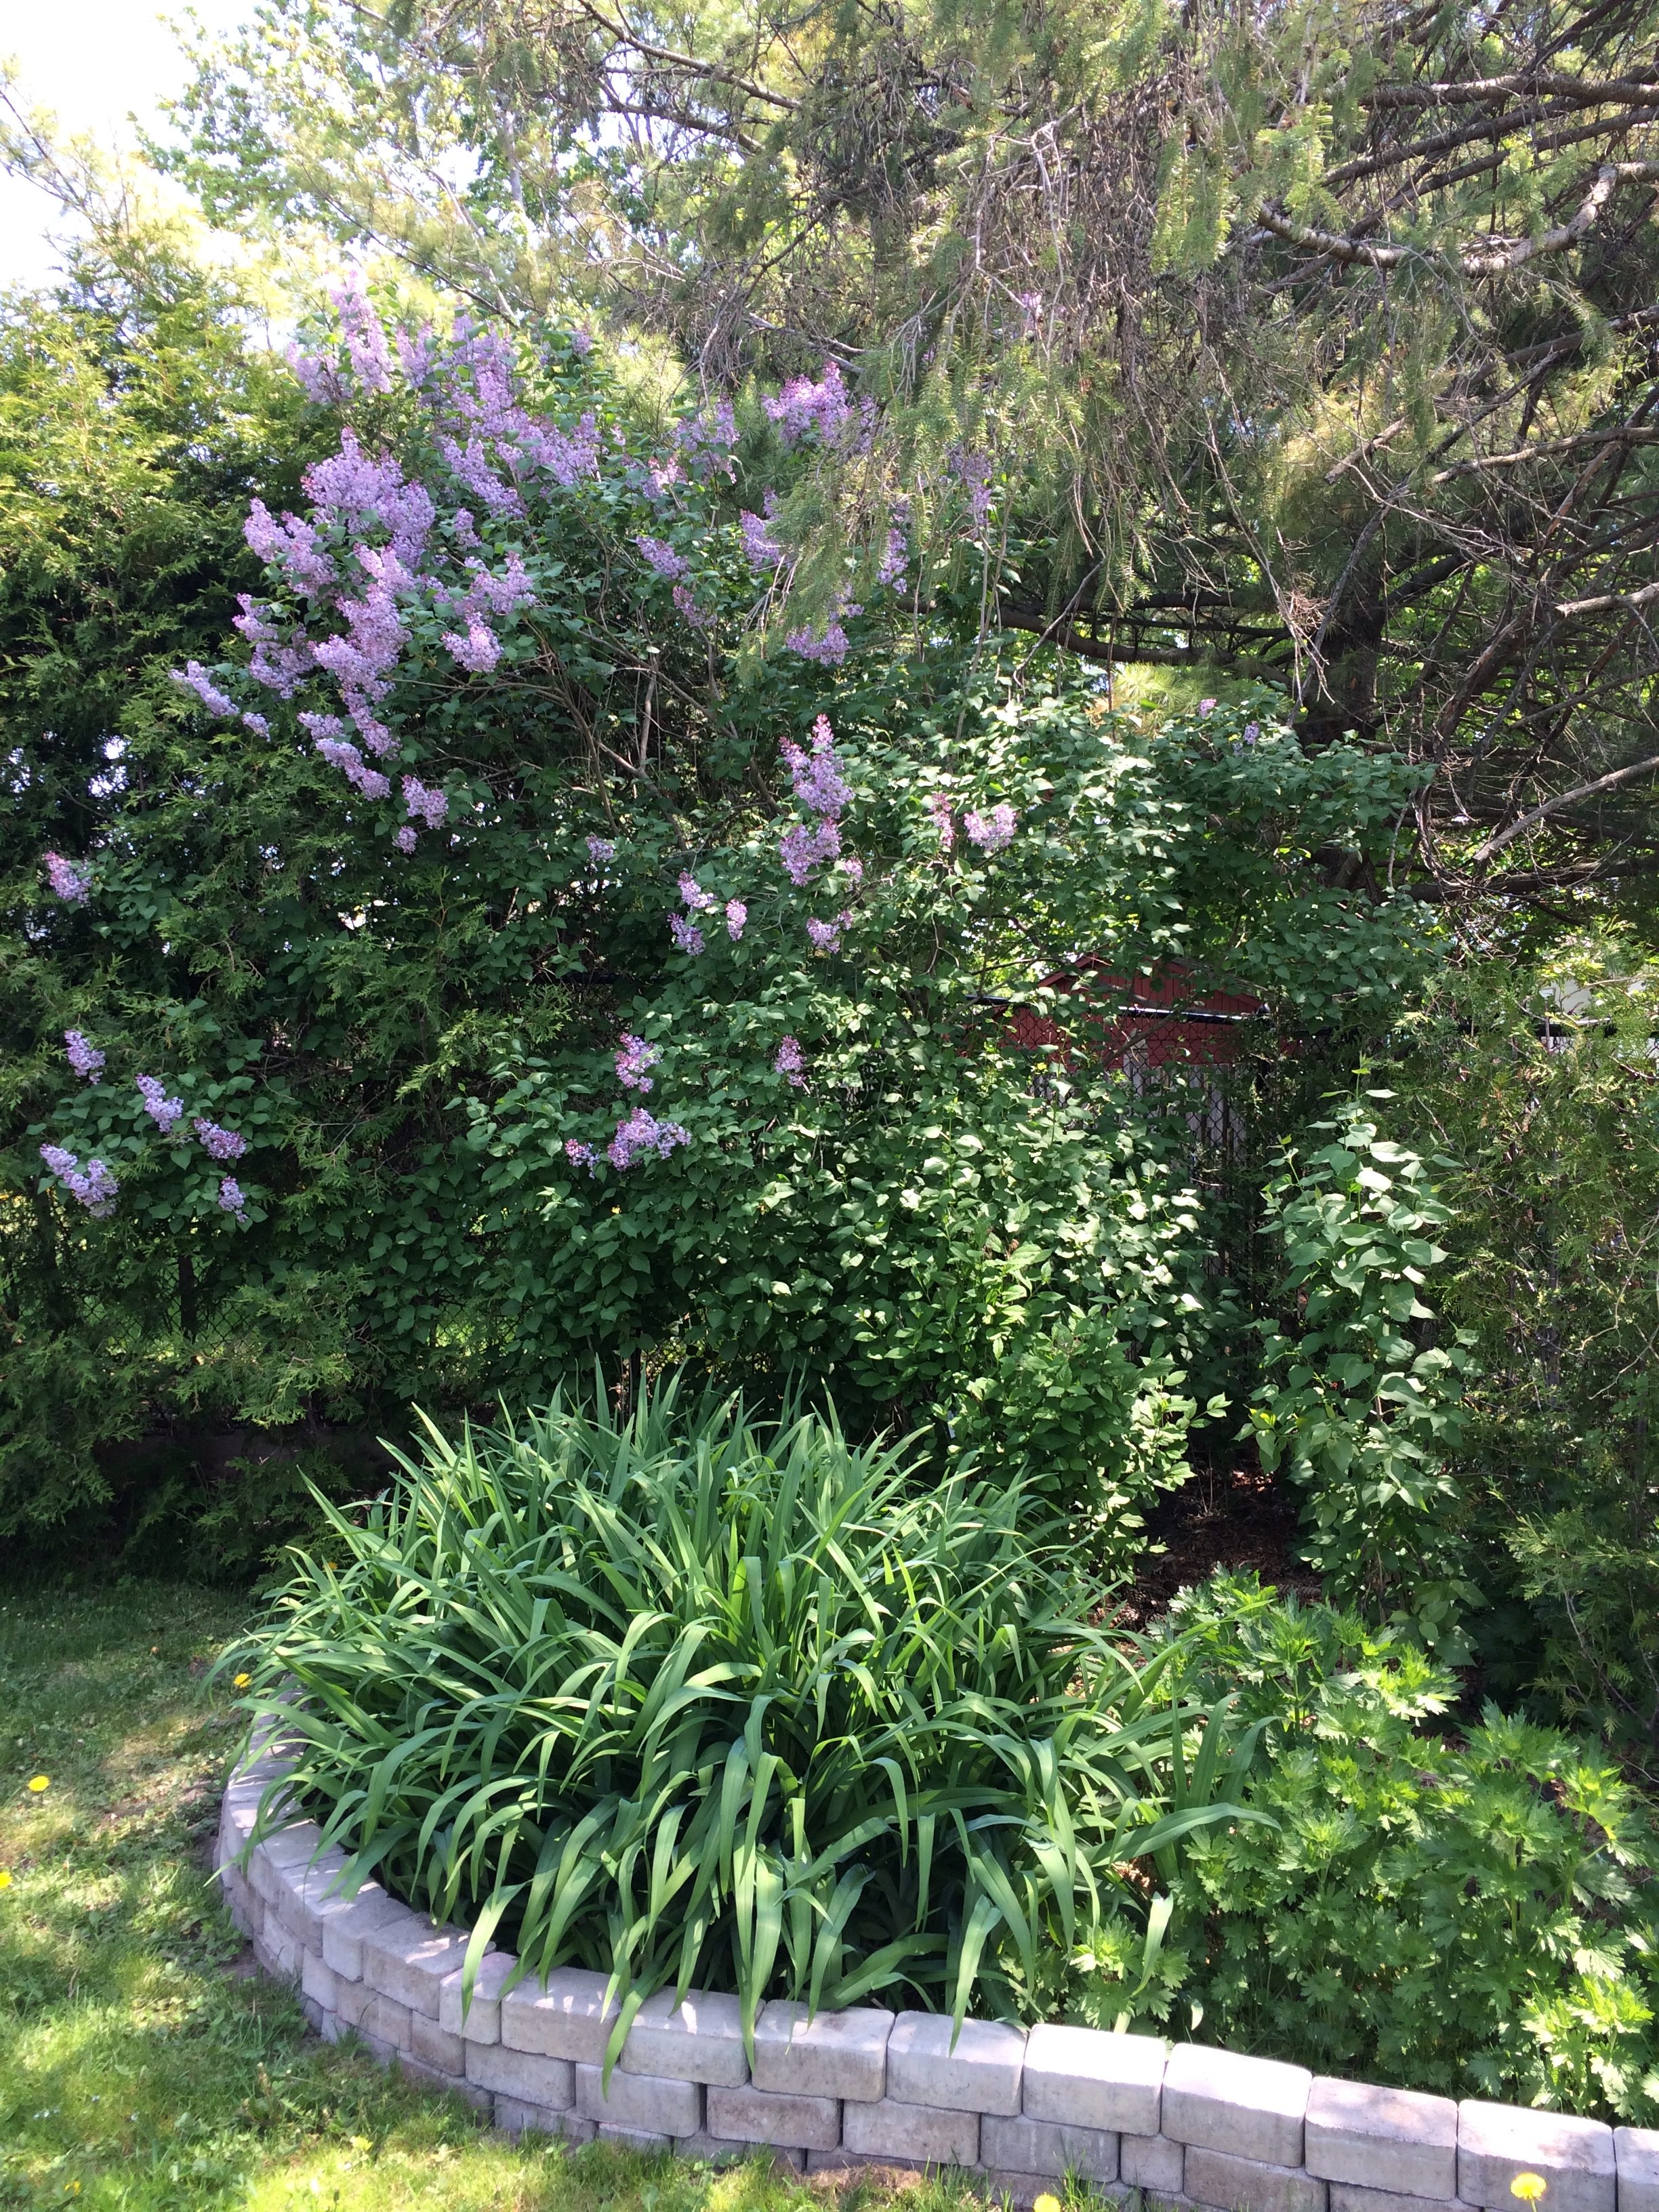
Backyard work in progress--May 2016 (53)

IMG_0608

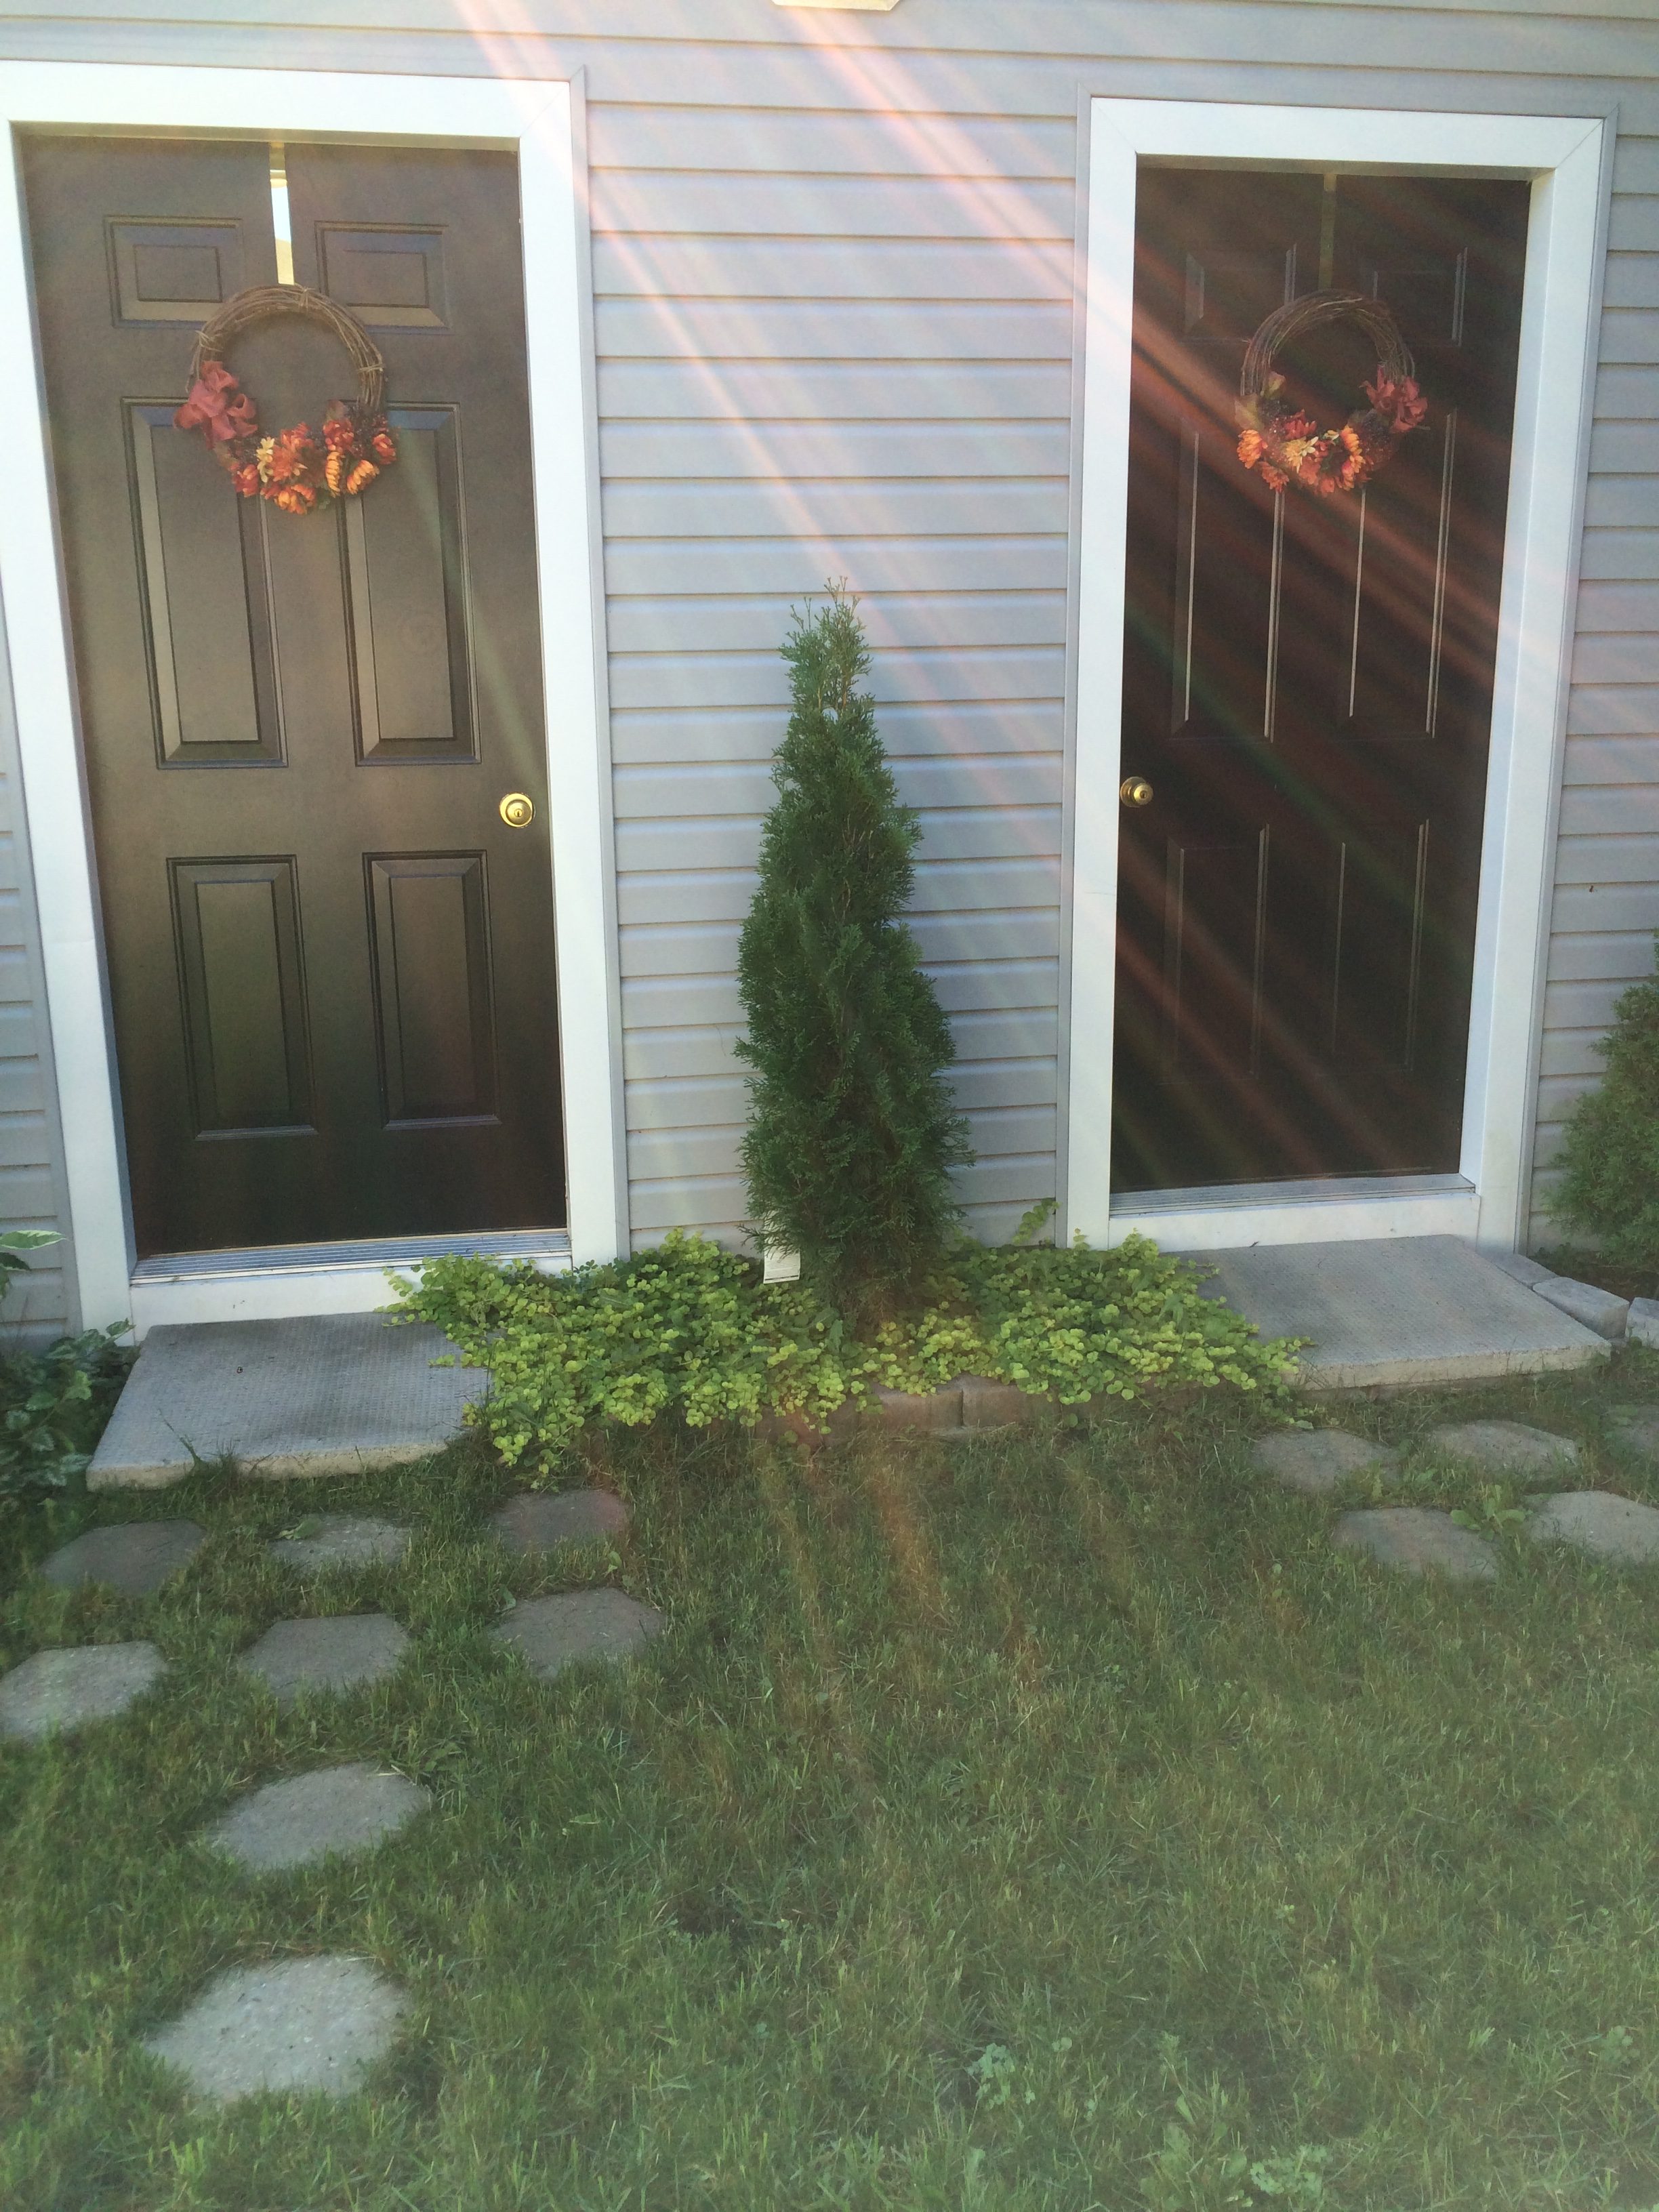
I painted the doors on our garden shed a shiny black to match the doors, window boxes and shutters on our house. I made two grapevine wreaths and hung one on each door. Such a pretty effect, don’t you think? A slender, slow-growing cedar tree adds a touch of nature! Again, using salvaged patio stones, we created a little walkway. I love how the vibrant green ground cover has eliminated weeds around the cedar and has started to soften the harsh edges of the patio slabs. Aren’t the sun rays pretty?
2016-09-05 10.43.18

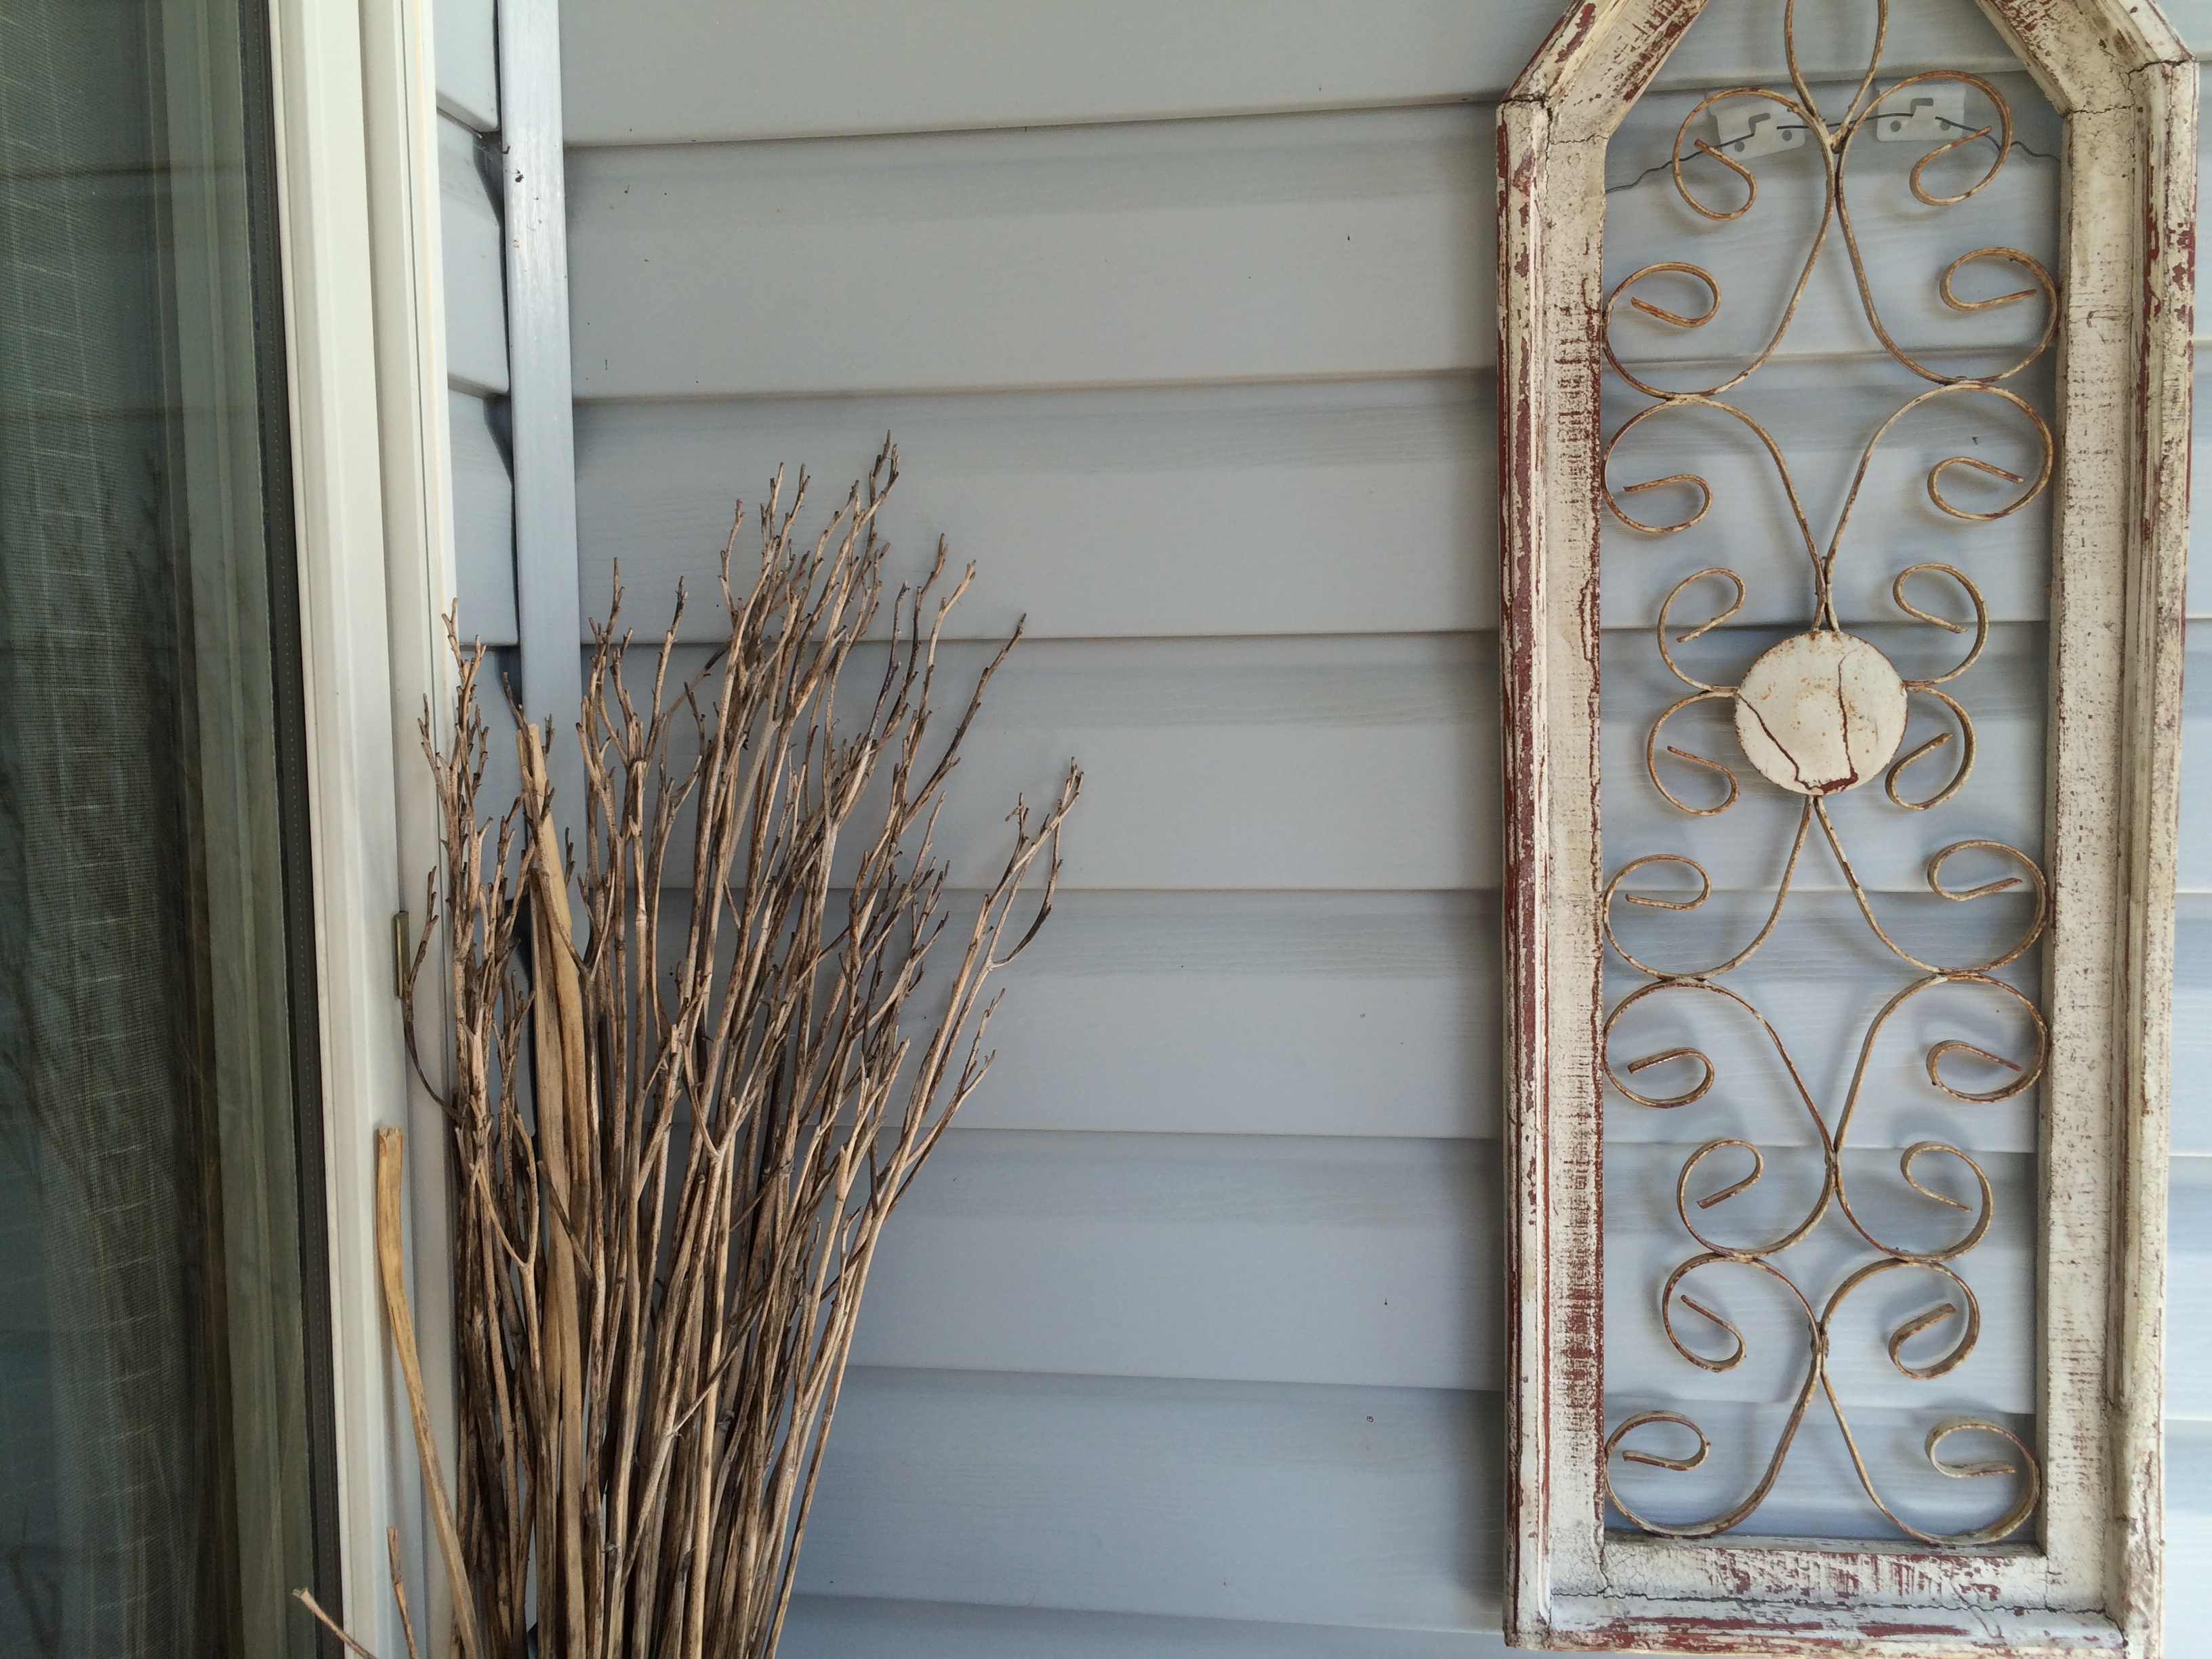
Just outside our back door, which opens onto the deck, there’s a wicker table (not shown in this photo) that I bought at Canadian Tire a couple of years ago and then decided not to use it where I had originally planned. Above it I hung a shabby chic grill that’s shaped like a church window–another antique yard find. The sheaf of straw-like spears in the corner are the 4′ high stems from last year’s orange lilies that I tied with some twine. (Notes: 1) after the lilies have bloomed and dried, the stems pull out effortlessly; 2) no need to use nails or screws to hang things on your house–you can buy “brick clips” and “siding clips”).
2016-09-04 12.06.39

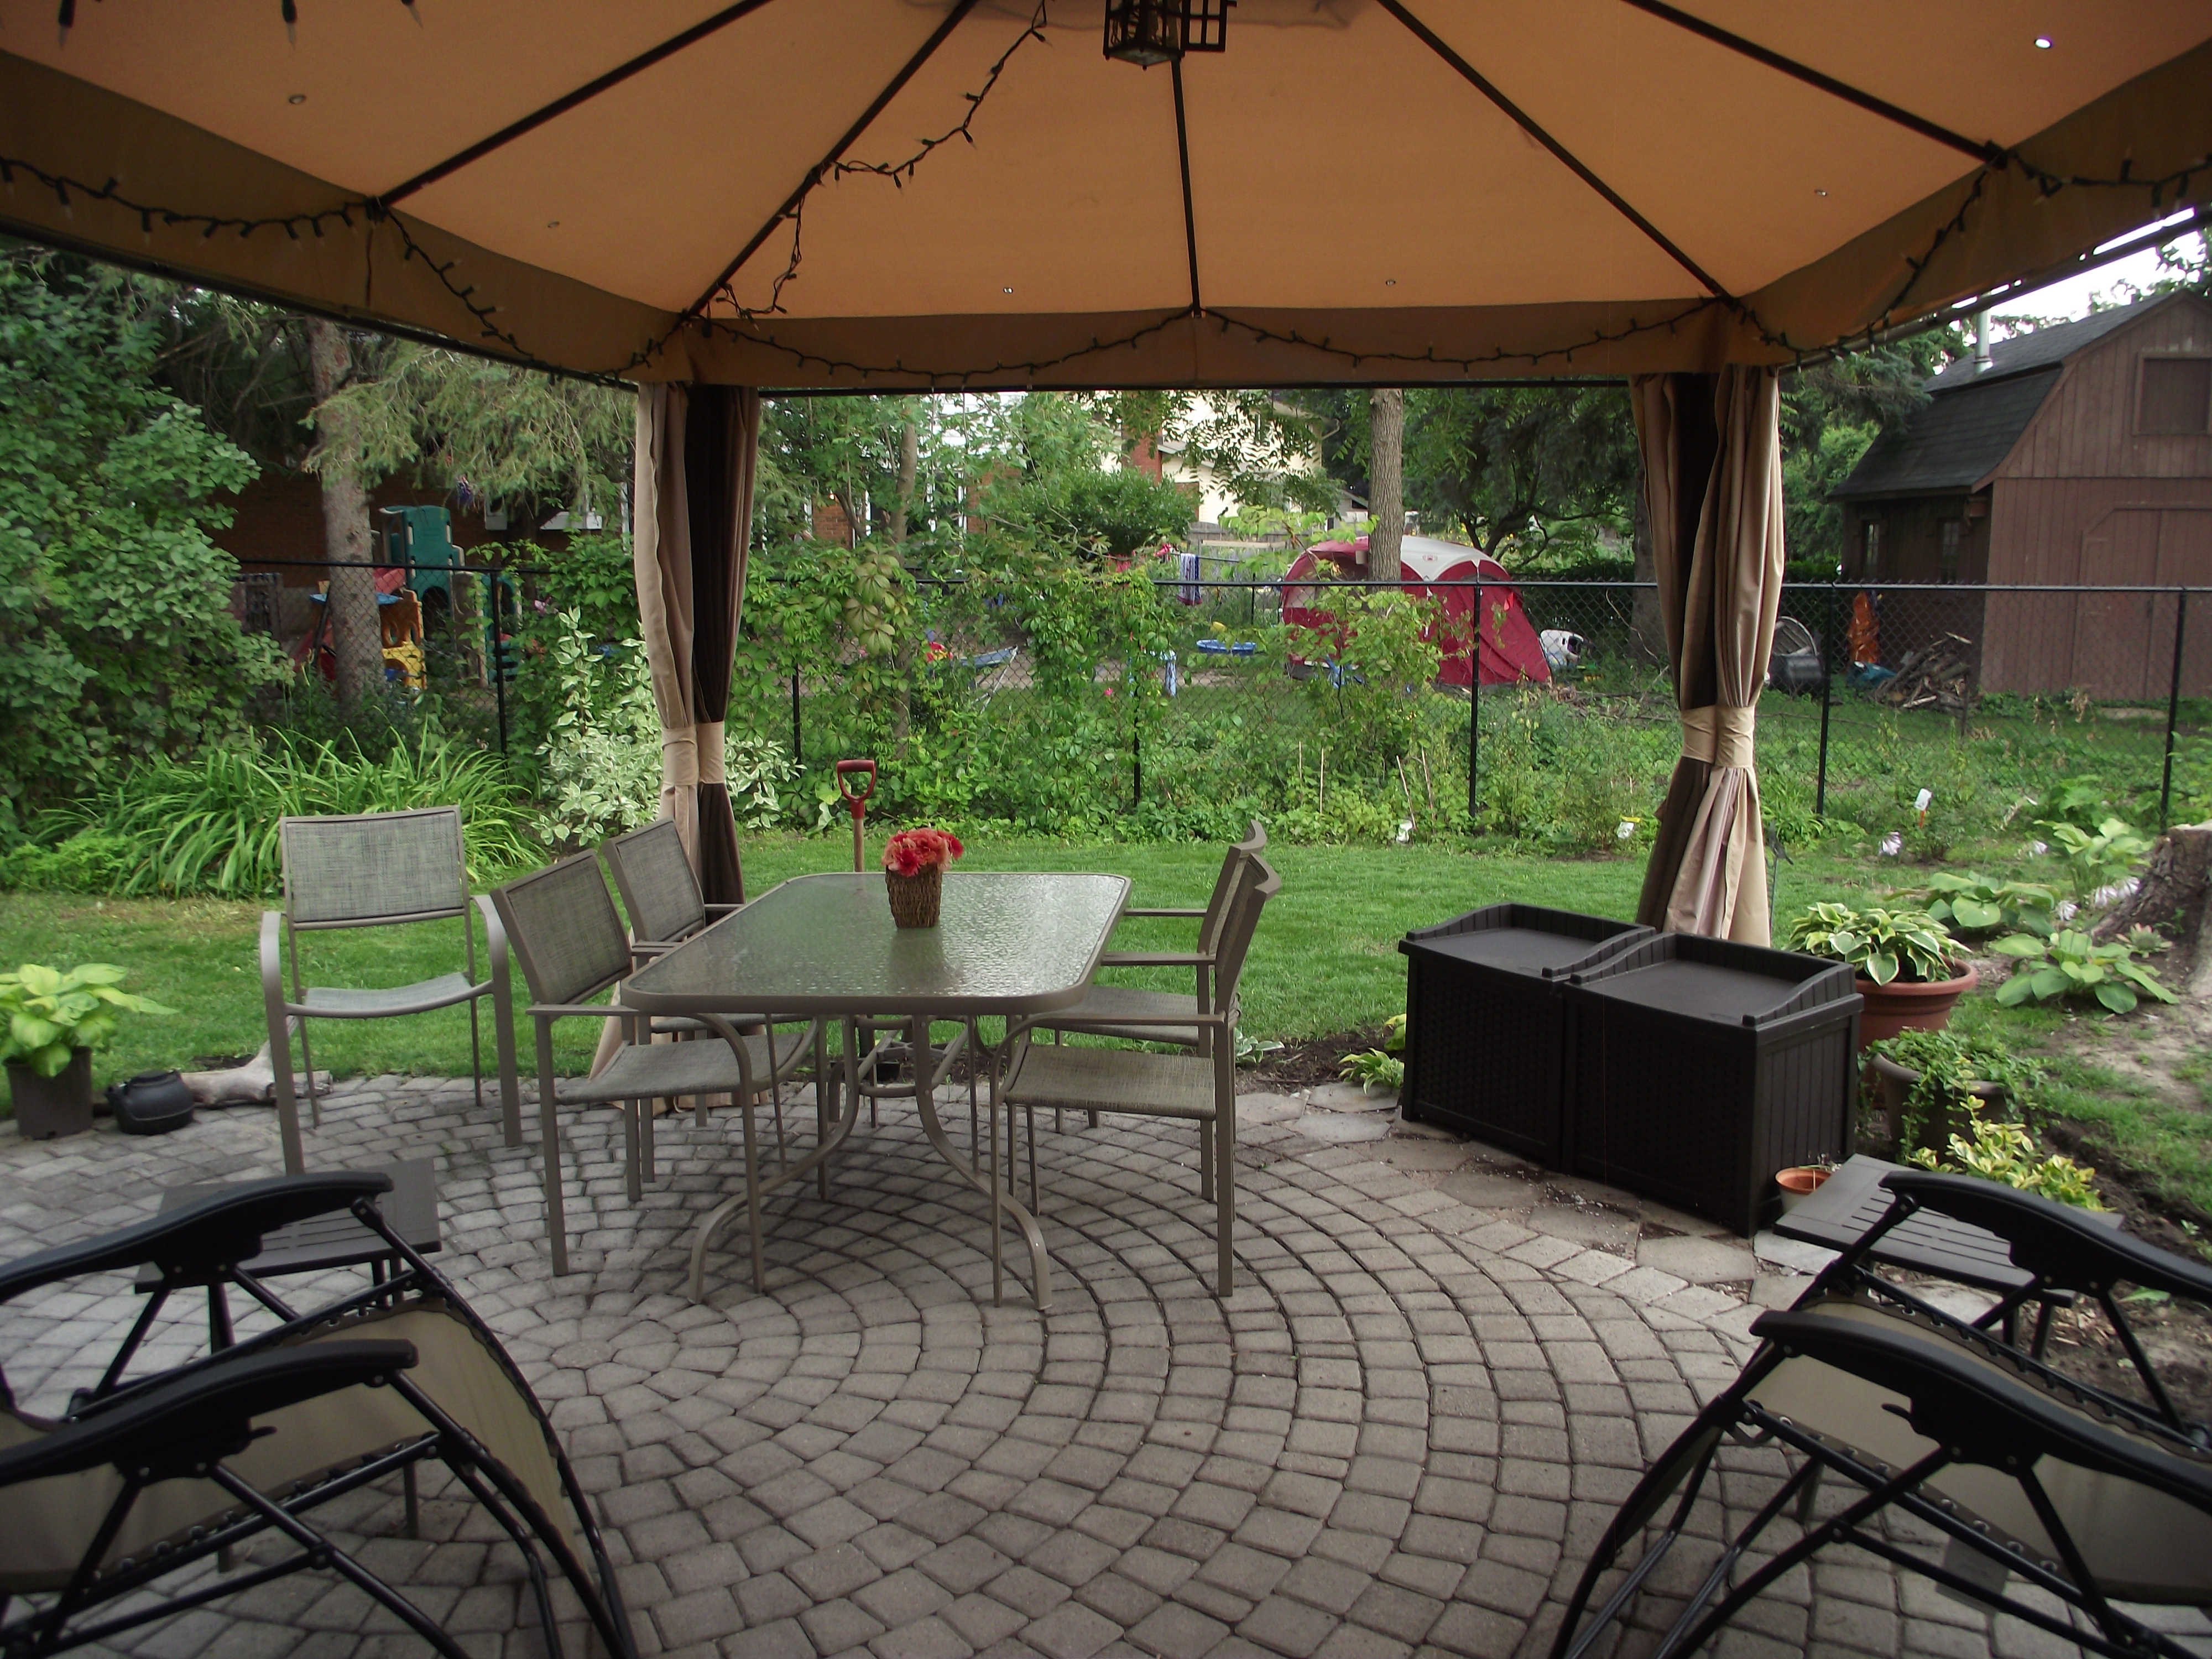
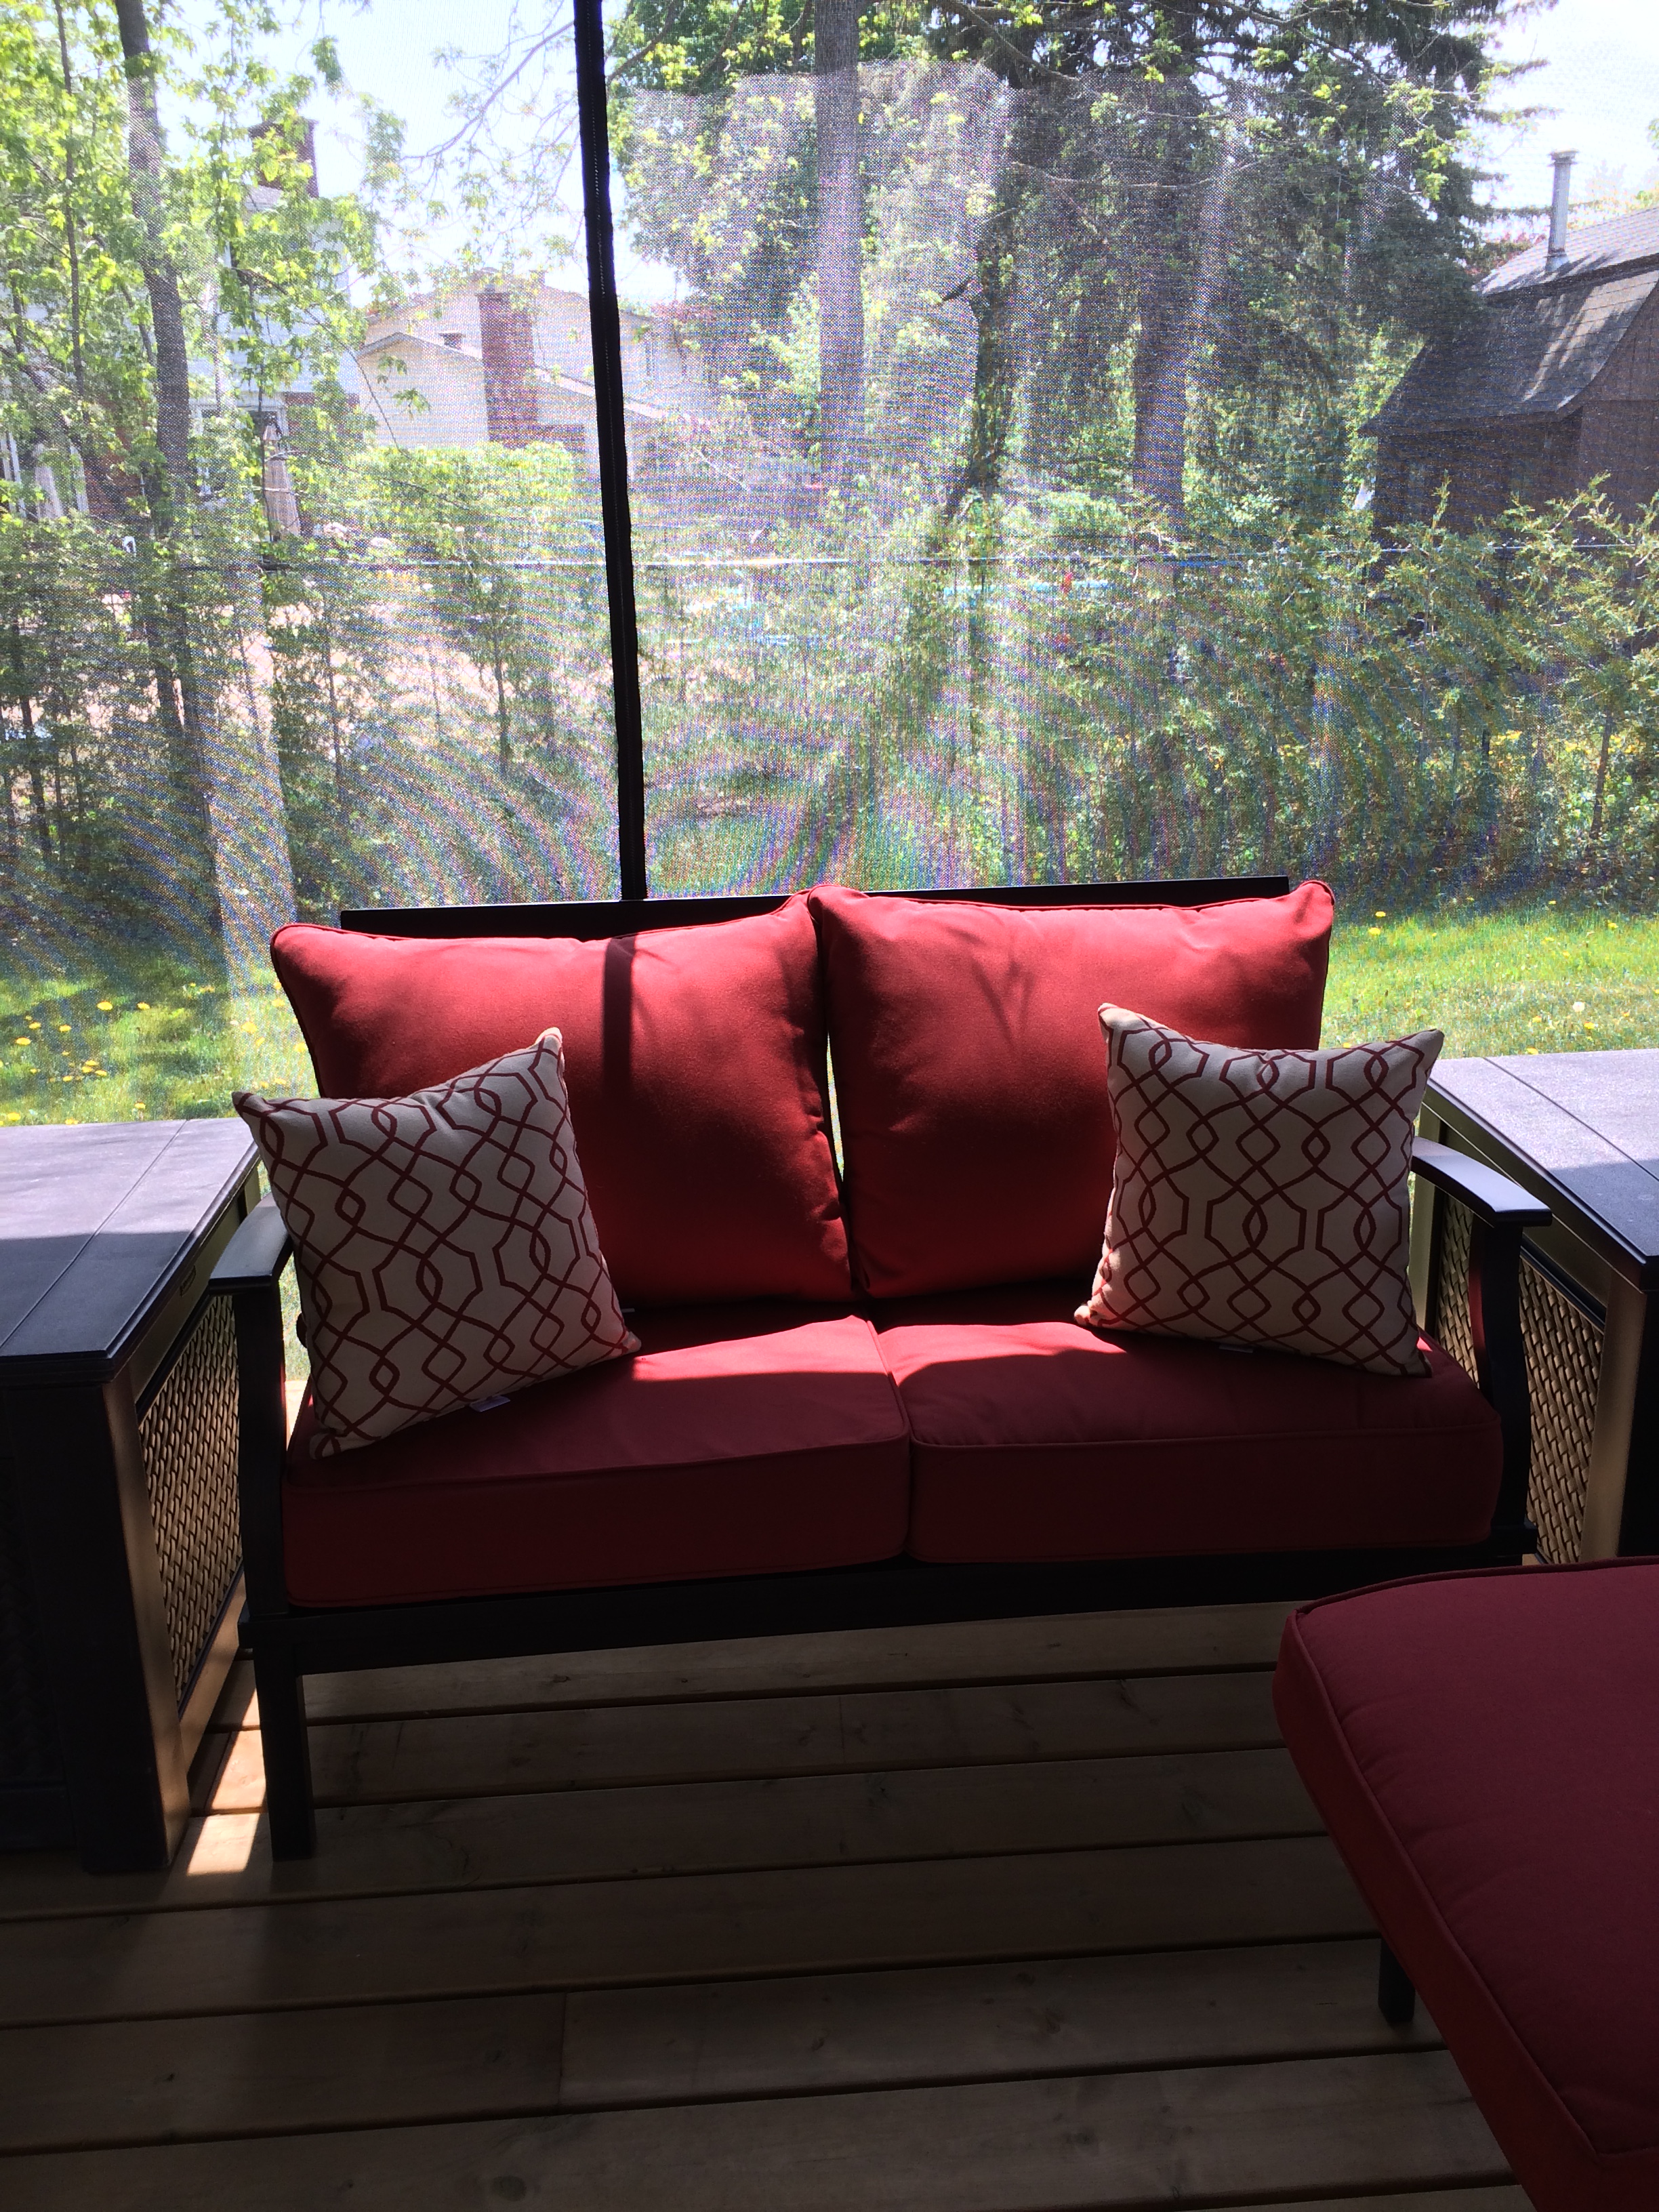
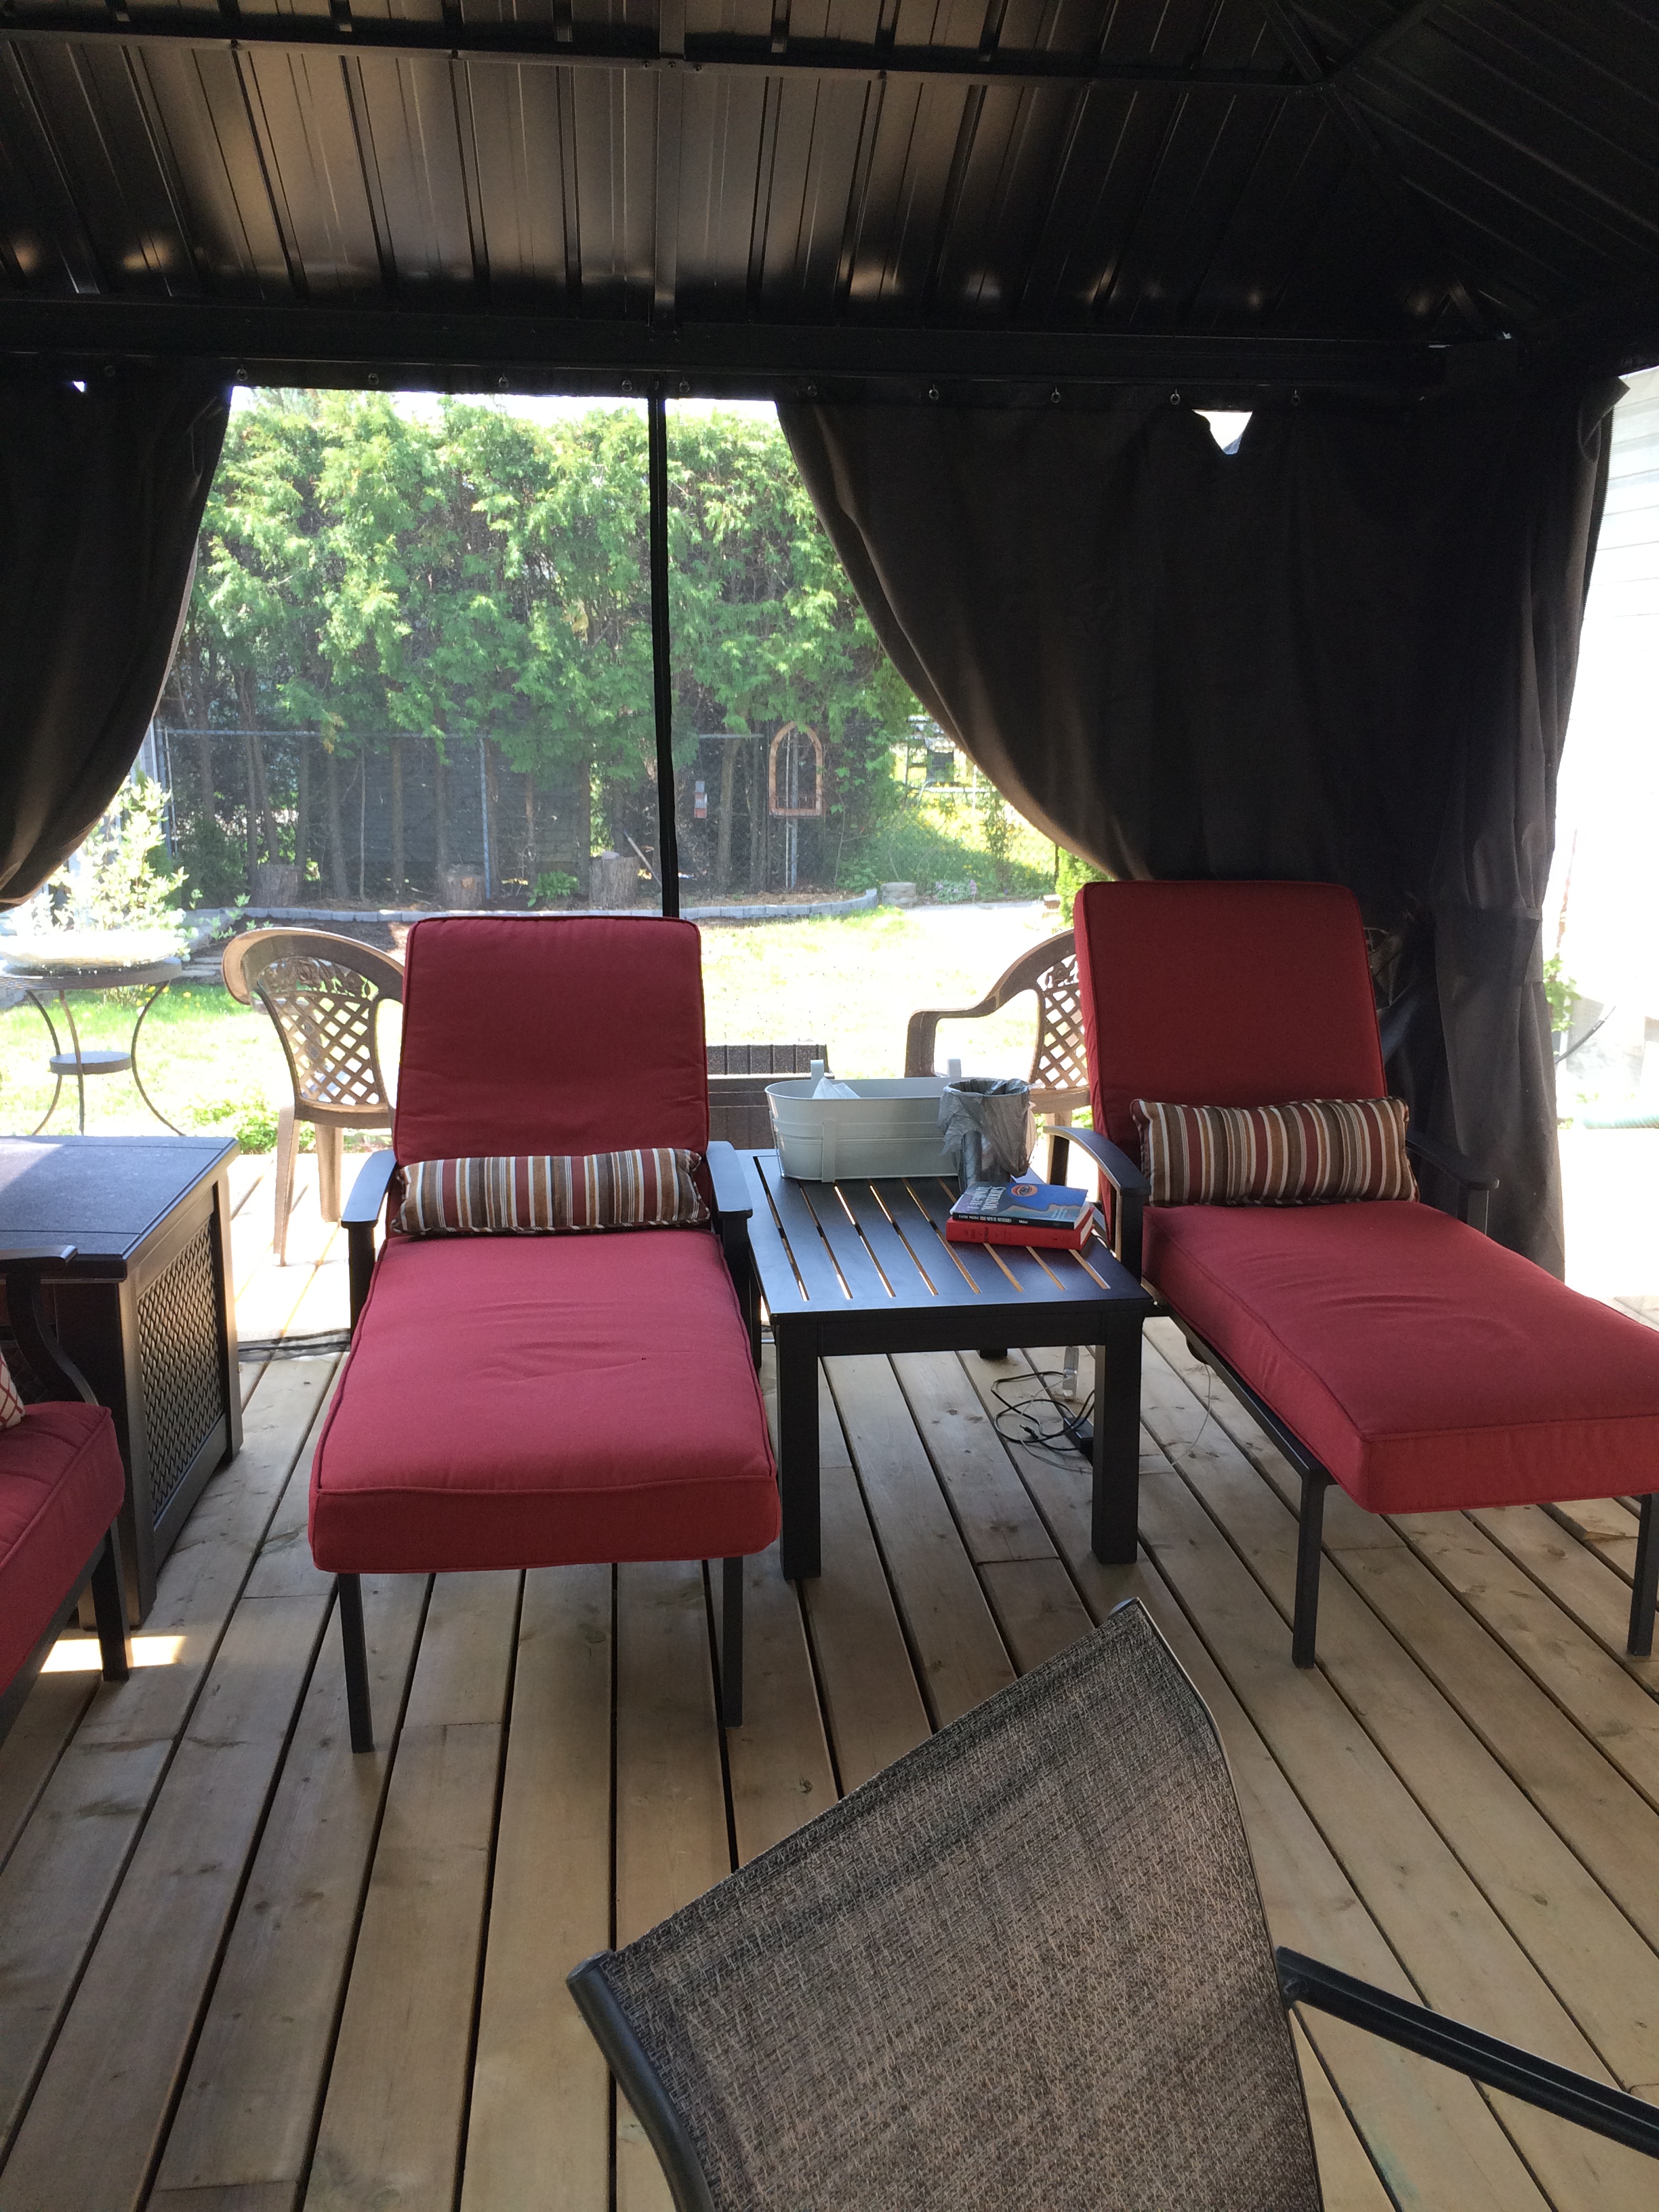
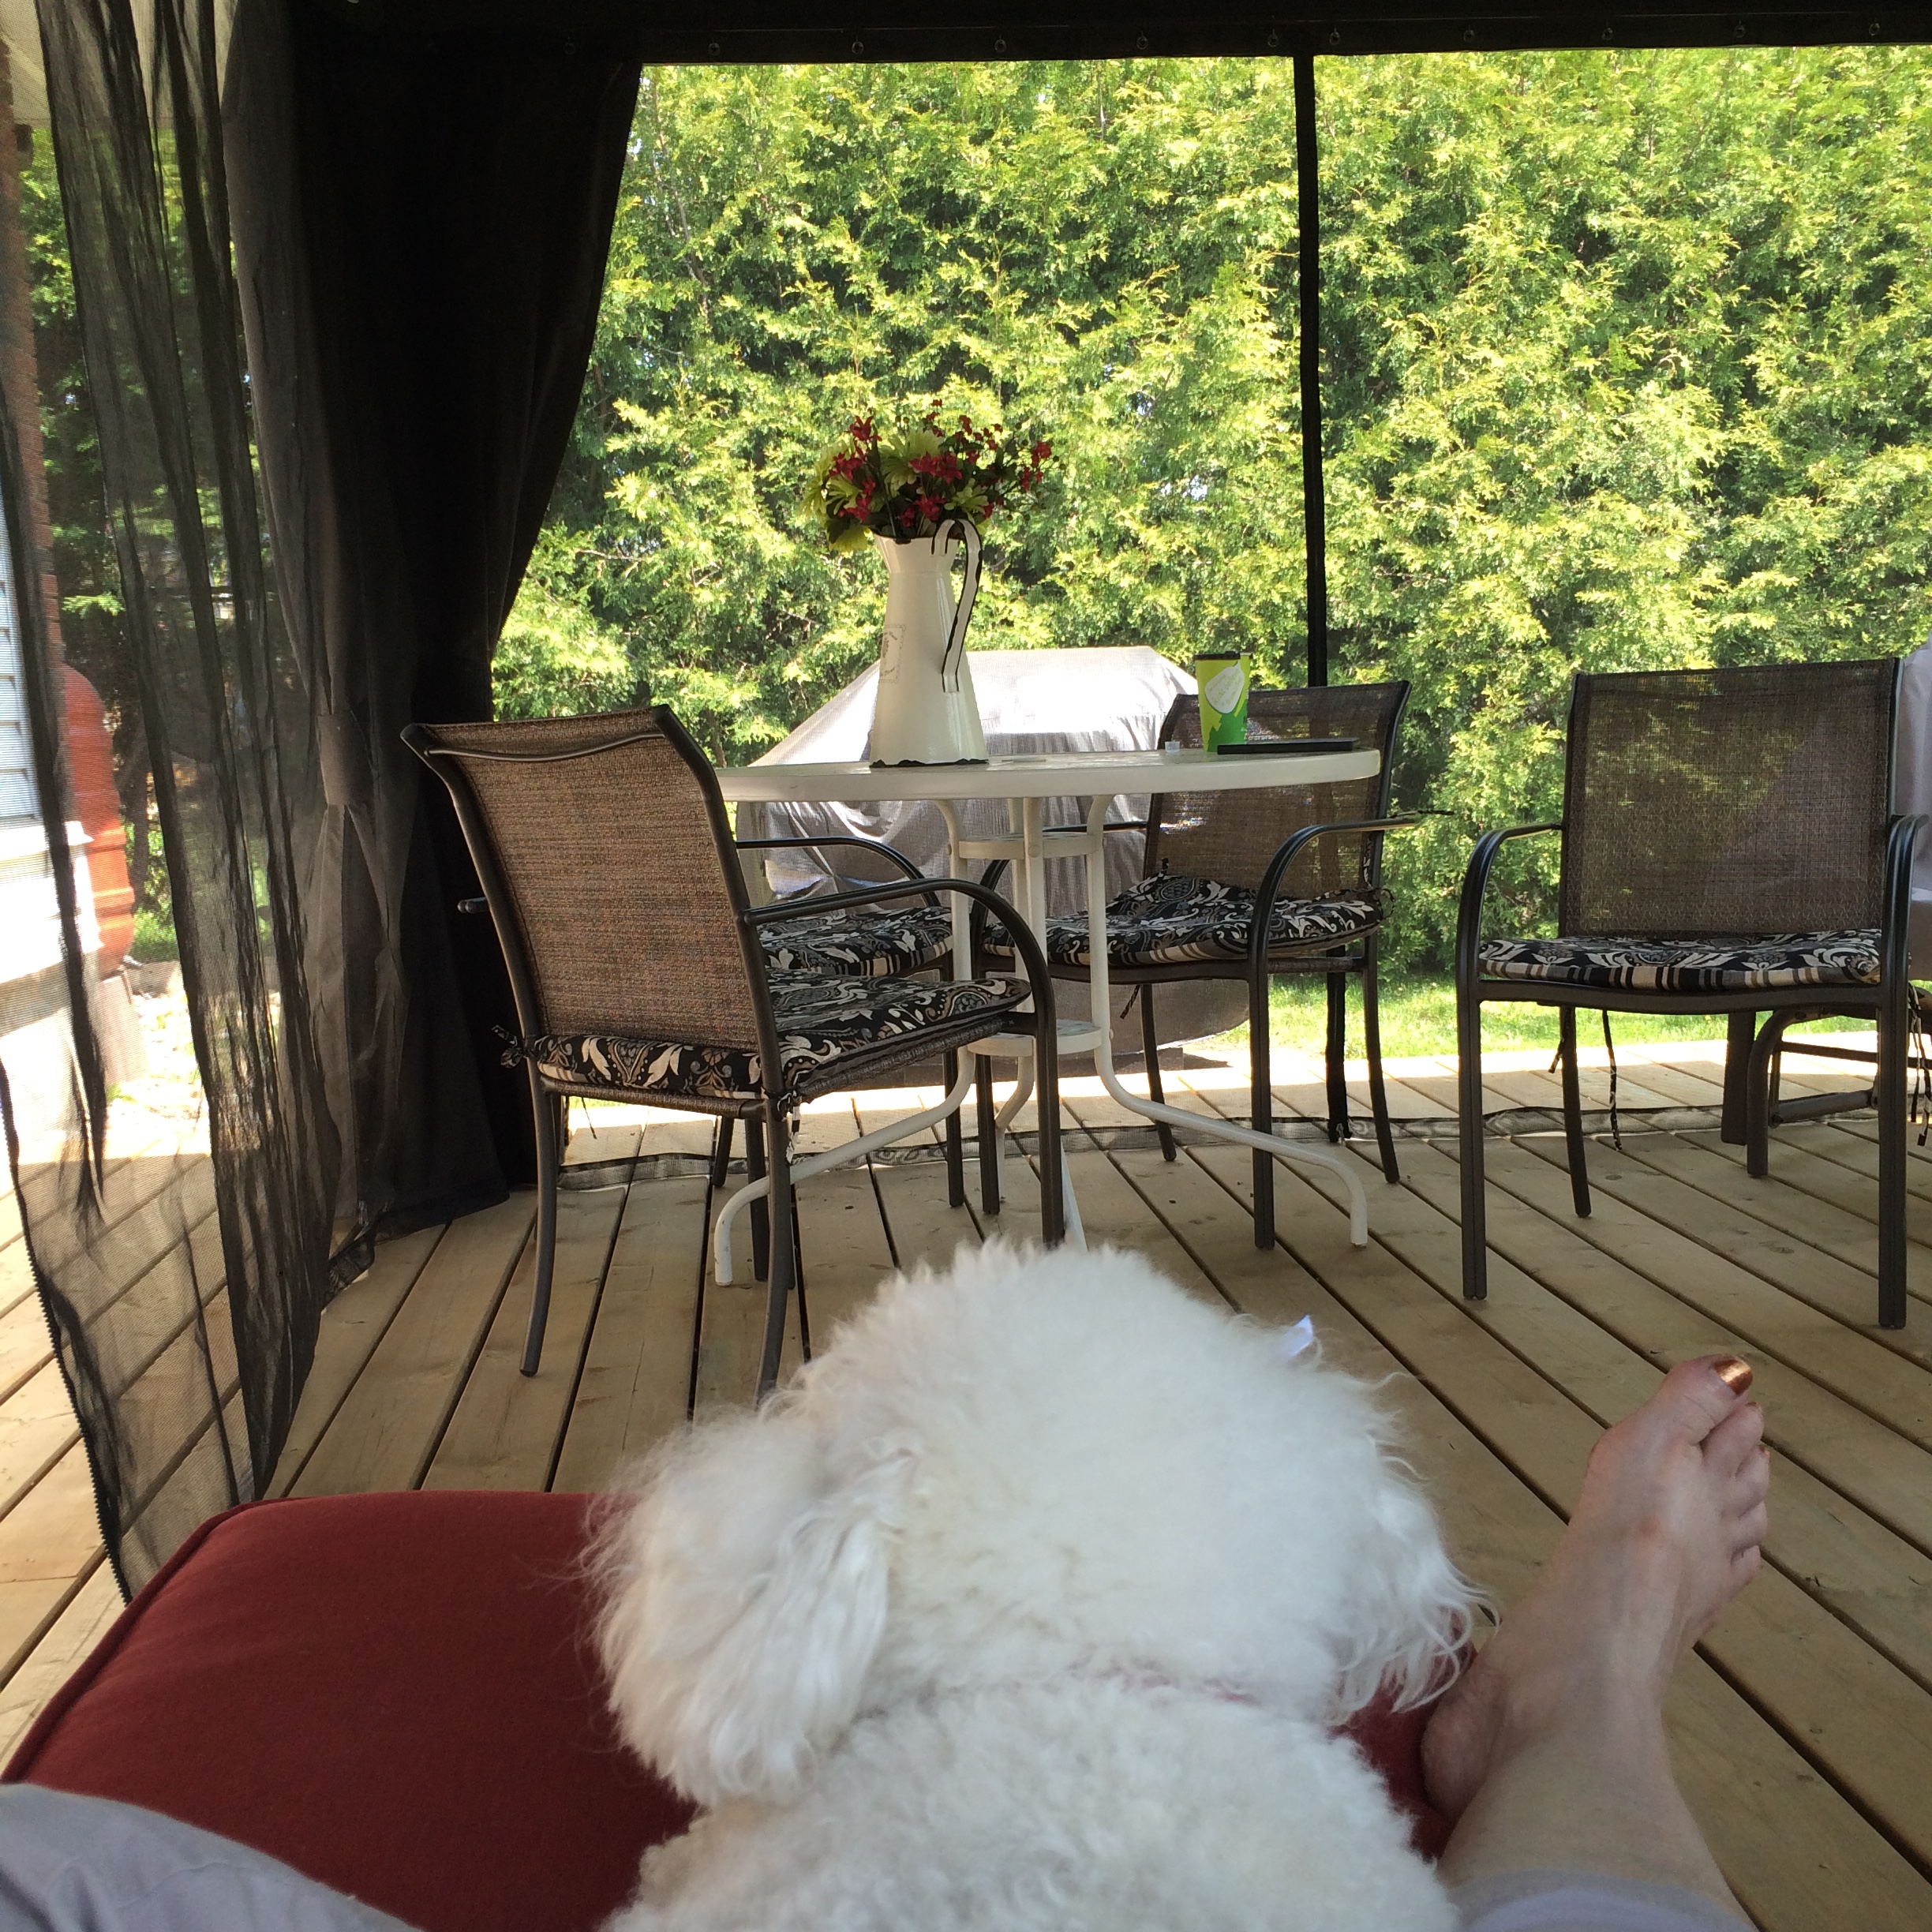
Here are a few photo of our gazebo, all ready for us to relax in. Some big square deck boxes store the furniture cushions and double as end tables. The chaise mattresses store nicely in a bigger deck box just outside the gazebo. Peter has hooked up some power cords for us so we can relax with our laptops, charge our cell phones, listen to our favourite tunes, etc.
Backyard work in progress--May 2016 (34)

I love to stretch out on a chaise with my laptop on my lap and my Bichon, Cookie, at my feet.
Backyard work in progress--May 2016 (36)

We love having our meals and snacks in the gazebo.Backyard work in progress--May 2016 (44)
Backyard work in progress--May 2016 (37)

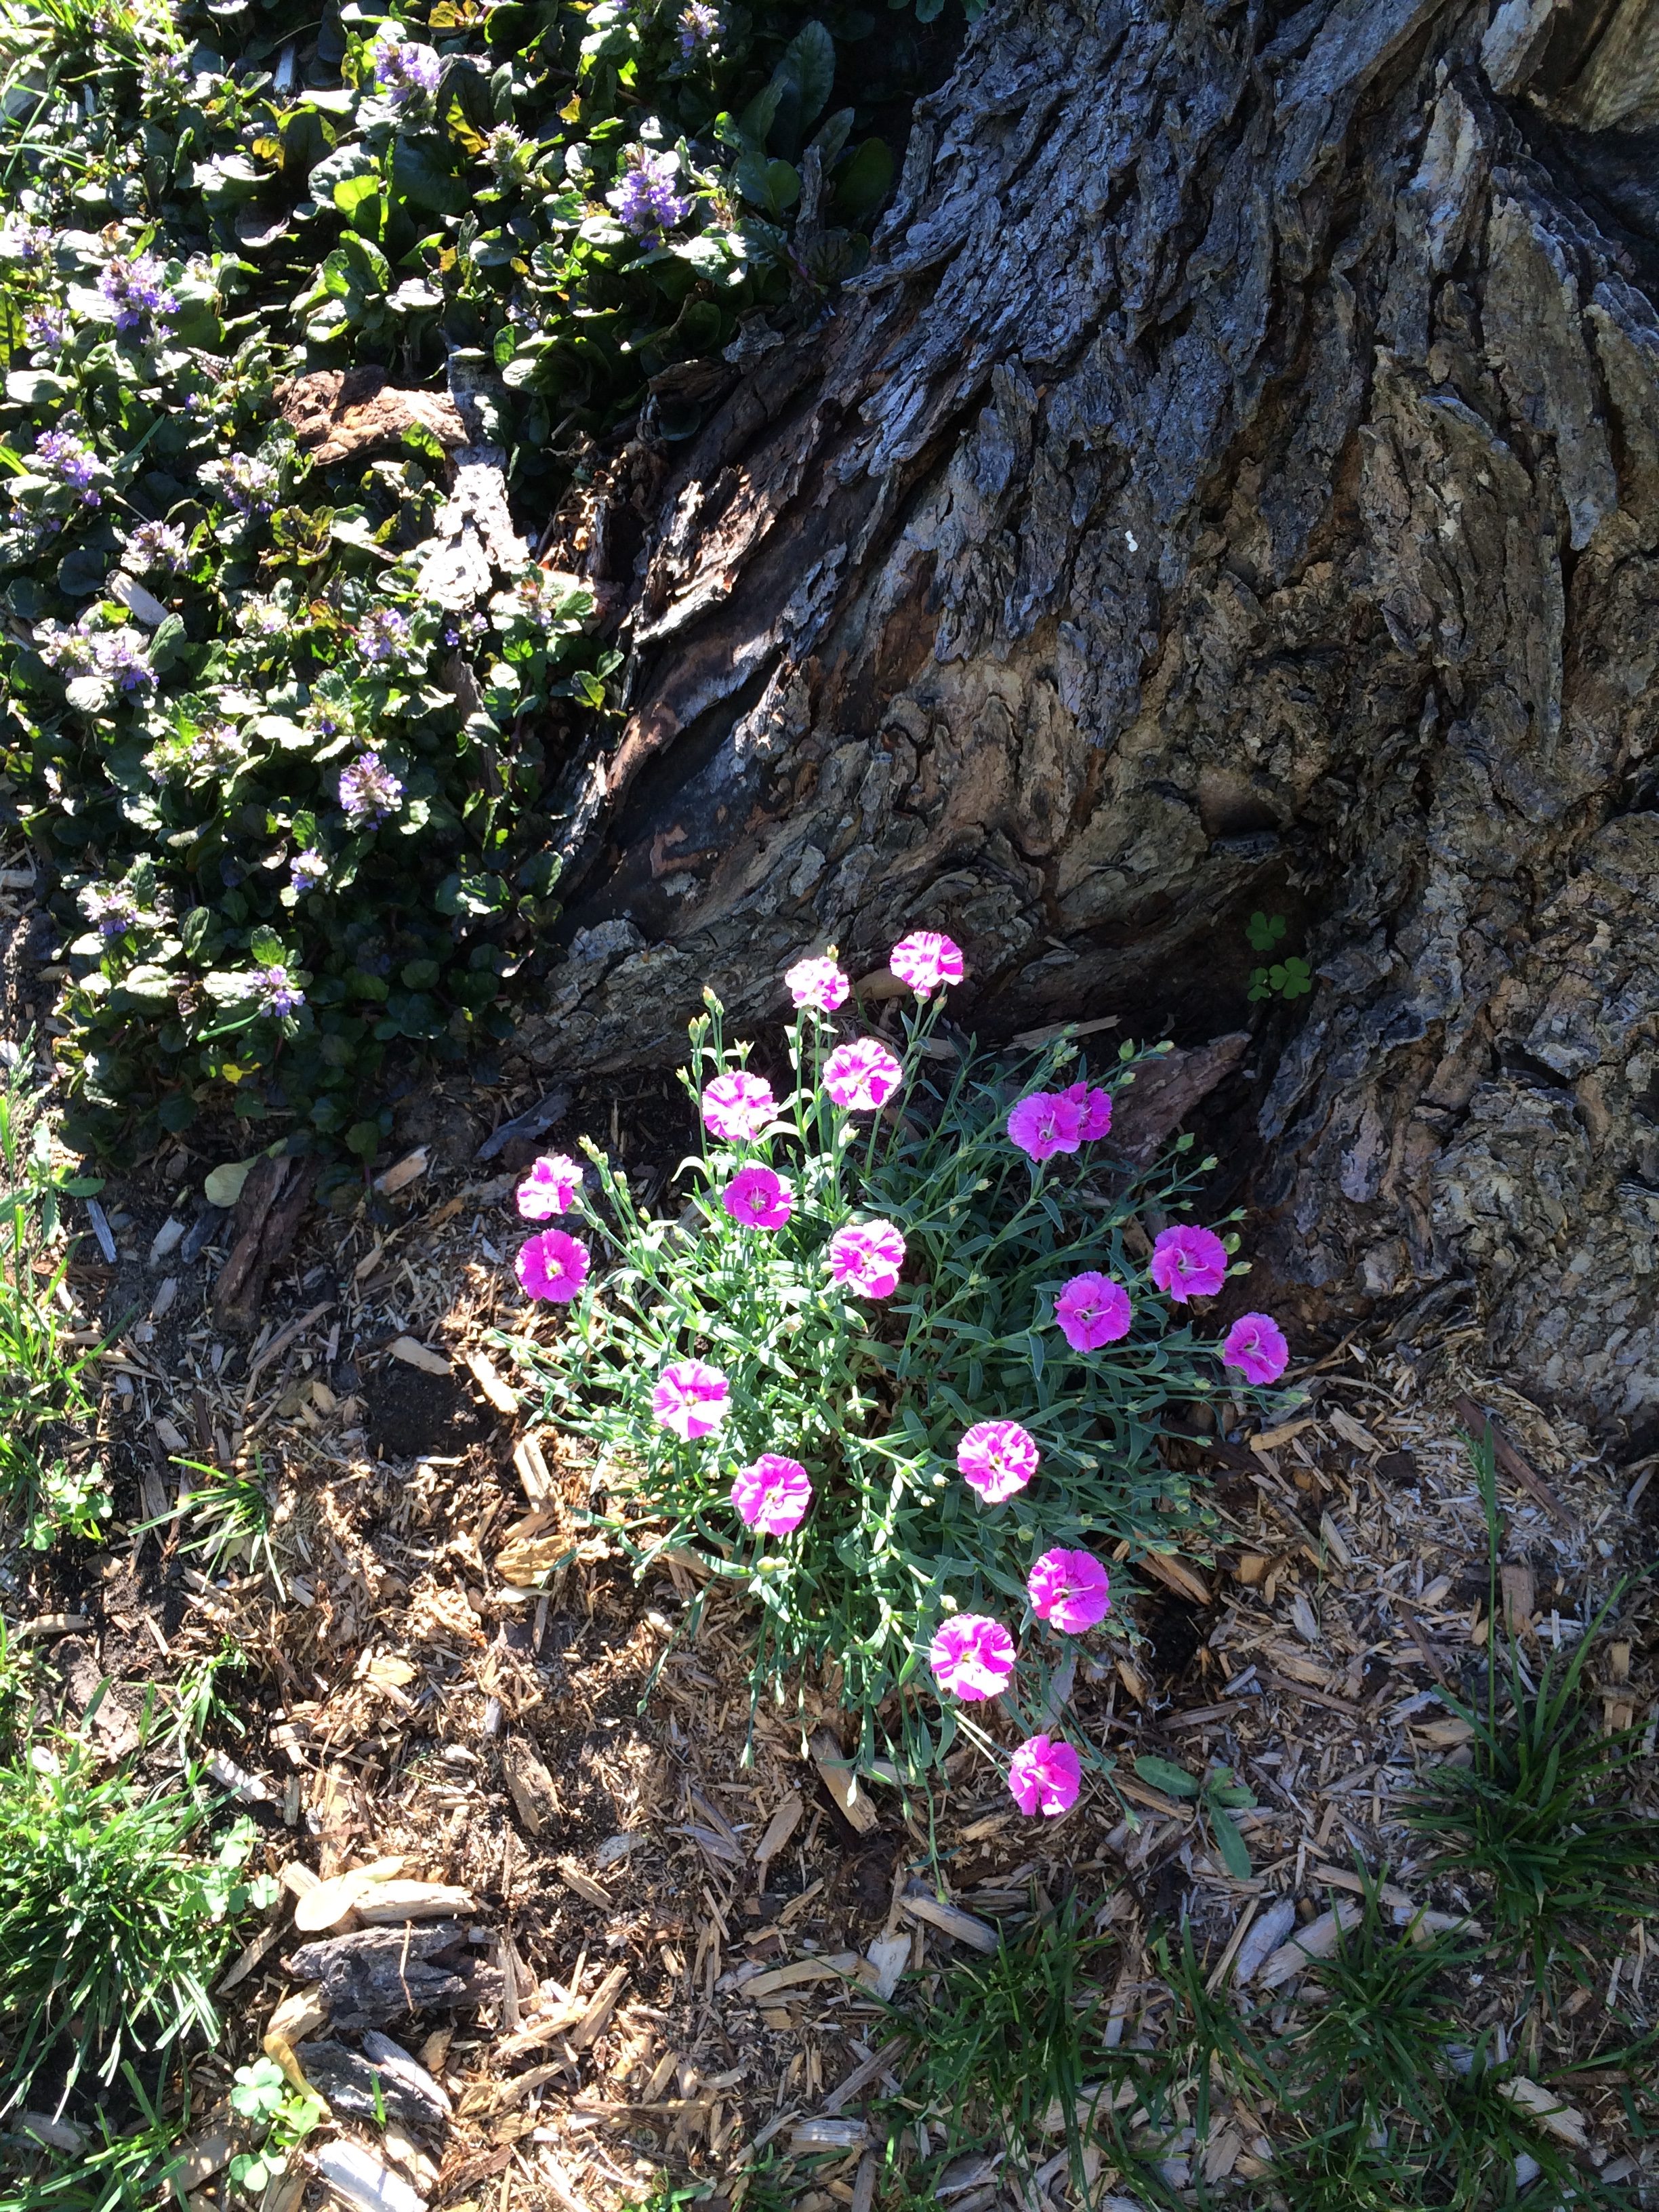
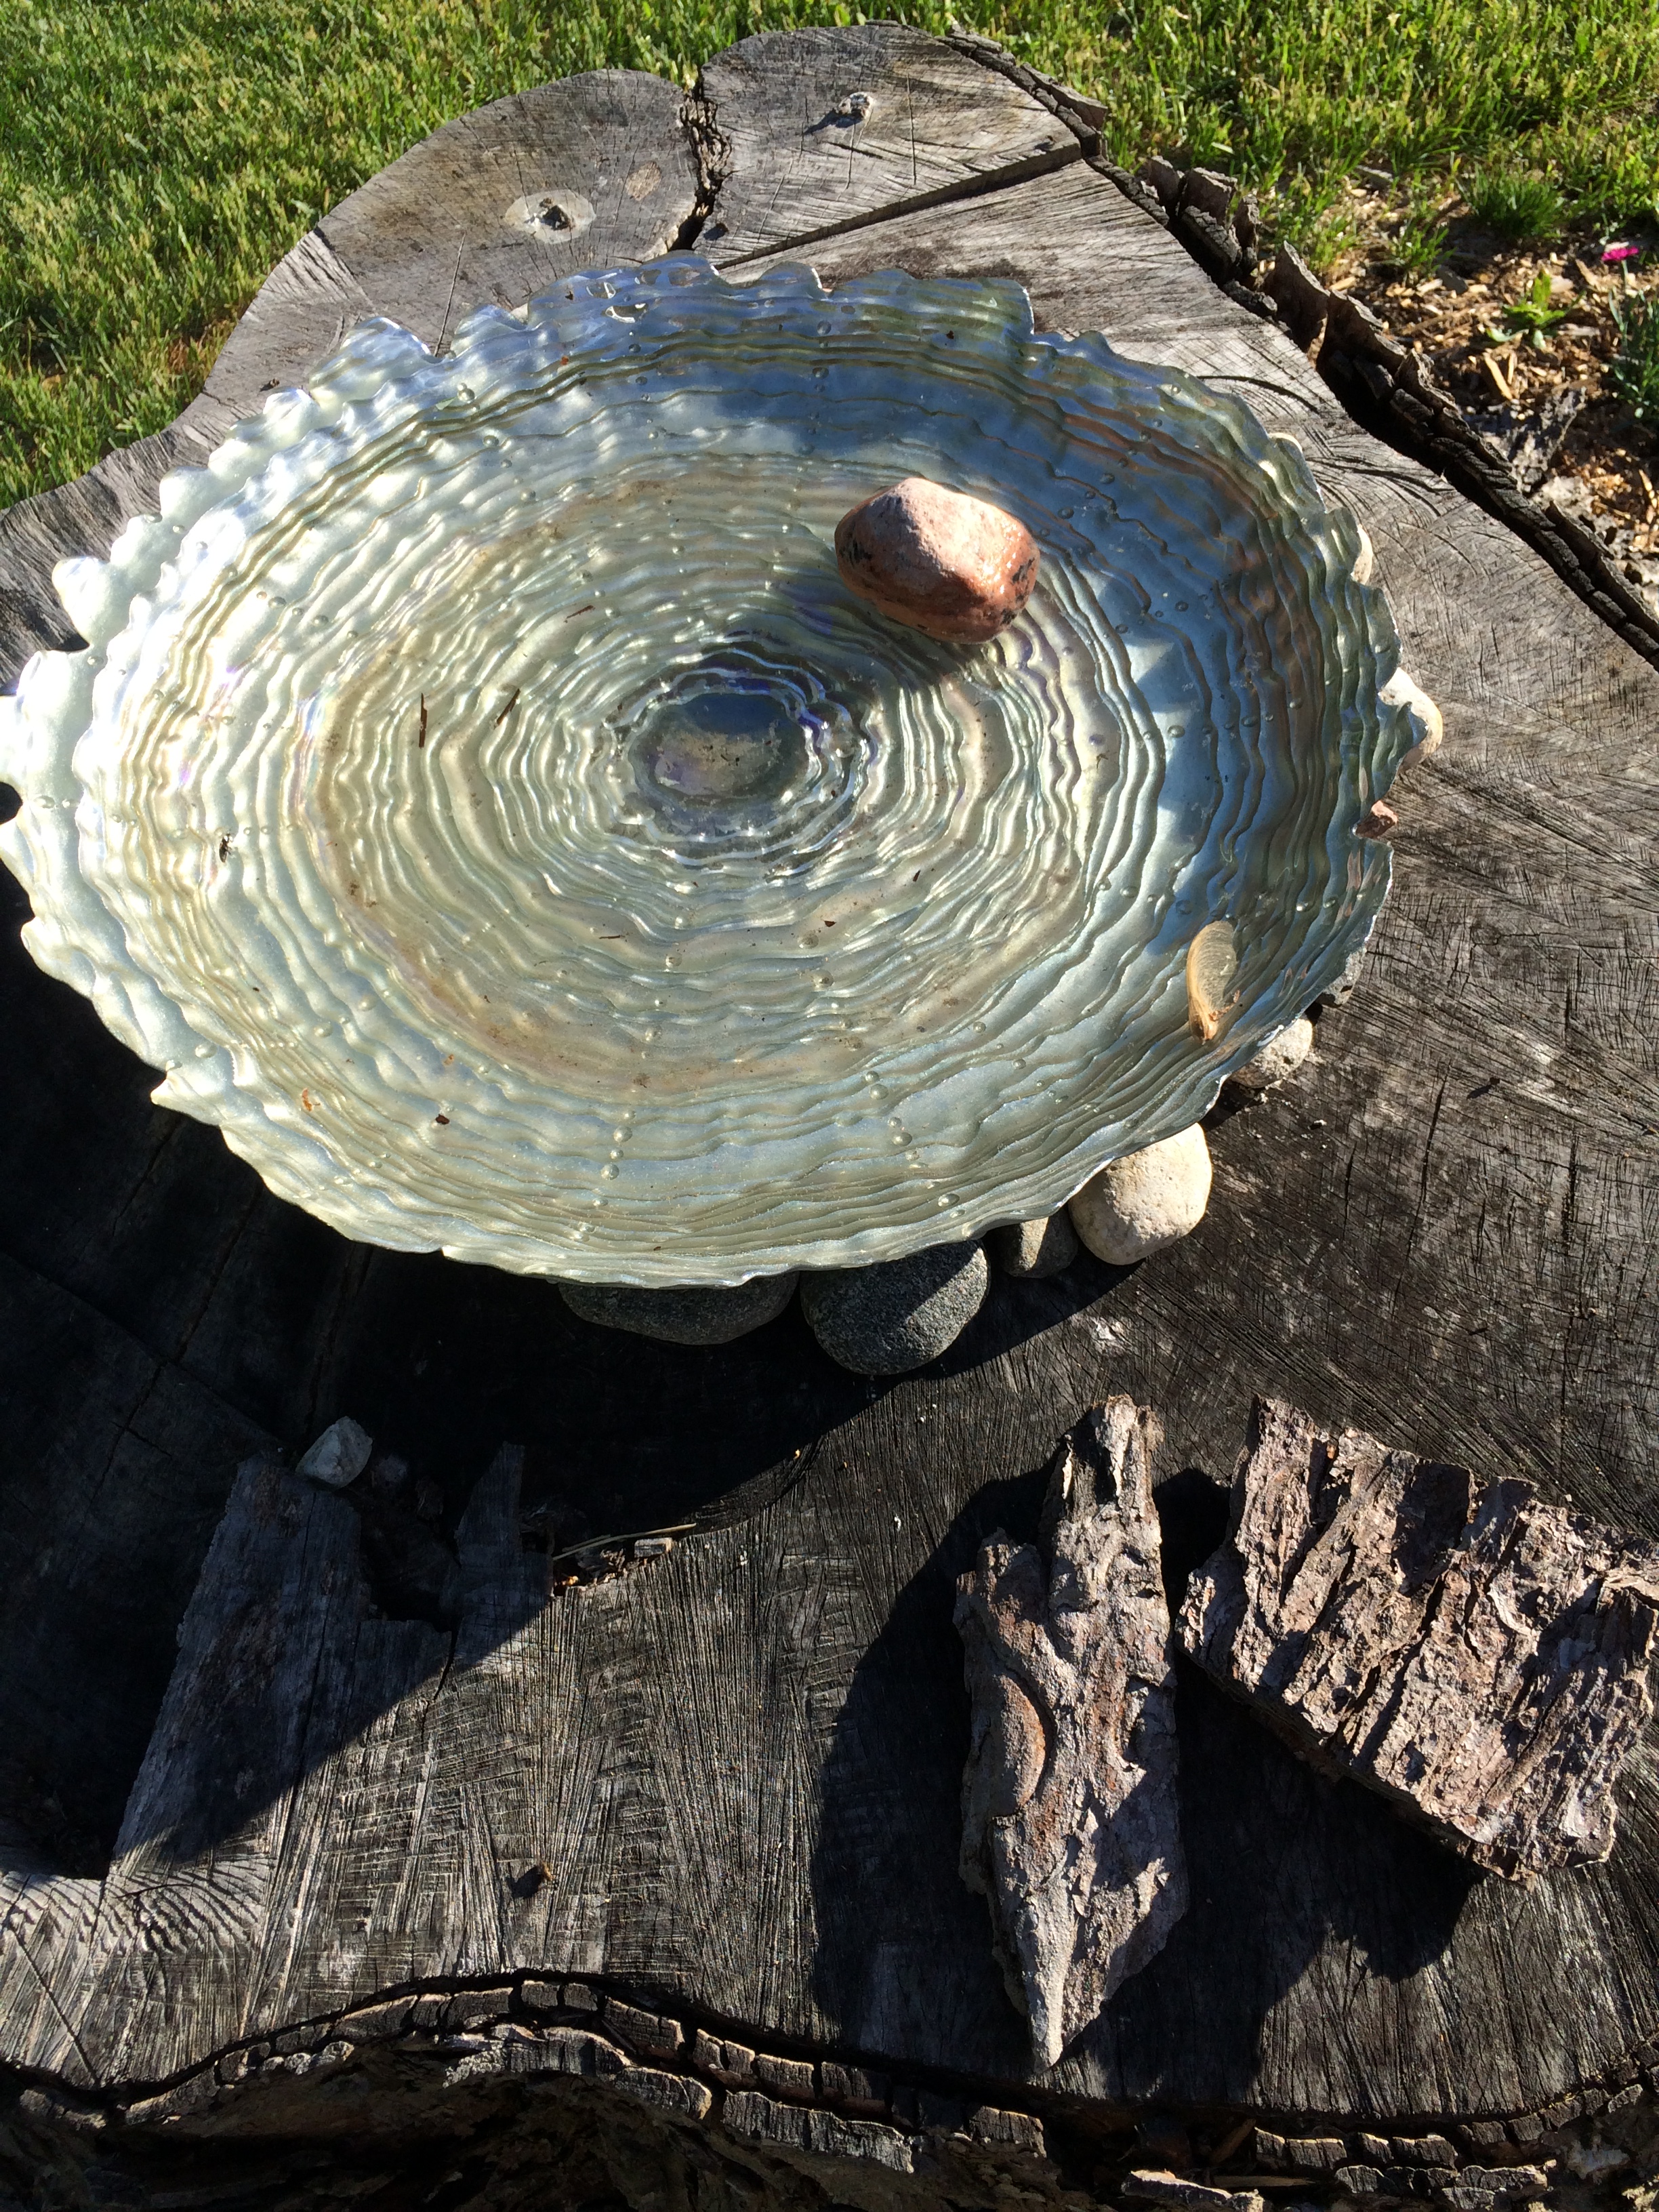
And, last but not least, is our STUMP! This stump is what’s left of a 40-year-old Silver Maple tree that had to be cut down. The stump wasn’t going to go away, so I turned it into a birdbath and planted some ground cover that is spreading around  the base. I read somewhere that if you add a few stones to your birdbath, butterflies will light on them to drink. In addition to the stones, I also planted some pretty flowers that are guaranteed to attract butterflies. (Since this picture was taken, I have added some smaller stones to the birdbath and it seems to have done the trick–yay!!) Oh, I forgot to say that I bought this beautiful mother-of-pearl dish at a roadside antique shop during one of our Sunday drives. Cost: $10–colour me happy!
2016-05-31 18.31.45

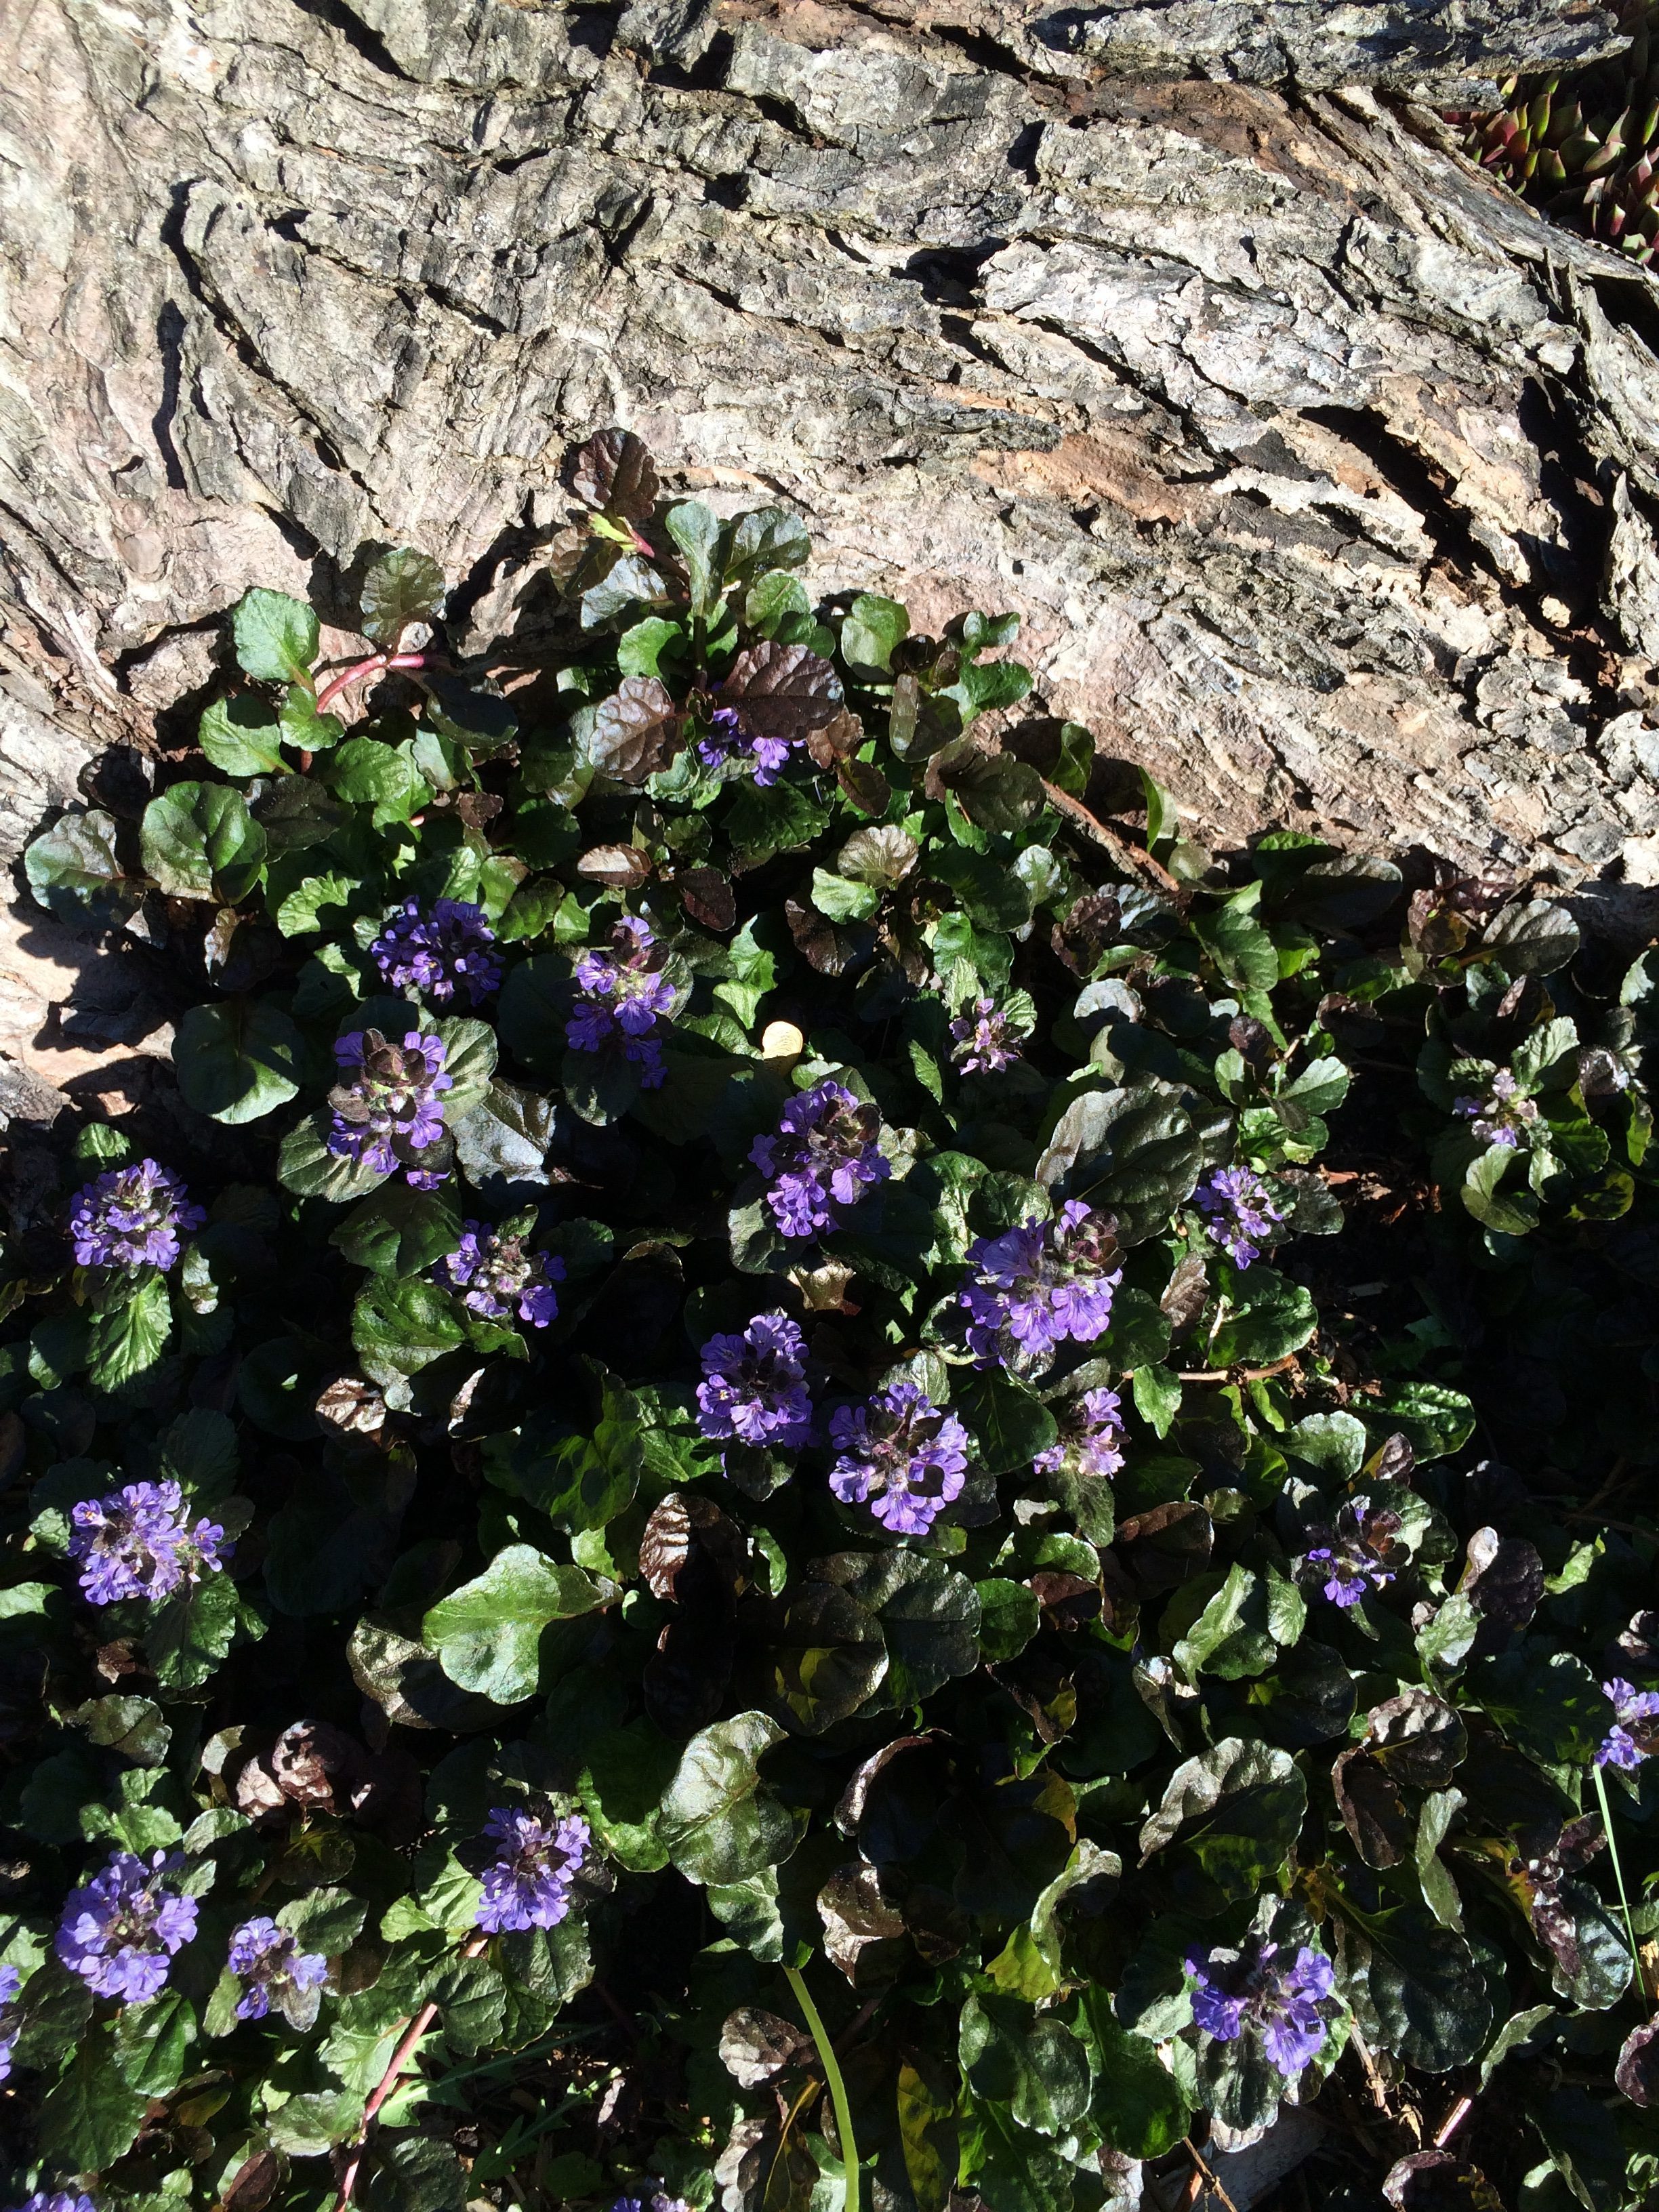
The next few photos show the pretty ground cover that I planted around the base of my “tree-stump bird bath.”
2016-05-31 18.31.19

Here are the “butterfly flowers.”

2016-05-31 18.30.39

That’s our progress, to date. We’re getting very close to the point at which we can stop planting and just sit back and watch our little patch of heaven flourish and grow into our beautiful secret garden–guests always welcome, of course!

The contractors are coming tomorrow morning to start gutting our bathroom for a total renovation. And as soon as they finish it, they’ll be starting on the kitchen renos! I’m dreadomg of the mess, but as the late, great, Dorothy Parker, New York columnist. always said, “I hate writing, but I love having written,” …that’s pretty much how we feel about renovating.

Thank you for stopping by. Check in regularly for more updates and have fun make your house into your special home.
It’s all about curb appeal!

Wow, what a transformation…we’re impressing even ourselves!

Right off the bat, let me say that the big photo of our house that you see at the top of this blog is the BEFORE shot. I am chronicling the evolution of our improvements and posting updates here on Home at Last. I hope you will ride along with me on this shoestring budget transformation.

When we moved into our new-old house in 2013, there was no lawn to speak of, and just a few straggly looking shrubs. It was so weird to me and Peter (my awesome husband) that in the 42 years since the house was built, no one had bothered to landscape.

We started with the front lawn and turned a tundra into a lawn-to-be-proud-of. Check out the photos… Oh, by the way, my goal is to have evergreen beds that will look pretty in all seasons and, perennial flower beds that I NEVER have to plant again. This whole landscaping plan can get to be very expensive and exhausing. LOL!

APRIL 2013–YUCKY|

Frame_13-Tripp-June 2013 (4)

JUNE 2013–YUMMY!

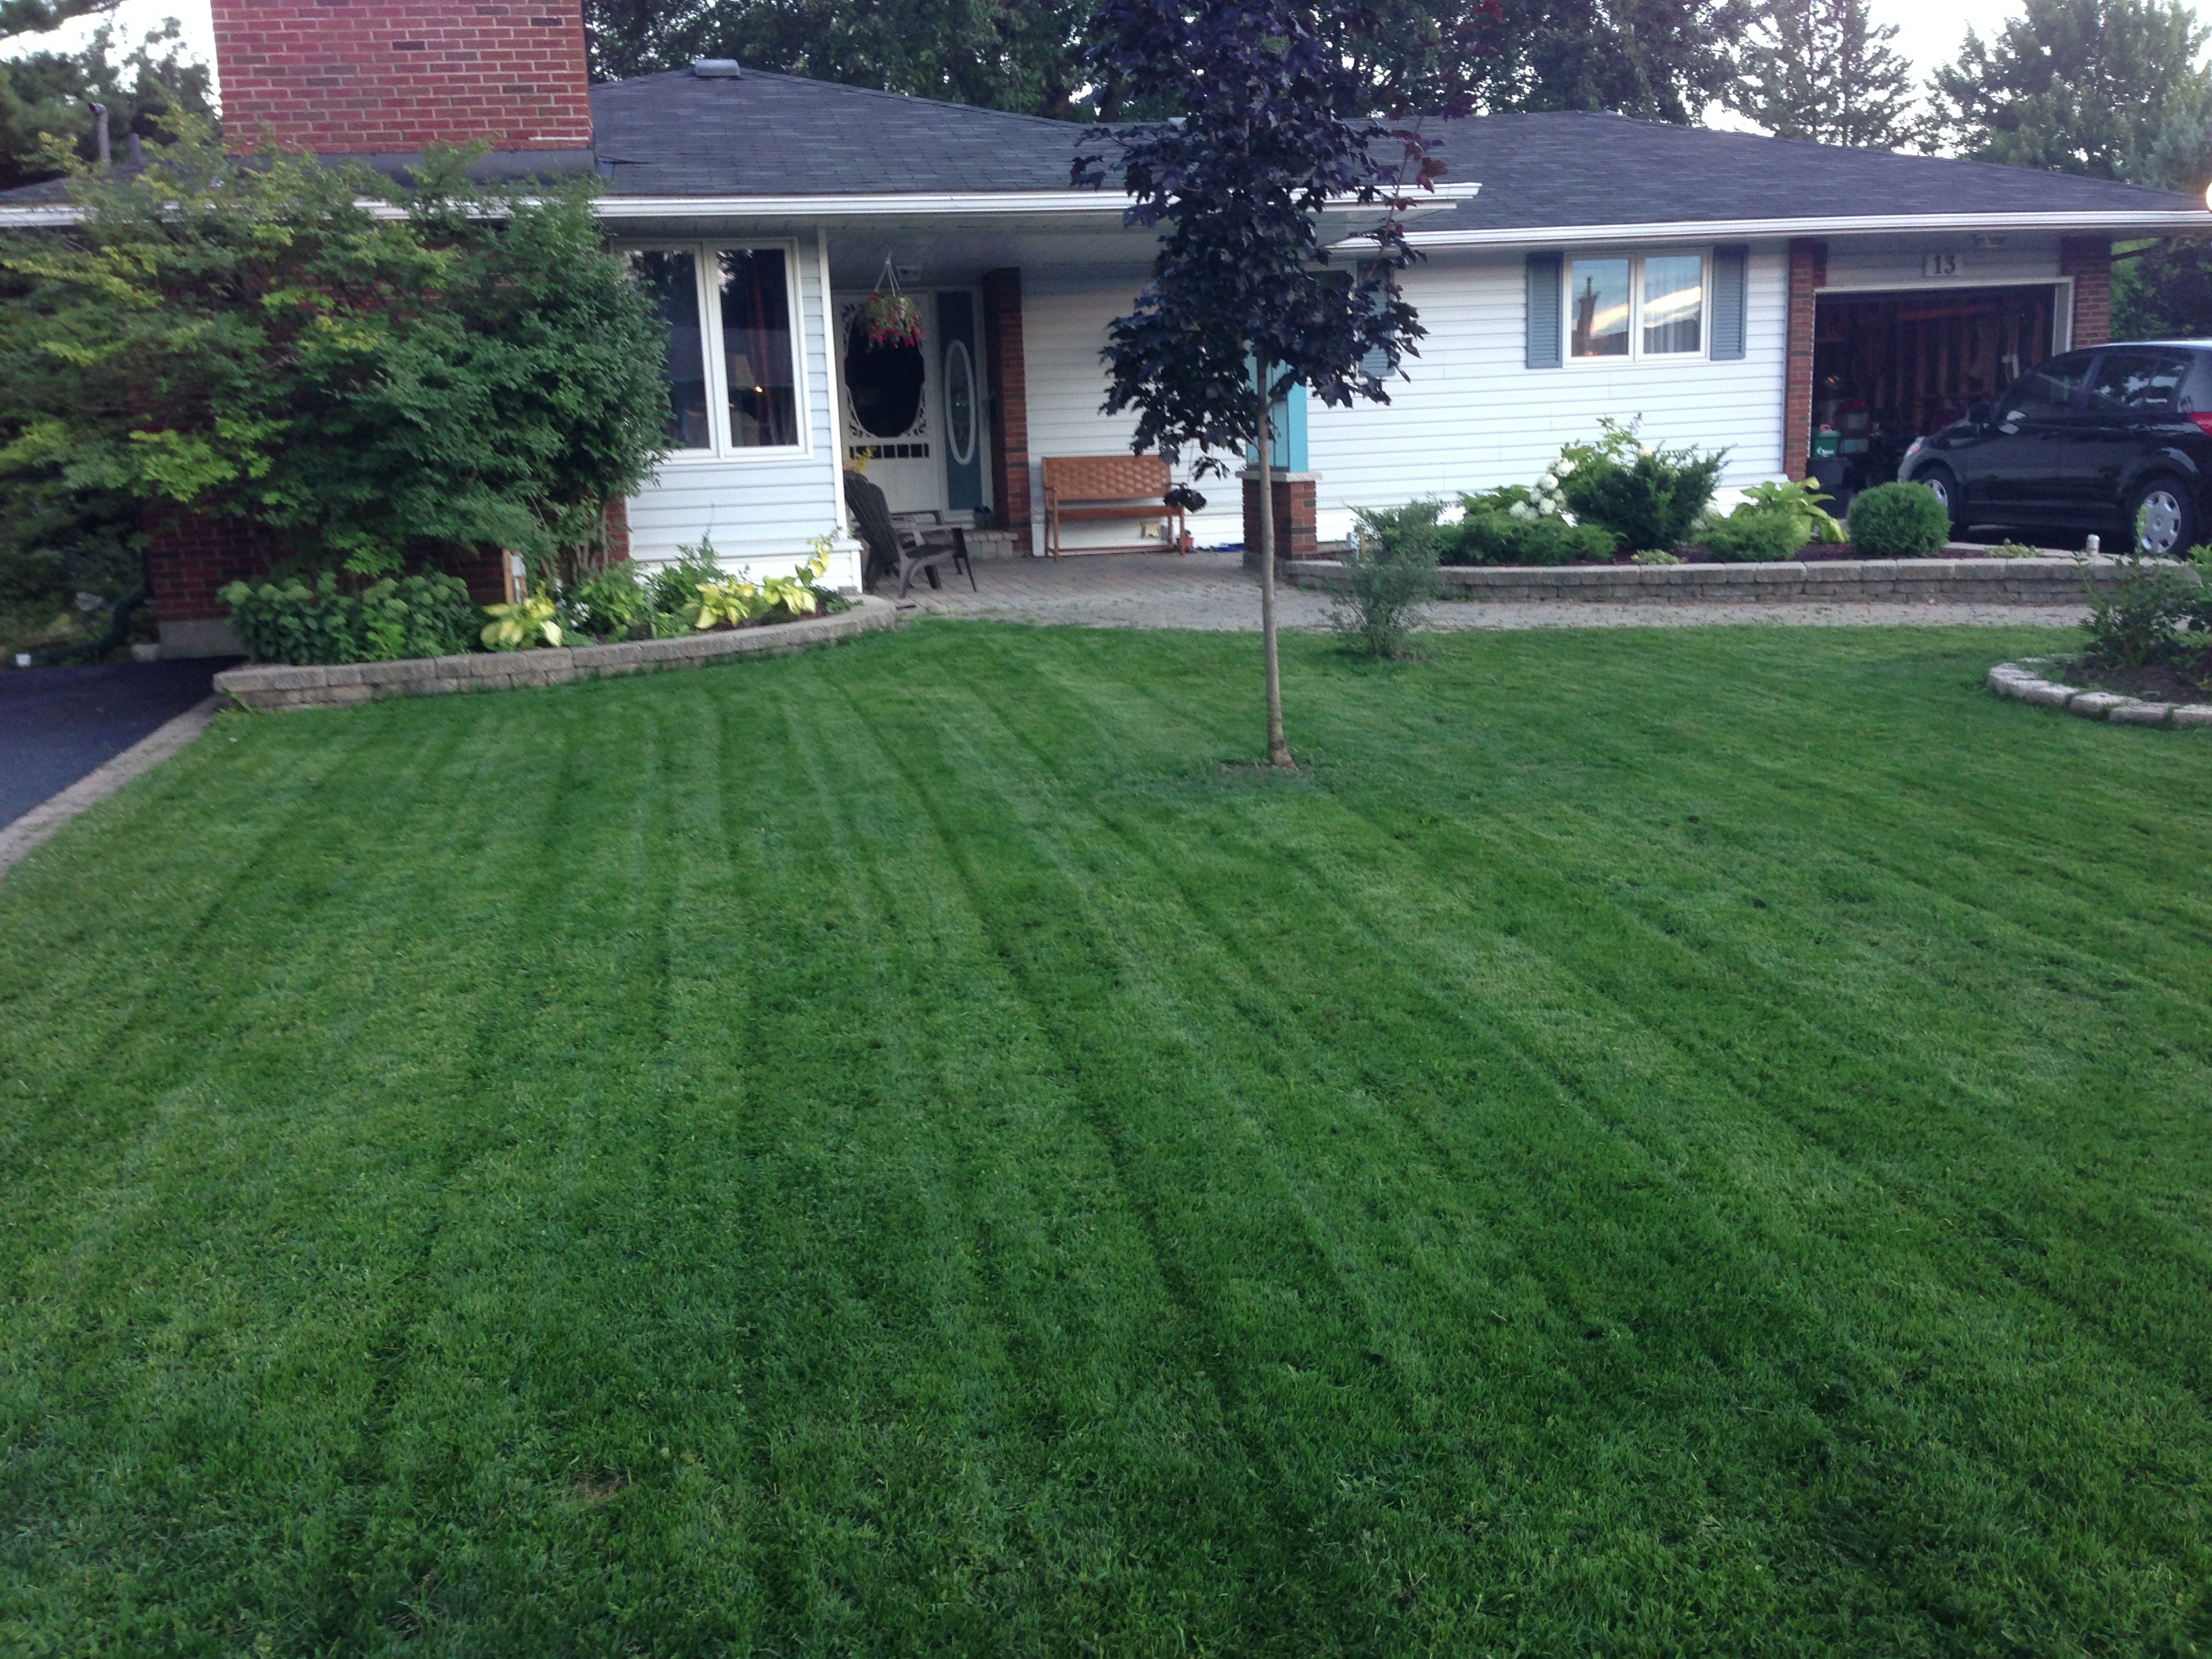
 (How we did it: a bag of Golf Green fertilizer, a bag of lawn seed and lots of water. Period.)

Lawn-spring 2013

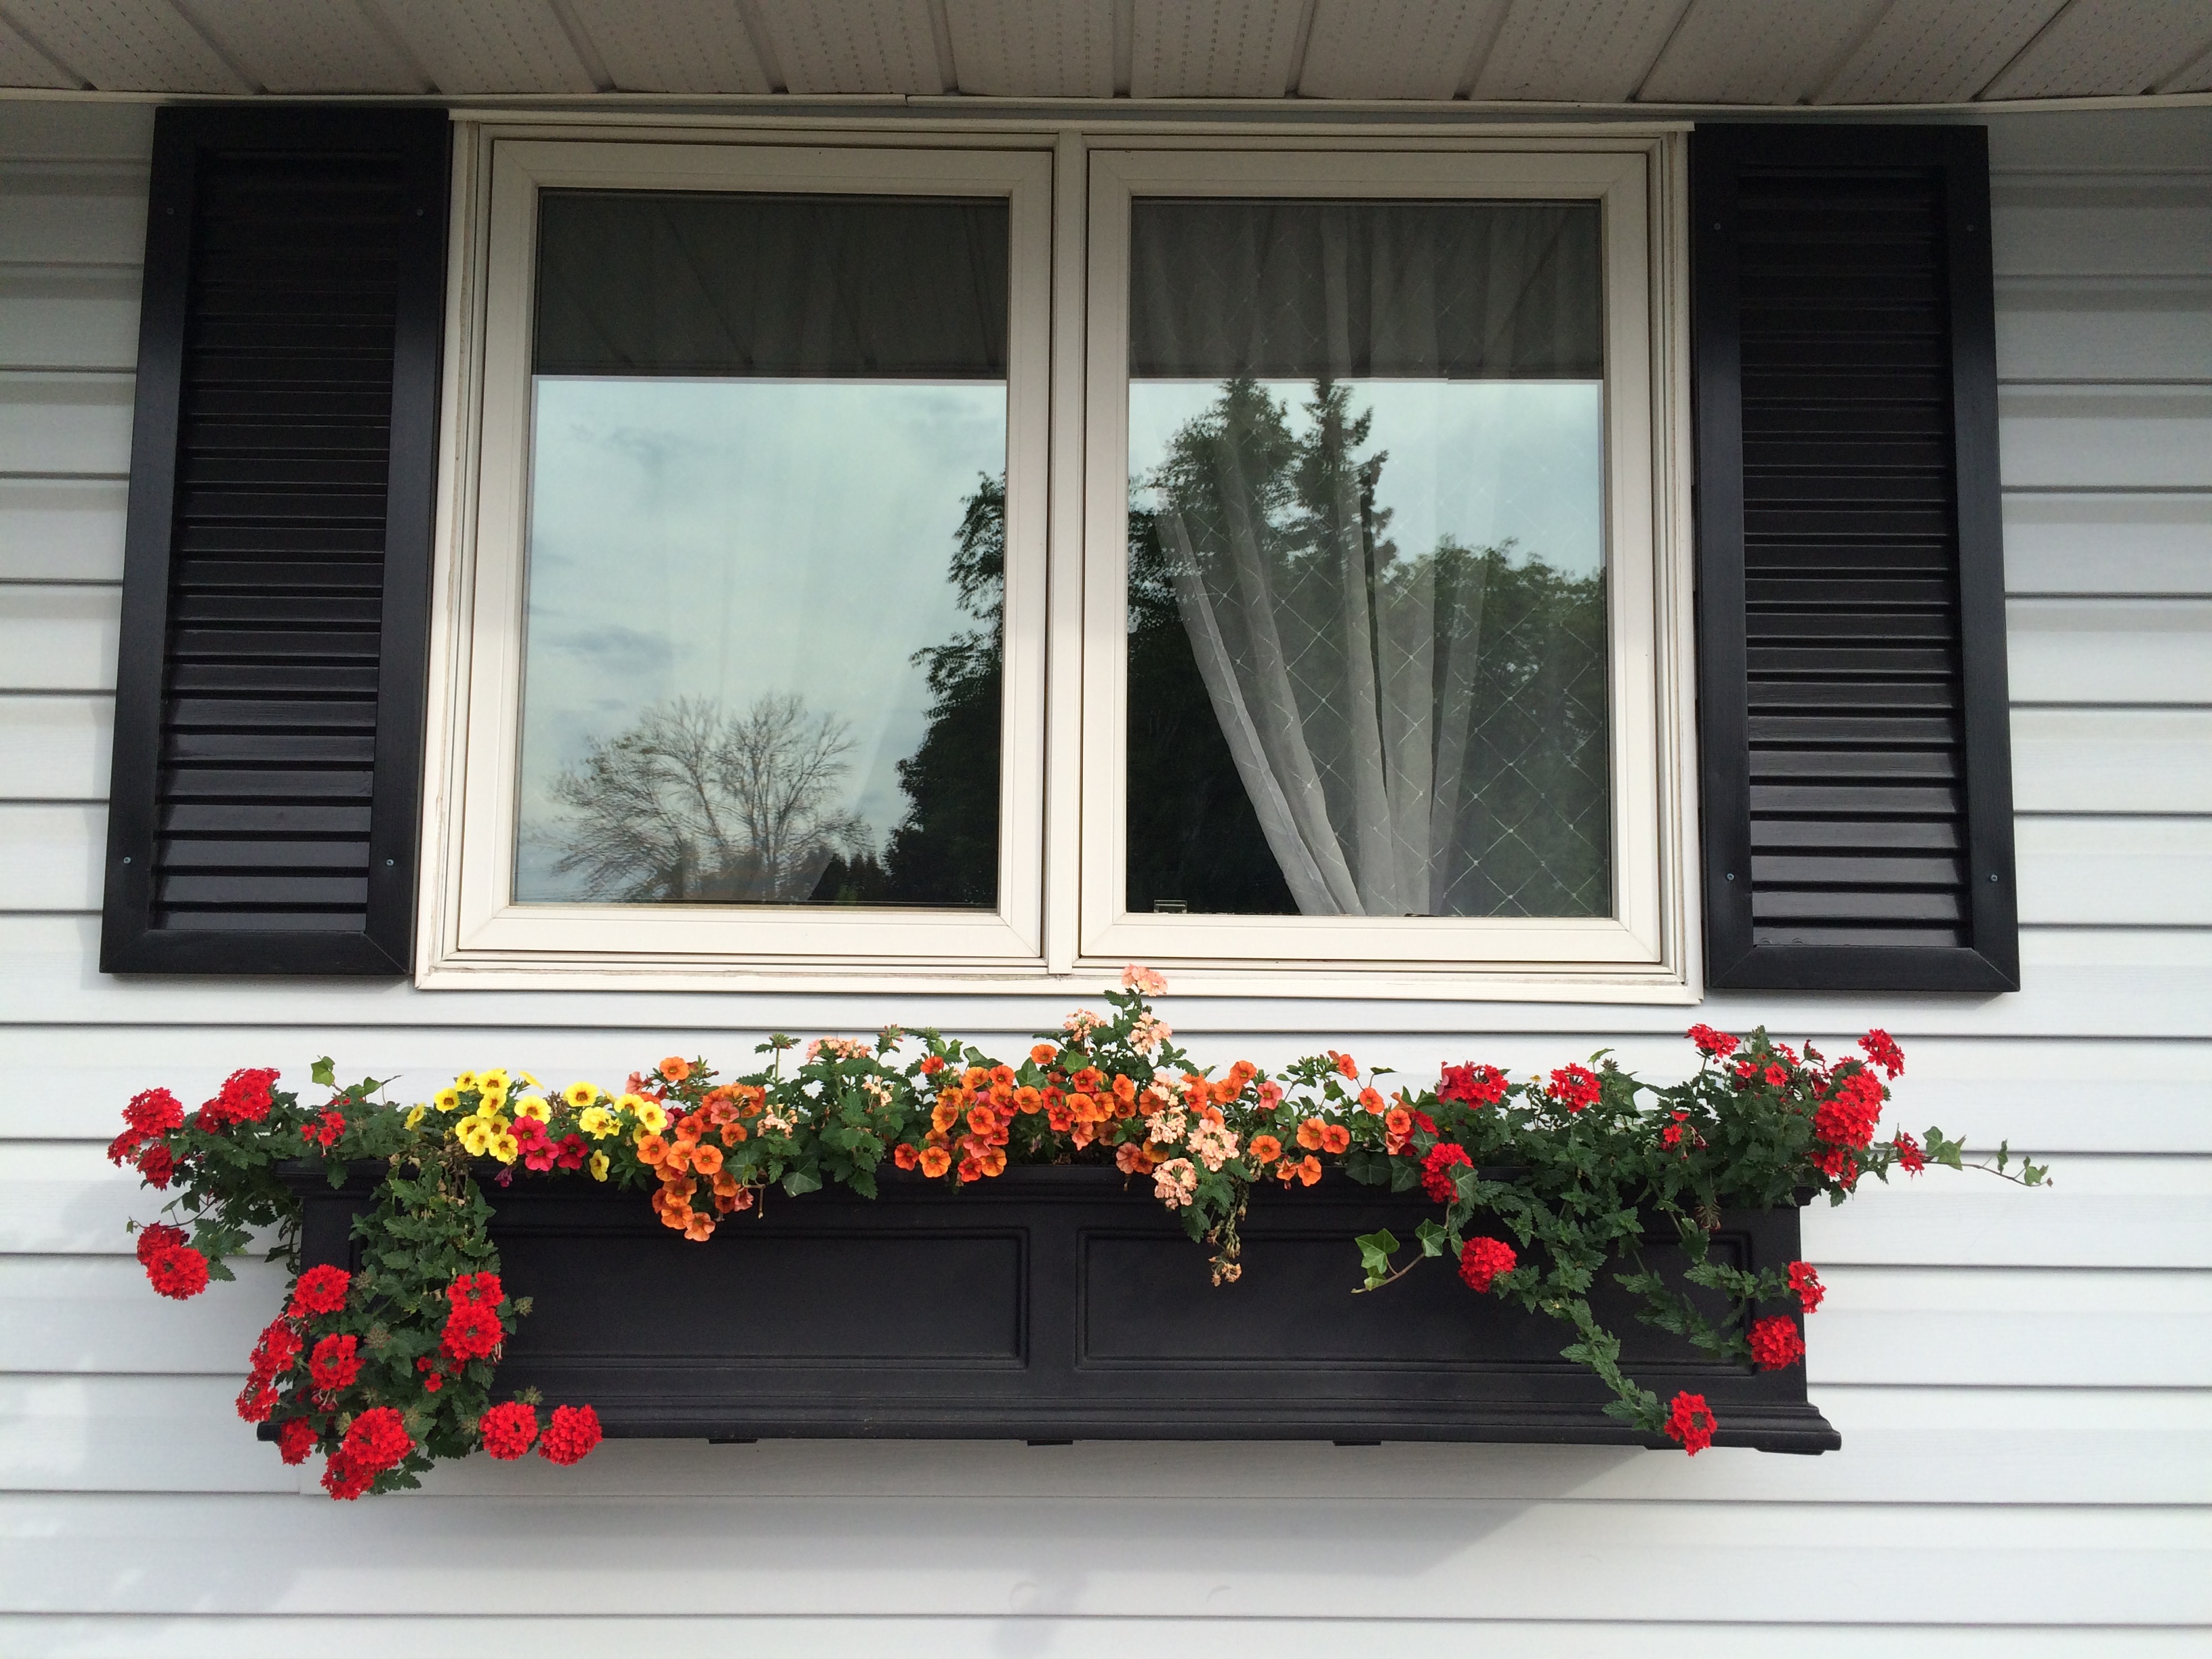
With our lawn looking lush and lovey, we put up the window boxes I’ve been wanting forever and I painted the shutters, front door and garage door a nice clean black. I think it’s a big improvement over the original colours, which were several shades of mismatched blues. It all worked out quite nicely. (We have all new outdoor lights that will be installed as soon as I can find a reputable and affordable electrician).

Front garden June 2015 (7)

IMG_3921

Next, we began to plant more evergreen shrubs and perennial flowers. We still have a ways to go, but here are some recent photos of where we’re at… (I’m quite convince I will go broke before I finish landscaping this property LOL!)

Front garden June 2015 (6)

I LOVE the colour of these peonies!

PEONIES AND OTHER FRONT YARD PHOTOS  2015-06-15 10.48 (2)

And, of course our shiny new lawn lamp…about $158 at Home Depot (remember, we’re still decorating on a shoe-string budget).

NNew lamp post cu

So, this is only June and the shrubs and flowers are growing like mad! I’ll be taking photos over the summer to watch the evolution–it’s so much fun.  Why not capture your own home sweet home with photos? It’s just amazing how your landscaping and decorating evolve over the years, and it’s so much fun to look back on it all.

Thanks for dropping by! There’s lots more to come!

The grass is always greener…when it’s fertilized!

Peter and I are having a love affair with Golf Green fertilizer. How could we not fall in love with something that took our “lawn” from this

Frame_13-Tripp-June 2013 (4)to this…

Lawn-spring 2013…in just three short months! That was last summer, our first summer in our new-to-us old house. We’ve worked on the planting beds and made some great progress.

Last spring (2013)…one ugly upright juniper and a couple of starving evergreen shrubs made up the entire landscaping picture.

Frame_13_tripp_crescent_MLS_HID746807_ROOMMainExterior

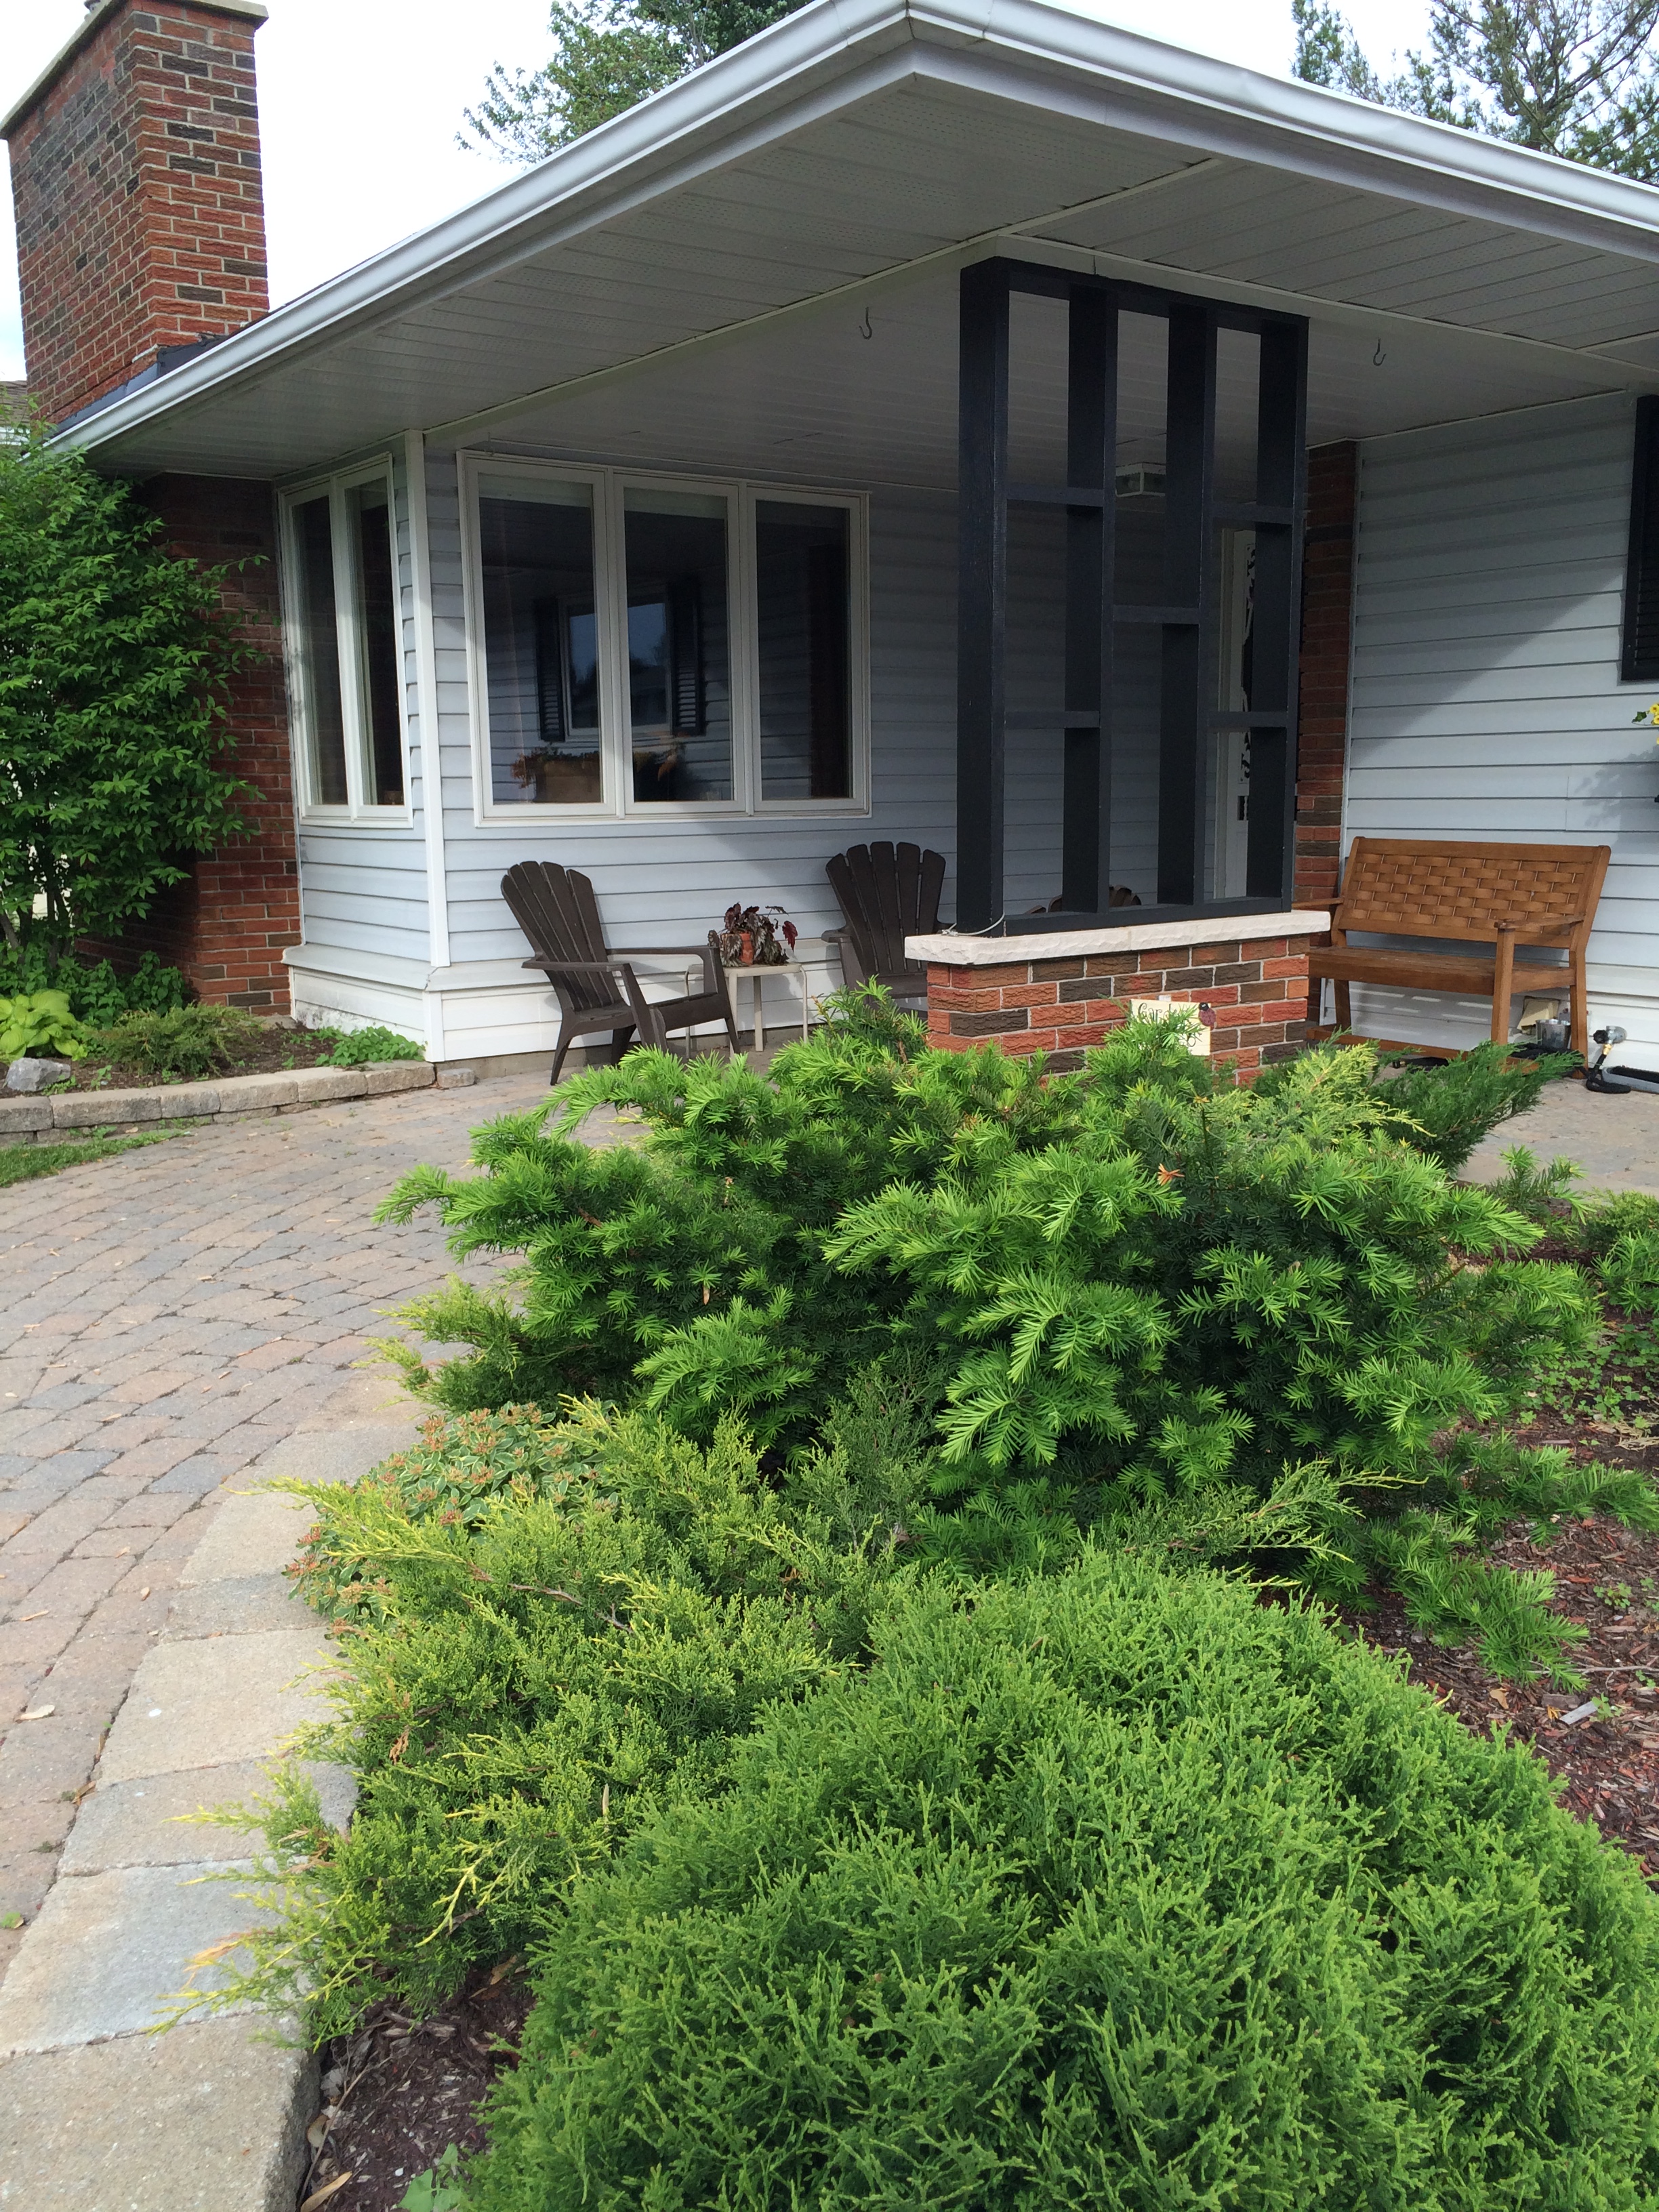
Today (August 2014)…a lush, well-fed planting bed that receives daily TLC. The flowering shrub is a Hydrangea tree–so pretty!

~~Front shrubs-2-13 TRIPP AUG 2 2014 (14)

The photo below shows the planting bed under the living room window and in front of the fireplace chimney. It’s a bit of a challenge due to sun conditions, but still much better than it was when we first laid eyes on it last spring.

``Front bed under LR window-13 TRIPP AUG 2 2014 (4)

I’ve converted the space along the side of the garage from a rock bed to a perennial bed. It’s brand new, so it will be next summer before it becomes the dazzling showpiece I’m hoping for…I’m an eternal optimist and I do have high hopes!!

The lamp post is slowly becoming a focal point,too. The Forsythia bush is new this year, but is making great strides. I think next spring I will add something with more colour. I’m still trying to find a way to keep the weeds from growing between the  edging stones–it’s a never-ending job. Any ideas?

~~Lamp post

I turned the stone bed that runs along the side of the garage into a perennial bed. It’s all new this year, but I know by next summer it will be photo-worthy. To ensure a pretty garden from spring to fall, I was careful to choose plants of different heights and blooming times.

~~Plant bed along garage-13 TRIPP AUG 2 2014 (33)

On the other side of the walk is a five-foot chain link fence that doesn’t offer any privacy. But, we’re addressing that issue with very fast growing vines. In another year or two, this will be a wall of beautiful green leaves.

~~Vines on side fence-13 TRIPP AUG 2 2014 (34)

We feel very blessed to have a home in a quiet suburban neighbourhood. We may not be changing the world, but we are making our little piece of heaven prettier and prettier. I hope you enjoy following our progress. There’s so much more to come!!

It’s us against the front lawn!

Hi, this is me, Globug.

I was going to wait until I had something really spectacular to show off, but, my new friend and neighbour, Ruth (whom I just love), told me that while she liked my blog, it was time for me to put up something new. So, Ruth, this one is for  you!

I’ve been super-busy since the last time I posted here on Home at Last. Between fixing up the inside of the house, landscaping, work, family (my two kids, Angie and Neil are grown, but have multiplied and…well, parrents,  you know what that means)…anyway, it’s all a girl can do to keep all the balls in the air. So, blogging often gets put on the back burner in favour of cooking–and I would rather eat worms than cook, but, oh well!!!

So, back to the point at hand. Last summer was a scorcher. Between the extreme high temperatures, scorching sun and water restrictions, everyone’s lawn dried up and turned into a dull, beige, crispy mat. It was really weird not seeing lush green grass–I even missed the sound of lawn mowers on Saturday mornings. There was a huge a run on rain barrels and, despite the fact that every man,woman, and child hooked one up to their downspouts, there simply wasn’t enough water to keep even one blade of grass alive.

We bought the house in January, at a time when lawn health was the last thing on our minds. And, then, spring arrived…AND WE SAW IT. That…that…that is our lawn? We cried; we laughed; and we planned our strategy. Us against the lawn!!

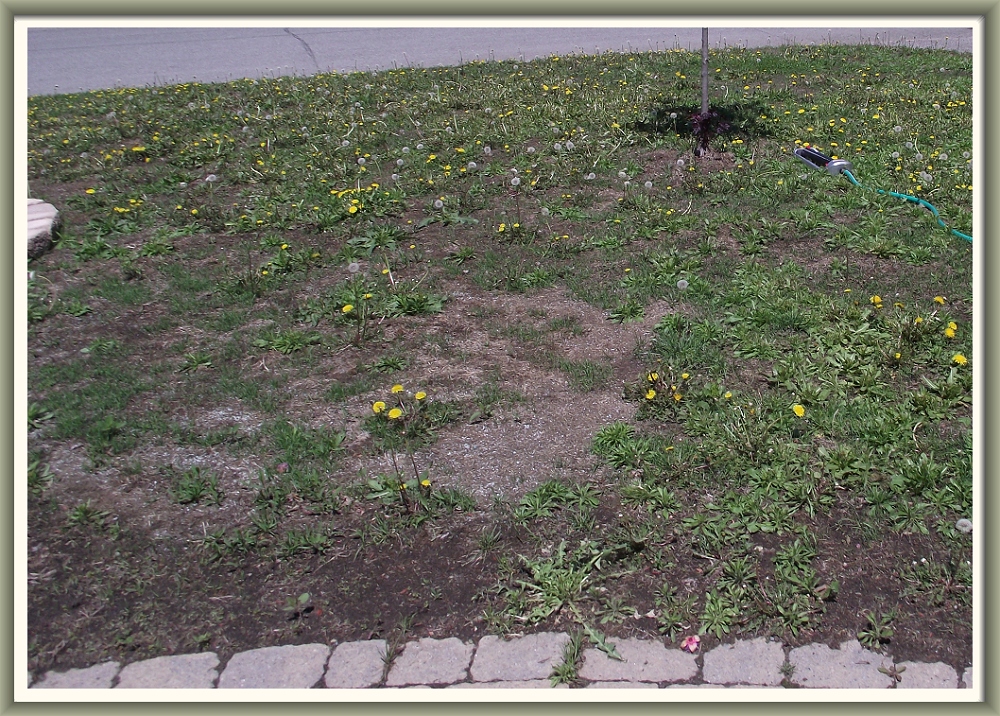
Here is our “lawn” at the beginning of May…isn’t it SAD? But, we were ready for the challenge…

Frame_13-Tripp-June 2013 (4)

Here is our lawn at the end of June…one application of Golf Green grass seed; one application of all-in-one lawn food (Scott’s Turf Builder), and about five minutes of weeding-pulling and…voila…

Frame_13-Tripp-June 2013 (13)

Not bad, huh? And we are not through with it, yet! By the end of the summer it will be a prize-winning masterpiece–okay, maybe that’s a little ambitious, but Peter and I are both over-achievers.

I’ve been so busy working that I’m really behind in my blogging, both here, at Home at Last and at Globug Ideasso, today, I’m going to blog my behind off! Oh, and Ruth, big hugs to you and thanks for reading my blog, girlfriend!!!