Finally, down comes the monstrosity!!

The Wall–ugly wall. It’s finally coming down!

2013-11-05 17.01.11It’s been almost a year since the day we first laid eyes on…THE UGLY WALL. We have asked ourselves over and over who would build such a monstrosity and WHY. Although it’s white in the photo above, when we moved in (11 months ago) it was a knotty pine–with a super-duper high gloss top coat on it. In all our naivete, we thought that maybe painting it white would make it better. HAH! It actually made it look bigger and bolder. It just sat there, taunting and torturing us with its ugliness. Oh, and did I mention that attached to the ugly wall is an ugly bench, shown below with its upholstered seat removed.

2013-11-05 17.01.04

So, we stared at it (endlessly), whined, brainstormed and complained about it. We’ve challenged our visitors to come up with creative, DIY (read: cheap and easy) ideas on how to “fix it.”

Finally, I could stand it no longer. So, on this peaceful Saturday evening, with a light and fluffy snow floating down outside our window, I declared to no one in particular that I was “taking it down, folks!” With a hammer and a flat head screw driver, I began prying off the first layer of trim.

2013-11-23 19.22.56

Before I even had time to break into a good sweat, my totally awesome husband, Peter (who has become quite an amazing DIY-guy) quickly got into the act and before we could say, “ugly Swiss Family Robinson wall,” it was down. Ahhhhh….what a feeling!! Have a look at what we found under the layer of pine (which was over a layer of dry wall)…

2013-11-23 19.54.39

2013-11-23 19.50.35

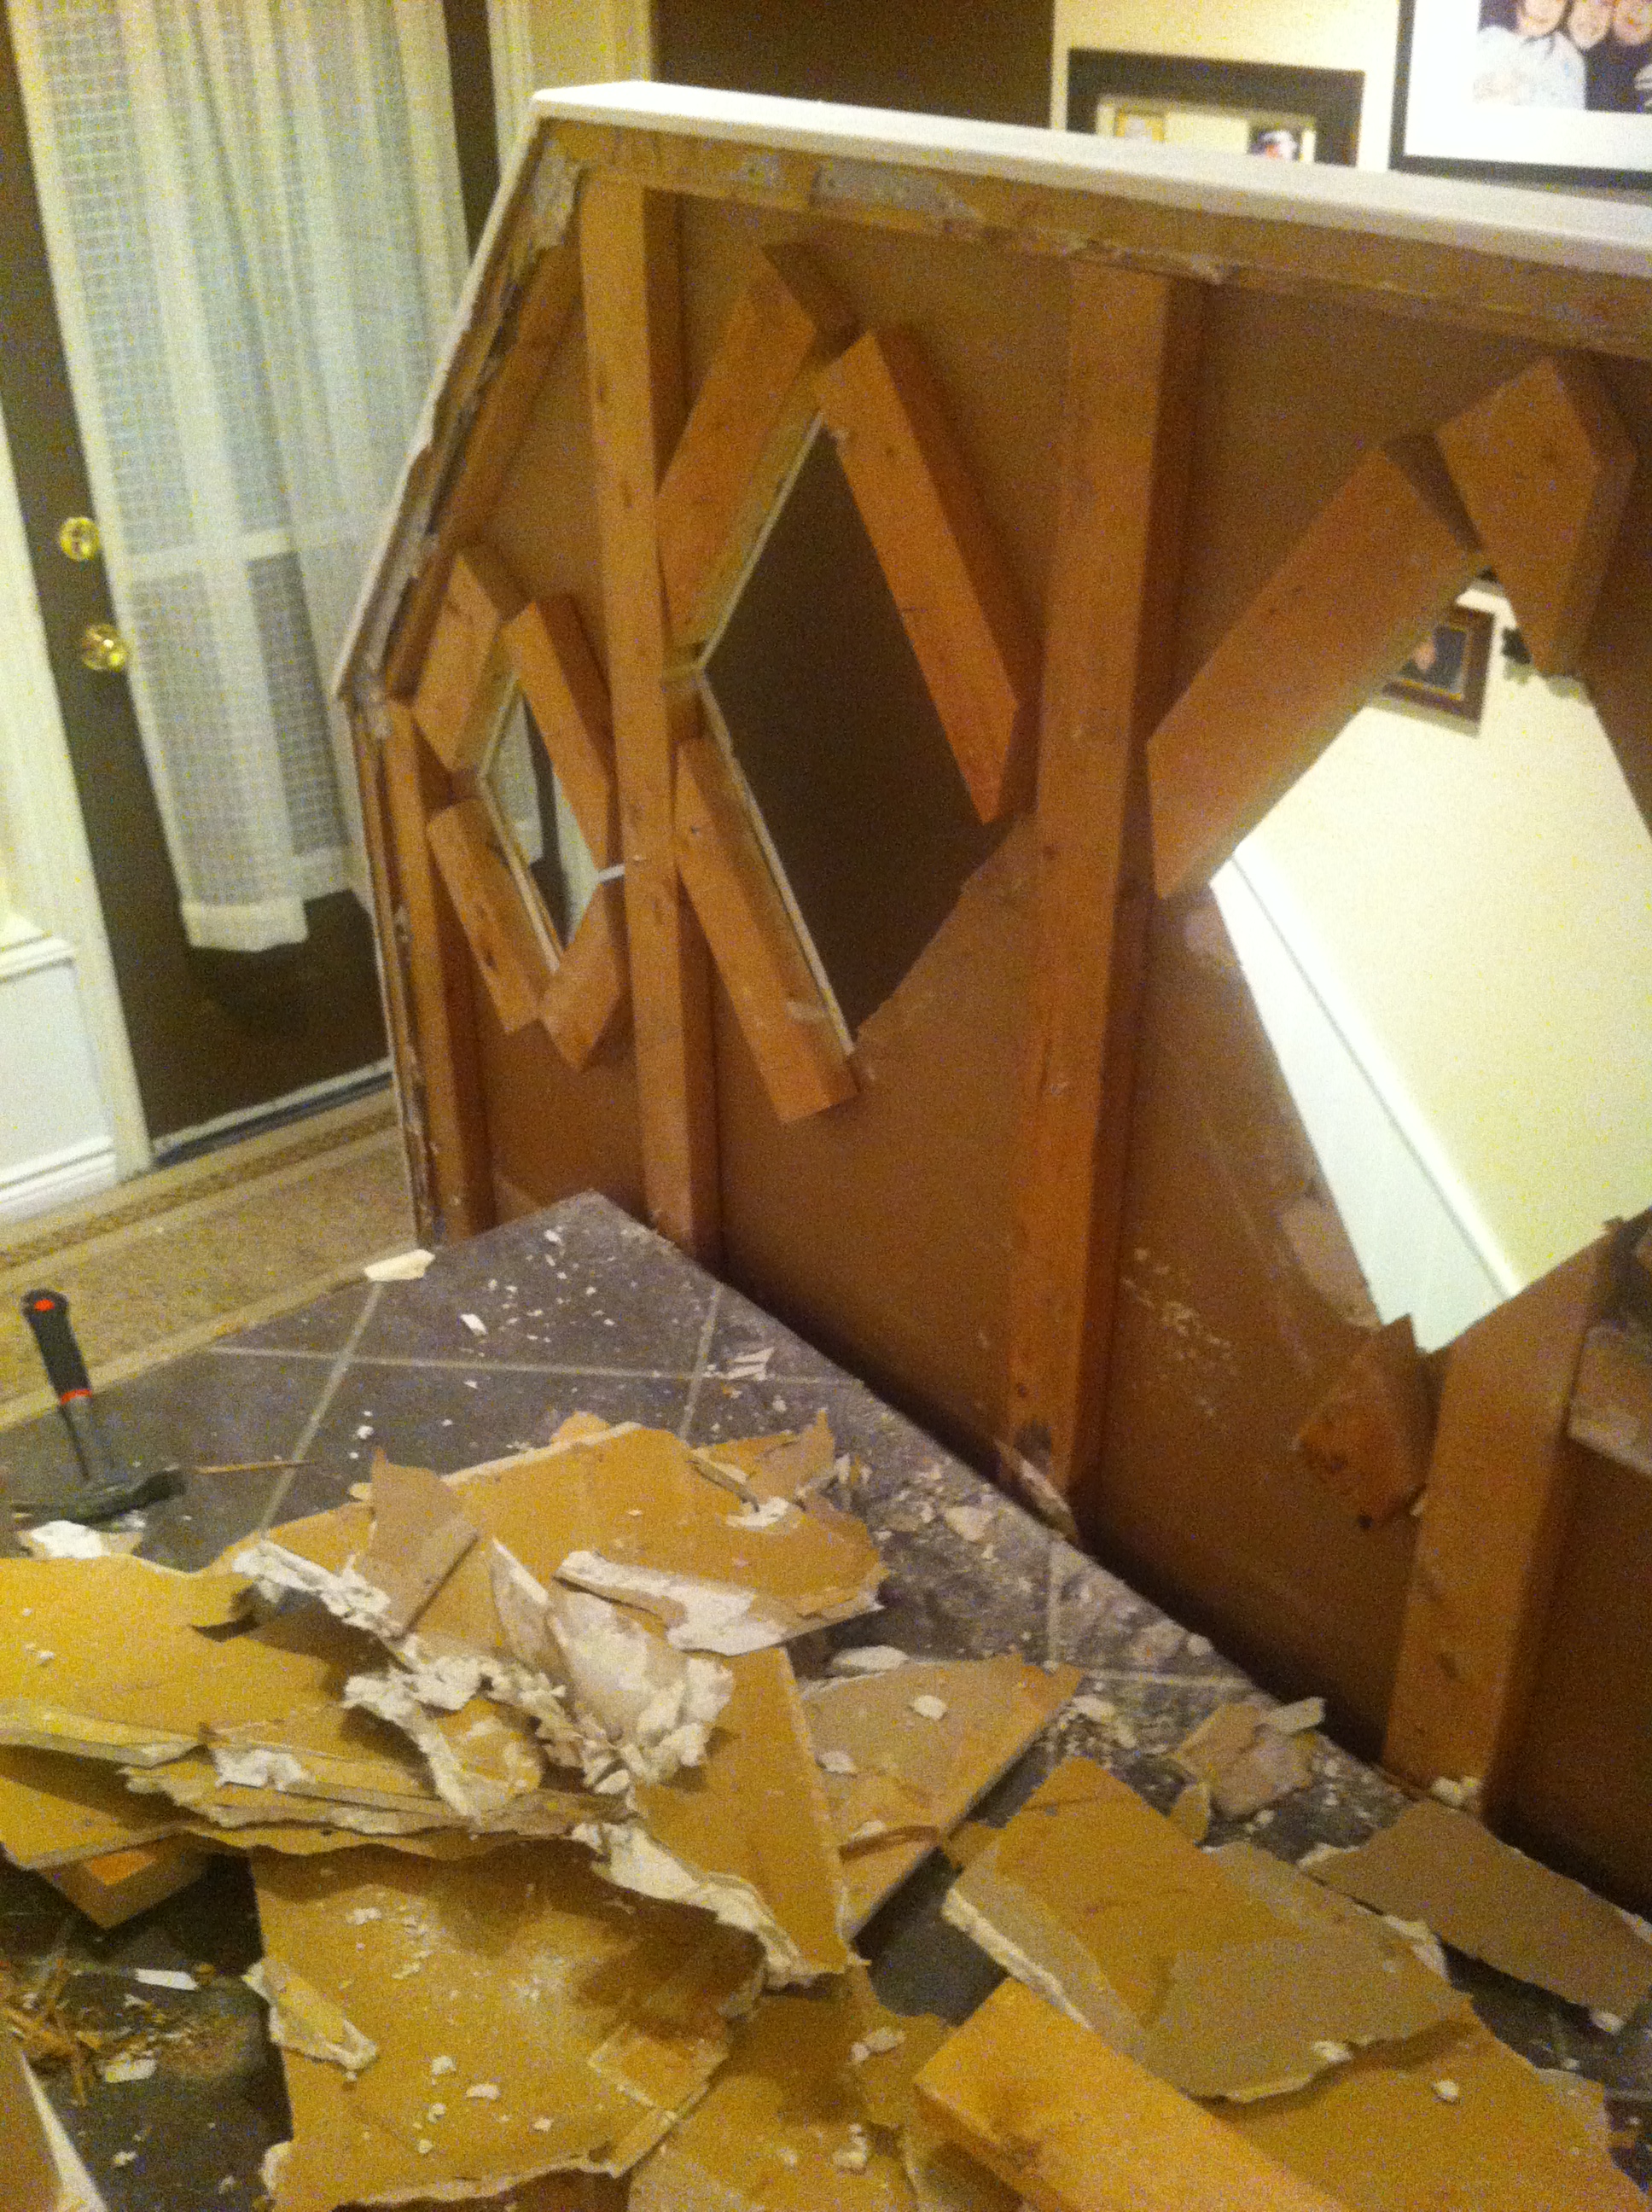
And this is just one side of the ugly wall. The other side is going to be even more difficult to tear apart because it’s over the stairs and harder to reach.

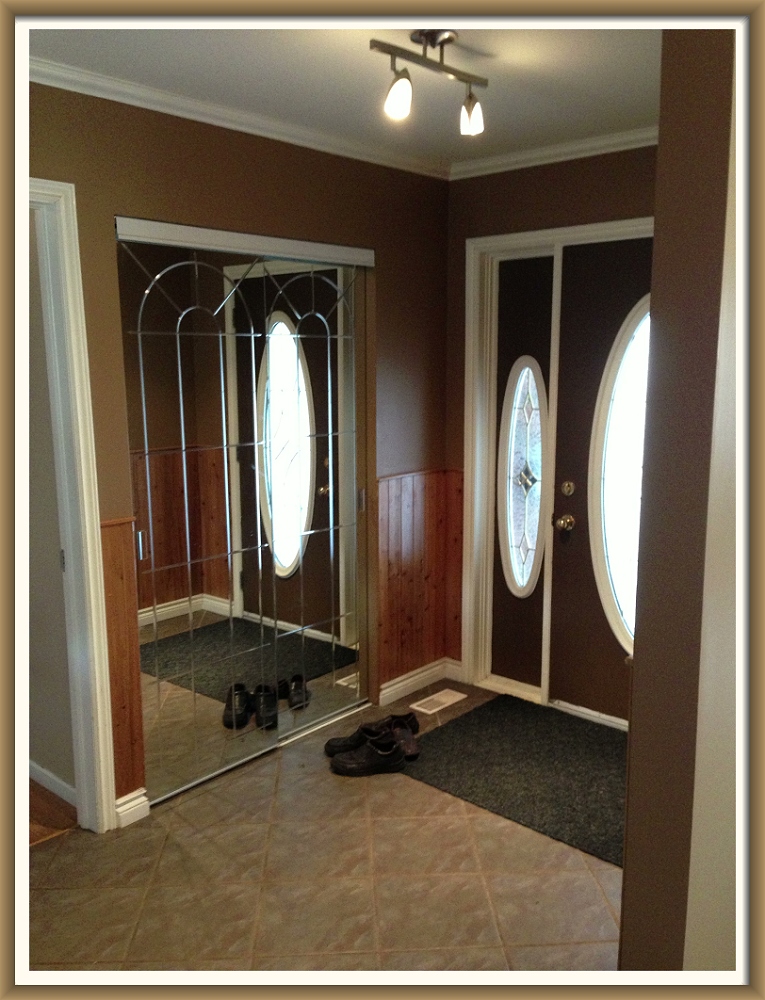
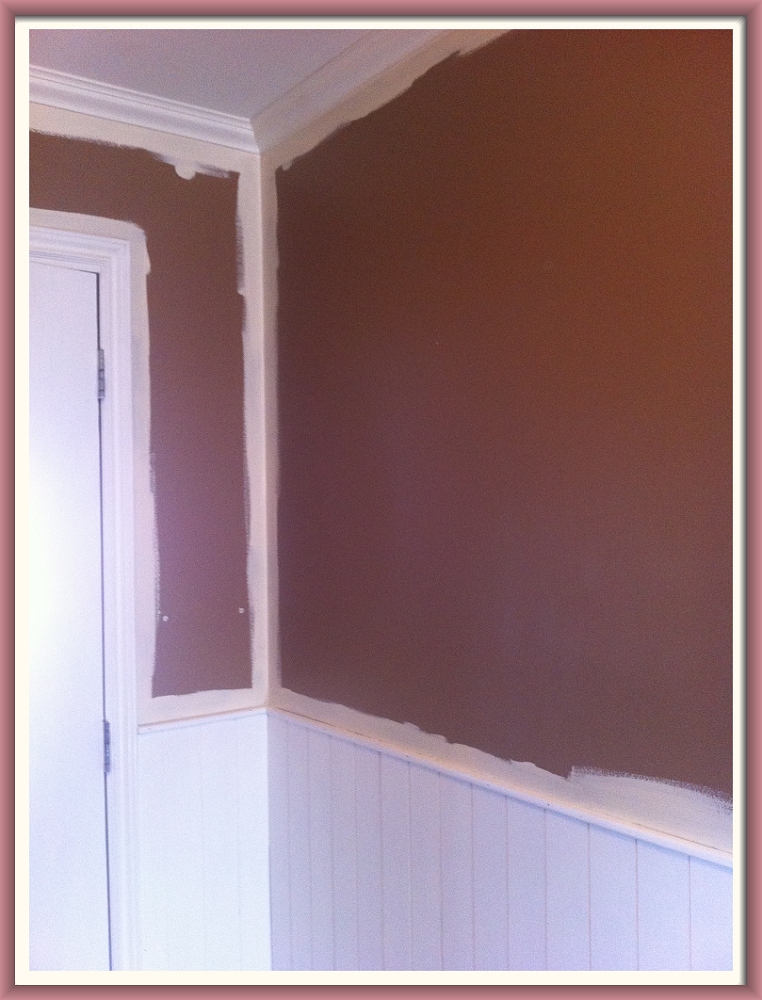
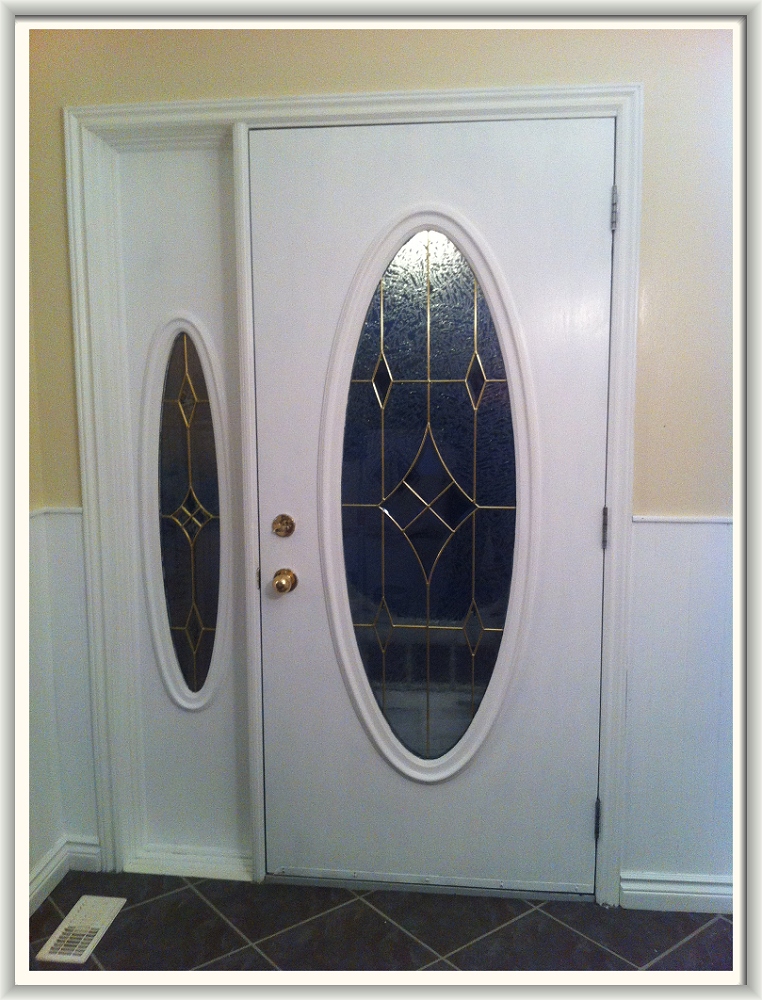
Well, the first step is sometimes the hardest. But, at least the next stage will be rebuilding and making it beautiful. So far, in our efforts to brighter and beautify, we have painted the previously dark brown walls a soft colour called Raffia Cream. I’ve also painted the front door and now just have the back door and adjacent closet to do. It really brightens up the entry ways. (By the way, our front door and back door face each other and form one large entry way. It’s pretty unusual, but our house is L-shaped and it really works).

I hope you will come back to see our progress. Tomorrow we’re off to see a play with my mom, so all tools are down for the next 36 hours. But, once Monday gets here…look out ugly walls!!!

Another “paint saves the day” story

Frame_paint cans and brushes

Painting is one of those chores that require a lot of set-up and clean-up time. So, once I’ve got it all out, I like to paint, paint, paint!

When we moved into our house, the main bathroom had soooo many problems: it was painted a horrible army green; it had (and, unfortunately, still has) a molded bathtub–another left-over from the 1980’s. And, the piece-de-resistance:  the mirrors that are etched with images of a zebra and seaweed…well, it’s just too awful to talk about! Here are some photos to show you what happens when someone with too much time on their hands gets an etching kit for Christmas…(hee hee)

Let me show you my etchings…(OMG, they are a design travesty!)

Frame_IMG_3492 Frame_IMG_3493                   
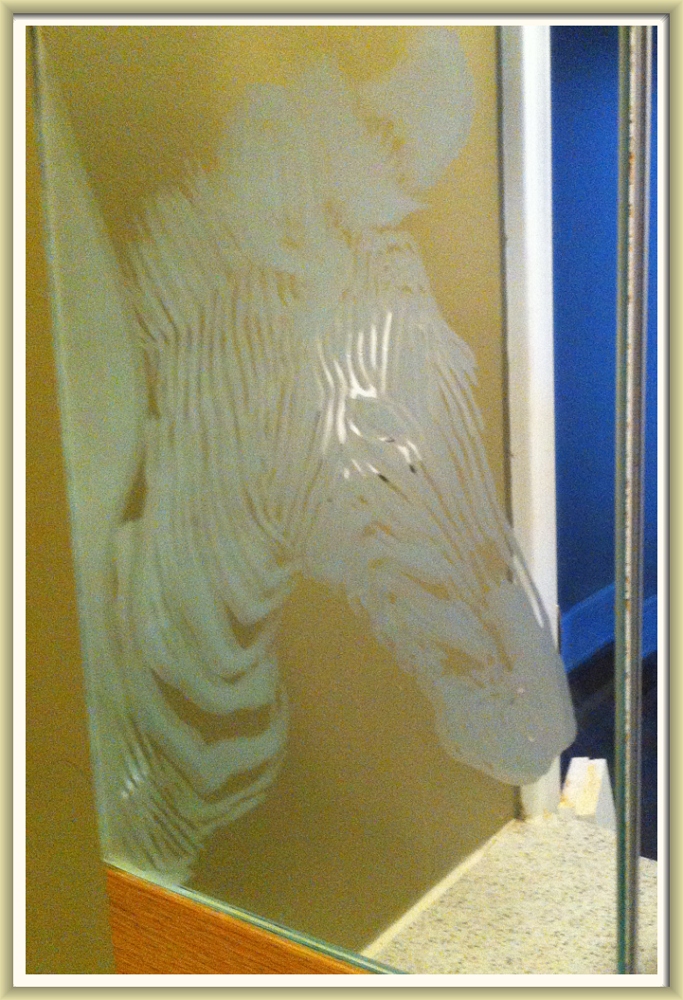
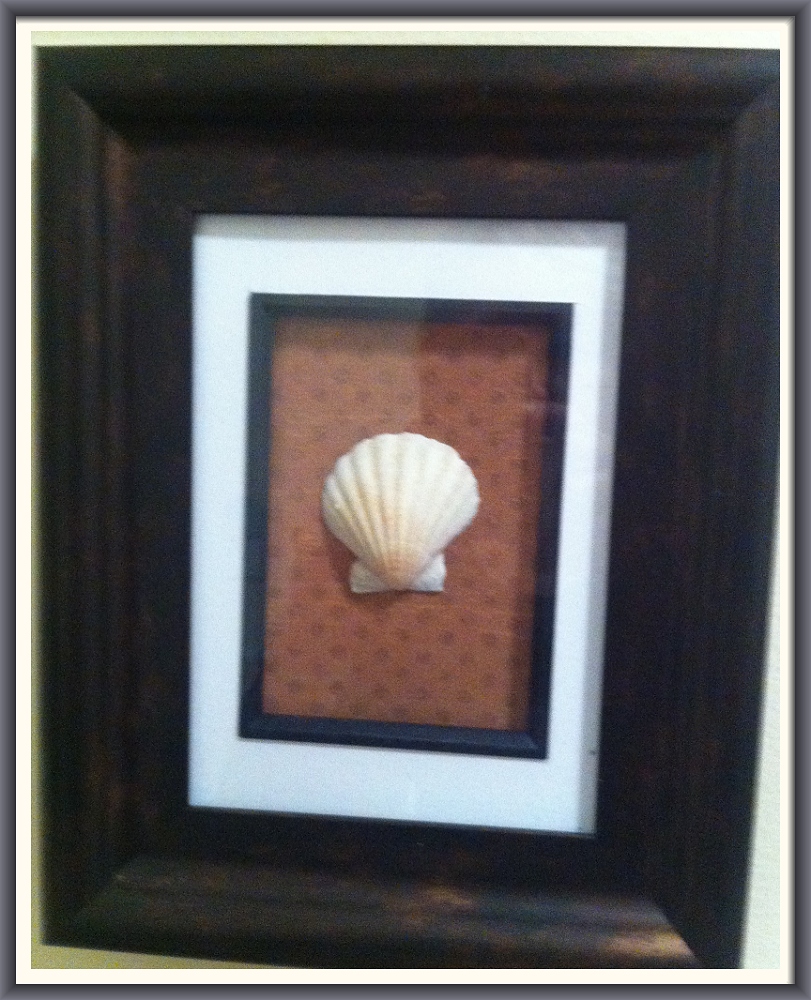
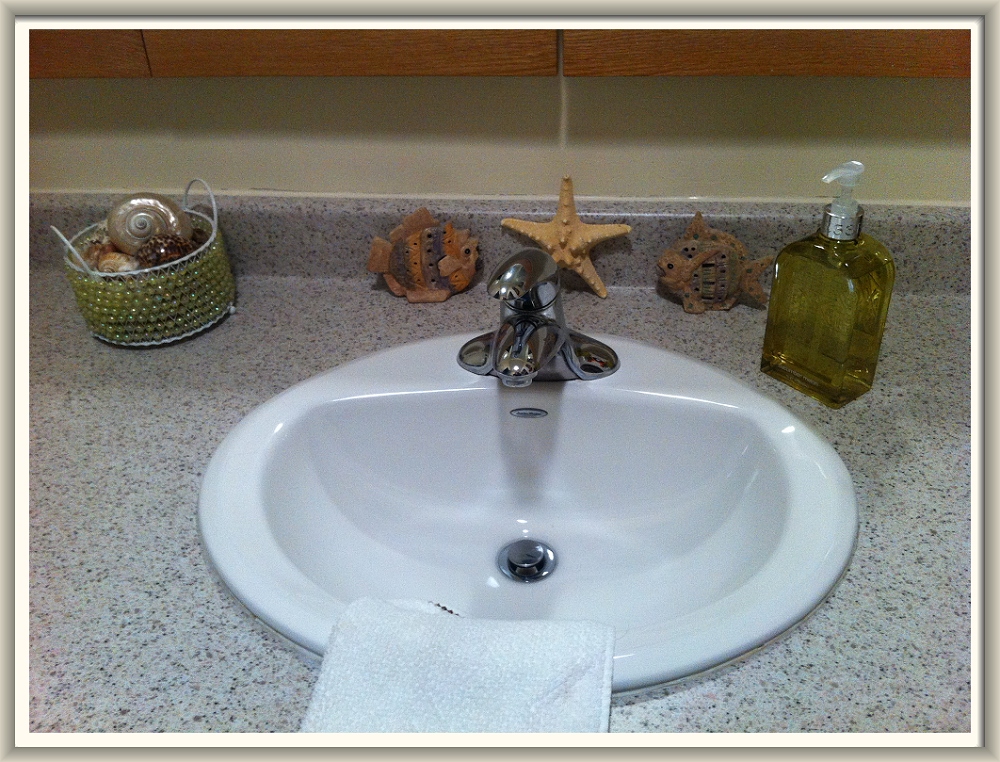
And, these aren’t all of my etchings. There’s seaweed in one corner and a tropical fish in another. (They also etched masterpieces into the mirrors in the guest bathroom, too).

Anyway, back to my paint story. I never realized how much paint colour could change my mind about a room. As soon as I started to roll the Raffia Cream onto the bathroom walls, I could feel the difference. It looked bright, clean and fresh. I can even overlook the molded tub, for a while (until I win a lottery and replaced).

I am going to take the cabinet doors, complete with their etchings, to a glass shop this week and have the mirrors replaced. So, for now, I’m very happy with our redecorated bathroom. I still have some pictures to hang on the wall, but here’s a peak… Frame_IMG_4374

Just about everything in our house has a little story behind it. For example, my husband and I collected the seashells on the east coast one year. I bought two frames at Walmart for $5 each, used a complementary sheet of scrapbooking paper for the background and, voila, wall art for $10. I bought the pitcher and its matching wash basin for $5 (for the set) at a garage sale in my neighbourhood. The silk flowers come from the dollar store. I love the touch of colour.


Frame_IMG_4366 Frame_IMG_4372


The starfish and the little fish are souvenirs from Prince Edward Island, $2 each. 

I love my seaside souvenirs!

Frame_IMG_4364

Frame_IMG_4367

…and my dollar store silk flowers in their vintage $5 vase…

Frame_IMG_4373

I even love my soap dispenser (although the cucumber-melon soap that came with it smells really awful)

Frame_IMG_4376

And, last, I love my $49 storage shelf from Homesense… it needs something colourful on it to give it some interest–I’m looking around to see what I can find in the house!

Frame_IMG_4363 I hope that, if like me, you are on a budget, you will find something in my posts to inspire you. You know, it’s easy to have a gorgeous home when money isn’t a problem. But, it’s so gratifying to make your home warm and welcoming when all you have is your piggy bank and your creativity. Check out Pinterest for lots of great ideas. I know you will find something that will spark your creative fire!!

Paint–you light up my life!

Frame_home-sweet-homeHere it is, November, and we’ve finally–after 10 months in our house–gotten around to painting the front entrance.

Our house has one large entrance, with the front door at one end and the back door at the other. When we moved in, It was painted a dreary brown colour that just sucked the light right out. And, to add insult to injury, it has pine wainscoting–lots and lots of pine wainscoting. Yep, straight out of the 19080’s. Sigh. After much thought, we left the wainscoting up for three reasons: first, we were afraid the walls underneath might be seriously damaged from all the nails; second, the amount of work involved in taking it all down was more than we were prepared to do; and, third, we are trying to do all of our home improvements on a shoestring budget. Enter: Behr Ultra Premium paint–white for the wainscoting and my favourite, Raffia Cream, for the walls! Here are the before and after photos.

Before…dark and dreary…

Frame_13 Tripp-Before (12)


Part way through–see how dark it is?

Frame_IMG_4351

And now…

Frame_IMG_4358


Frame_IMG_4383


Frame_IMG_4389


I still have to paint the back door and the closet door next to it, but for today, I’m putting down my roller and heading to my craft room!!