Magic Erasers clean ceramic tile grout…like magic!

I’ve been so busy settling into our new house that I haven’t been able to blog as much as I would like. Besides the work associated with moving and settling in, I’ve also been struggling with Fibromyalgia. The chronic muscle and joint paint and profound exhaustion are the worst parts of this little-understood illness. Anyway, I go with the flow, taking advantage of the good days to get things done and resting on the days when I am overcome by fatigue. I am blessed with a wonderful husband who is kind and compassionate and is always there to help and support me in every way, possible.

This is me and Peter. Whatta team!!

No house is perfect…

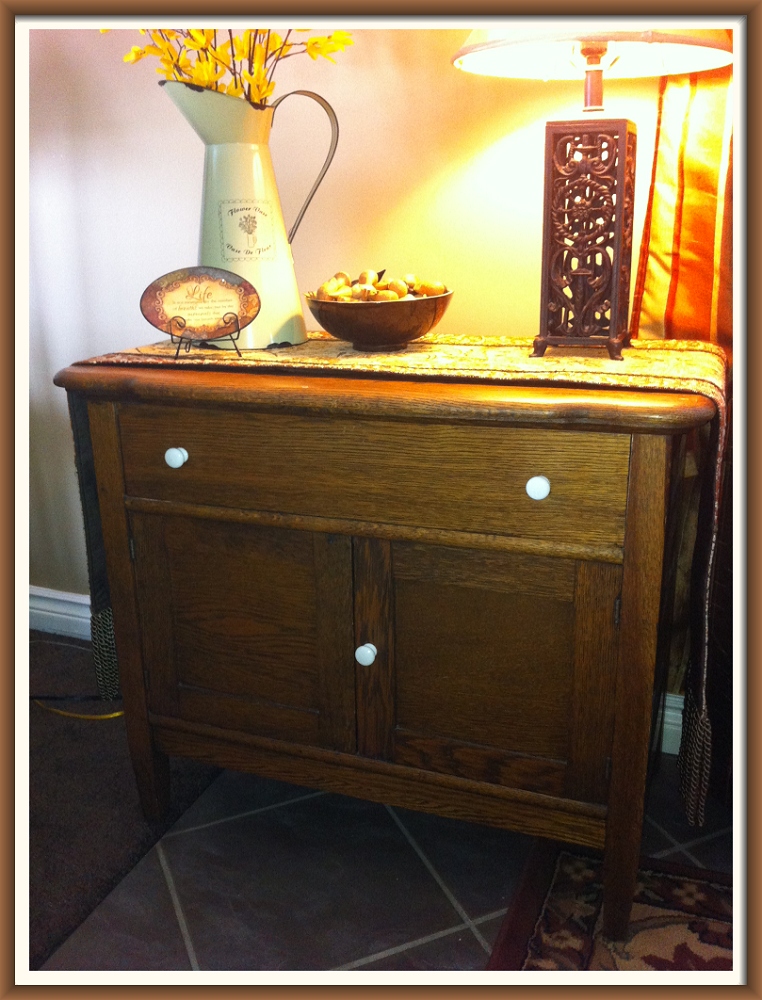
It doesn’t matter what house you buy, there are always a few things that you would like to change. While our house has “good bones,” as the designers say, there are several things we would LOVE to change. One of them is the dark ceramic floor that covers the kitchen, dining room, front and back entrances and the stairs to the basement. The tile is dark and cold and not at all in keeping with our preference for warm and cozy (I had cork flooring in the kitchen and bath in our old house). To top it off, it was filthy. Yech! I didn’t know how we would ever get it clean. But, we stumbled upon a way that works like magic!  Yep, Mr. Clean Magic Erasers clean grout like nobody’s business!  Here’s a photo that shows the dirty grout and how it looks after being washed with a Mr. Clean Magic Eraser.

Mr. Clean Magic Erasers clean grout..like magic!

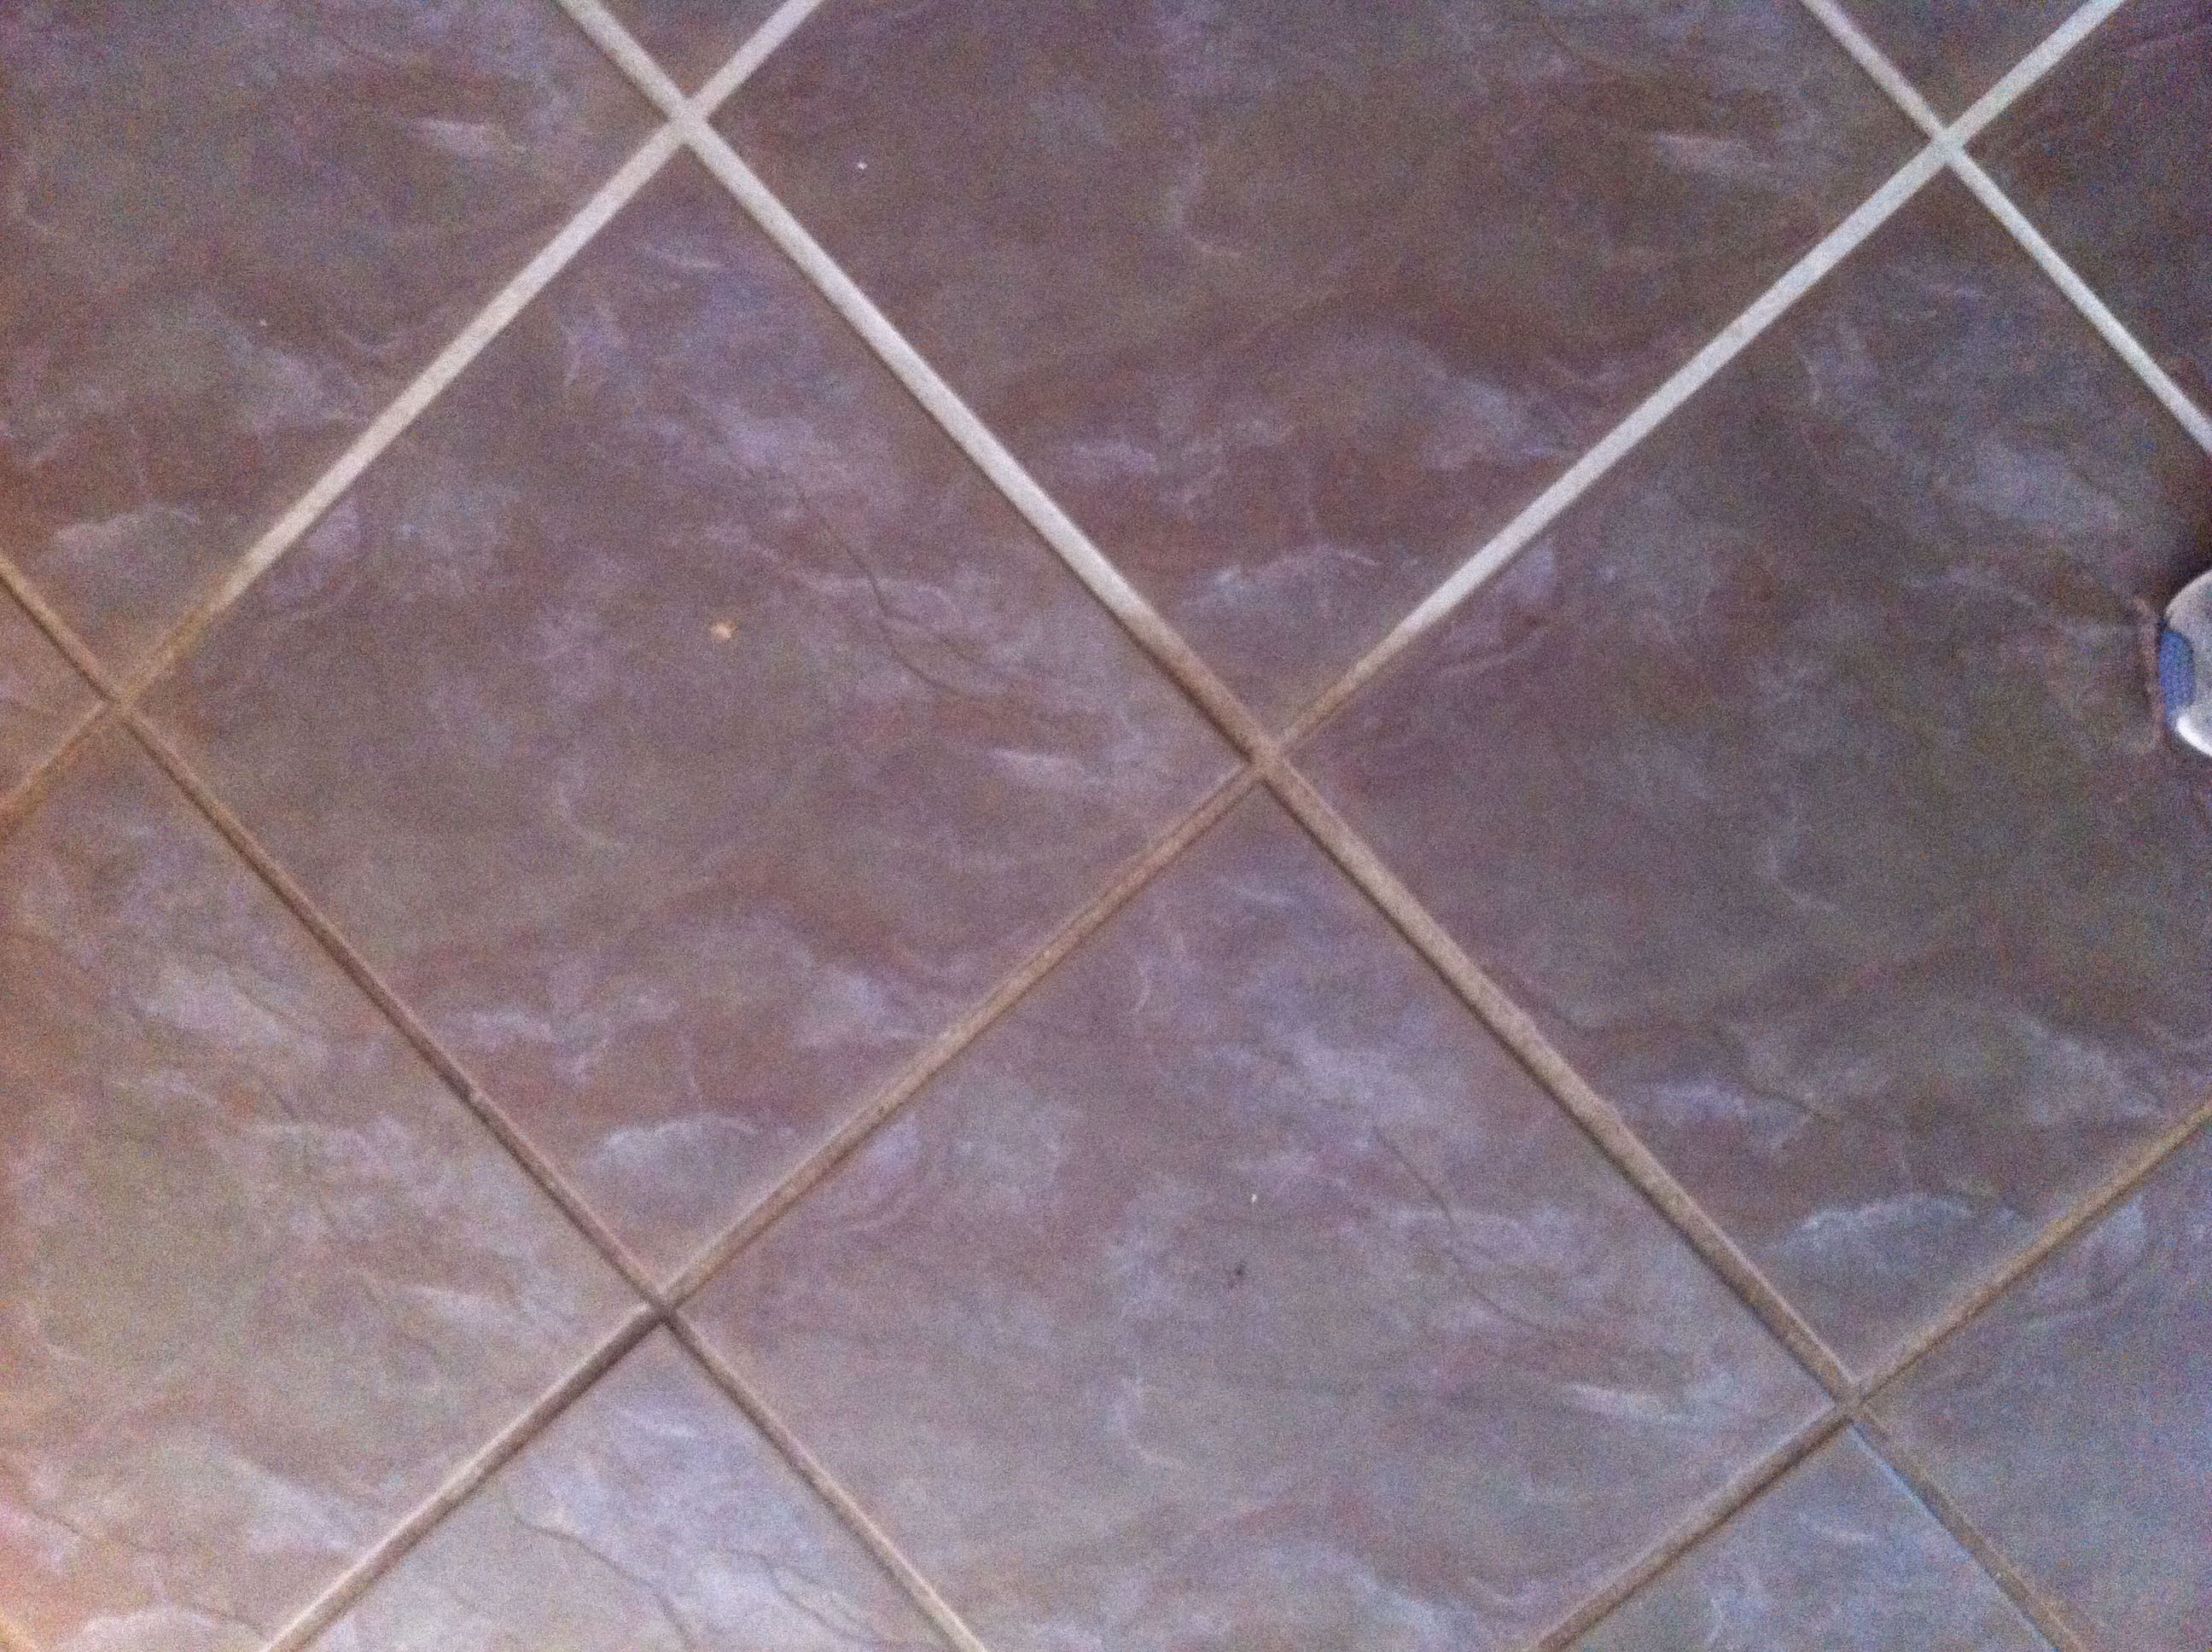
My son, Neil, and daughter-in-law, Jenn, dropped in on the day we were about to start cleaning the grout. Because I cannot get down on my knees due to a degenerative bone disease (Lord, I’m falling apart), I was trying to clean the floor with  industrial strength VIM and a sponge mop. That turned out to be a big waste of time. So my son decided to tackle it with a scrubbing brush and lots of MAN power. That worked, but what an exhausting job. So, I suggested he try the Magic Eraser–we had nothing to lose! Well, with relatively little effort, the grout went from dark and filthy to bright and clean. I swear I’m ready to do a commercial for Mr. Clean! (We were using a pail of hot water with a couple of caps of VIM in it).

To complete the job, I then went over the tiles with my H2O steam mop to ensure the floors were really clean and disinfected.

And here’s another tip: there are other magic erasers that work just as well as the Mr. Clean brand, which sell here in Ottawa, Canada, for $3.98 for a box of two. For example, our local pharmacy, PharmaPlus, sells their own brand for $1.98 for a box of two and Home Depot sells their brand for $6.98 for a box of six.

Now, I keep these magical Magic Erasers on hand for the all the toughest jobs.

I know this post wasn’t about renovating or decorating, but I really wanted to share my new-found joy with you. Thank you, for reading, and thank you, Magic Erasers!!

P.S. That photo (above) of me and Peter…that’s not how we dress when we’re cleaning house…just in case you were wondering! LOL!

Vignettes: a lovely way to display your favourite things!

Whenever I travel or even when I just take a walk in the park, I always come home with my pockets and bags filled with sea shells, pine cones, rocks, leaves and twigs. These really are some of my favourite things–and, best of all, they’re free!

I also love old, sturdy pieces of furniture that don’t come with an assembly sheet in 16 languages and a hex key. Remember when furniture used to come built and ready to use?  And it used to last from generation to generation! That said, here is one of my favourite pieces–it’s an old oak wash stand that I bought for $80 at an antique barn somewhere in the Ottawa Valley (can’t remember where it was, darn!).

Frame_VignetteDR-3

It’s a charming little piece that can be used in any room in my house. As  you see it here, it’s in a space between the dining area and the living room (kitchen, dining and living rooms are all wide open). It adds some sense of division, without creating a barrier. This funny little cabinet came with just three knobs–there never was a fourth. Anyway, I bought some antique ones and will, eventually, put them on–all four of them.

Frame_VignetteDR-2

The gorgeous cast iron lamp comes with a story, too: one warm summer’s day, my daughter and I took a walk near her home in Carp. We came across a house owned by a lady who collects all sorts of treasures, like this lamp, and sells them every Saturday morning at a garage sale. I fell in love with the lamp, so my daughter knocked on the lady’s door and asked her how much she wanted for the lamp. “Nothing,” she said, “if your mom likes it, it’s all hers.” That was a deal I couldn’t turn down. When I got home, I added a silk champagne-coloured lamp shade that had been sitting in my basement for a couple of years. They make a beautiful couple!

Frame_VignetteDR-1

The “vintage” metal pitcher is my $7 Walmart find; the pretty silk flowers come from Dollarama.

Frame_VignetteDR-5

These hand-carved chess pieces were given to me in 1974 by a military friend who had been stationed in Africa. She bought the entire set for a dollar! I gave them to my dad for his birthday in 1975. After he passed away in 1995, I asked my mom if I could have them back, as a keepsake. I’ve never figured out a good way to display them, so when I unpacked them this time, I put them in a bowl ($2 in a sale bin at Pier One Imports). Now, every time I look at them, I think of my dad and that funny grin he got on his face when he was about to say, “checkmate!

Frame_VignetteDR-4

This pretty little oval plate on a stand is another one of my Dollarama treasures. I bought it because I liked the message on it and because the colours made me happy! For me, value is all about how something makes me feel, regardless of the numbers on the price tag.

The oval mirror above the wash stand was left to me by my great-aunt, Dorothy. It matches several other pieces of furniture that date back to the mid-1930s and have passed the test of time.

And, last but not least, the brocade table runner is a heavy woven fabric, fully lined and trimmed with braiding and a deep fringe on each end. This lovely piece was $6 at the Christmas Tree Shop in Vermont.

In summary, here are my costs for this vignette:

Wash stand: $80

Lamp: Free

Pitcher: $7

Flowers: $3

Oval plate: $1

Brocade runner: $6

Bowl: $2

Mirror: Inherited

TOTAL: $99 

I hope this inspires you to take out some of your treasures and group them together in a pretty vignette!

From harsh to homey: paint colour makes an impact

When I first launched Home at Last, I thought it would be mostly about renovating this 1972 bungalow we just bought. But, the more we scrubbed and cleaned and organized, the more we realized that turning this old house into a home might just be more about redecorating than actually renovating.

After virtually disinfecting every square inch of the kitchen and main bathroom, we tackled the master bedroom. It was, to put it politely, a little off beat. For example, a four-inch strip around the perimeter of the ceiling was painted navy blue.  Butting up against it, was the crown molding, which was painted a very dark brown. The sharp contrast between these stark colours and the neutral walls (which we repainted a softer neutral) made the room look like a big box.

Frame_MBDR Trim in progress

Just to make the whole paint situation a little more challenging, one wall in the master bedroom was also painted deep dark navy…sigh…how hard is that to cover?

So, remembering my skinny budget, and with a burning desire to get rid of these dark and depressing colours as quickly and easily as possible, I decided to buy a paint that had  the primer built in. Off to Home Depot for a couple of gallons of Behr’s Raffia Cream–with primer!

The plan, of course, was to restore the navy edging on the ceiling and crown molding to their original white colour. To save money and time, I gave them a coat of the Raffia Cream. The built-in primer really provided good coverage after just one coat. Now, it would be easier to apply the white paint (it still took two coats of white paint).

Next, we moved on to the walls. My husband, Peter, was super anxious to see the last of that navy wall! Have you ever seen a husband look happier to be painting? (Go Peter, go Peter!)

Frame_MBR-Peter painting

It took us a couple of days to turn this formerly severe, boxy room  into a tasteful and inviting master bedroom. Bearing in mind that we don’t live in a castle, nor do we make a  million dollars a year, here is our lovely new bedroom.

Frame_MBDR2-after

As you can see, I love warm, rich colours. By keeping the walls neutral, the room sort of opens its arms to you…rather than being smacked in the head by an aggressive wall colour.

Frame_MBDR3-after Frame_MBDR4-after

I must apologize for the poor quality of the photos, which I took with my iPhone–my camera is still packed!

P.S. You have probably noticed the mirrored closet doors and may be thinking, “eww, how “80s!” Well, that’s okay, that’s what I thought when I first saw them, too. But, we live in such a throw-away society on a planet that is running out of space for garbage, that I decided to “live with them” for a while to see if anything terrible would happen. So far, I am happy to report that we are all well and have remained mentally stable. In fact, I rather like the extra light that they add to the room. You know what they say, “everything old is new, again!”

Stay tuned for my next post which will let you in on some sweet secrets and simple tips for creating eye-catching vignettes in every room of your home. And, yes, there will be some dynamite renos, too! You won’t believe what one of the former owners built in the front entrance–you WILL have to SEE it to BELIEVE it!!!

Key Day!!

It’s Key Day! We’re home, at last!

We’re up to our ears in cleaning and painting and moving in boxes, lamps, plants and anything else that will fit into my Versa hatchback and my husband’s SUV. But, I couldn’t let another day go by without writing at least a short post. So, here we are on Thursday, January 4, 2013, about to enter our new home. I wouldn’t set foot in the house until I had  photos of both myself and my husband, Peter, putting the key into the lock for the first time.

Frame_Peter on Key Day

Frame_Frame_Gloria on Key Day

And, now, back to our regularly scheduled programming…er…painting, that is!

More to come!