Our kitchen reno, finally!

Little changes can make a big difference.

cropped-New-header-front-of-house-2.jpgWhen we moved into our house in January 2013, I was in love with my kitchen–more or less. It’s big and bright, has a perfect work triangle and tons of storage. I wasn’t crazy about the colour of the cabinets or counter tops, but I knew they could be changed. I really like to preserve and update what we have, rather than just tossing things into the landfill and the cabinets are solid maple and in excellent condition–all good reasons for keeping them. Also, it would have been very expensive and quite extravagant, really, to replace all the cabinets, so we decided to keep them and change the really ugly stuff. (I’m going to live with them for a while and perhaps one day I will have them painted white…although that is doubtful, given that the estimate to have them professionally refinished is about $5,000.  Hmmm…i’ll have to give this one a lot of thought).

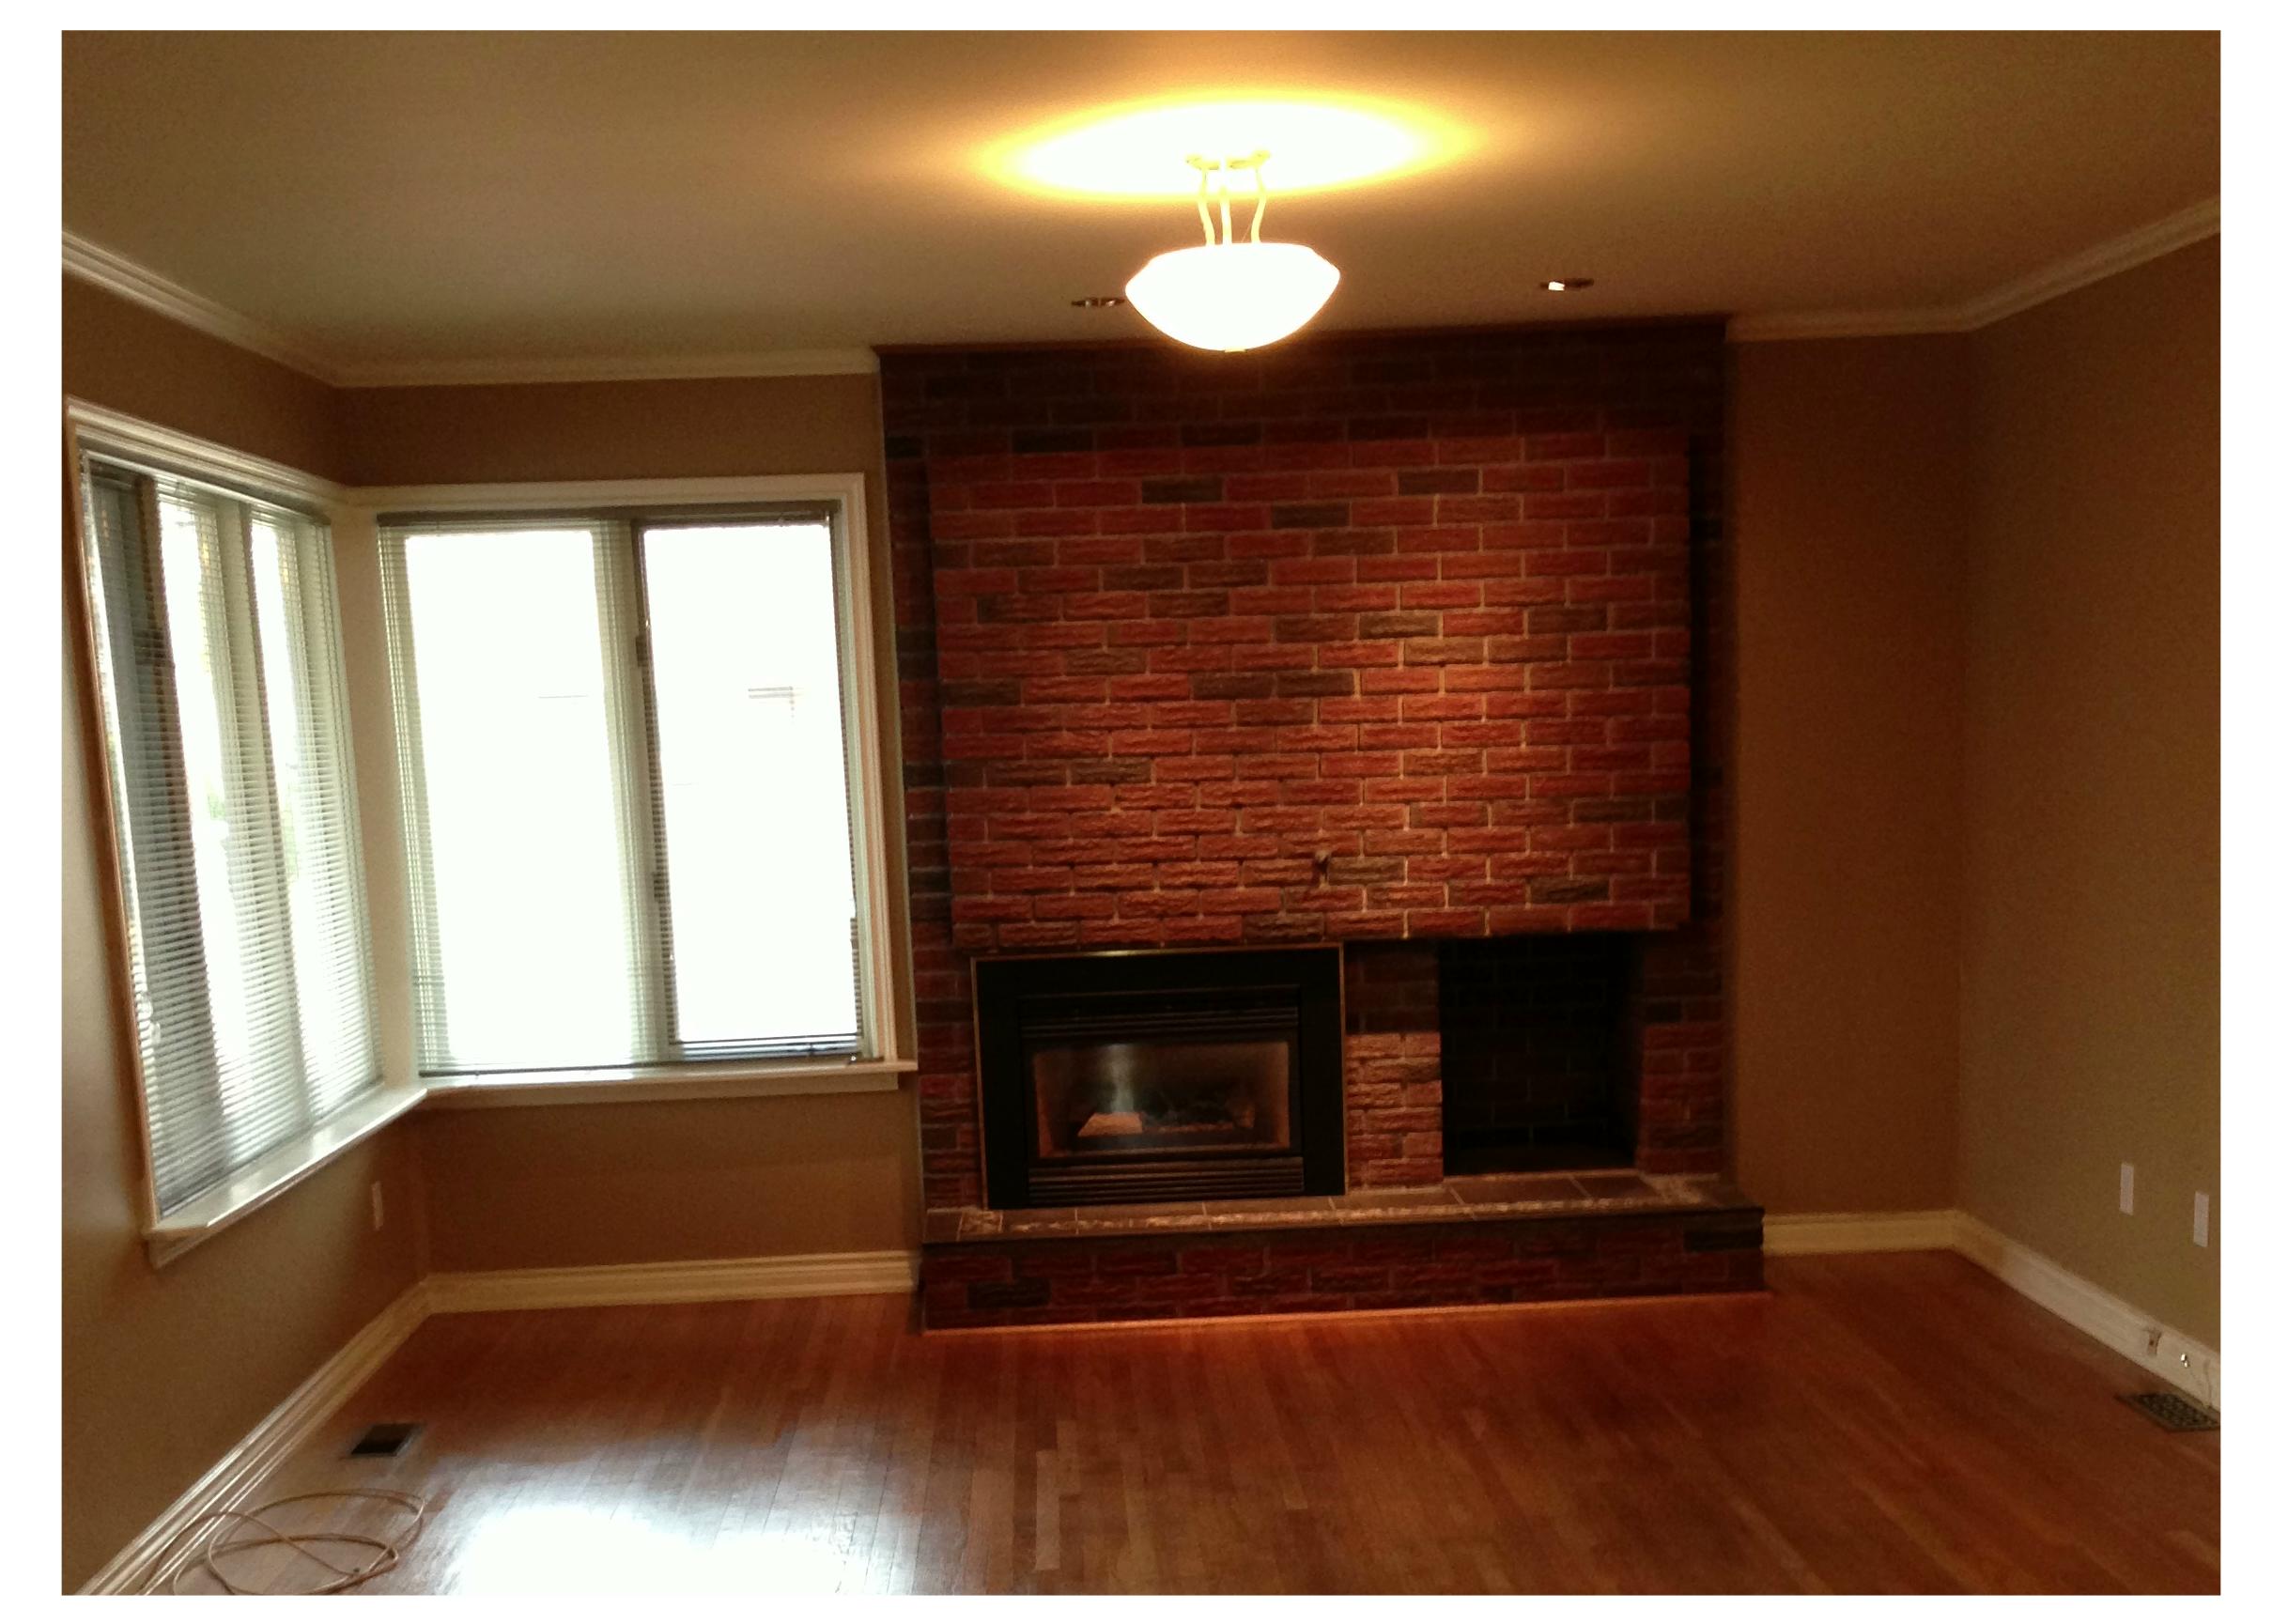
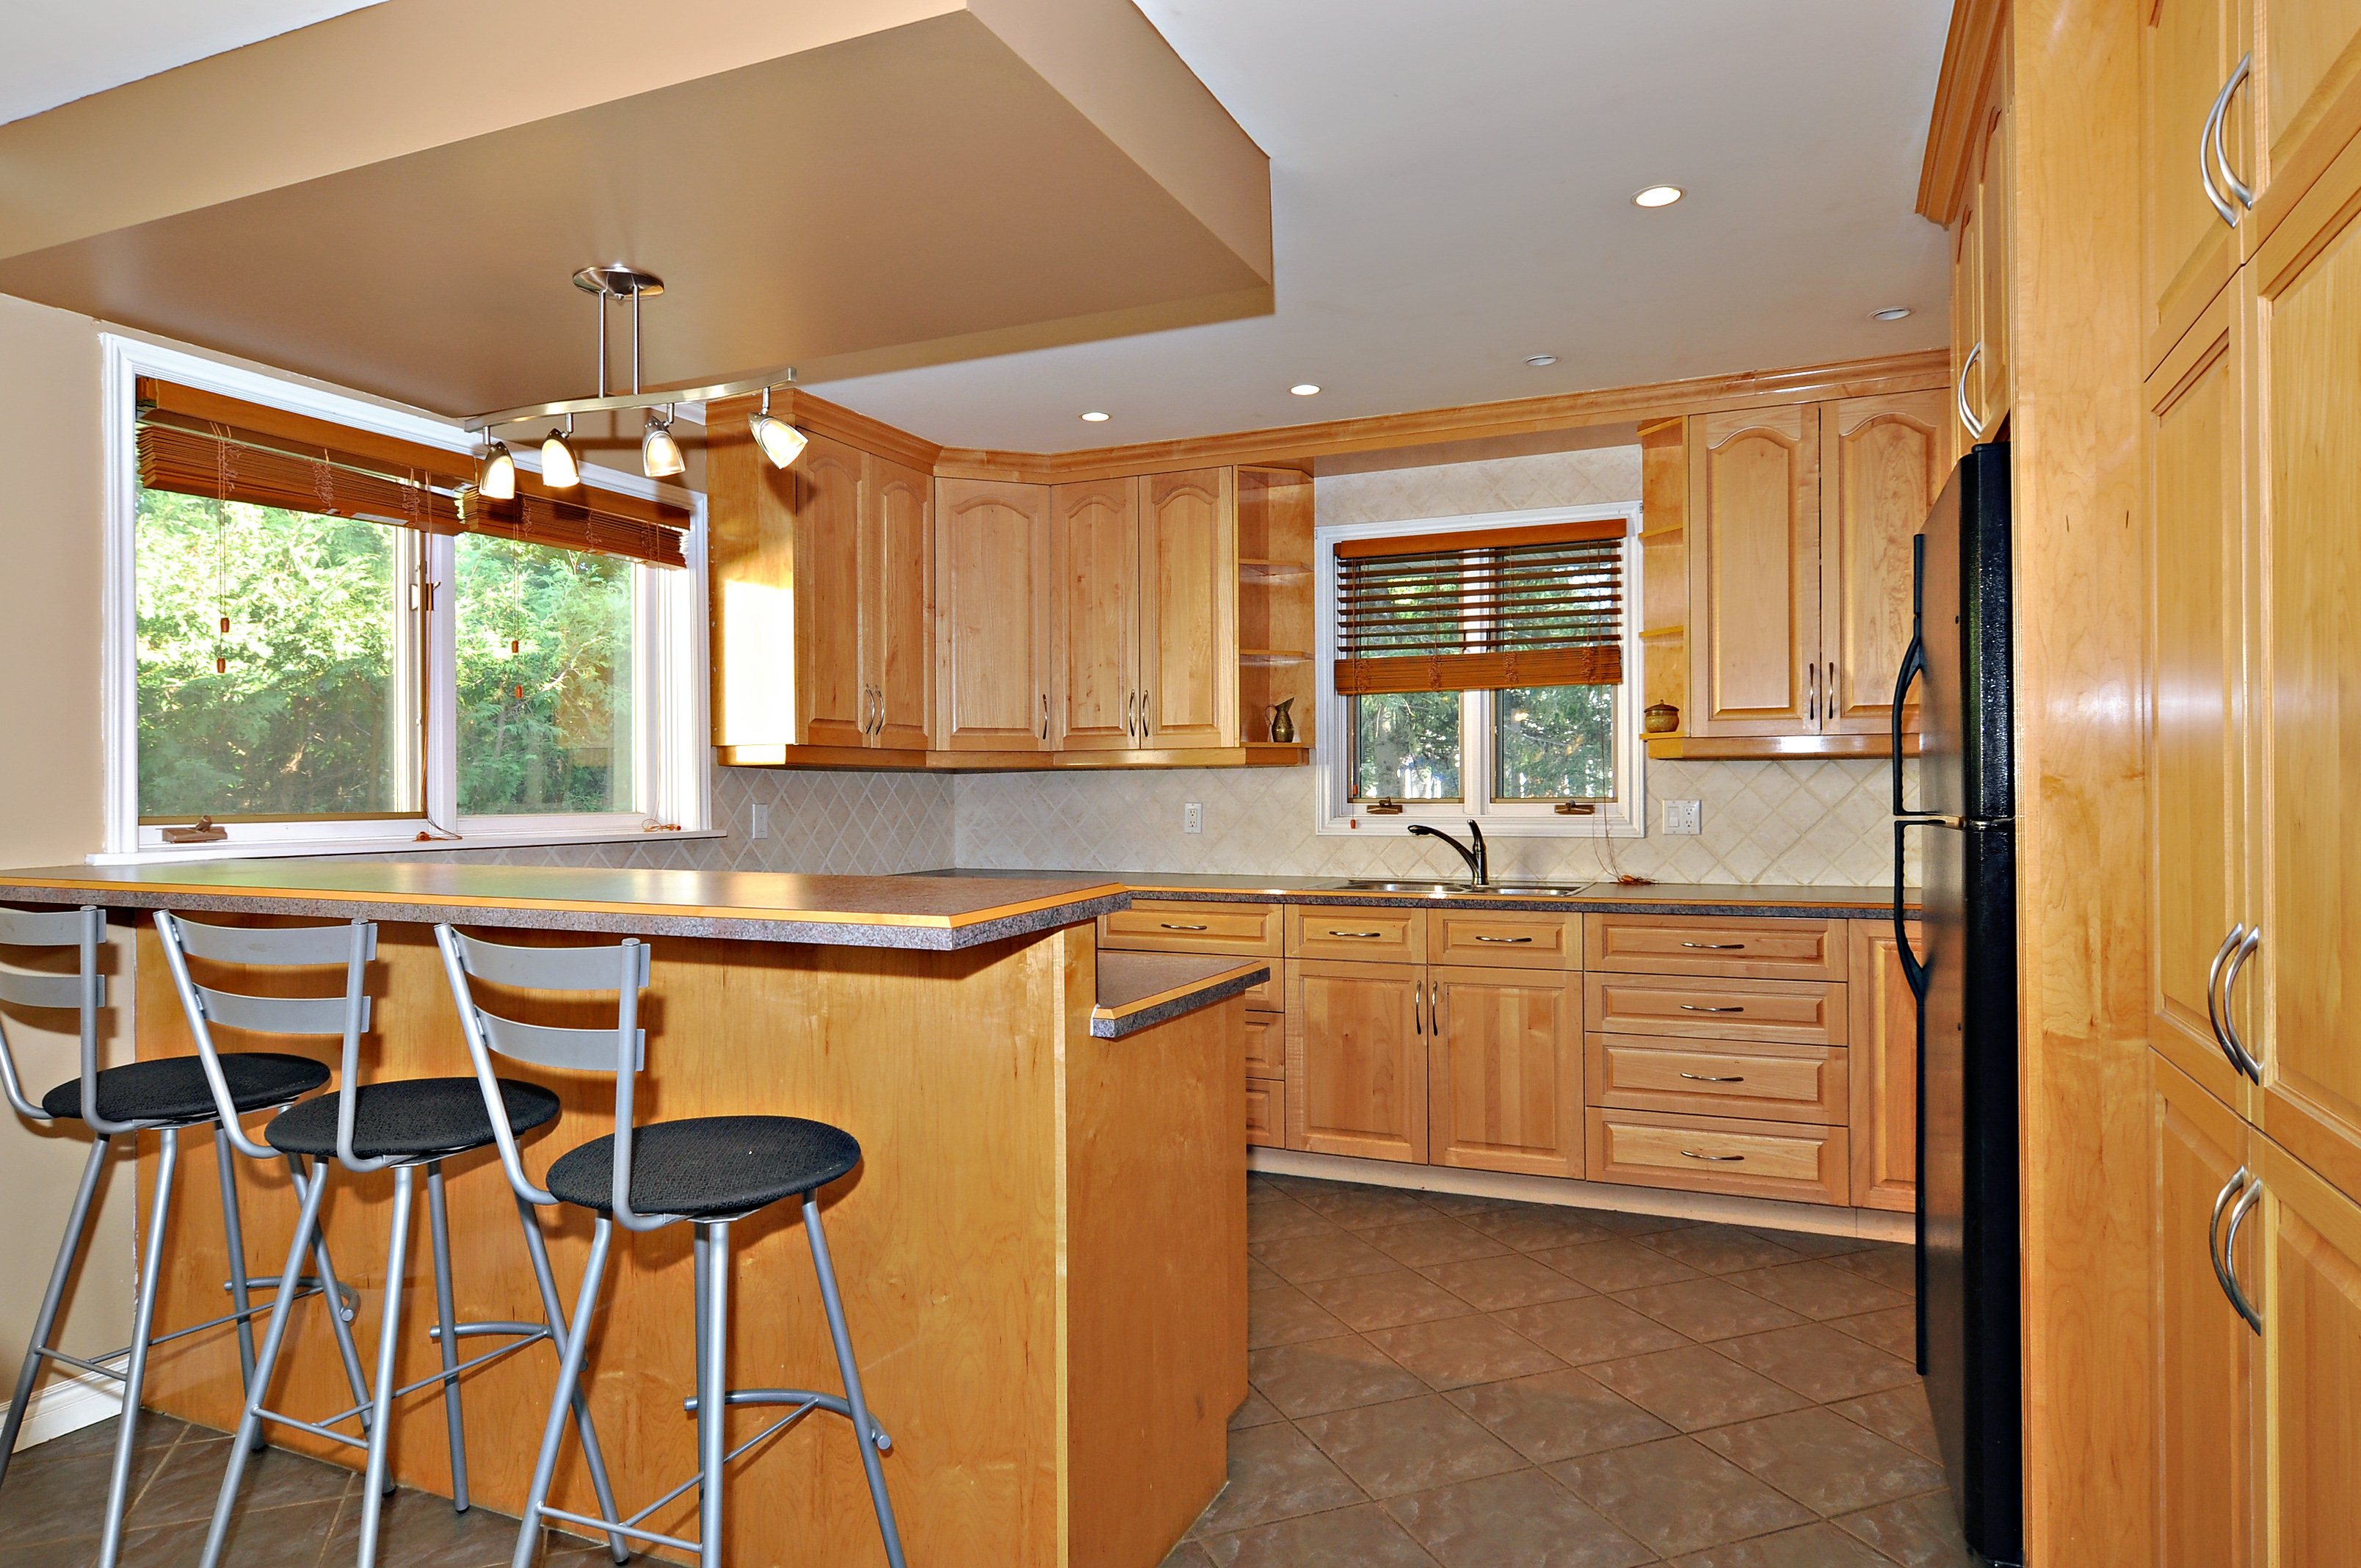
Here are the photos of the kitchen as it looked when we bought the house. You can see it had great potential, but the dark gray counter tops were just so dreary.

BEFORE…dark gray counter tops, outdated back splash and hardware that did nothing to enhance the cabinets.
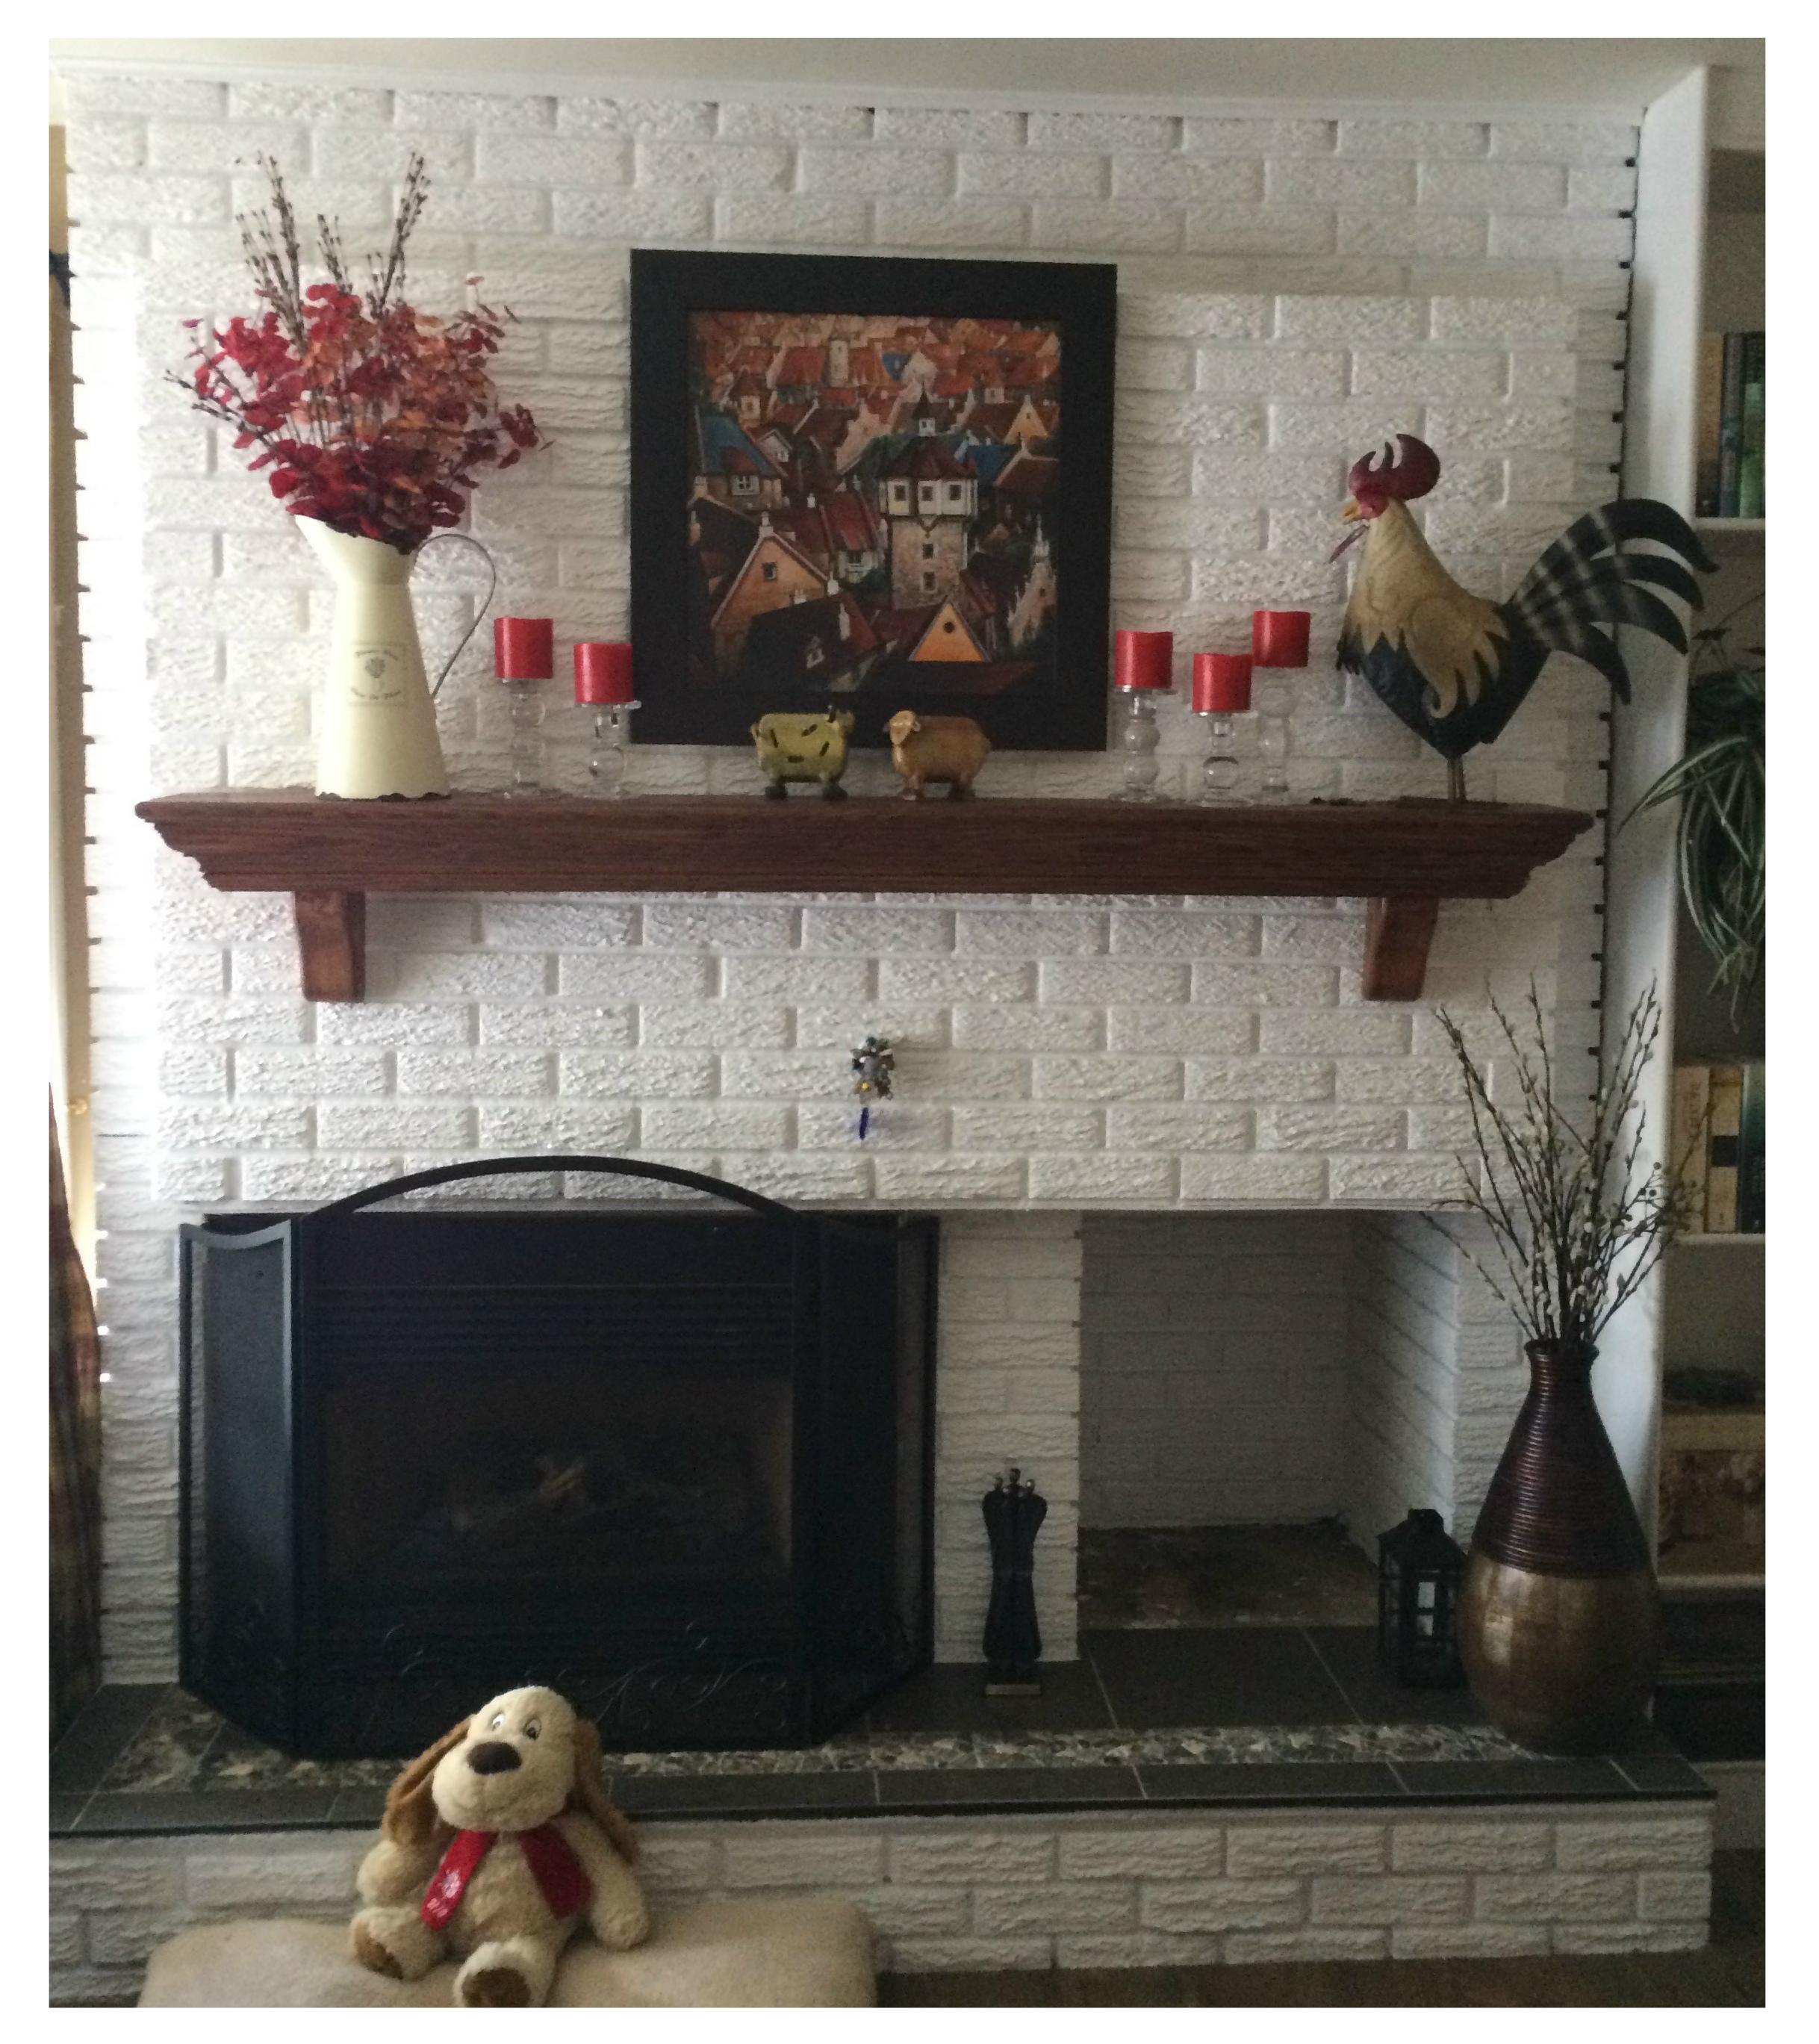
13_tripp_crescent_mls_hid746807_roomkitchen4

AFTER…dscf2074

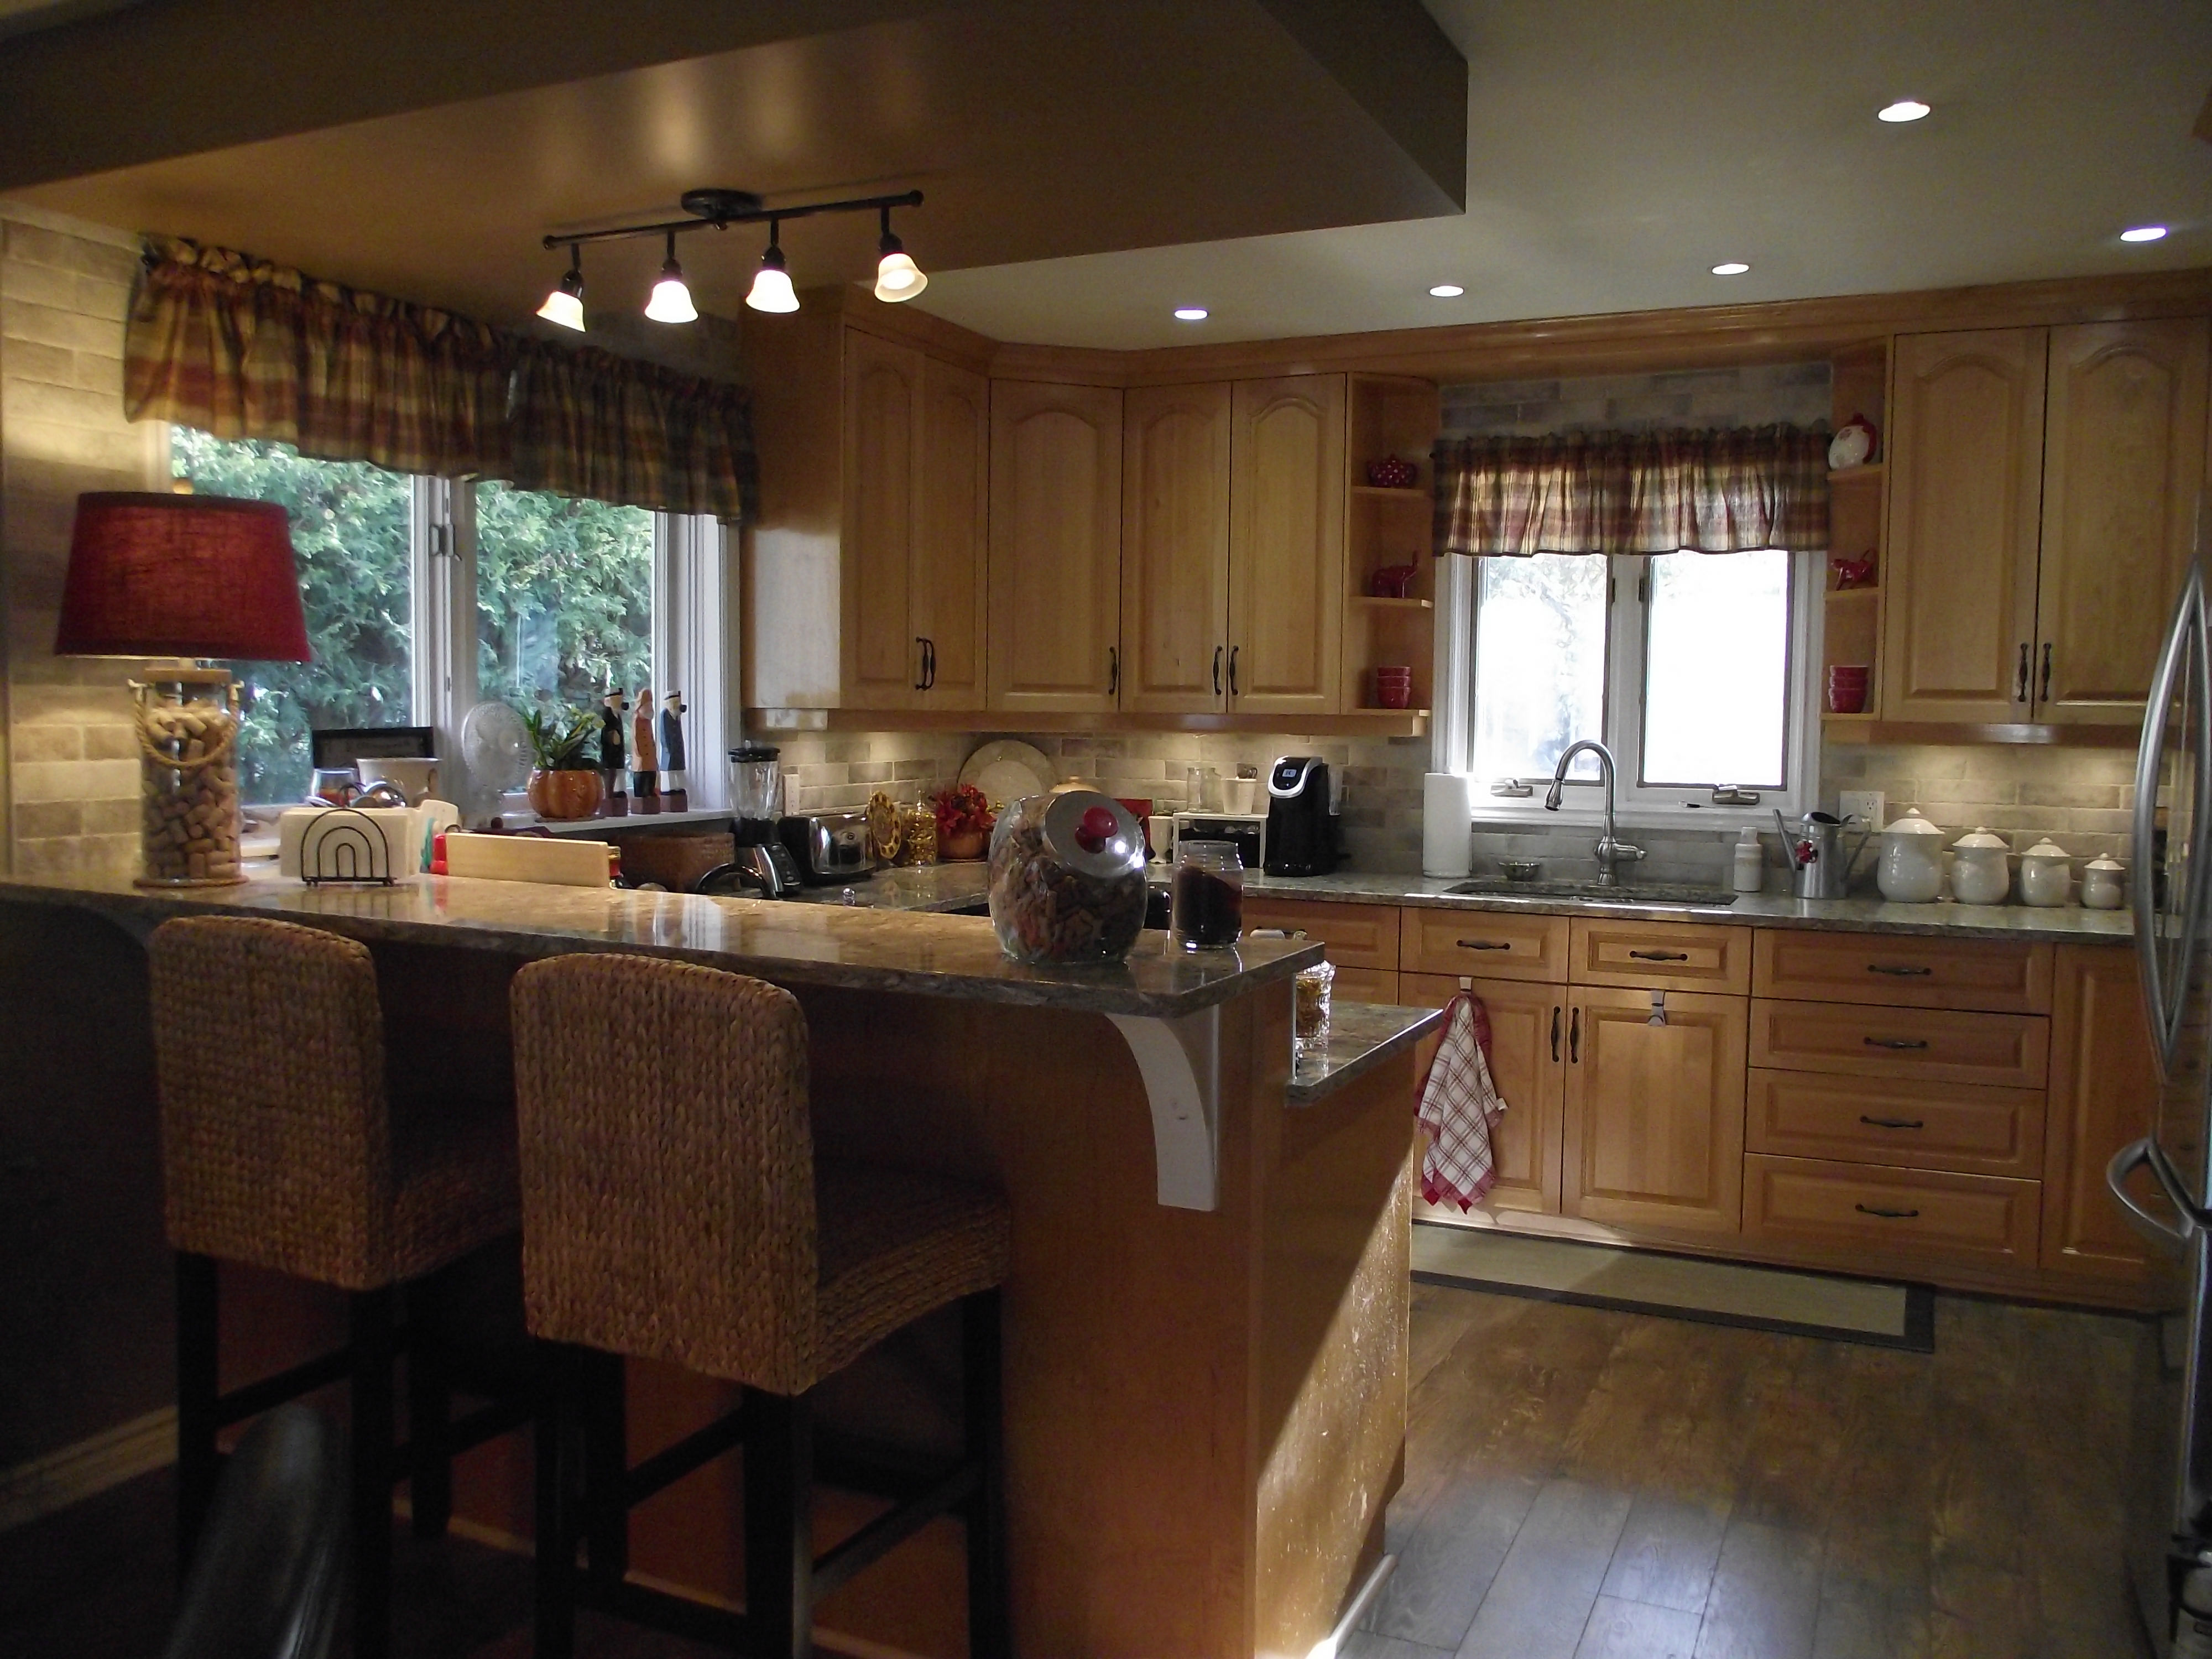
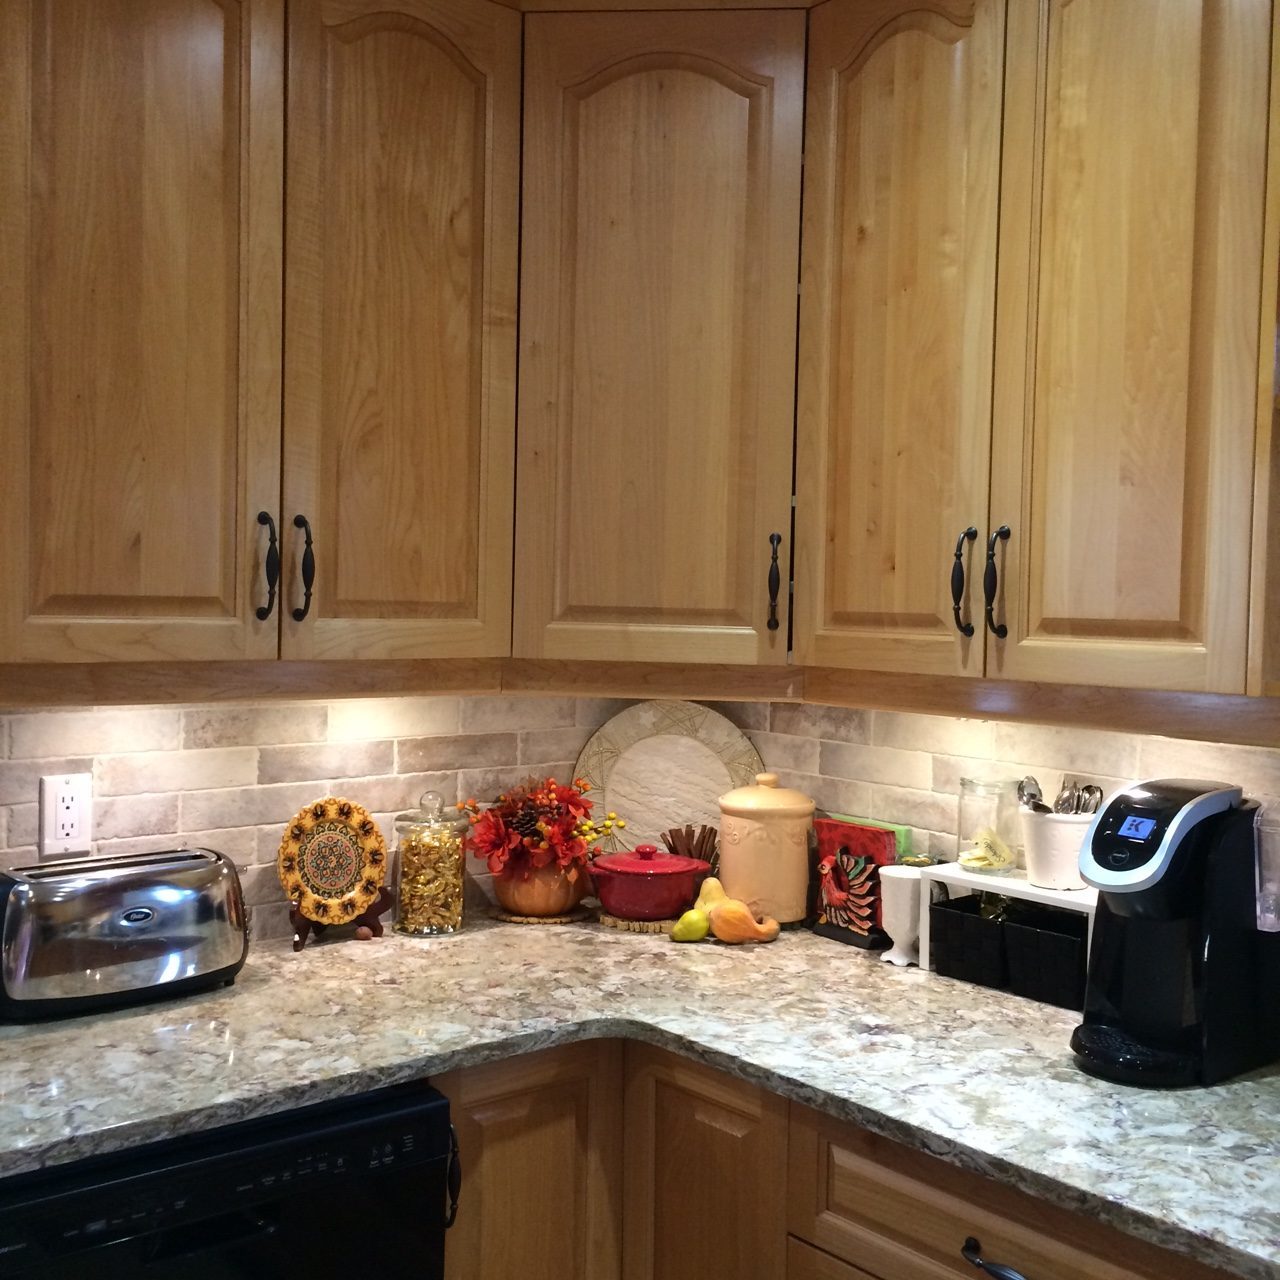
A CLOSER LOOK…quartz counter top, brick back splash and black handles that pop!
img_8686

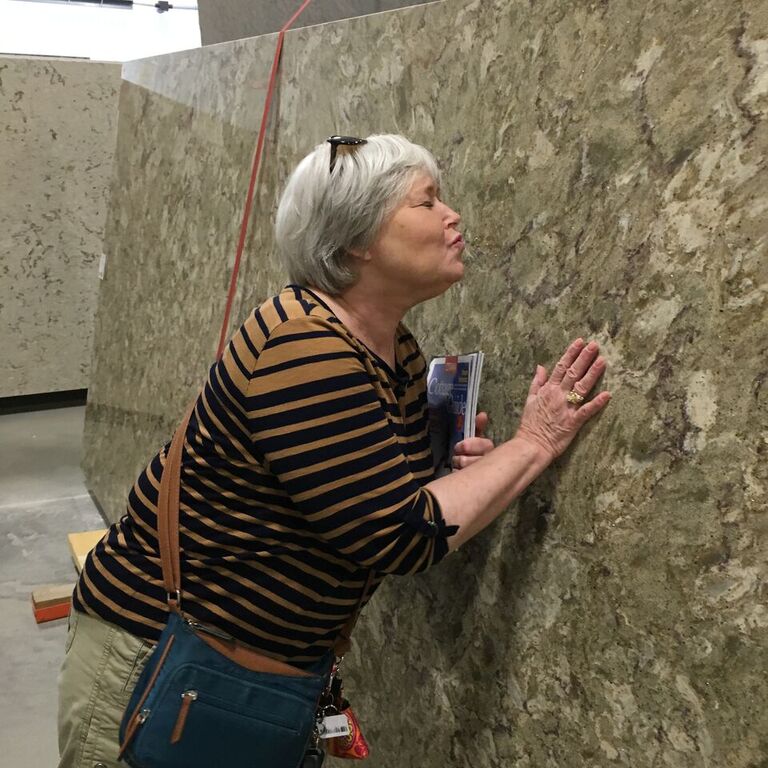
We have so much counter space that we had to buy two slabs of granite…ykes! But, it is a beautiful piece of stone.

gloria-kissing-quartz-counter-top-july-2016

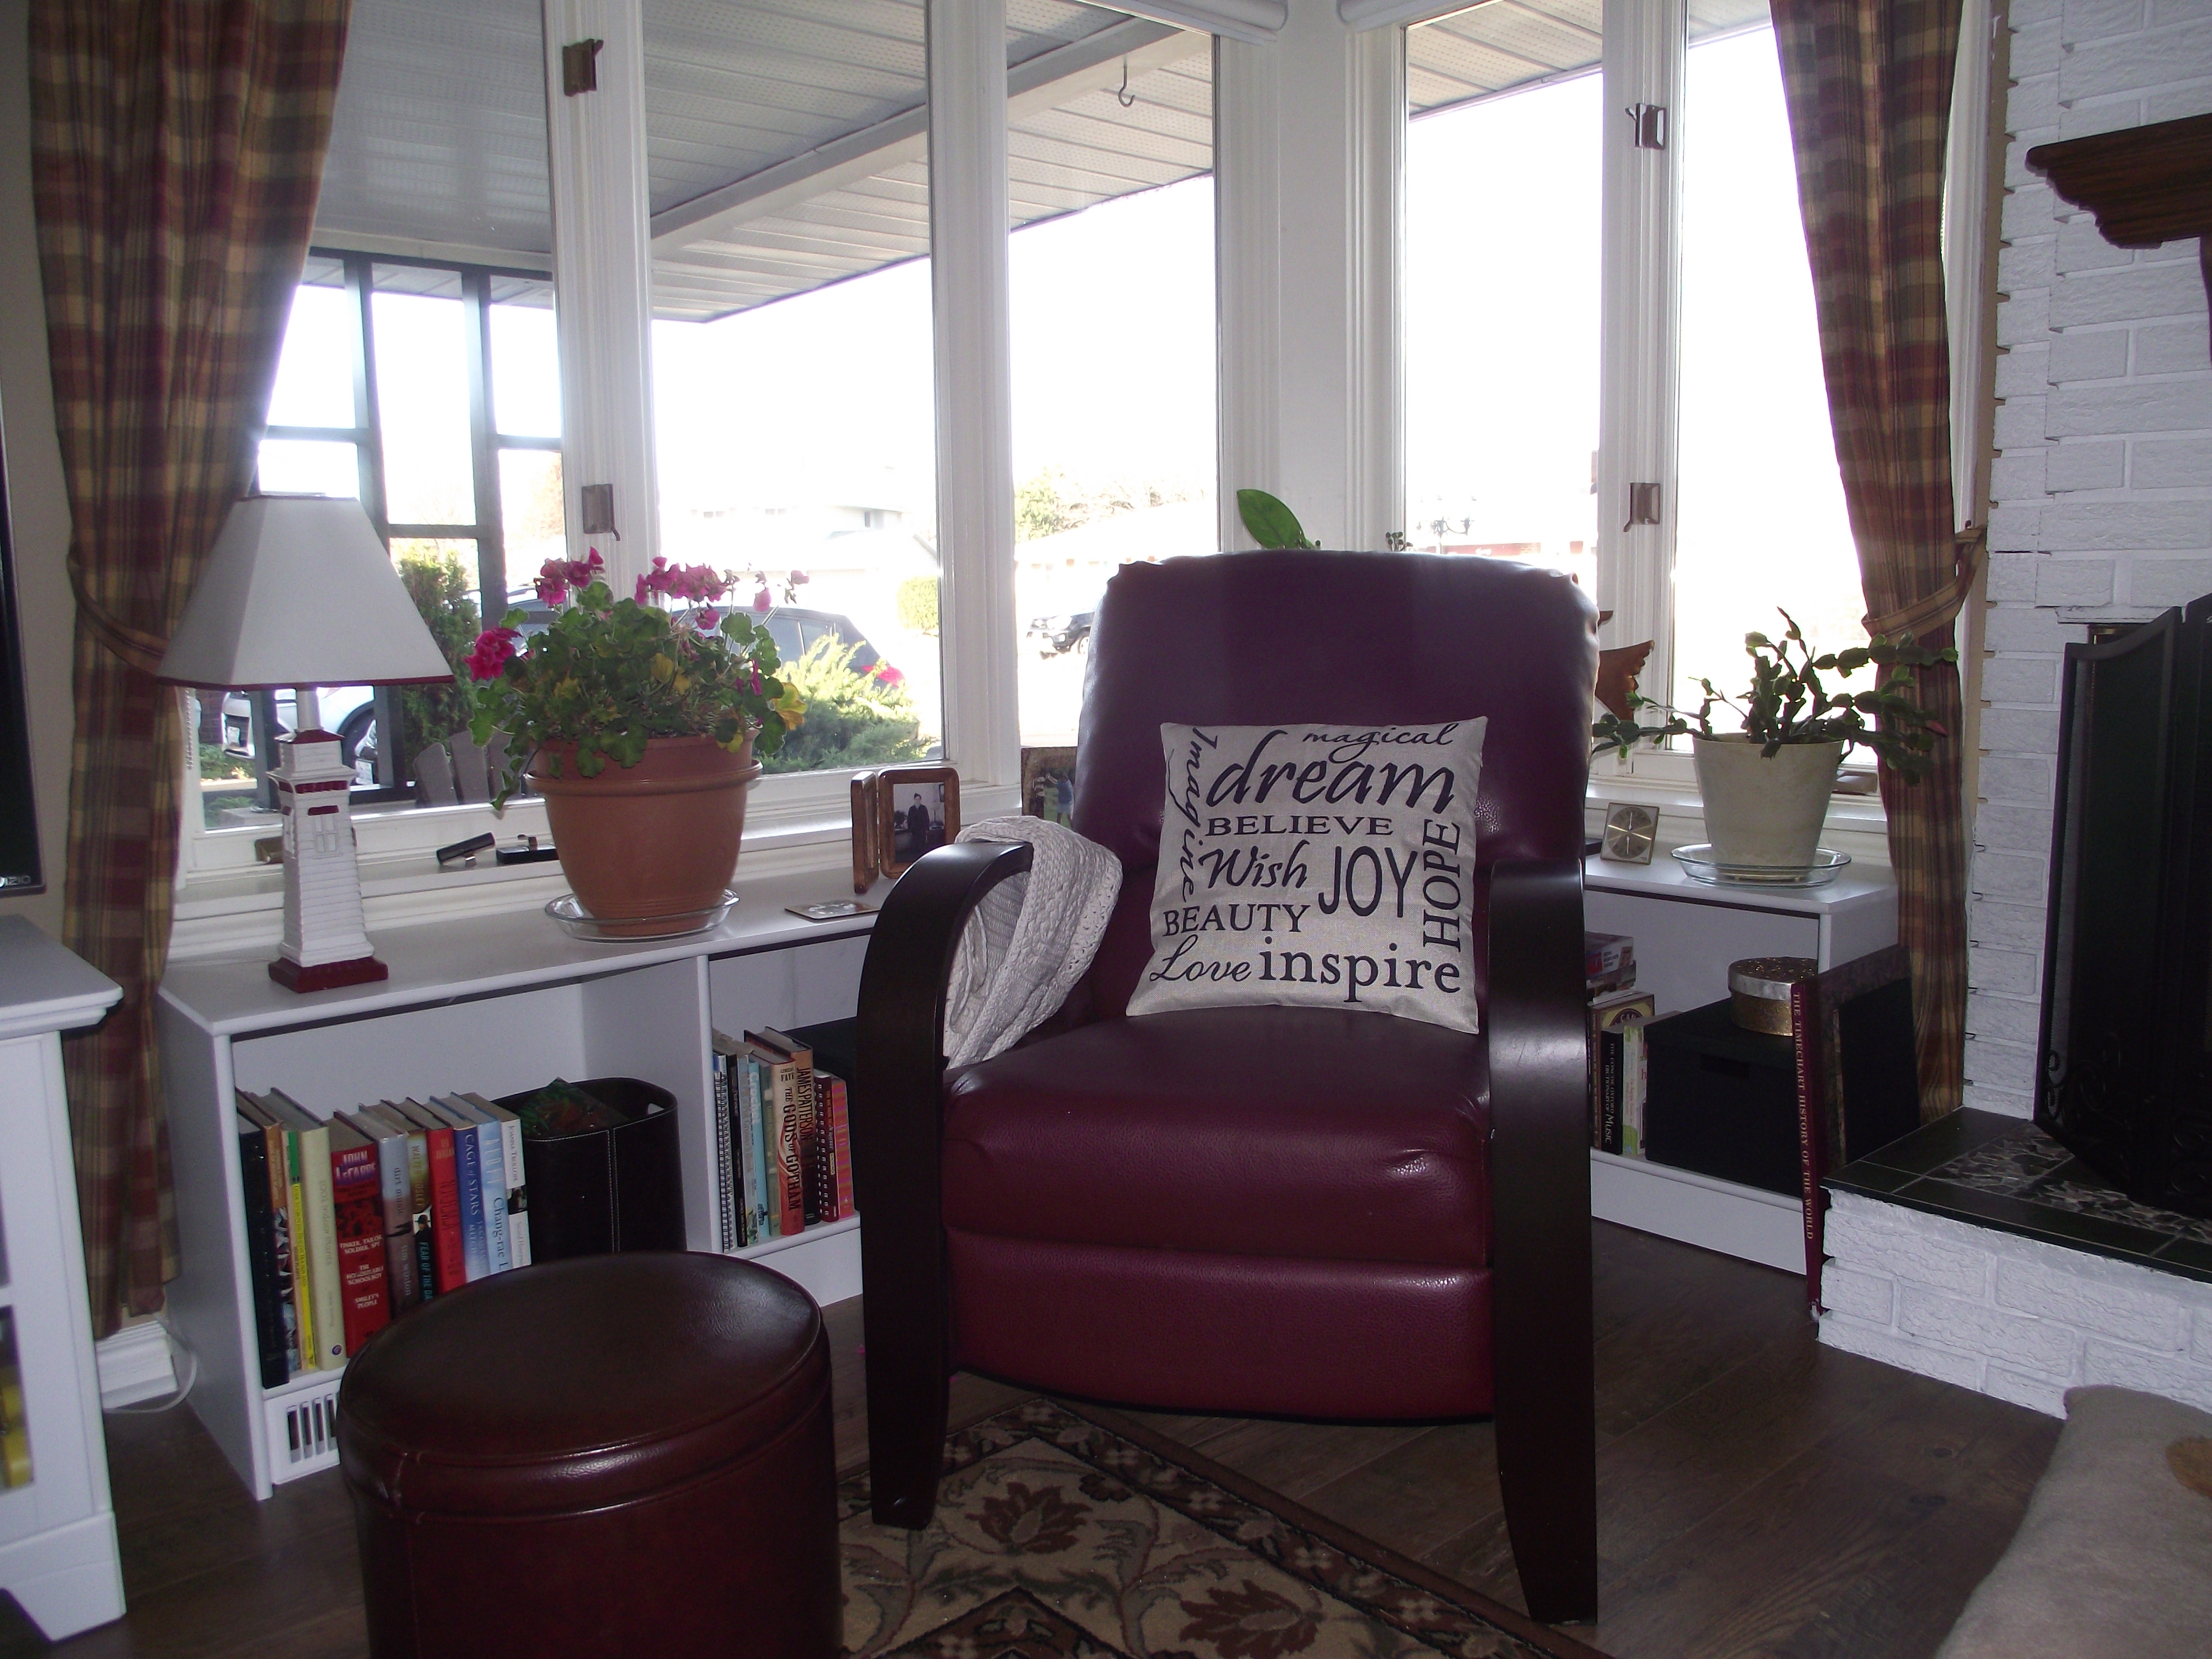
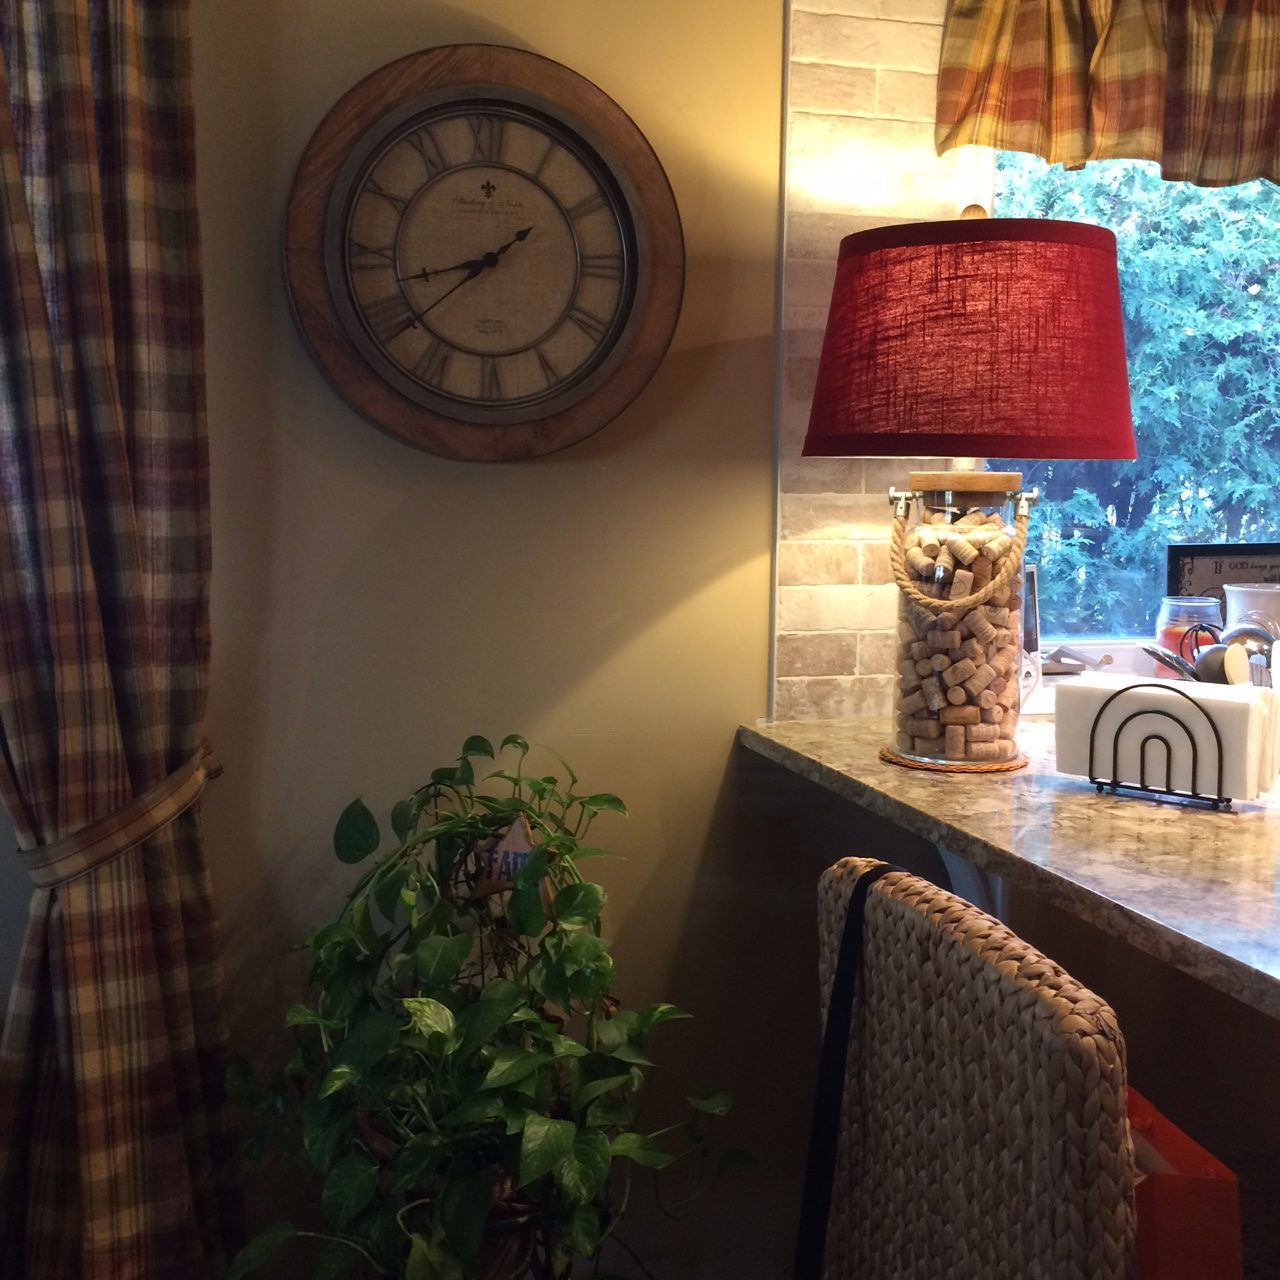
I carried the brick right up over the windows to add interest and I added some pretty bar stools that I bought on sale when Target went out of business here in Ottawa. This photo captures a few of my favourite things: the gorgeous lamp I bought for a steal at Walmart (of all places) and filled it with wine corks; the pretty clock my mom gave me for Christmas last year; and the plaid curtains and valances I bought on Amazon for a fraction of the price I would have paid elsewhere. Our style could be described as casual/country/farmhouse chic…pretty much.

img_8687

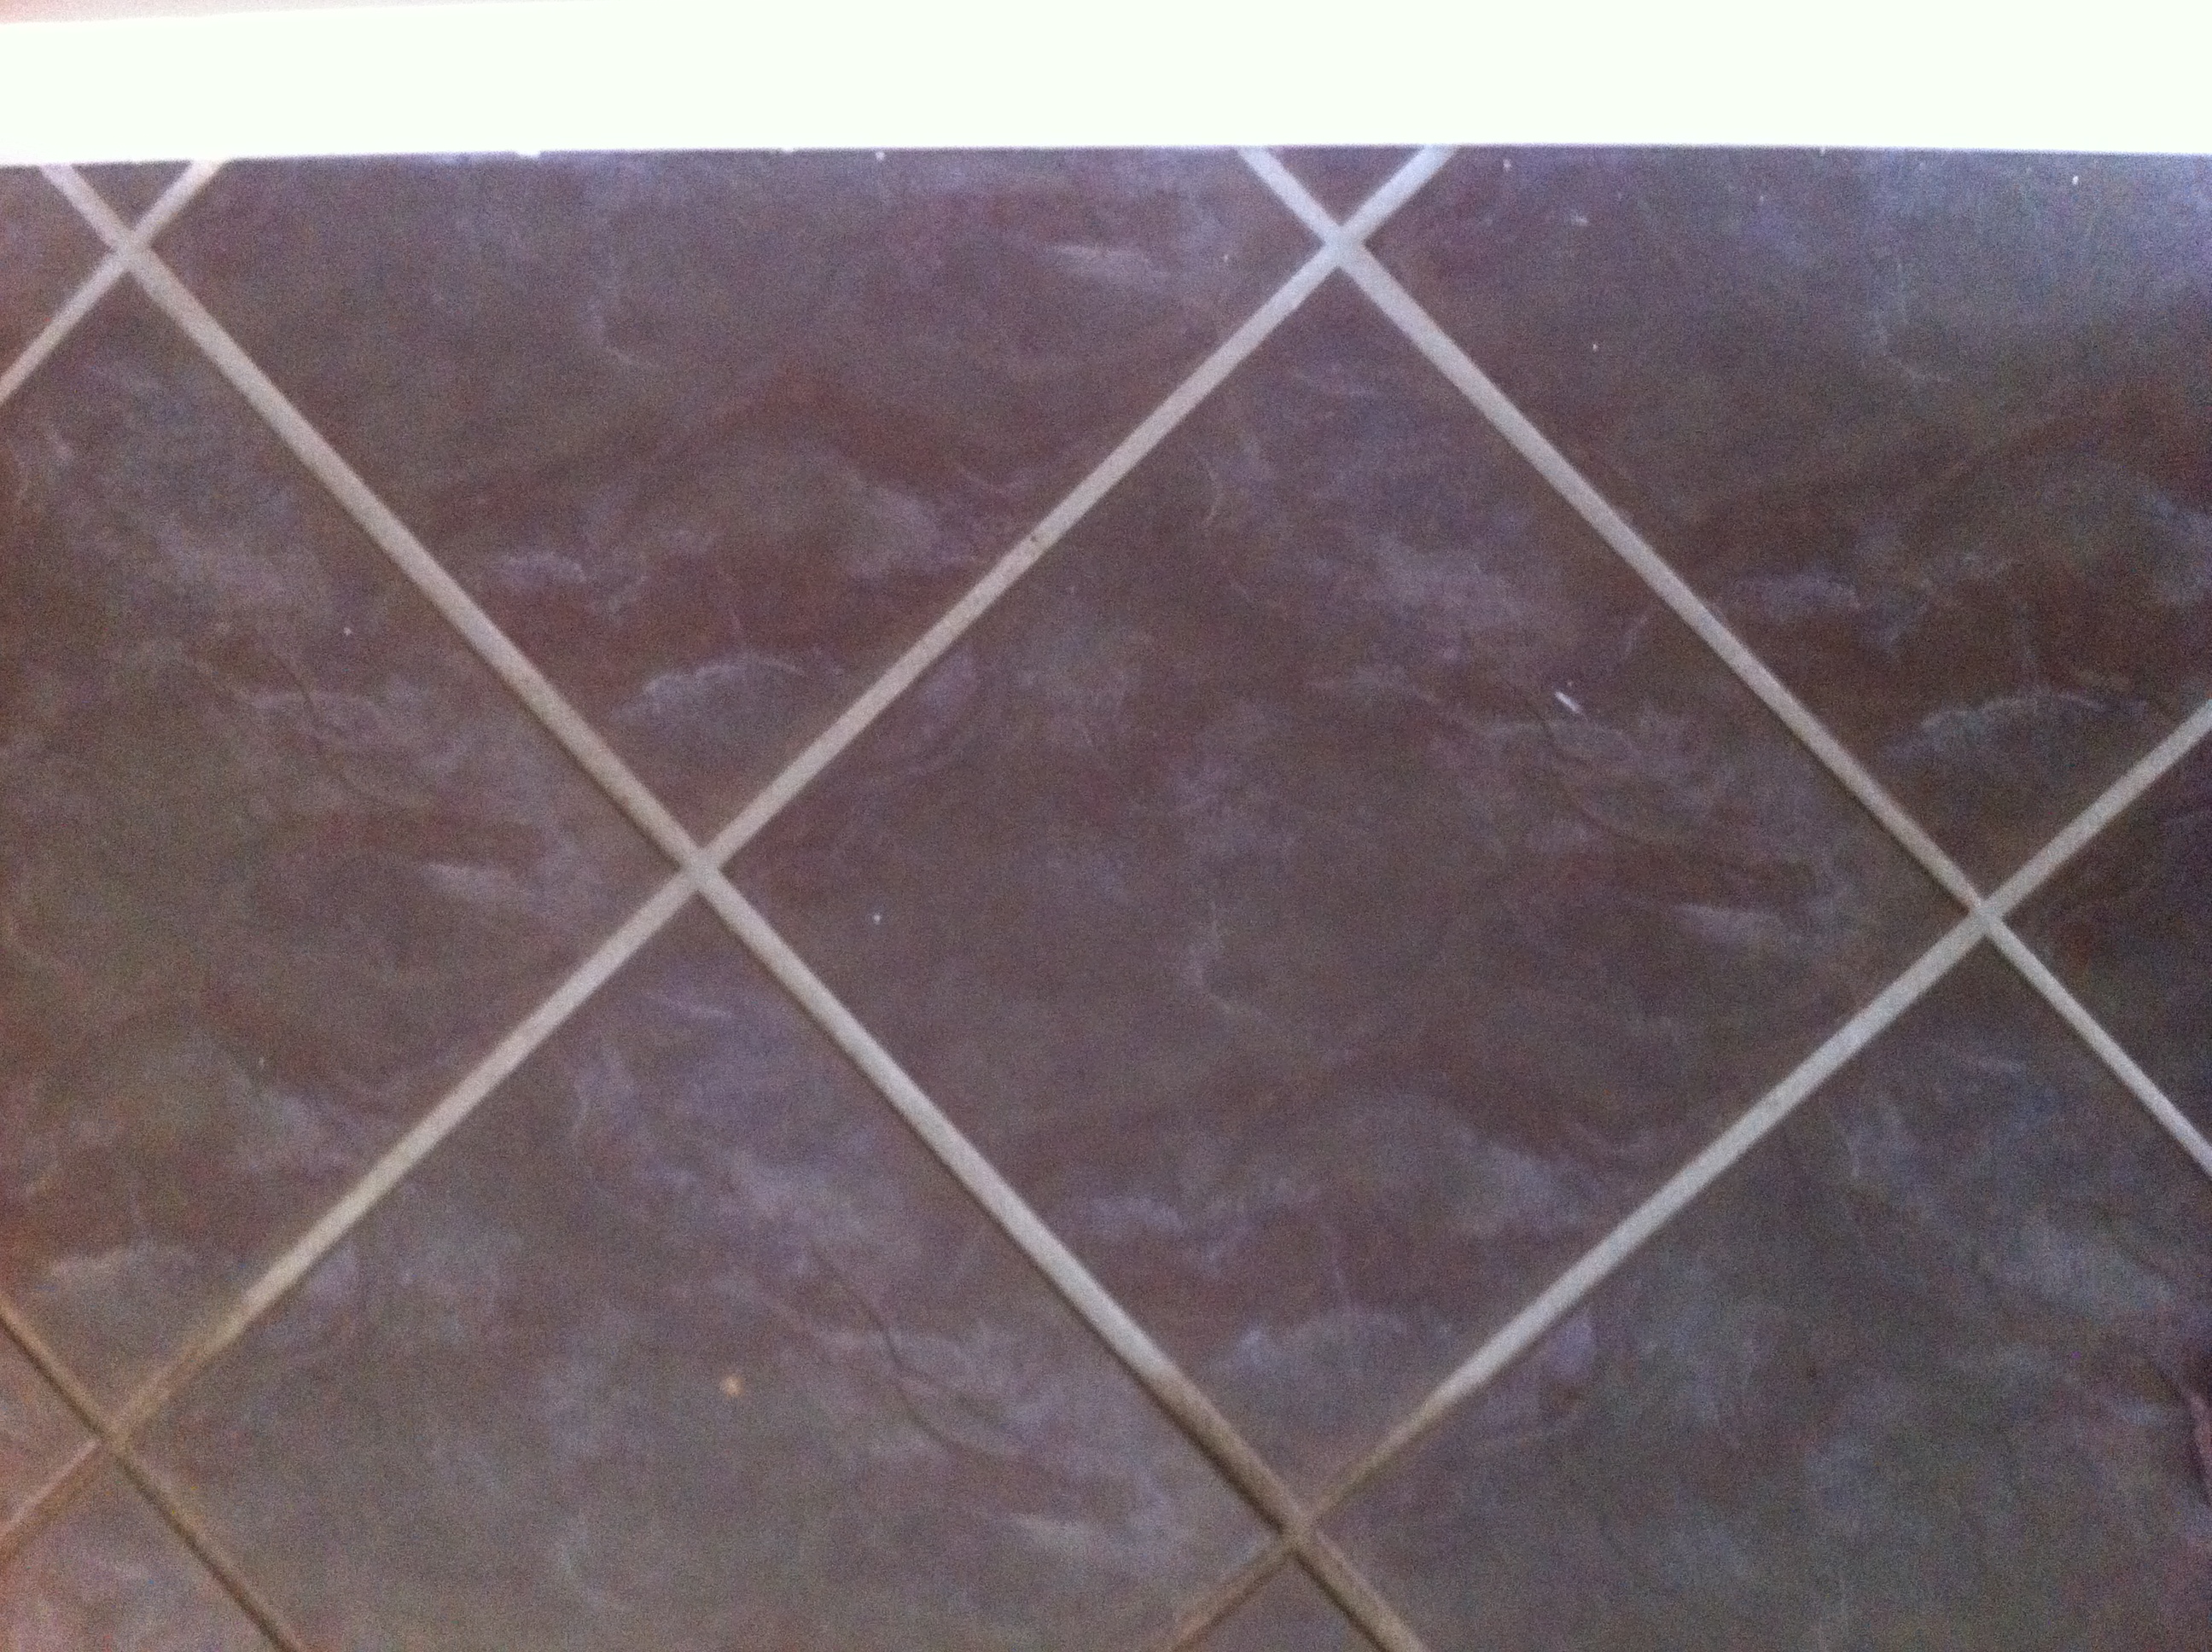
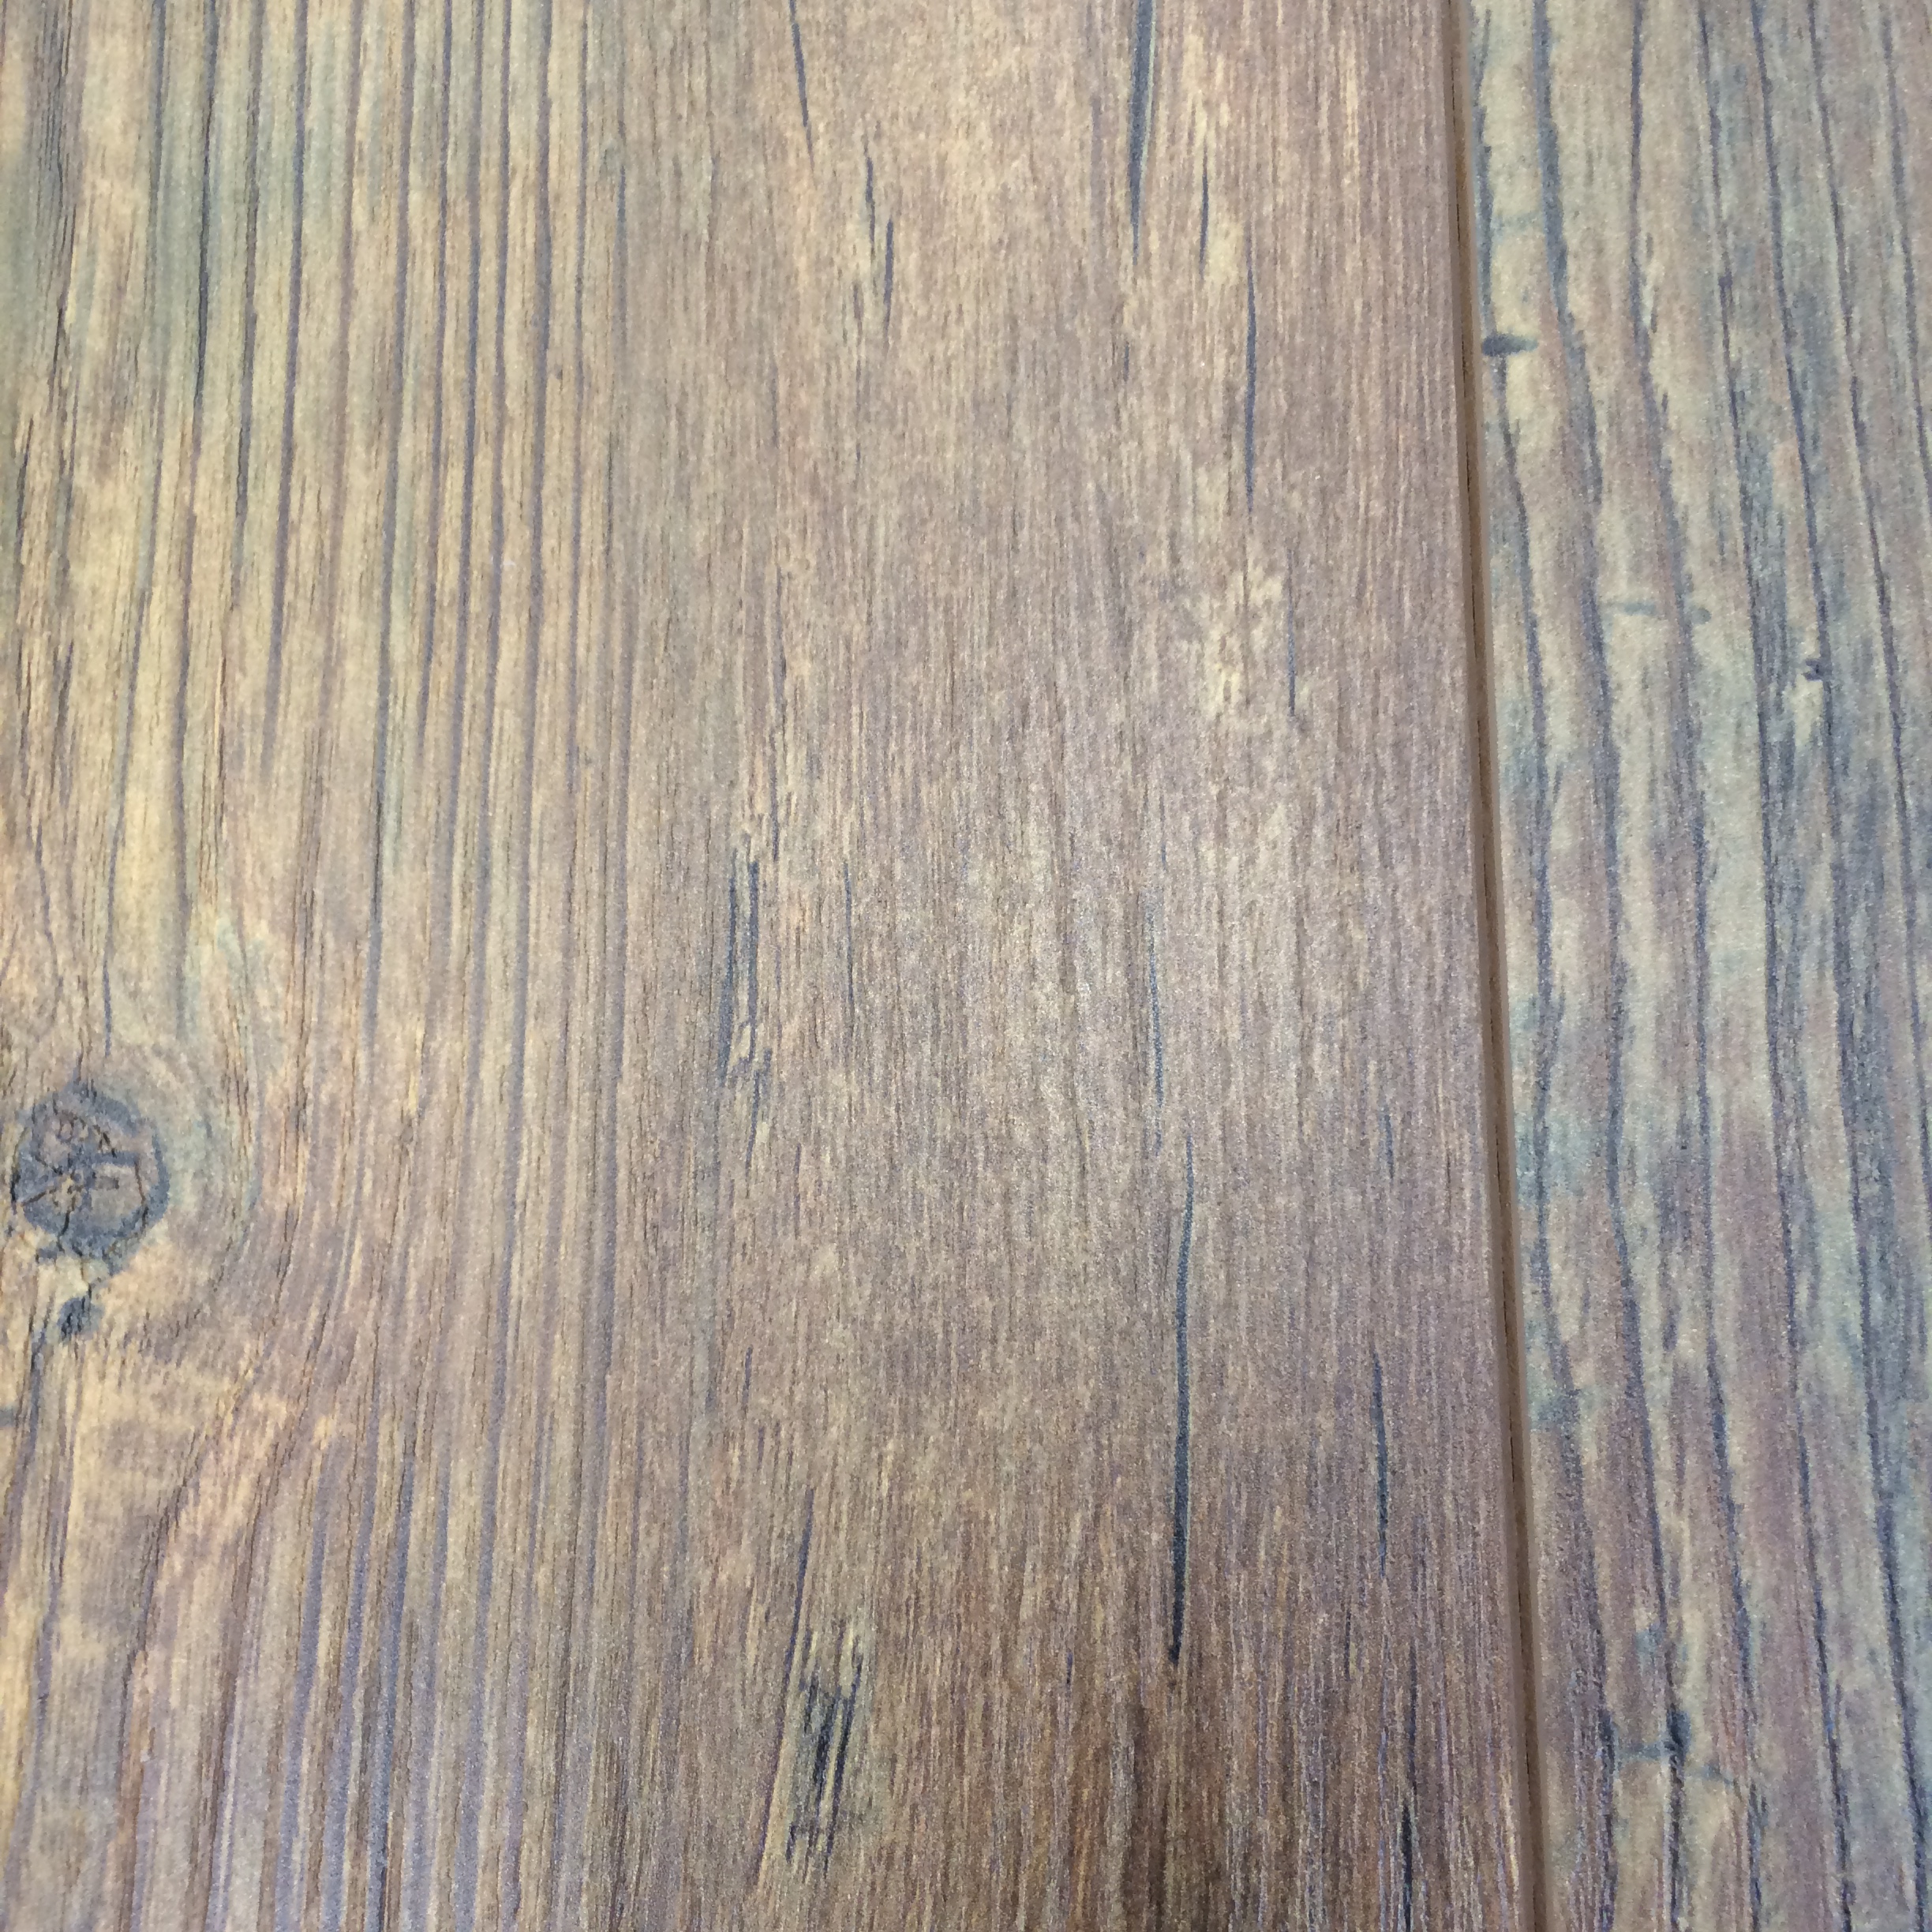
Last year we had the dark and dreary gray ceramic tiles replaced with this beautiful wide plank laminate…I know, I know, everyone hates laminate. Well, not this girl! The new laminates have texture and look like real wood…and, five years from now they’ll look the same. (Left: on the day we moved in I was cleaning the grout…ugh…what a job. Right: my beautiful new laminate, heavy with texture and no grout to scrub. That makes me a happy girl!)

img_3518

2015-07-05-13-09-34

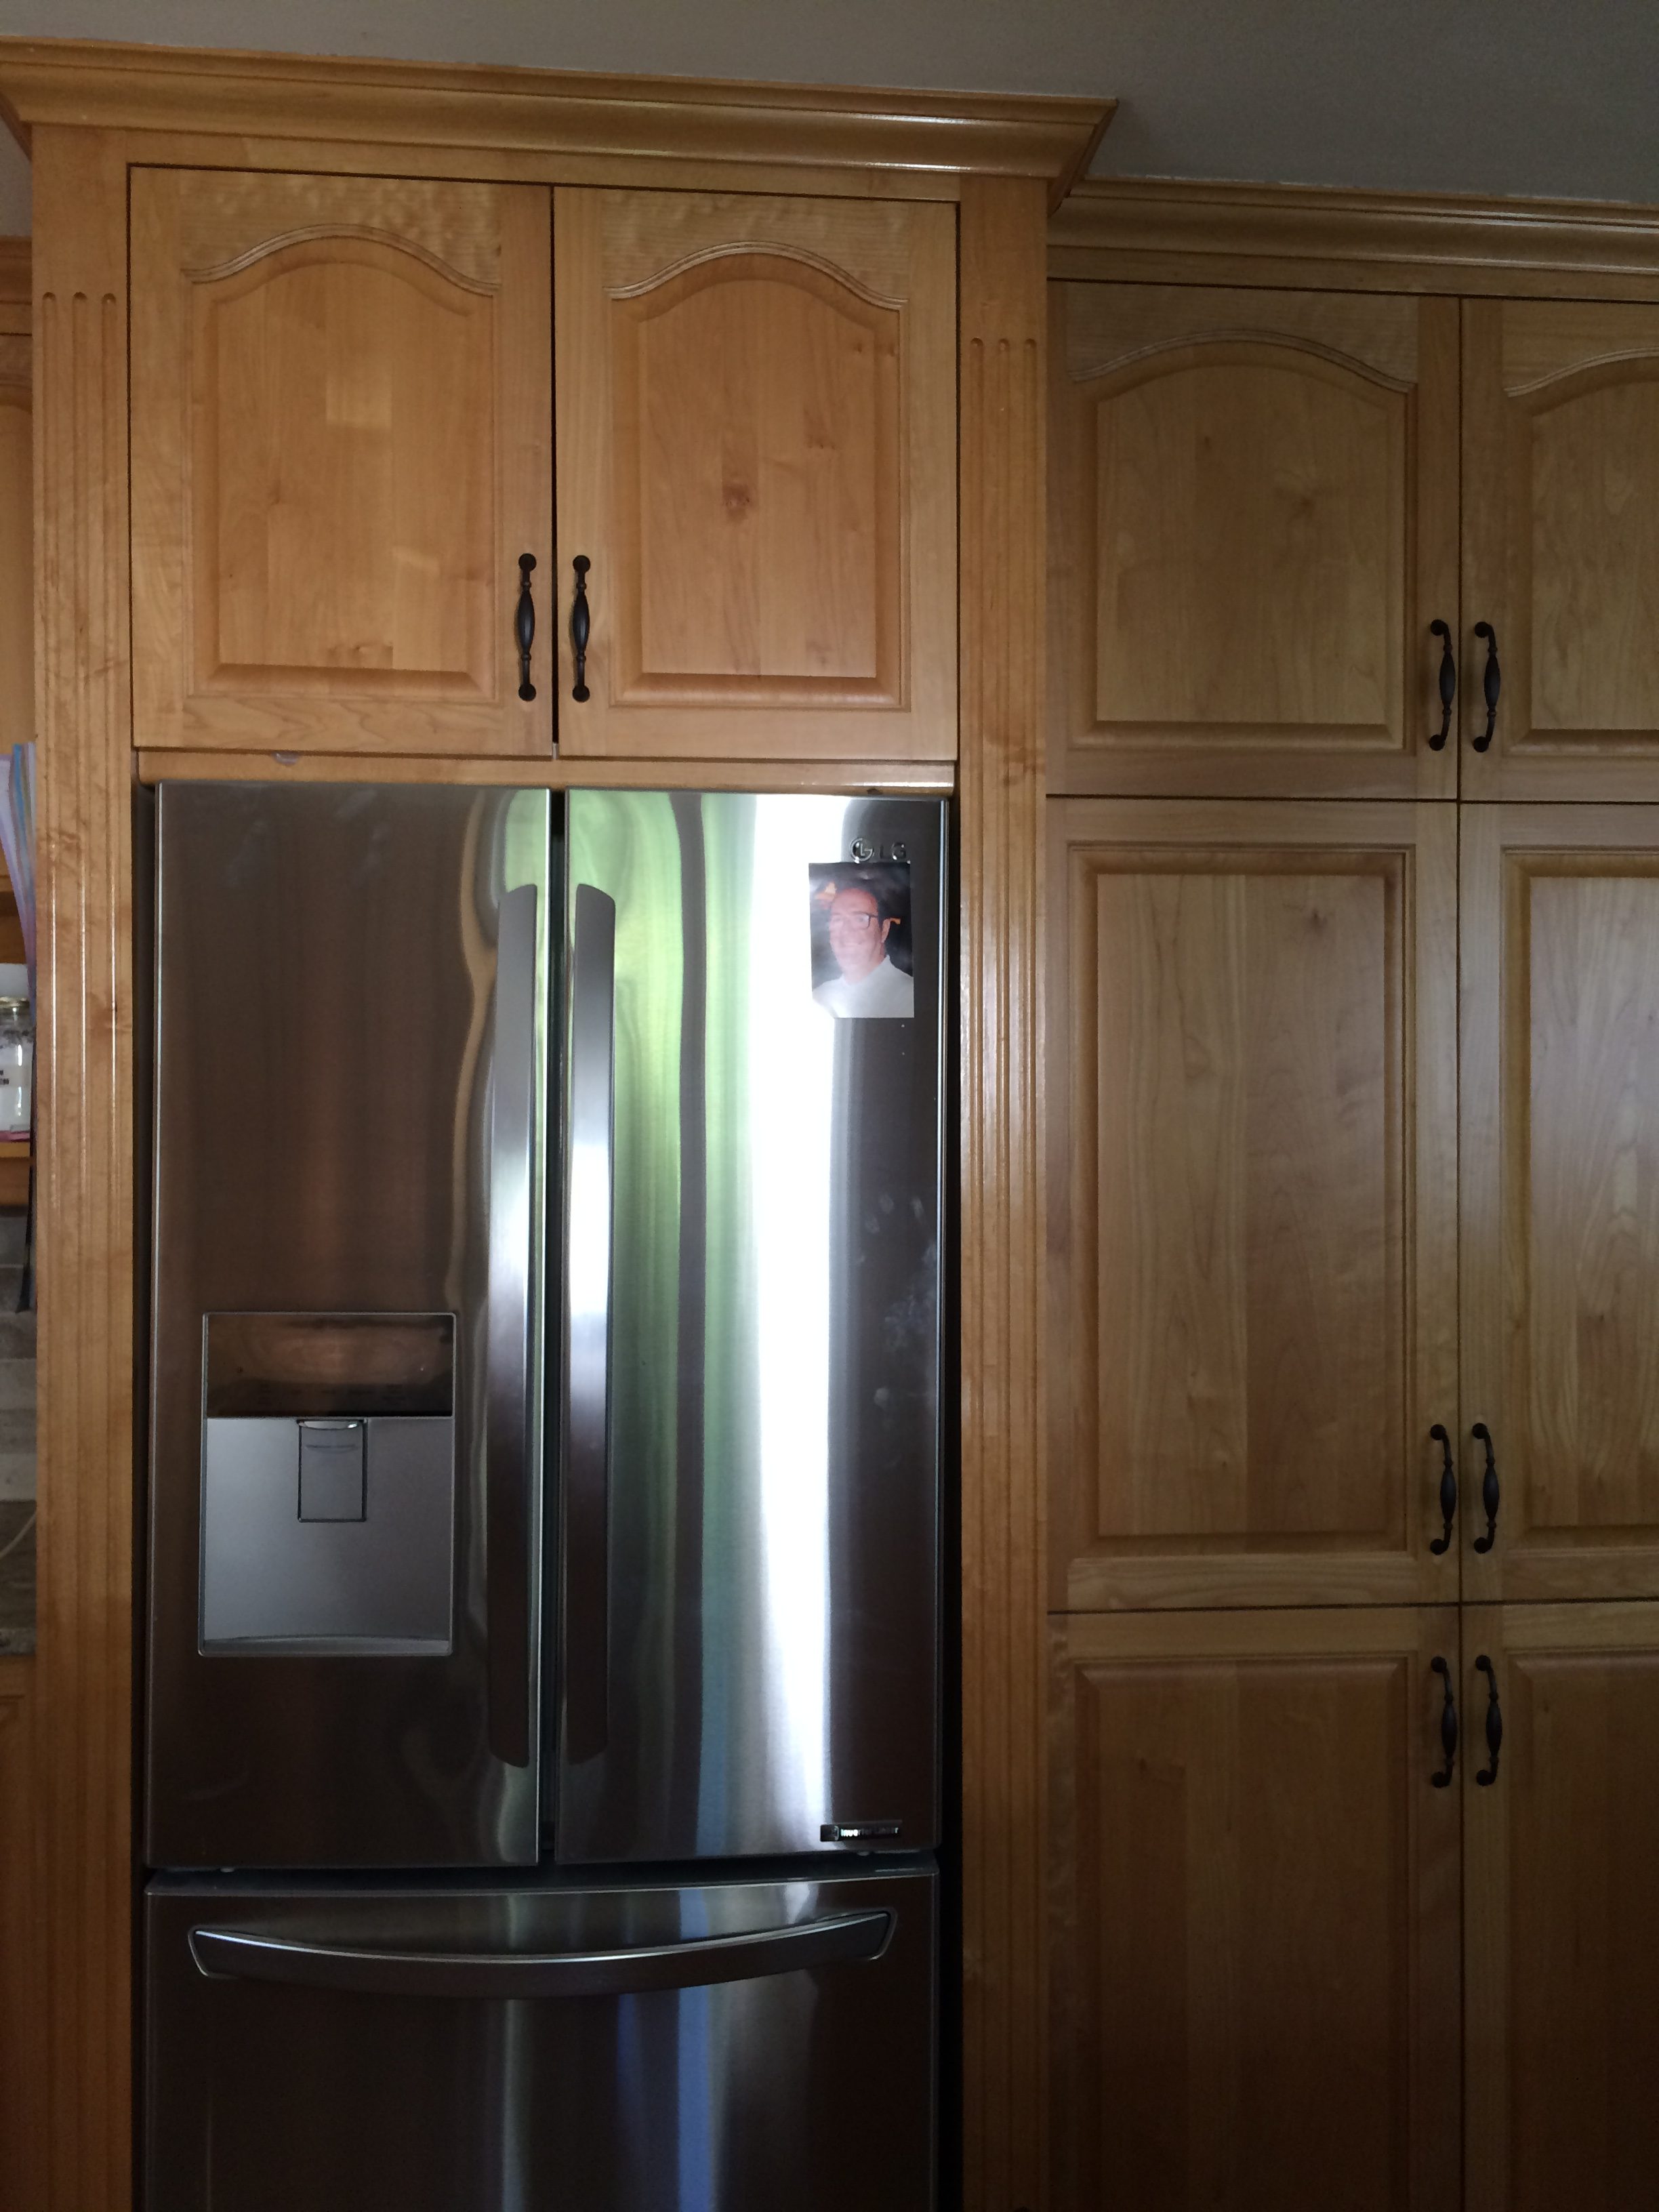
We also replaced the old black energy-hog of a fridge with a sleek and shiny stainless steel model…with an ice-maker. We’re practically living on ice-water these days; it’s so refreshing!

2016-09-20-12-04-01

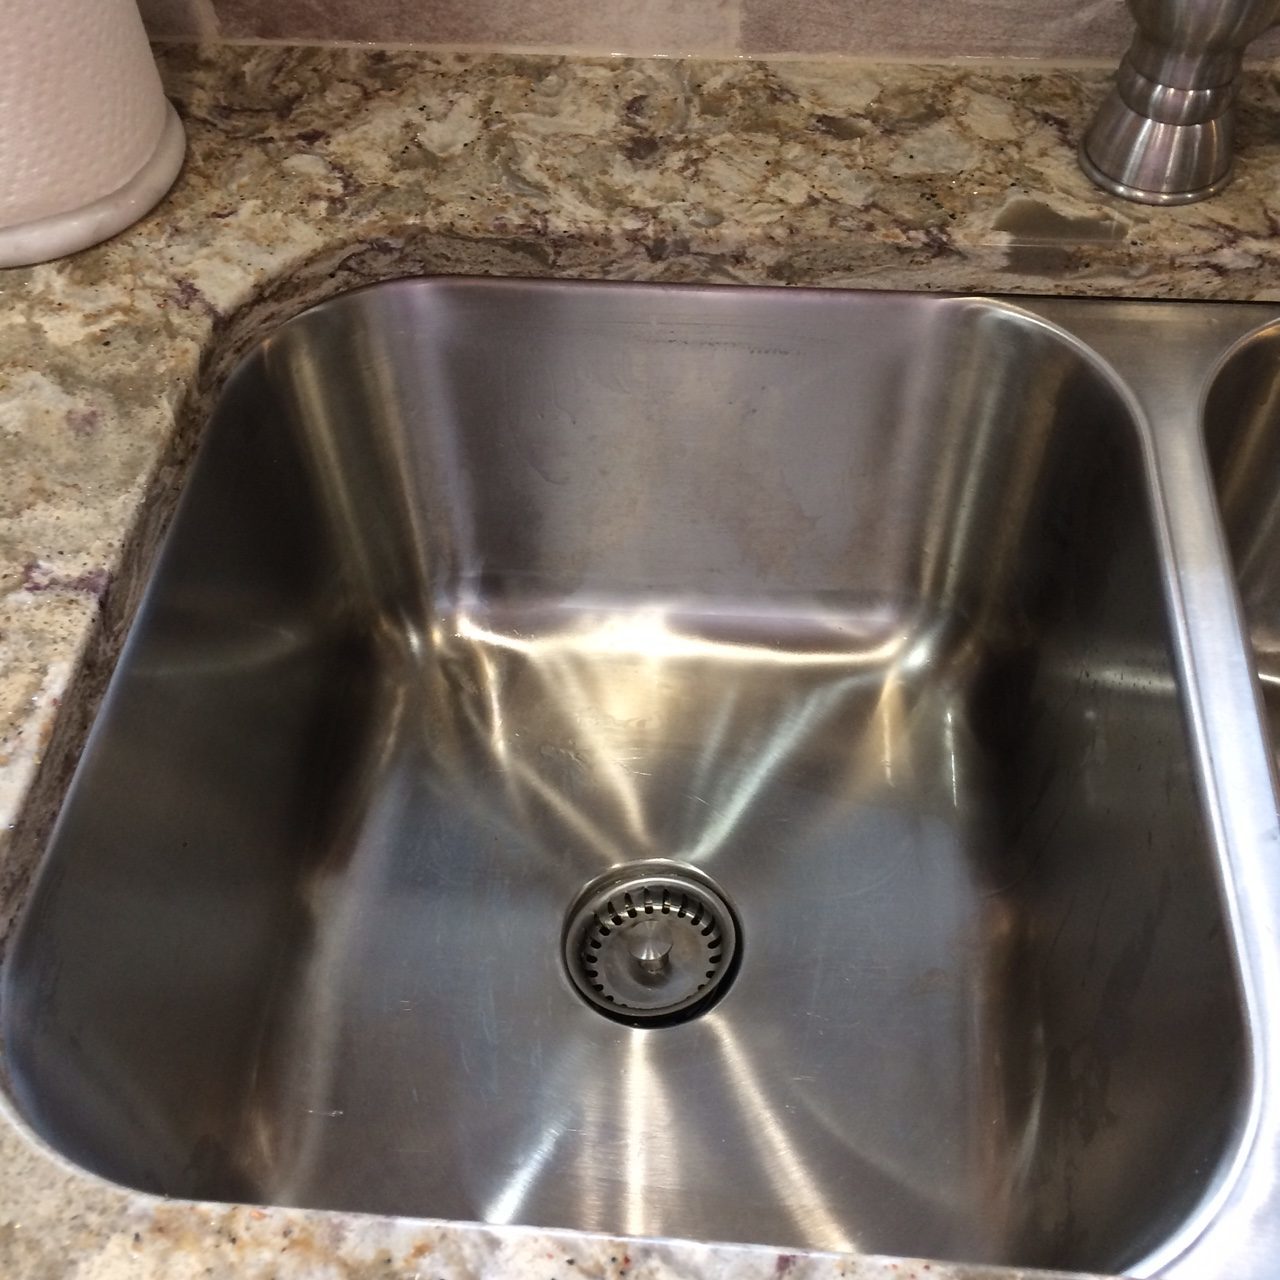
And, last but not least, my double under mount sinks. They are so deep I can put my soup pot right into one of them for scrubbing.

img_8688

While this reno was not on my usual shoestring budget, it was an excellent investment in our home and we get to enjoy it for years to come. My next project is tiny: add shelves to the “broom closet” to store cleaning products. Now that’s something I CAN do on a shoestring budget!

Thanks for dropping in. I hope you will visit again, soon. Until next time, happy renos, happy everything!

Gloria

Brick Fireplace Makeover

From dark and dreary to bright and cozy.

I guess back in 1972 this dark brick fireplace was pretty cool. Today, not so much. That dreary brick just sucked the light right out of our living room. So, after much research on Pinterest and many YouTube DIY videos, we decided to go for the gusto and paint it white.

A gallon of Behr white semi-gloss paint (we used the kind with built-in primer), a lot of elbow grease and, presto, our fireplace looks like a million bucks! By the way, we did use a wire brush to clean any dust off the bricks, but other than that, we just painted. One more tip: our brick is extremely rough and jagged and it took special effort to get full coverage. A paint brush worked fine for the grout lines, but the only thing that worked for the brick was a sponge…pound, squish, pound…that’s the technique…seriously.

Here are the before and after photos. By the way, we put up the mantel a couple of years ago at a cost of about $250; the paint job came to about $100 for paint and supplies–that’s what I call sticking to my shoestring budget.

BEFORE

old-fireplace-cropped

AFTER

fireplace-white-cropped

style=”text-align: left;”>I hired a contractor to build in a bookcase to the right of the fireplace and a bookcase that wraps around under the corner window.

dscf2078

img_8634

Th-th-th-that’s all for now, folks. Please drop in again, soon, for more shoestring reno ideas.

Gloria

My $10 Birdbath

Is there anything more exciting than finding something good in someone else’s garbage? I love the idea of reducing, reusing, recyling–and, of course, as the designers say, “upcycling.”

2015-07-28 19.03.12My recent trash-to-treasure find was an old cast iron birdbath that was in the garbage pile at a neighbour’s house. I just happened to be out walking Cookie and there it was, calling to me. So, I lugged it home–and it was heavy–visualizing how lovely it would be when I cleaned it up and repainted it! The bad news is that, unbeknownst to me, the bath part on the top of the base had a hole rusted right through the middle of it. I didn’t even have to worry about how to get it off because one touch of my hand and it fell to the ground. Sigh…

Birdbath-2Instinct told me to keep the pretty cast iron base and try to find some sort of basin to form the bath part. A couple of weeks later, on a Sunday afternoon drive in the countryside, we came across a little antique shop. There, like a star shining on a dark night, sat a huge, shallow, heavy glass dish…or something. It weighed a ton and the underside was coated with mother-of-pearl. The price tag read $10. Oh, yes! This was my birdbath!

Birdbath-5The project couldn’t have been easier or quicker. I sprayed a couple of coats of Varathane on the underside of the bath to protect it from the elements. When it was dry, I spread two-hour epoxy on both pieces, sat the bath on top of the base, added a weight on top to ensure a good bond and then waited 48 hours for the epoxy to seal. By the way, I used marine epoxy because it can even glue things together under water. No worries about the rain affecting the bond on this birdbath. (The shimmering blue colours of the mother-of-pearl don’t show up in these photos…darn!)

So that’s it, that’s all, for now. Keep an eye on your neighbours’ garbage. You never know what trash-to-treasure items are waiting for you.

Thanks for stopping by!

Gloria

P.S. I’m still wandering around my yard looking for just the right place to display my beautiful new garden treasure.

Pretty collage for a bare bathroom wall

Oh, this old house still needs a lot of tender love care. I have so many ideas that would transform this place into my dream home…if only I had the money and time, sigh. Take our bathroom, for instance, it’s classic 1980; it doesn’t even have lights over the vanity, just a ceiling light in the middle of the room. Try putting on your make-up in that!

While the bathroom waits patiently for its turn for a makeover, I decided the least I could do was add a little character to it. So, I ransacked my house for anything floral and called it a “theme.” (LOL) Here’s are some photos of my mini-makeover that cost me nothing more than an hour of my time. What do you think?

IMG_5097

Don’t you just love dollar store finds?

collage 2

I found the pretty pitcher at a second hand shop and the silk roses are 20-year old. They’re so droopy that the look real.

Roses in pitcher

I hope this inspires you to put some of your favourite things together to pretty up a boring space. Thanks, for stopping by. As always, more to come…

Finally, down comes the monstrosity!!

The Wall–ugly wall. It’s finally coming down!

2013-11-05 17.01.11It’s been almost a year since the day we first laid eyes on…THE UGLY WALL. We have asked ourselves over and over who would build such a monstrosity and WHY. Although it’s white in the photo above, when we moved in (11 months ago) it was a knotty pine–with a super-duper high gloss top coat on it. In all our naivete, we thought that maybe painting it white would make it better. HAH! It actually made it look bigger and bolder. It just sat there, taunting and torturing us with its ugliness. Oh, and did I mention that attached to the ugly wall is an ugly bench, shown below with its upholstered seat removed.

2013-11-05 17.01.04

So, we stared at it (endlessly), whined, brainstormed and complained about it. We’ve challenged our visitors to come up with creative, DIY (read: cheap and easy) ideas on how to “fix it.”

Finally, I could stand it no longer. So, on this peaceful Saturday evening, with a light and fluffy snow floating down outside our window, I declared to no one in particular that I was “taking it down, folks!” With a hammer and a flat head screw driver, I began prying off the first layer of trim.

2013-11-23 19.22.56

Before I even had time to break into a good sweat, my totally awesome husband, Peter (who has become quite an amazing DIY-guy) quickly got into the act and before we could say, “ugly Swiss Family Robinson wall,” it was down. Ahhhhh….what a feeling!! Have a look at what we found under the layer of pine (which was over a layer of dry wall)…

2013-11-23 19.54.39

2013-11-23 19.50.35

And this is just one side of the ugly wall. The other side is going to be even more difficult to tear apart because it’s over the stairs and harder to reach.

Well, the first step is sometimes the hardest. But, at least the next stage will be rebuilding and making it beautiful. So far, in our efforts to brighter and beautify, we have painted the previously dark brown walls a soft colour called Raffia Cream. I’ve also painted the front door and now just have the back door and adjacent closet to do. It really brightens up the entry ways. (By the way, our front door and back door face each other and form one large entry way. It’s pretty unusual, but our house is L-shaped and it really works).

I hope you will come back to see our progress. Tomorrow we’re off to see a play with my mom, so all tools are down for the next 36 hours. But, once Monday gets here…look out ugly walls!!!

Paint–you light up my life!

Frame_home-sweet-homeHere it is, November, and we’ve finally–after 10 months in our house–gotten around to painting the front entrance.

Our house has one large entrance, with the front door at one end and the back door at the other. When we moved in, It was painted a dreary brown colour that just sucked the light right out. And, to add insult to injury, it has pine wainscoting–lots and lots of pine wainscoting. Yep, straight out of the 19080’s. Sigh. After much thought, we left the wainscoting up for three reasons: first, we were afraid the walls underneath might be seriously damaged from all the nails; second, the amount of work involved in taking it all down was more than we were prepared to do; and, third, we are trying to do all of our home improvements on a shoestring budget. Enter: Behr Ultra Premium paint–white for the wainscoting and my favourite, Raffia Cream, for the walls! Here are the before and after photos.

Before…dark and dreary…

Frame_13 Tripp-Before (12)


Part way through–see how dark it is?

Frame_IMG_4351

And now…

Frame_IMG_4358


Frame_IMG_4383


Frame_IMG_4389


I still have to paint the back door and the closet door next to it, but for today, I’m putting down my roller and heading to my craft room!!

Turning an “unsweet” into an ensuite

 And the make-overs continue. . .

Frame_home-sweet-home

We’re still pretty busy getting organized in our new house. It takes time to find a place for everything and put everything in its place.

We’ve got the main floor in pretty good shape, except for the two bathrooms. The main bathroom is next on my list of make-overs, but for right now, I just have to tell you the story of our ensuite, which could be more aptly called our unsweet.

The plan was for me to do this make-over on my own and turn this little “mistake” into a sweet ensuite just for me. Before I go any further, though, I  have to thank my husband, Peter, who came to my rescue every time I couldn’t reach or lift something and when I needed an extra brain, third hand or a second opinion. He is always there, with his never-ending good-nature, to help me with anything and everything. I thank God for him, every day.

From what we can tell, the main bathroom originally had a doorway from the hall and another from the master bedroom (designers call it a “cheater ensuite”). One of the previous owners, however, decided to build a wall that would cut the room into one main bathroom and one teeny tiny laundry room (which could only be accessed from the master bedroom)–strange, but true.

The house was next owned by a family who, just a few years after buying the house, were transferred across the country. In an effort to sell the house quickly, they decided to turn the laundry room into an ensuite.

Frame_DSCF1069

Unfortunately, these folks weren’t about to win any do-it-yourself awards, as  you can see from the photos. The ensuite was just one mistake after another. Look at what I found when I took the toilet tank off!

Holes in the wall were patched with scraps of plywood placed over other scraps of plywood.

I wanted it to look feminine and somewhat vintage. I was so excited! And, Peter is perfectly happy with the main bathroom, so I don’t have to feel guilty for claiming this little space as my own. By the way, we have another full bathroom downstairs that also needs sprucing up. . . but I’m saving that one for the last.

Back to my ensuite makeover. I started by turning off the water to the toilet, draining the tank and removing it. That gave me access to the mess of boards that had to be removed before I could install the new wall board. See the photo above…that’s what it looked like once the tank was off. You can see the dryer vent hose and some pink insulation.

Frame_DSCF1067


Next, I removed the mirror, which was too big for the space and totally off-centre.

And, the paint colour–oh brother!!! It definitely had to be changed. I was so glad that the previous owners had left a half-gallon of paint that would be just perfect for this room–light tan/taupe/beige (I never know what to call it). Good, another $50 saved. Every penny counts when you’re on a very skinny budget!

So far, $0 spent.

Frame_DSCF1100


Next came the bead board–you know, it’s that 4′ x 8′ wall board that looks like individual boards. I needed two sheets, at a cost of $26 each. Not bad. As you can see, I ran it horizontally, rather than vertically. Creative decision? Nope, the board-cutter guy at Home Depot cut it wrong, so I just went with it. Actually, I rather like the effect.

In keeping with the vintage look and my skinny budget, I rooted around in the basement until I found this simple white-framed mirror that my mother gave me years ago. It was just the right style and size for my pint-sized ensuite. And, the price was right! (You’ll see in the final photo.)

Frame_DSCF1108

I wanted to put up a small medicine cabinet to store my tooth brush, medications, and so on. Given the petite size of the room, I knew the cabinet would have to be quite small. A couple of weeks of on-line searching didn’t turn up anything that was both small and vintage-looking. And then I remembered Winners. It’s the one place where you can always find something unique and priced to sell. Sure enough, I found the perfect little cabinet. It’s just the right scale and it’s very vintage. The only problem was that the door had ugly purple grapes and gaudy green leaves painted on it. But, that could be easily fixed with a sheet of pretty card stock from my craft room. I forgot to take a “before” photo, but here’s how it looks, now.

Frame_DSCF1101The window in this room is very high up on the wall and is certainly not a feature point. To deal with that, I bought a pair of full-length lace curtains from Sears for $30. They are so pretty, with their long, attached, scalloped valance. They make a beautiful feminine and vintage statement.


Next, there was this big and ugly fluorescent light that had been very crudely installed in Frame_DSCF1107the ceiling. Yep, a big hole was cut in the ceiling and the light was stuck up there. Period. Replacing the whole ceiling and the light was not option, so I created a frame around it with leftover baseboard. A huge improvement!

And last, but not least, a few decorative touches. I wanted to hang something pretty on the wall that would tie in with the vintage theme and match (or at least not clash with) my new medicine cabinet. Back to my stash of designer paper and down to the basement to find a couple of old frames. Flying pigs and a muted vintage floral pattern.

Here is the finished room. It’s so tiny that it was impossible to back away far enough to get everything into the photo. What do you think of the results?

Frame_DSCF1098

Frame_DSCF1092

Frame_DSCF1093

Frame_DSCF1102Frame_DSCF1103Frame_DSCF1098

Here’s a summary of my costs:

Paint: $0
Mirror: $0
Frames and pictures: $0
Medicine Cabinet: $25
Beadboard (2 sheets): $52
Baseboard (3 lengths): $15 (this did the both the floor and around the light fixture)
Curtains: $30
Other decor items: $0 (re-purposed from the old house)
Total room makeover cost: $122 + tax

I was hoping to do it for under $100, but I always plan at least 20 per cent for contingencies. And, I always need it! Oh, yes, and Peter just reminded that this project required three trips to Home Depot. He has a rule of thumb that every DIY project requires at least three trips to Home Depot!

The mantle…it’s crooked, but it’s up!

It’s been like a beehive at our house, lately, as we try to settle in and lead normal lives. Hah, like that’s actually happening!  But, we are making progress, even if it is a a snail’s pace.

The fireplace from HELL

This week’s project was to install a mantel on our 42-year-old-and-very-boring-brick-wall-fireplace. Weren’t we surprised to discover that the bricklayer must have forgotten his level at home the day he built our fireplace. The bricks are  very noticeably slanted to the right. Yikes! We didn’t see it until we tried to level the new mantel. When we would get the mantel straight with the bricks, it would be so slanted that we could imagine our candle sticks sliding right off and crashing to the floor. But, when we leveled the mantel to a perfect 180, the whole fireplace looked tilted. Quick, give me a couple of Aspirins–and some for Peter, too! But, we stay calm and carried on.

Here is the fireplace before the mantel. We find it hard to understand why, in 42 years, one of the previous owners didn’t install a mantel. Oh, well, whatever.

Here is the mantel, as we saw it when we first came to see the house. I could see it had potential…but I didn’t see how crooked the bricks had been laid! It looks straight to the eye, right? (This is before we moved in…not our furniture).

Frame_13_tripp_crescent_MLS_HID746807_ROOMlivingroom1This next photo shows the mantel installed, but not stained. This is when we could really see how that drunken bricklayer worked. Notice the mortar line under the mantel…see how it gets lower, and lower and lower as it moves to the right? It would be even more noticeable if we had installed the mantel at a perfect 180.

Mantel before staining (3)

We had only one choice: split the difference. So, we installed the mantel a little crooked, in the hope that we would minimize the discrepancy. It sort of worked. Here it is..I still can’t decide what to put on it (decor is an evolutionary process in this house). I expect one day I will come across the perfect picture or vintage something-or-other that will be the icing on my crooked cake.

mantel after Frame_IMG_3634

And one more, just for fun…

mantel with flower pic Frame_IMG_3635

Okay, so it’s a beginning. I guarantee you that, over the next few months, the mantel decorations will change as often as a teenage girl getting ready for a big date.

Stick around, if you have time…I’m working on a post that will showcase all the cheap…err…inexpensive and ever so creative stuff I’ve made for our home.

Thanks, for reading, and happy decorating!

From harsh to homey: paint colour makes an impact

When I first launched Home at Last, I thought it would be mostly about renovating this 1972 bungalow we just bought. But, the more we scrubbed and cleaned and organized, the more we realized that turning this old house into a home might just be more about redecorating than actually renovating.

After virtually disinfecting every square inch of the kitchen and main bathroom, we tackled the master bedroom. It was, to put it politely, a little off beat. For example, a four-inch strip around the perimeter of the ceiling was painted navy blue.  Butting up against it, was the crown molding, which was painted a very dark brown. The sharp contrast between these stark colours and the neutral walls (which we repainted a softer neutral) made the room look like a big box.

Frame_MBDR Trim in progress

Just to make the whole paint situation a little more challenging, one wall in the master bedroom was also painted deep dark navy…sigh…how hard is that to cover?

So, remembering my skinny budget, and with a burning desire to get rid of these dark and depressing colours as quickly and easily as possible, I decided to buy a paint that had  the primer built in. Off to Home Depot for a couple of gallons of Behr’s Raffia Cream–with primer!

The plan, of course, was to restore the navy edging on the ceiling and crown molding to their original white colour. To save money and time, I gave them a coat of the Raffia Cream. The built-in primer really provided good coverage after just one coat. Now, it would be easier to apply the white paint (it still took two coats of white paint).

Next, we moved on to the walls. My husband, Peter, was super anxious to see the last of that navy wall! Have you ever seen a husband look happier to be painting? (Go Peter, go Peter!)

Frame_MBR-Peter painting

It took us a couple of days to turn this formerly severe, boxy room  into a tasteful and inviting master bedroom. Bearing in mind that we don’t live in a castle, nor do we make a  million dollars a year, here is our lovely new bedroom.

Frame_MBDR2-after

As you can see, I love warm, rich colours. By keeping the walls neutral, the room sort of opens its arms to you…rather than being smacked in the head by an aggressive wall colour.

Frame_MBDR3-after Frame_MBDR4-after

I must apologize for the poor quality of the photos, which I took with my iPhone–my camera is still packed!

P.S. You have probably noticed the mirrored closet doors and may be thinking, “eww, how “80s!” Well, that’s okay, that’s what I thought when I first saw them, too. But, we live in such a throw-away society on a planet that is running out of space for garbage, that I decided to “live with them” for a while to see if anything terrible would happen. So far, I am happy to report that we are all well and have remained mentally stable. In fact, I rather like the extra light that they add to the room. You know what they say, “everything old is new, again!”

Stay tuned for my next post which will let you in on some sweet secrets and simple tips for creating eye-catching vignettes in every room of your home. And, yes, there will be some dynamite renos, too! You won’t believe what one of the former owners built in the front entrance–you WILL have to SEE it to BELIEVE it!!!

Boxes, boxes, everywhere…and not one ribbon

Only five more sleeps until we get the key to our new house!

images

We are living in a maze of boxes, tripping over tape guns and pushing piles of packing paper from one room to another. Sigh…moving really is like childbirth…so painful at the time, but soon forgotten…right?

Moving Supplies

I’ve looked at the photos of the new house at least a hundred times! All I can think about is where my pine cabinet will fit and which wall will our bed fit on and how great it’s going to be to have a bigger craft studio.

Five more sleeps, just five more sleeps…and then let the reno and decorating games begin!