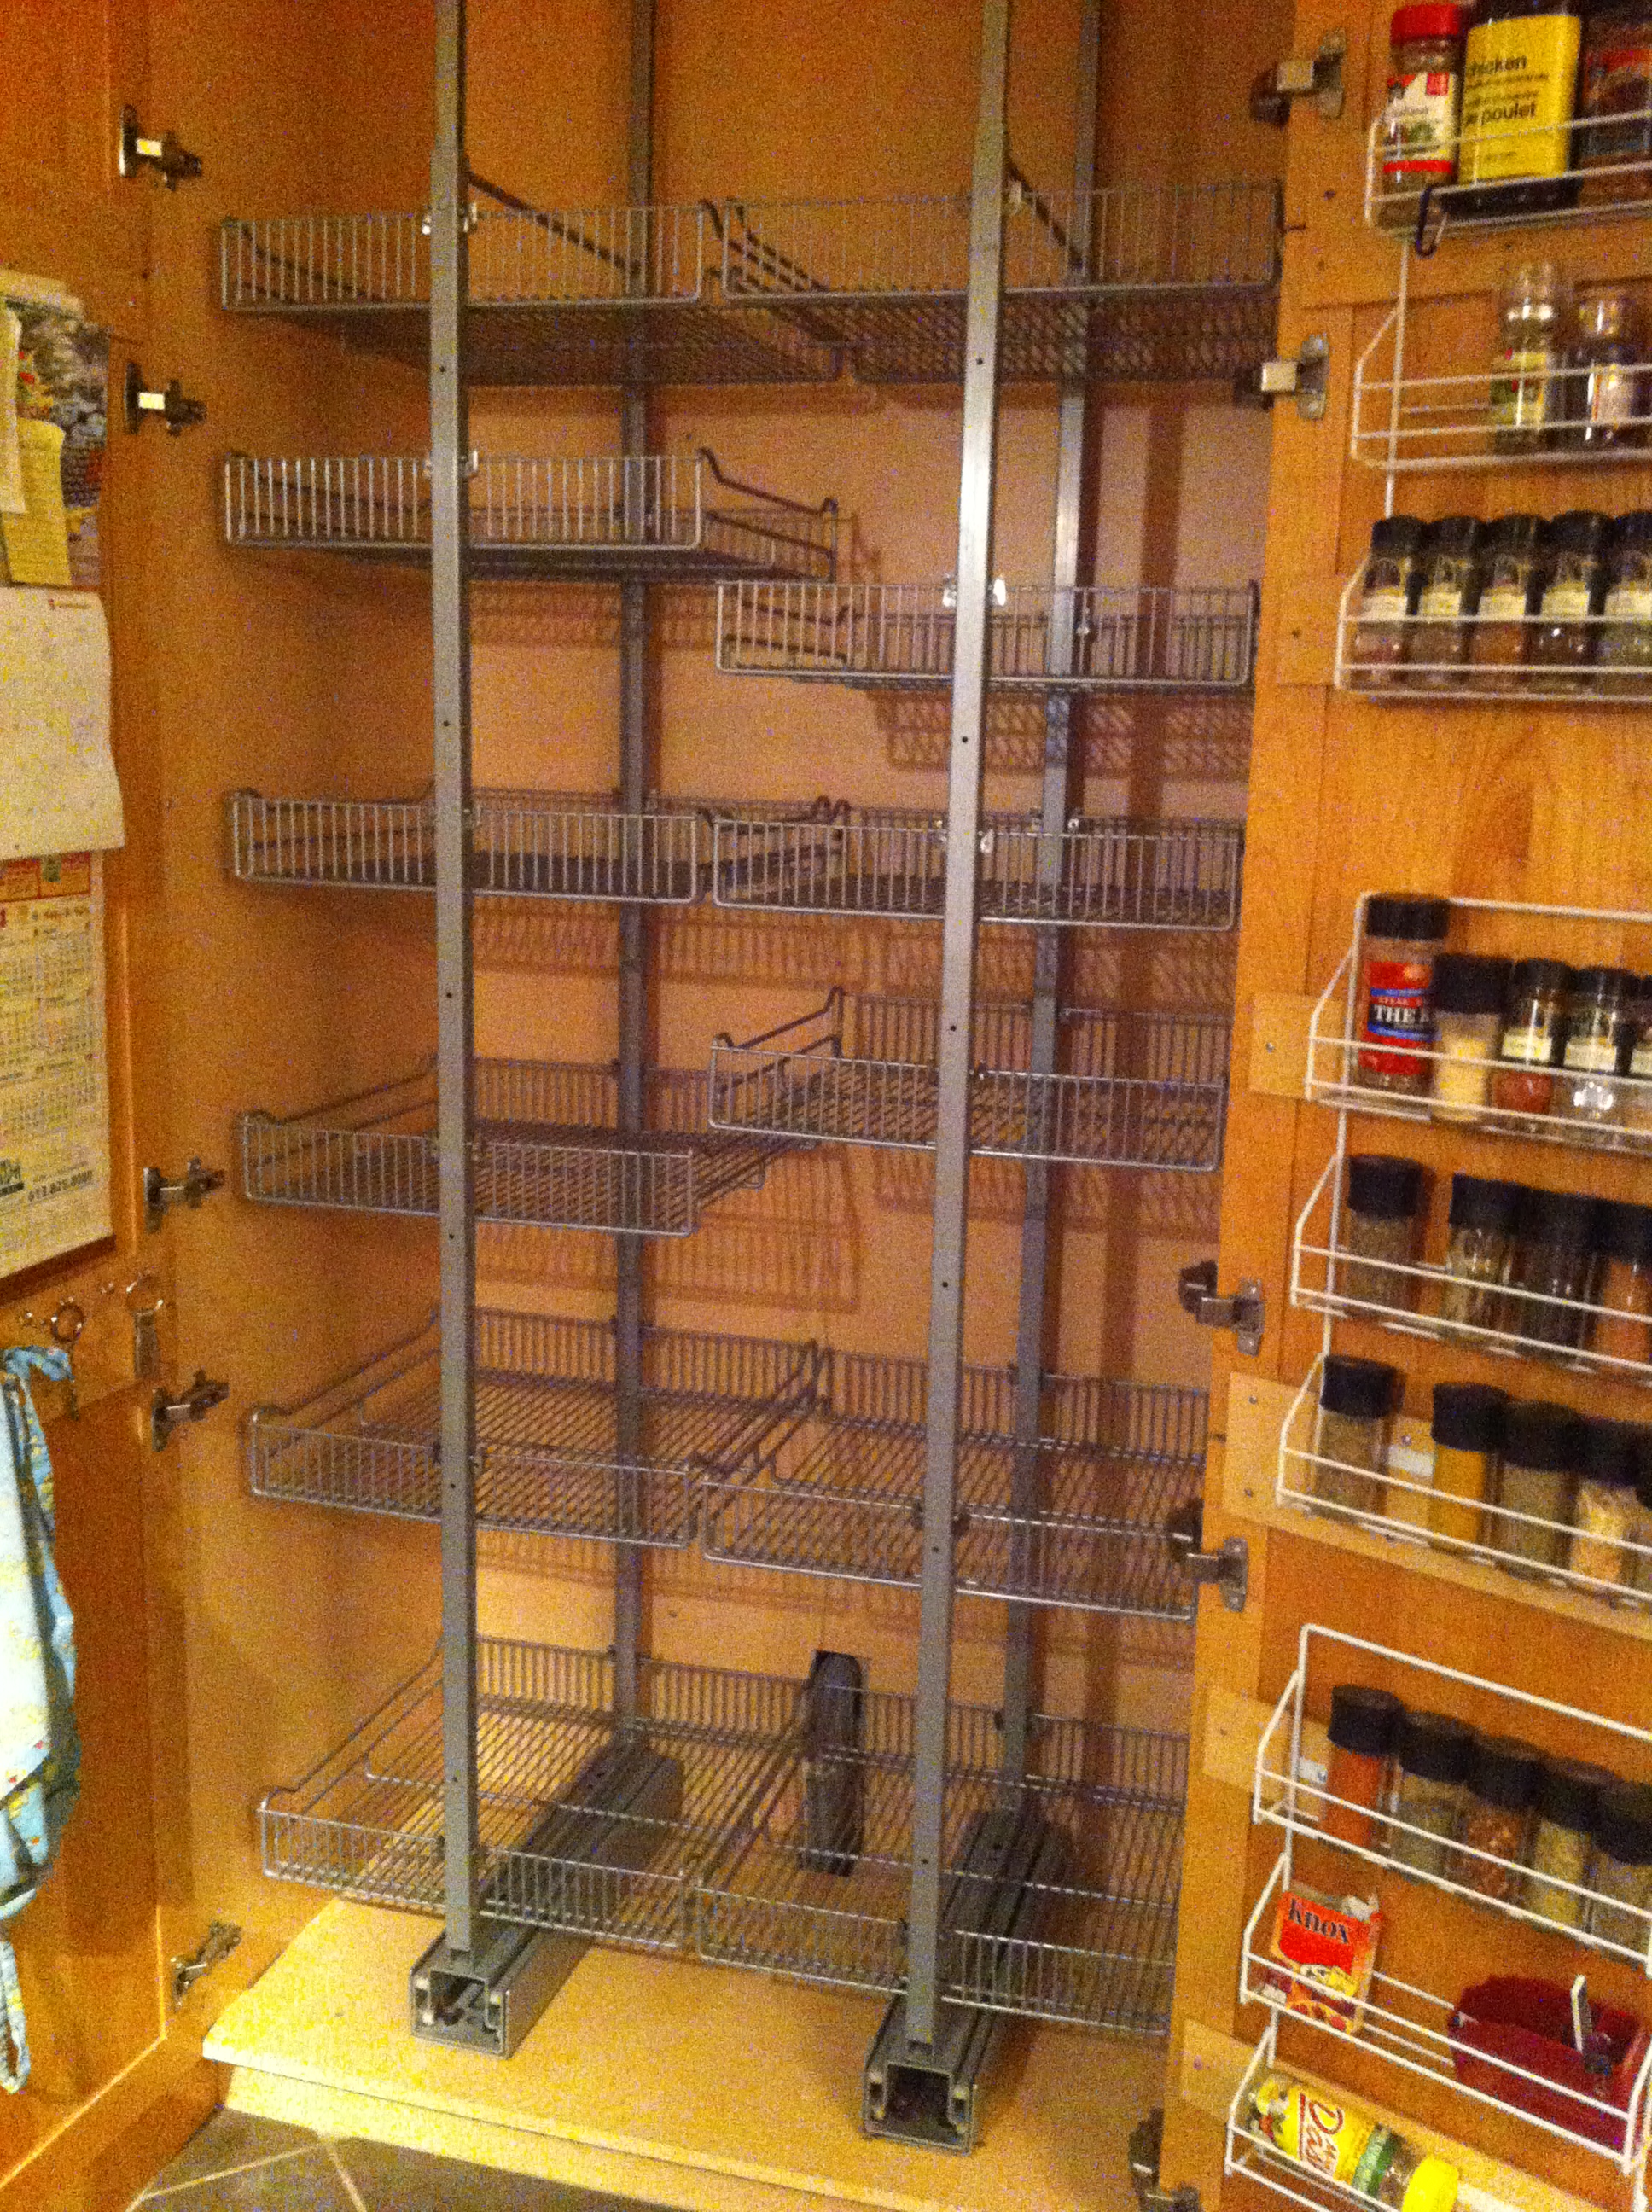
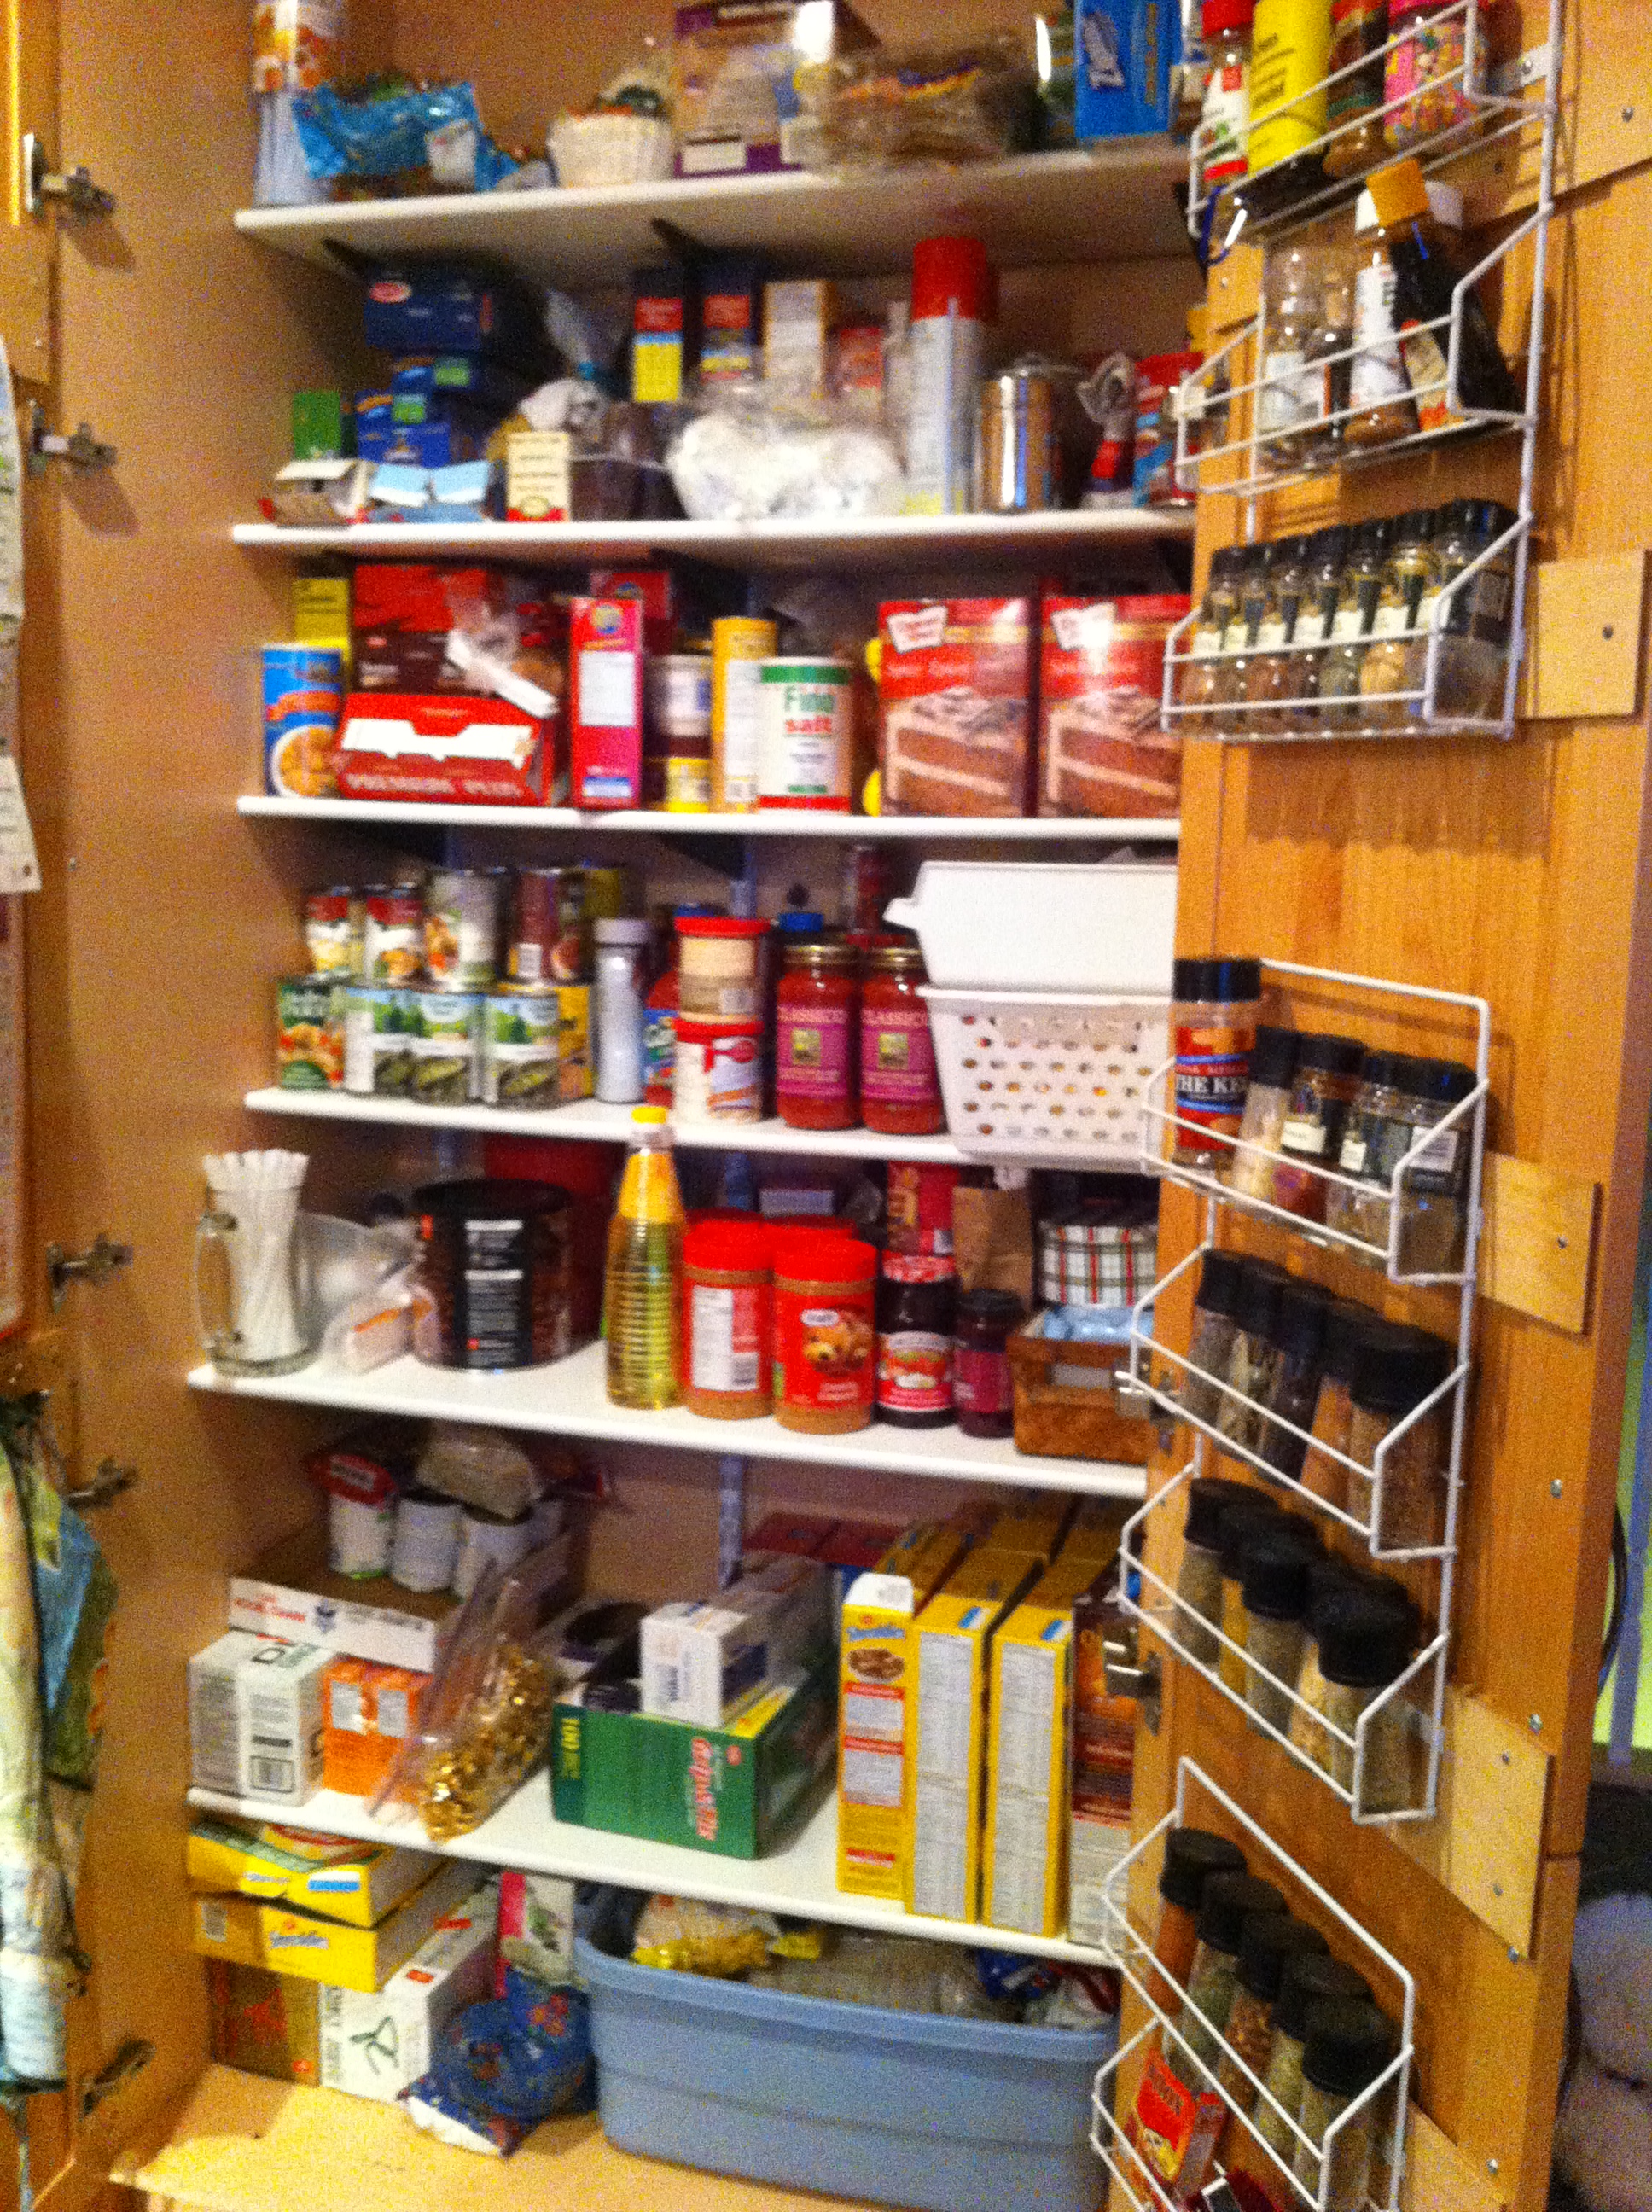
From a neglected house to a warm and inviting home…on a shoestring budget.

I love a challenge…

The big banner photo at the top of this blog is our house today (September 2015), just two-and-a-half years after moving in (sorry for the poor lighting in this photo). It’s a big transformation from the photo below that shows how it looked just two summers ago.

cropped-Frame_new-13_tripp_crescent_MLS_HID746807_ROOMMainExterior.jpg

 I have been posting updates on our progress here on Home at Last, and will continue to do so until…well, forever, I guess. I hope you will ride along with me on this shoestring budget transformation.

13-Tripp-June 2013 (4)
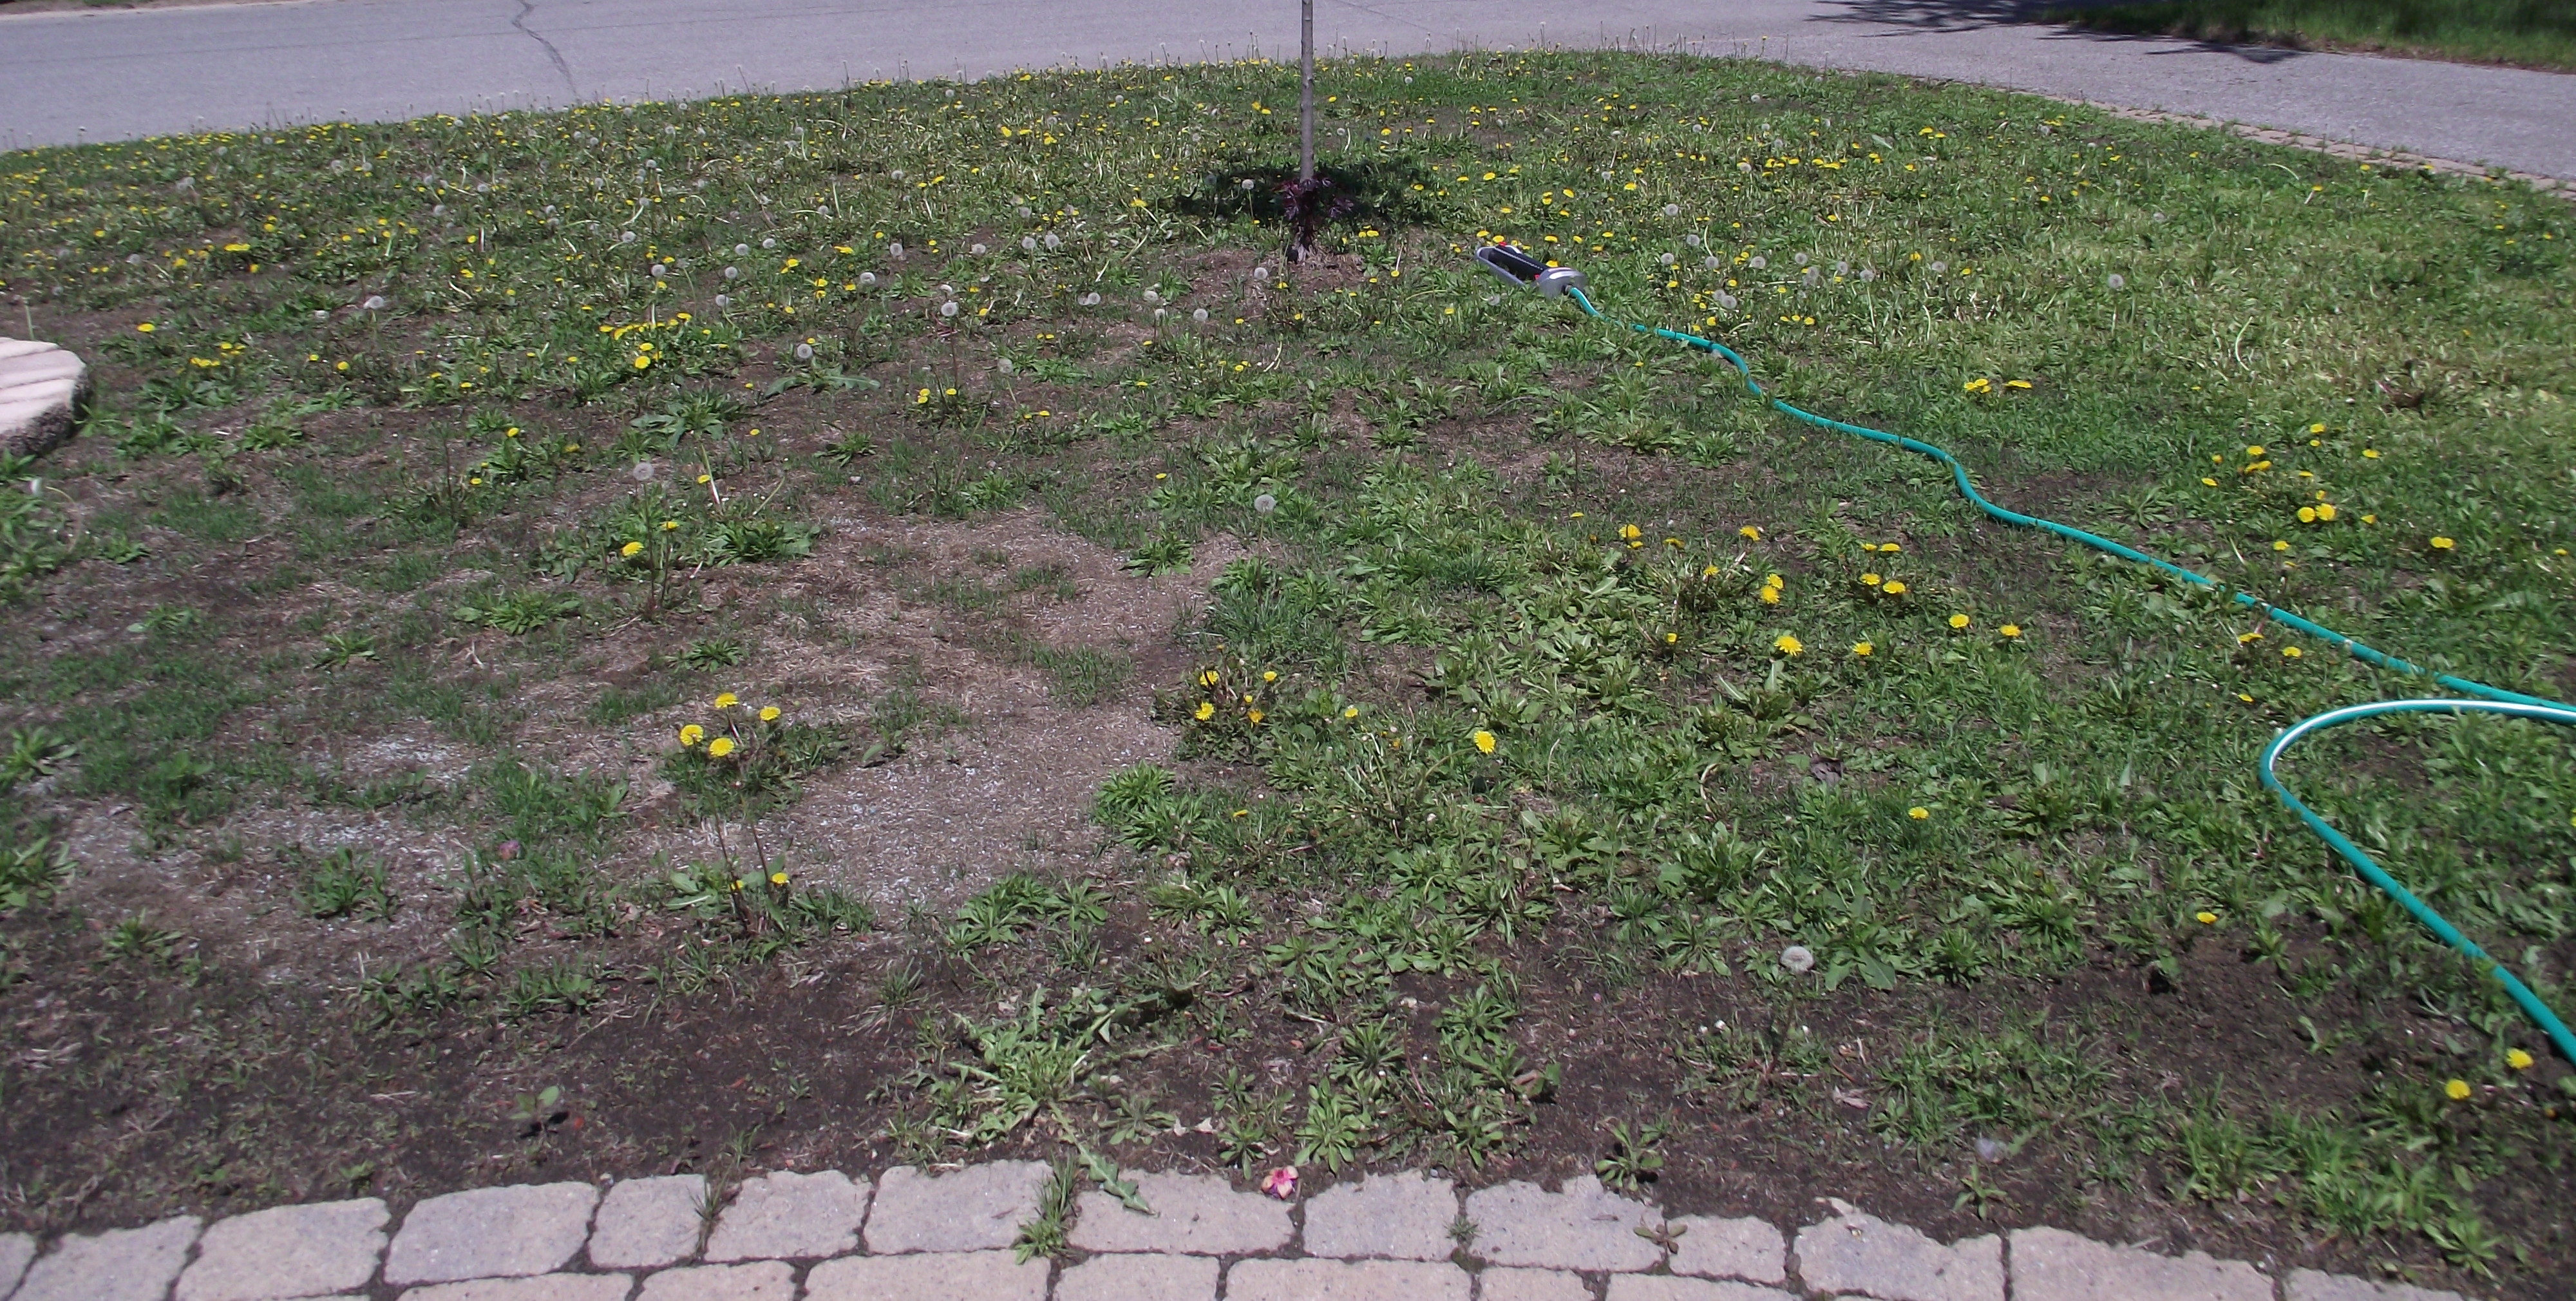
And, now, for a look back to our first summer here…the first photo shows our “lawn” in the spring of 2013.


The second photo shows are lawn just two months later. See what some love, water and fertilizer can do? 

Lawn-spring 2013
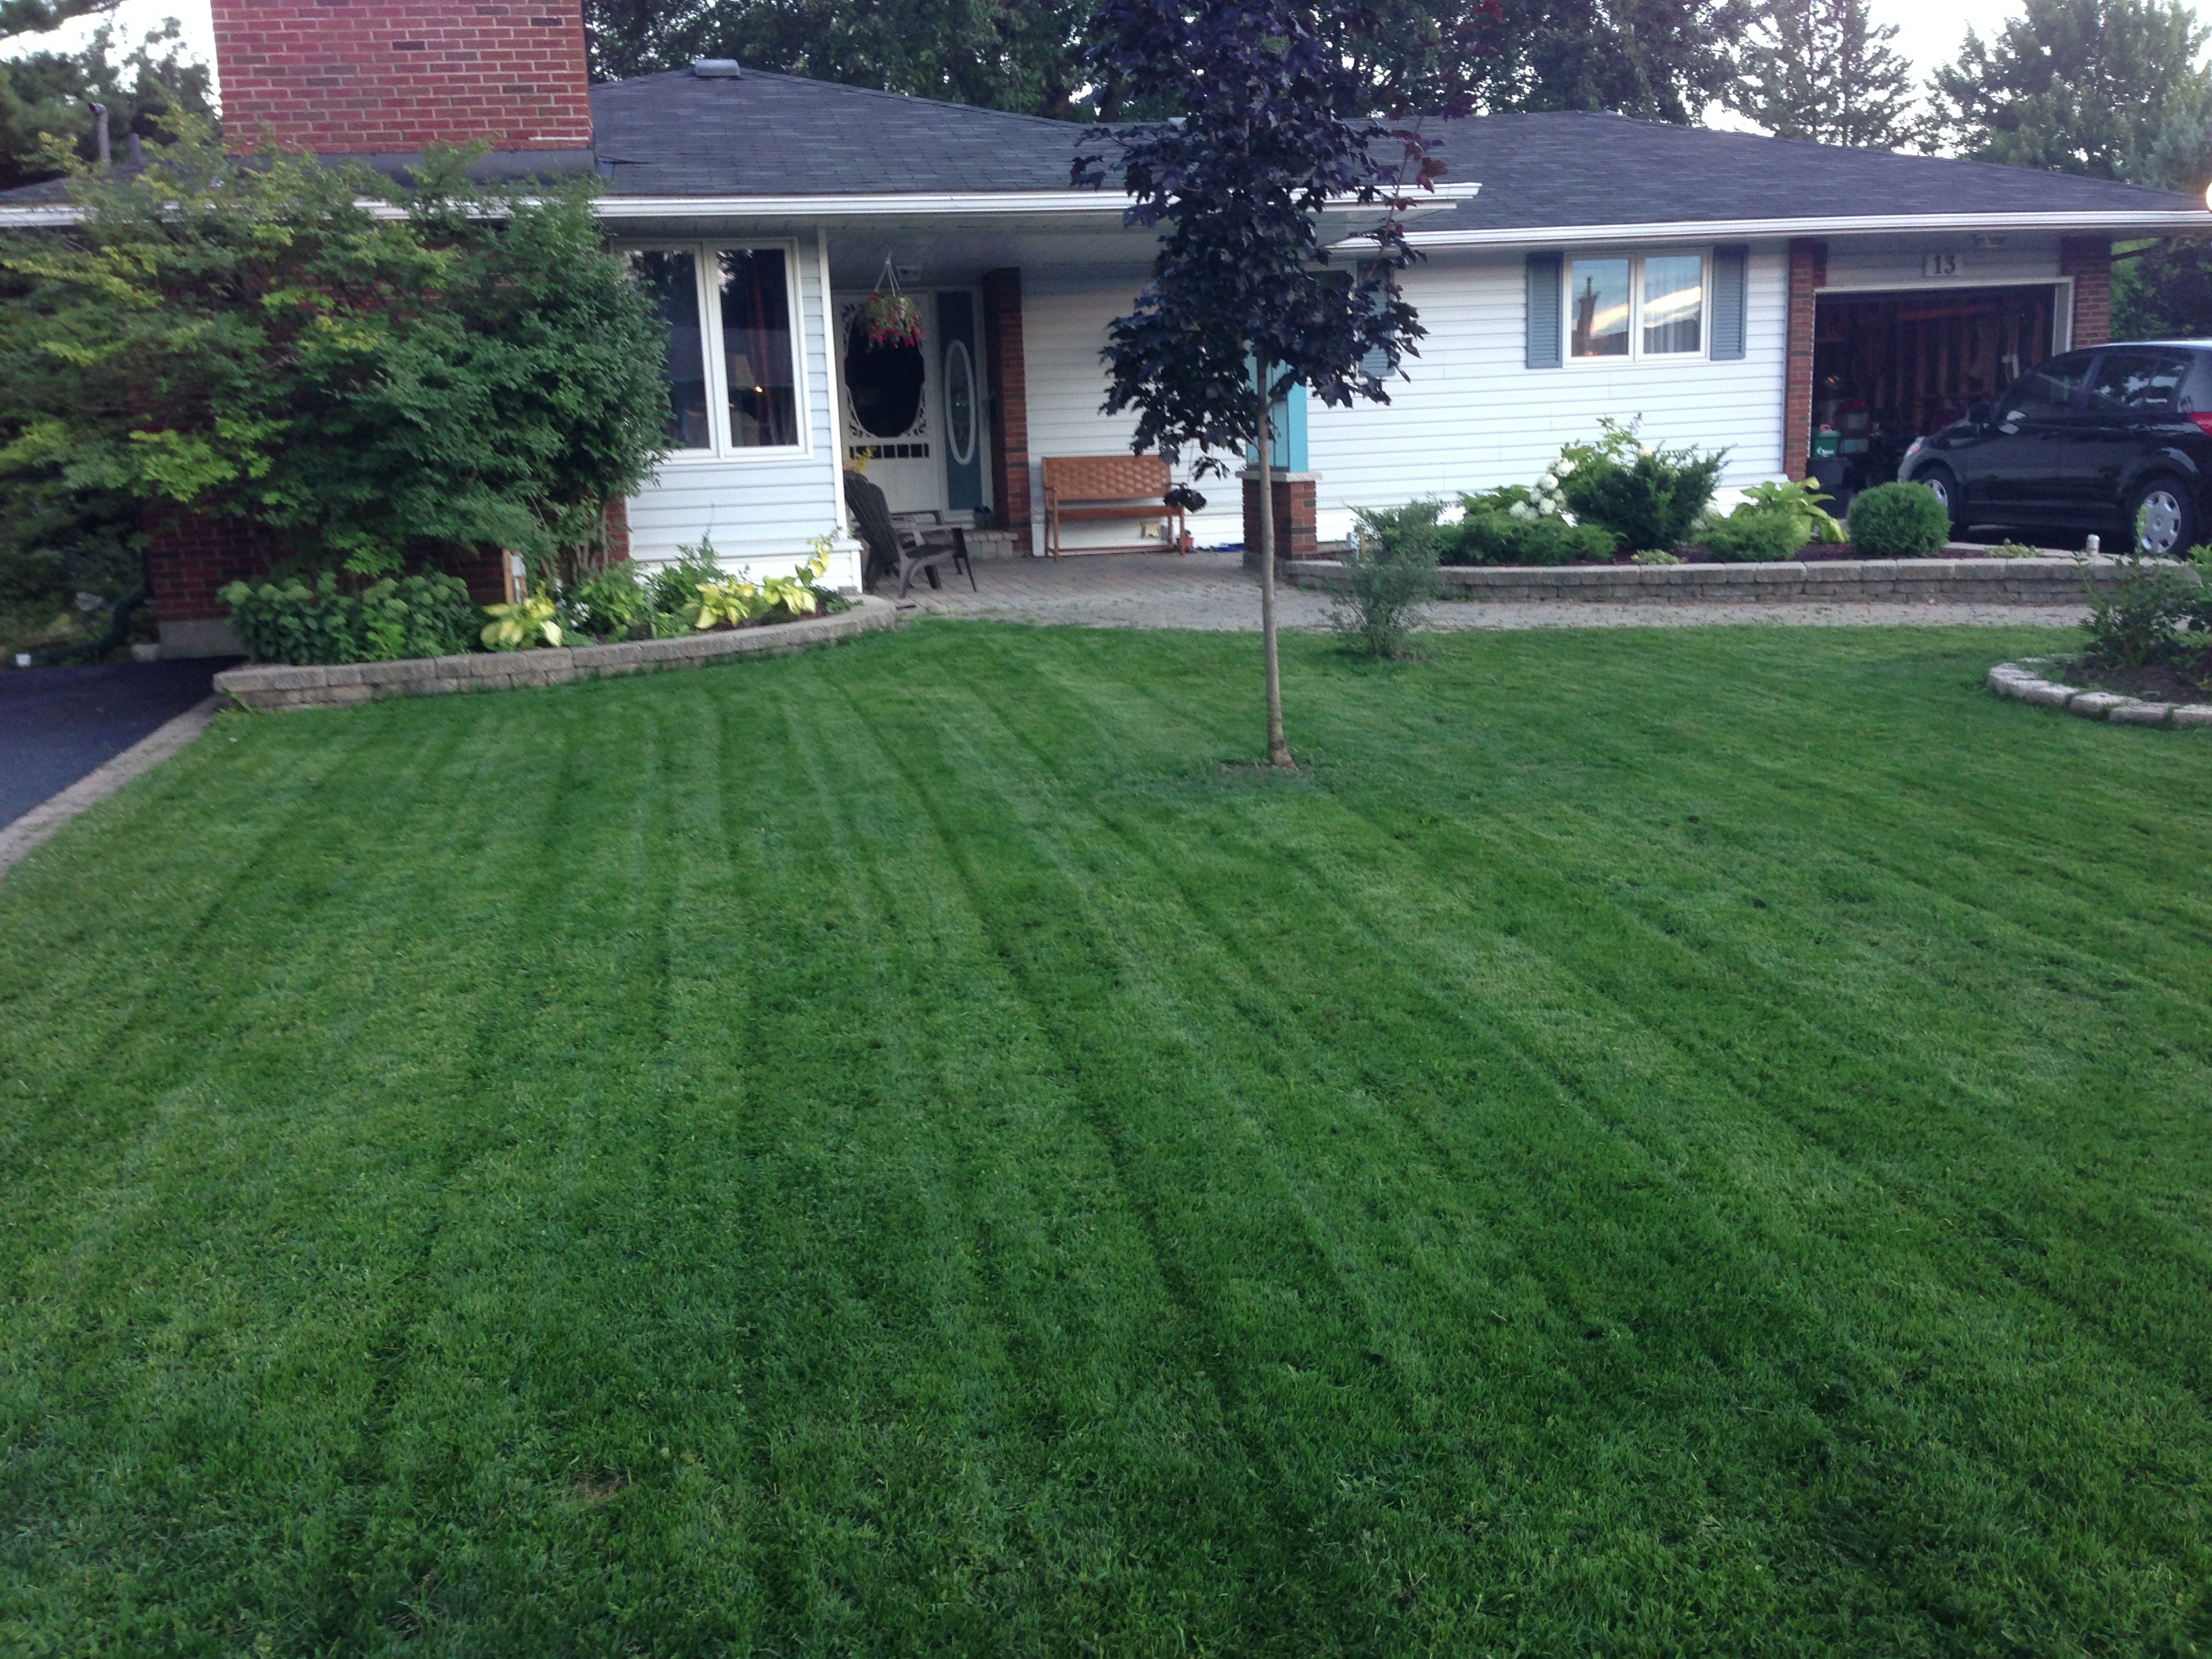
(I love my lawn…I really really love my lawn!)

Thanks for stopping by. Have a wonderful day…and don’t forget to fertilize your grass this fall (now’s the time). Come spring, you’ll be rewarded with a lush green lawn!

Finally, a pantry that makes it easy to find what I’m looking for!

Sometimes, what seems like a great idea, just isn’t.

When I bought this house two years ago, it was already 42 years old. It had had a few upgrades, sometime during the 1980’s. The kitchen, for instance had been renovated to include a pantry with sliding wire racks. Well, at first glance they seemed like such a cool idea–that is, until I found out how heavy they were. Those old steel racks took up too much room in the cabinet and were awkward to pull out when loaded with all shapes and sizes of cans, bags and boxes. The solution: get rid of them!

2014-11-06 16.48.22

In a matter of 15 minutes, I had the racks out and the bottom sliders unscrewed. Next, I measured the inside of the cabinet to determine the length of the shelves. I wanted to leave space at the bottom for a “junk food” bucket, so I decided to go with six shelves.

2015-02-05 17.13.32Peter and I then made a quick trip to our local Home Depot, where we bought the mounting rods and brackets. We had the shelves cut right there–first five cuts are free, and he gave us the last one as a bonus.

Back home we installed the three verticle mounting bars (using a level, of course), put the brackets on and popped the shelves in. Voilà! A brand new pantry with easy-to-see and easy-to-reach shelves. Total cost: $200. Total time: two hours. Well worth it!

P.S.Wondering what we did with the steel shelves? We put them at the road on garbage collection day and they were quickly picked up by the scrap metal collector truck that scours our neighbourhood. We’re looking after our environment, nothing wasted!!

Tools required: level, variable speed drill with screwdriver bits.