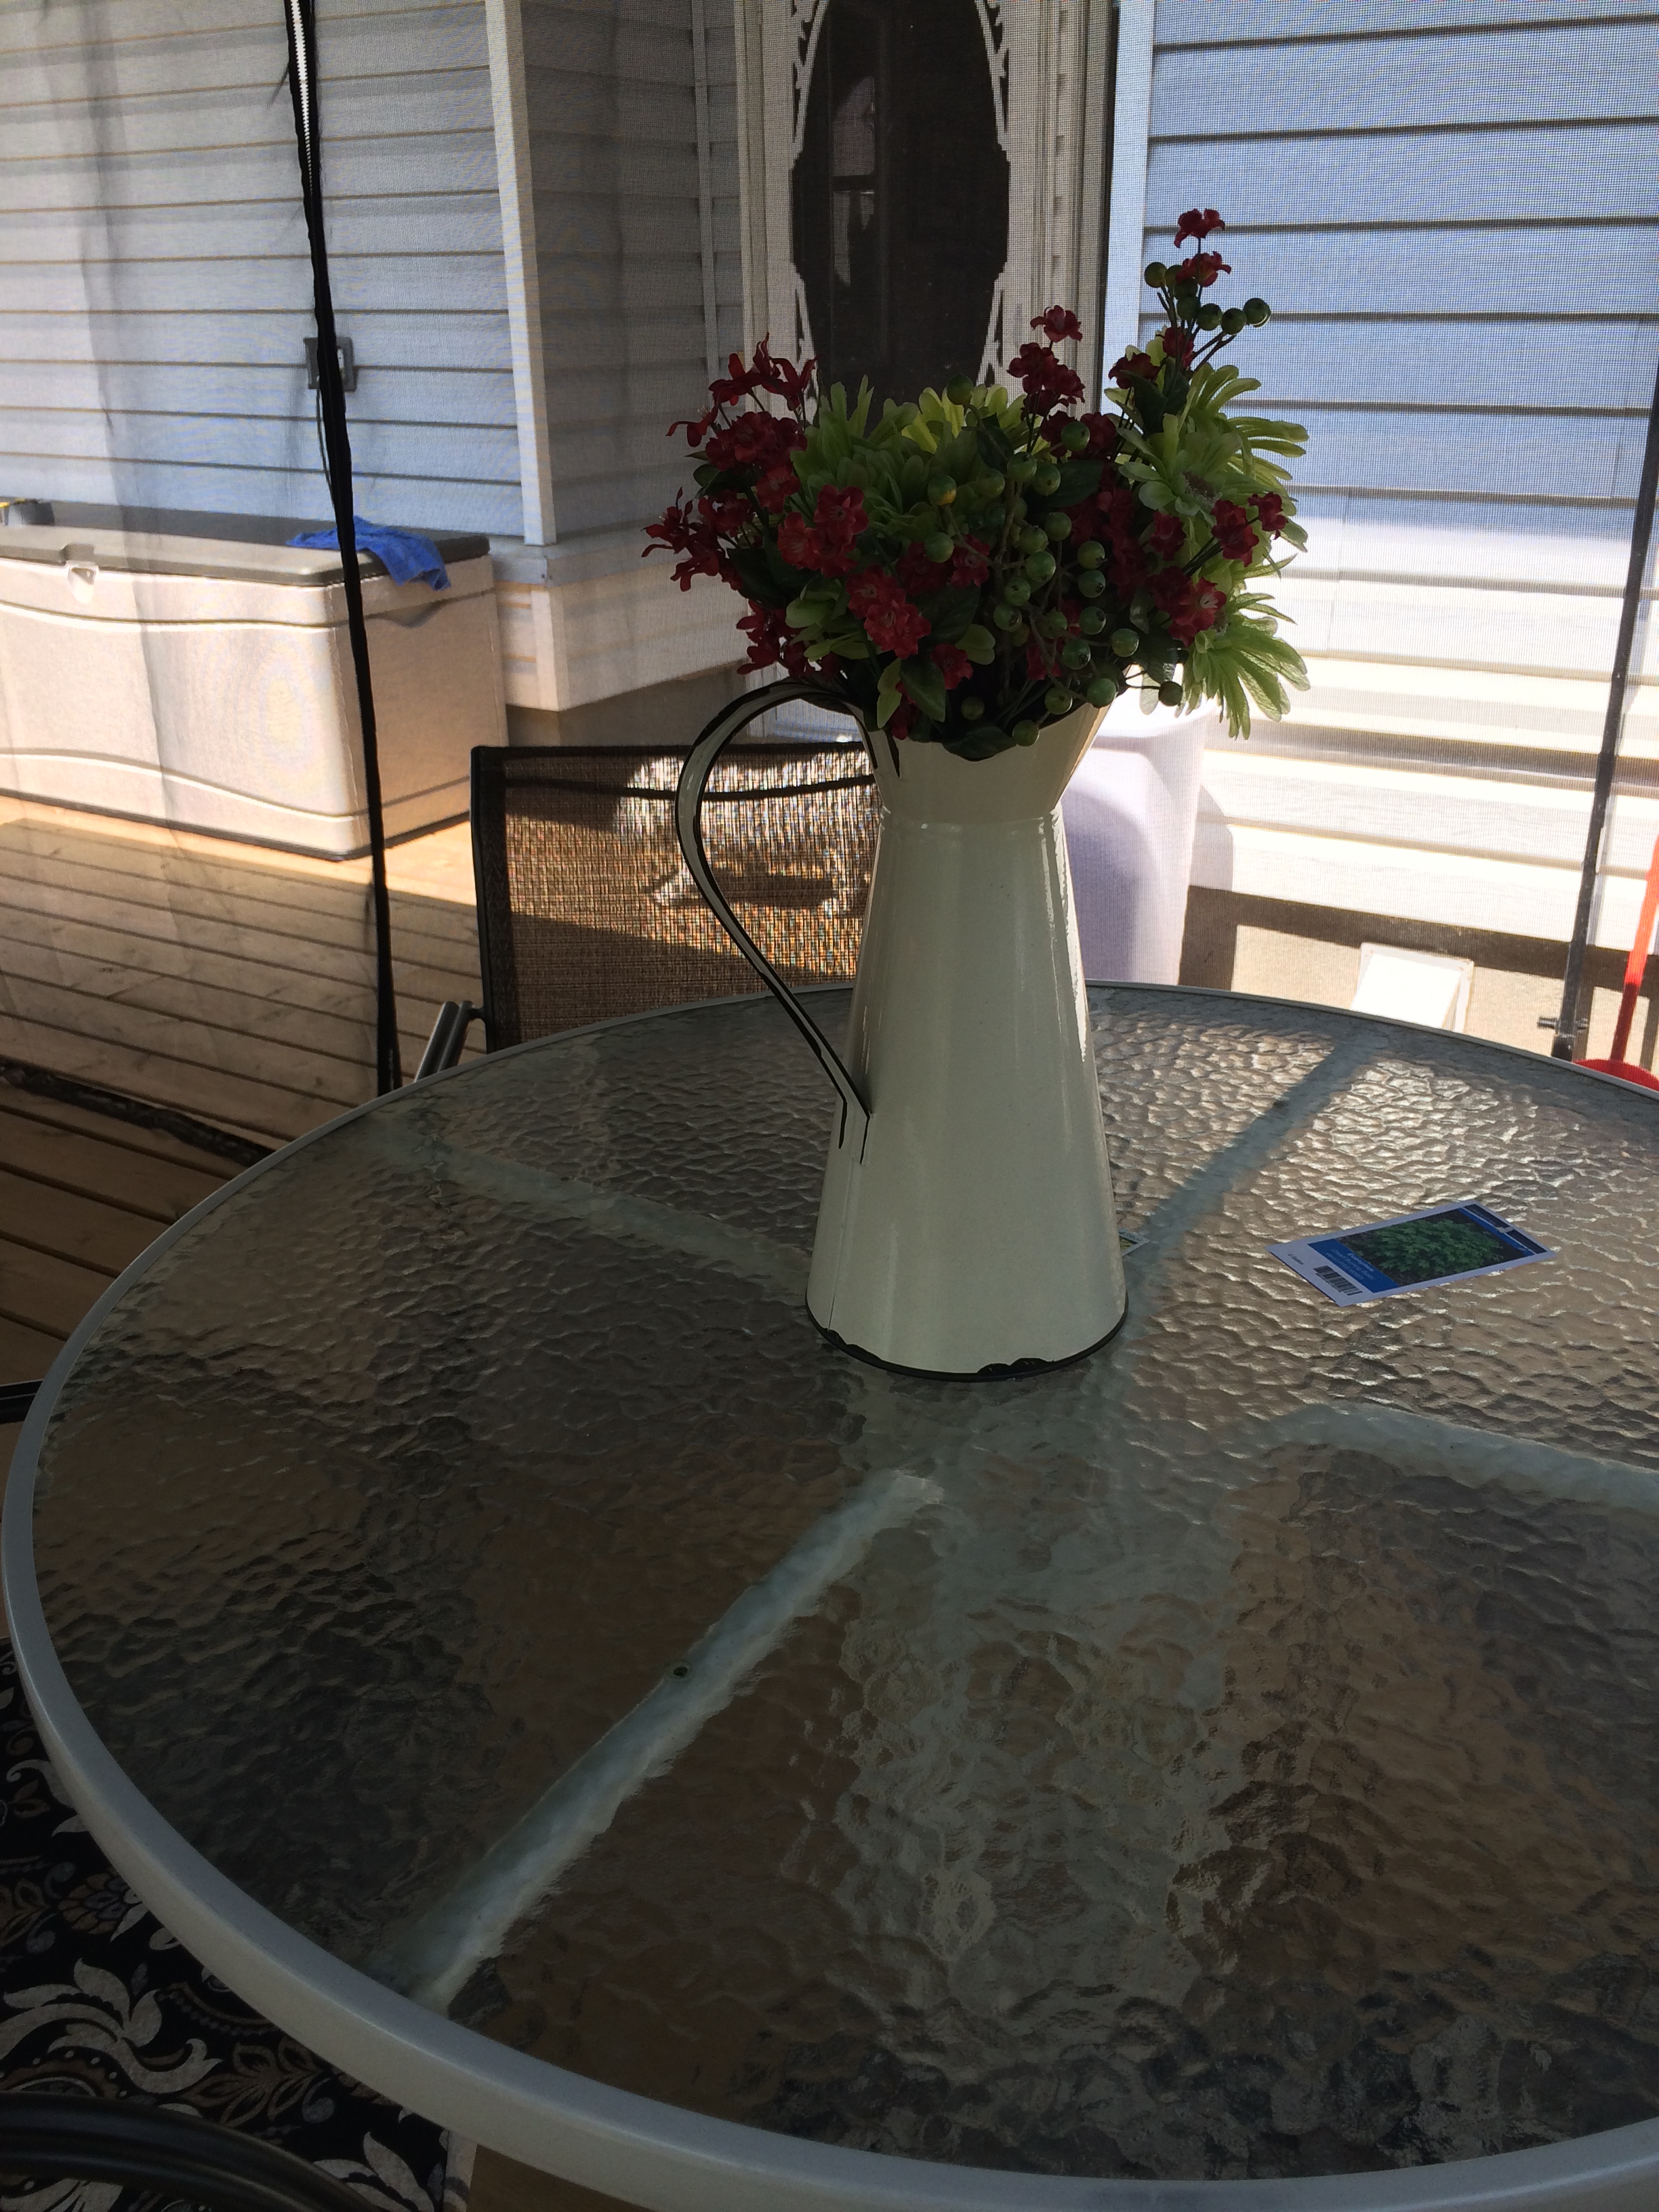
Still working on our backyard…

Unless you can afford to hire professional landscapers and pay them big bucks to do all your landscaping at once, the other option is to do-it-yourself, year by year.

Well, let me tell you, it’s a big job and it’s not cheap. But, every spring we have added, subtracted and changed our outdoor property to get it looking pretty and inviting. And, we still have lots more to do. But, hey, it keeps us busy and it’s great watching our work take effect as the season goes on.

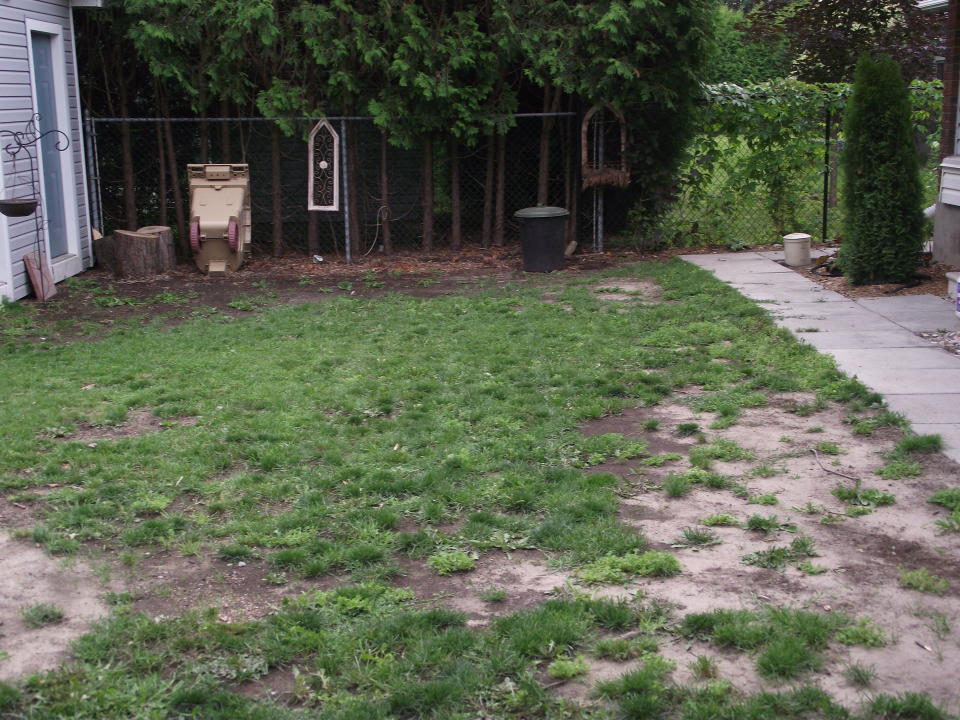
It all started with a big, old, ugly and rotten tree in the middle of our backyard. We had that cut down in 2013, our first summer in this old 1972 ranch style house. There was no grass anywhere on the property. Ugh!! Here’s are a few photos from 2013.

Here’s our work-in-progress..

The new deck from two years ago looks great with the gazebo on it. At 16′ x 12′, the gazebo gives us plenty of shade and a nice breeze, too.

Beside the shed there is a lovely hosta garden.

When little Holly takes a break from exploring the yard, chasing the birds and chipmunks and hiding the hedges, she likes to have a rest in her bed.

We were trying out our new “patio lanterns,” and Peter caught me scooting by in my old pajamas.

The scent of our lilacs waft into our bedroom as we’re drifting off to sleep at night. By the way, this is a new variety of lilac that blooms three times over the season. It grows about 4′ high and 4′-5′ around. I just planted it this spring, so it’s only about three feet high, but it has already burst into glorious blooms. In one corner of  our yard we have some really big lilac bushes. Yahoo!

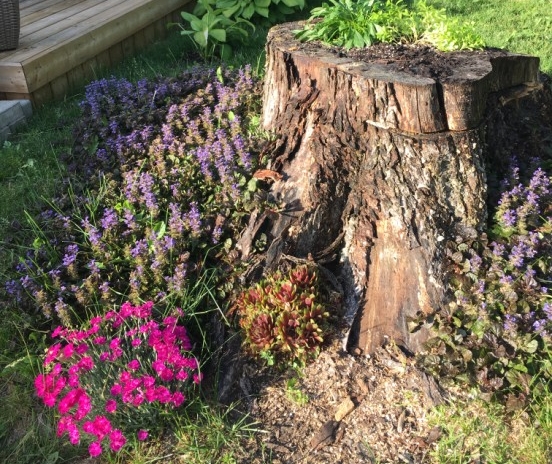
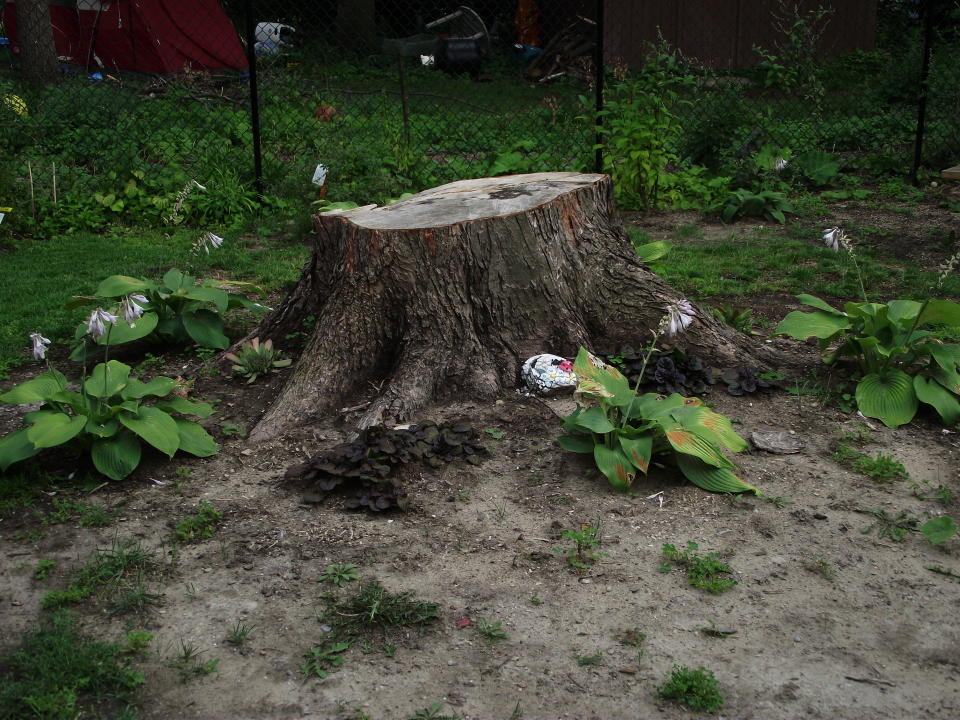
The stump of our Norway Maple that we cut down in 2013. It’s sort of interesting, don’t you think? We hollowed it out, added earth and planted some perennials in it. I added a birdbath to it and planted some awesome plants around it.

There’s so much more going on since we took these photos. The plants are going crazy and the grass is beautiful and lush, thanks to a nice big bag of grass fertilizer.

Anyway, that’s it for now, with lots more to come later.

Thanks, so much, for dropping by!

Flowers are always a good idea

Here it is, mid-August and my flower garden is filled with the most luscious blossoms. Autumn may be just around the corner, but I’m going to enjoy my flowers until  the first snowflake. Here are some of the beautiful flowers in my garden, starting with the spring lilacs and peonies, and moving on to the late summer blooms. Enjoy!


There are lots more beautiful blooms in my garden, but that’s all the photos I have at the moment. The window boxes on the front of my house are overflowing with petunias. More photos to come!

Our landscaping: from barren to beautiful!

As they say,”a picture is worth a thousand words.”

So, rather than bore you with a lot of text, I’m going to post some photos of our back yard. It’s still a work in progress, but it’s a far cry from what we inherited from the last owners. It’s only been three years since we bought the house and already we’re seeing our hard work pay off. It took a lot of sweat and elbow grease, but we think it was well worth it.

Here we go. First up is our back yard in 2013, when we bought the house. The patio required hours back-breaking work every week to keep the weeds out…they popped up as quickly as I pulled them out. Also, note the lack of privacy from our rear neighbours. The decades-old wood fence was literally falling over when we moved in, so we had a chain link fence installed and a cedar hedge planted the following year. Cedar trees grow about 12″ to 18″ per year; ours were scrawny, but six feet tall, so it won’t be long before they fill out and reach a height of 12′-15′, more than enough to give us some privacy.

FIRST, THE BEFORE PHOTO:

Here’s the old patio, freshly weeded. I took the photo quickly before the weeds grew back.
13 Tripp Aug 2 2014 (25)

So, last year we had a huge deck built (18′ x 24′) right off the back of the house. (Note the cedar hedge to the left, that’s how it looked when it was planted in November 2014. So, this is only it’s second growing season and it’s already filled in to give us some much needed privacy. Now, it just needs to get taller!
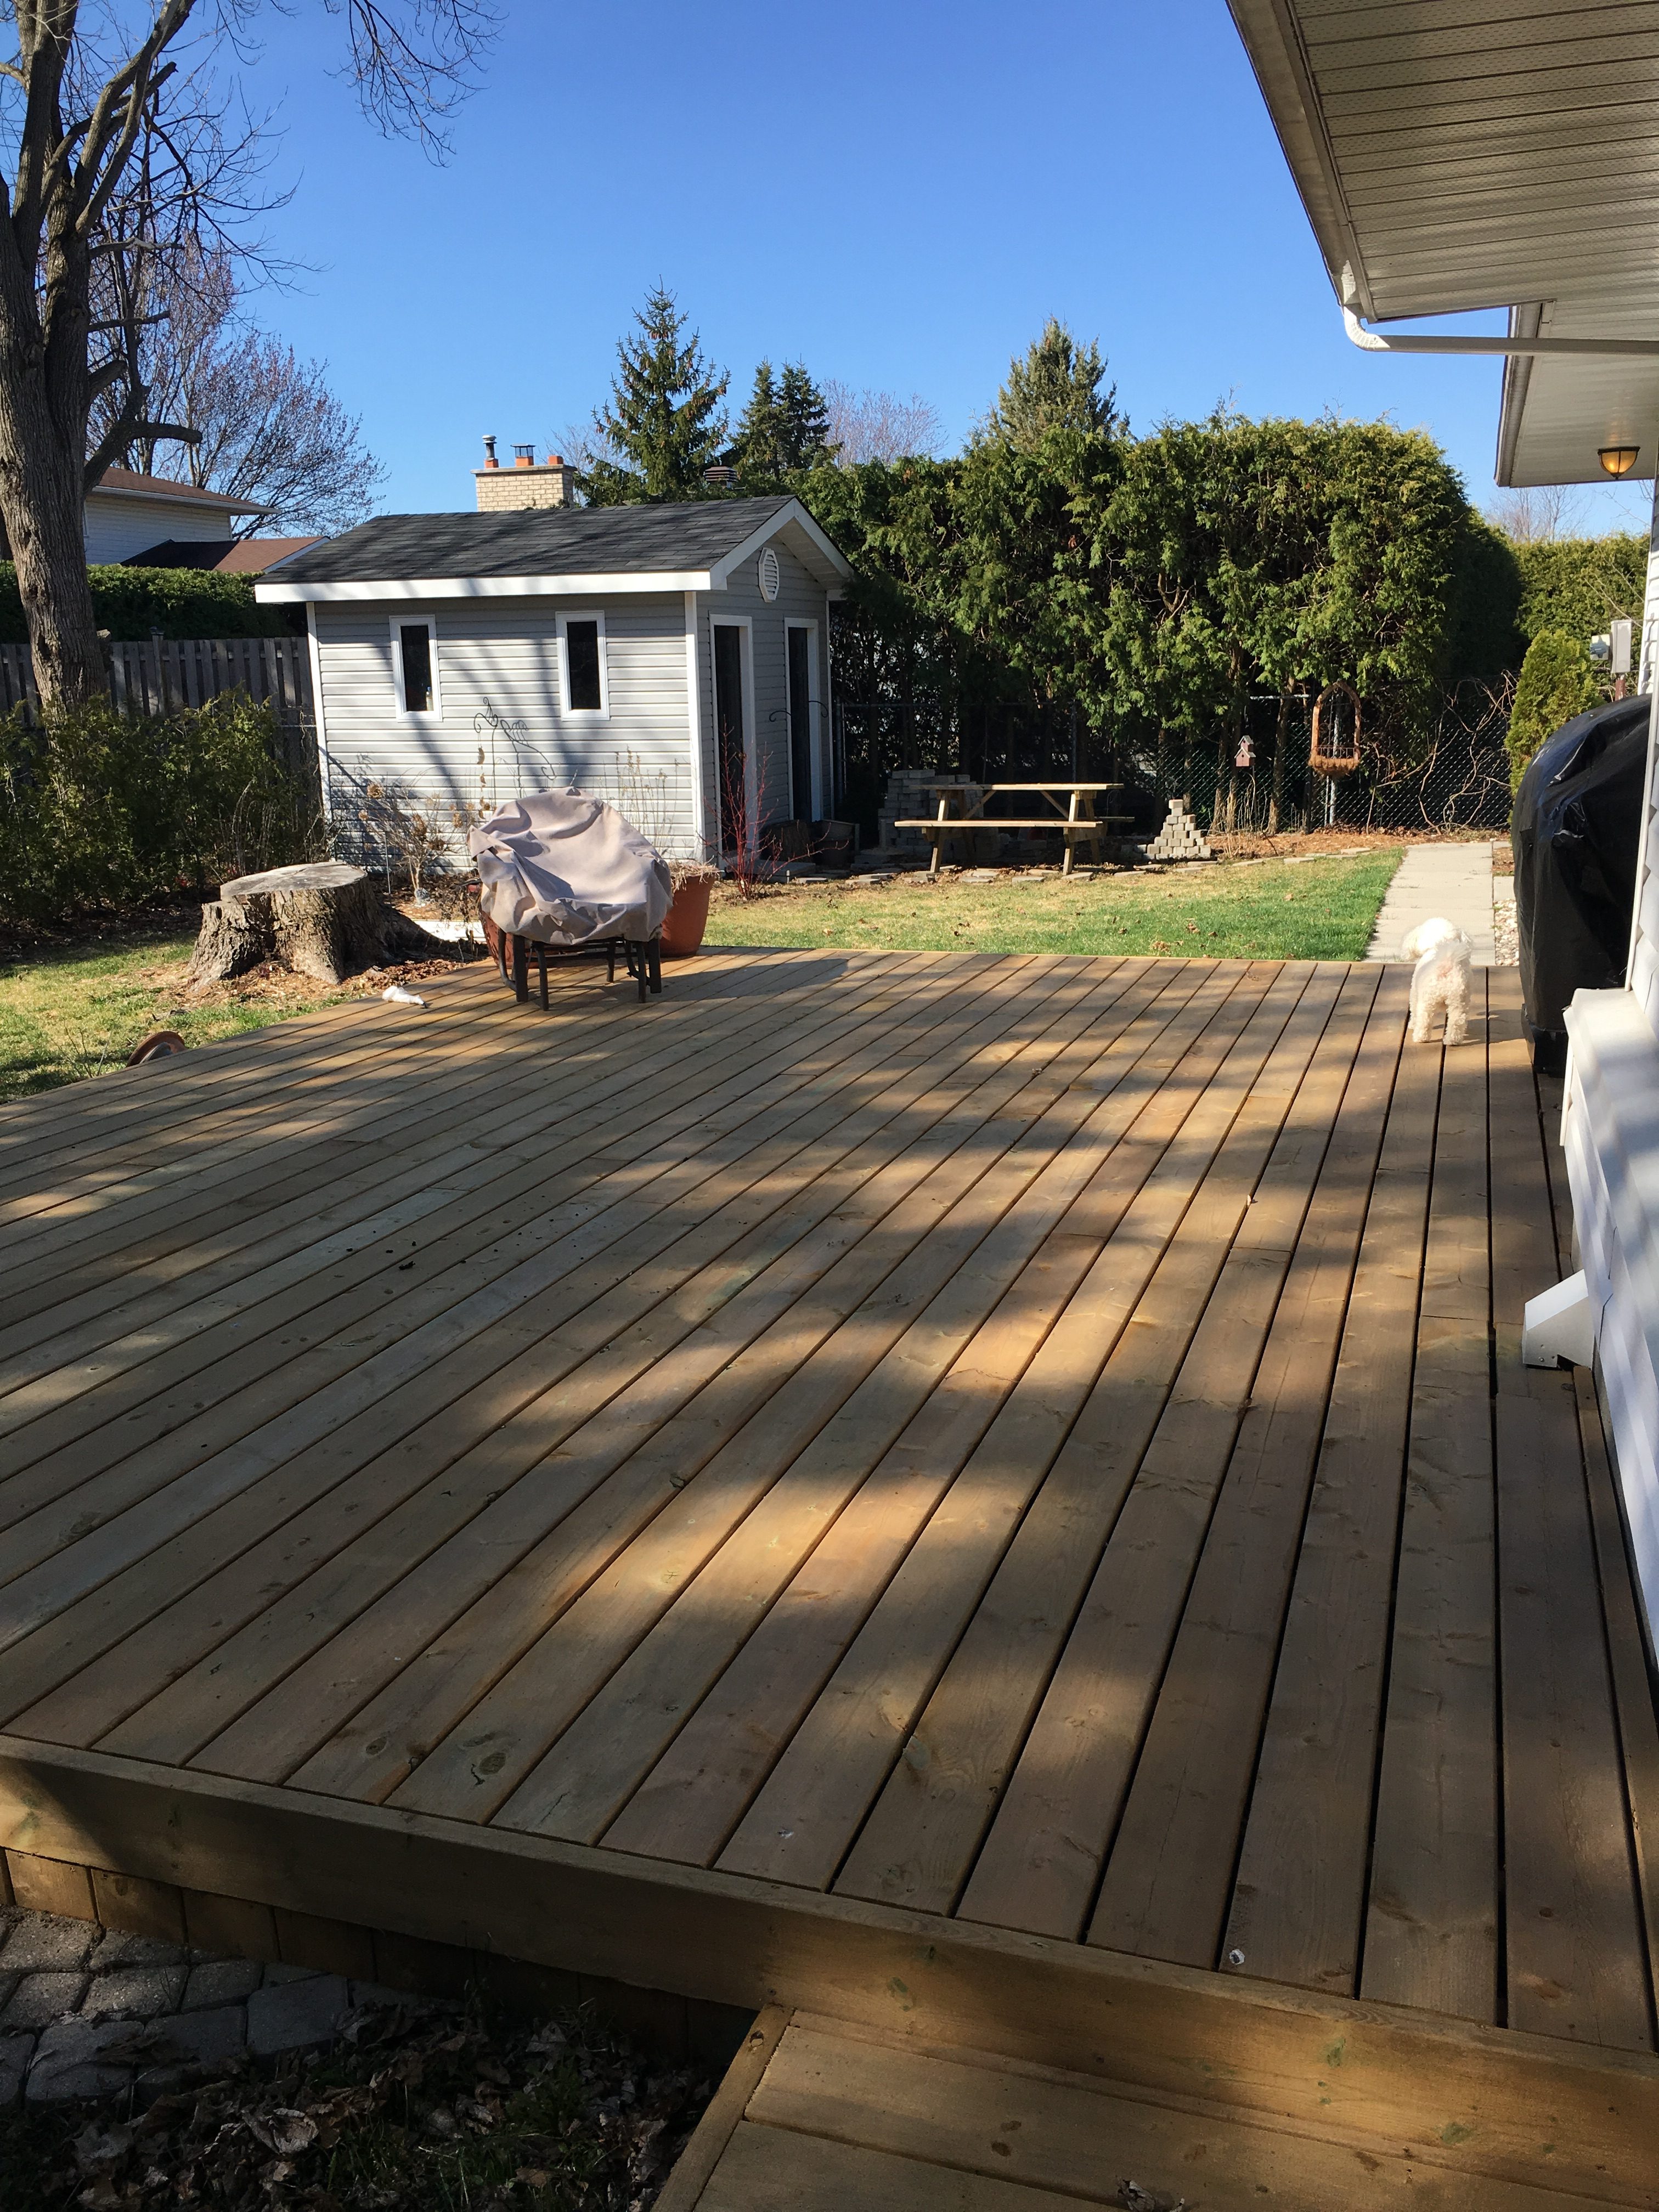
Backyard Makeover May 2016--in progress (9)

Then, we had a 12′ x 16′ gazebo installed on it to provide shade and protection from bugs. Always keeping in mind my shoe-string budget, we removed a huge pile of stones from the patio before they disappeared forever under the new deck. We then used the stones to create some planting beds next to the deck and in strategically located areas around the yard. Cost: Free! I added three compact shrubs in the planting bed and a ton of mulch (not one weed popped up all summer). 
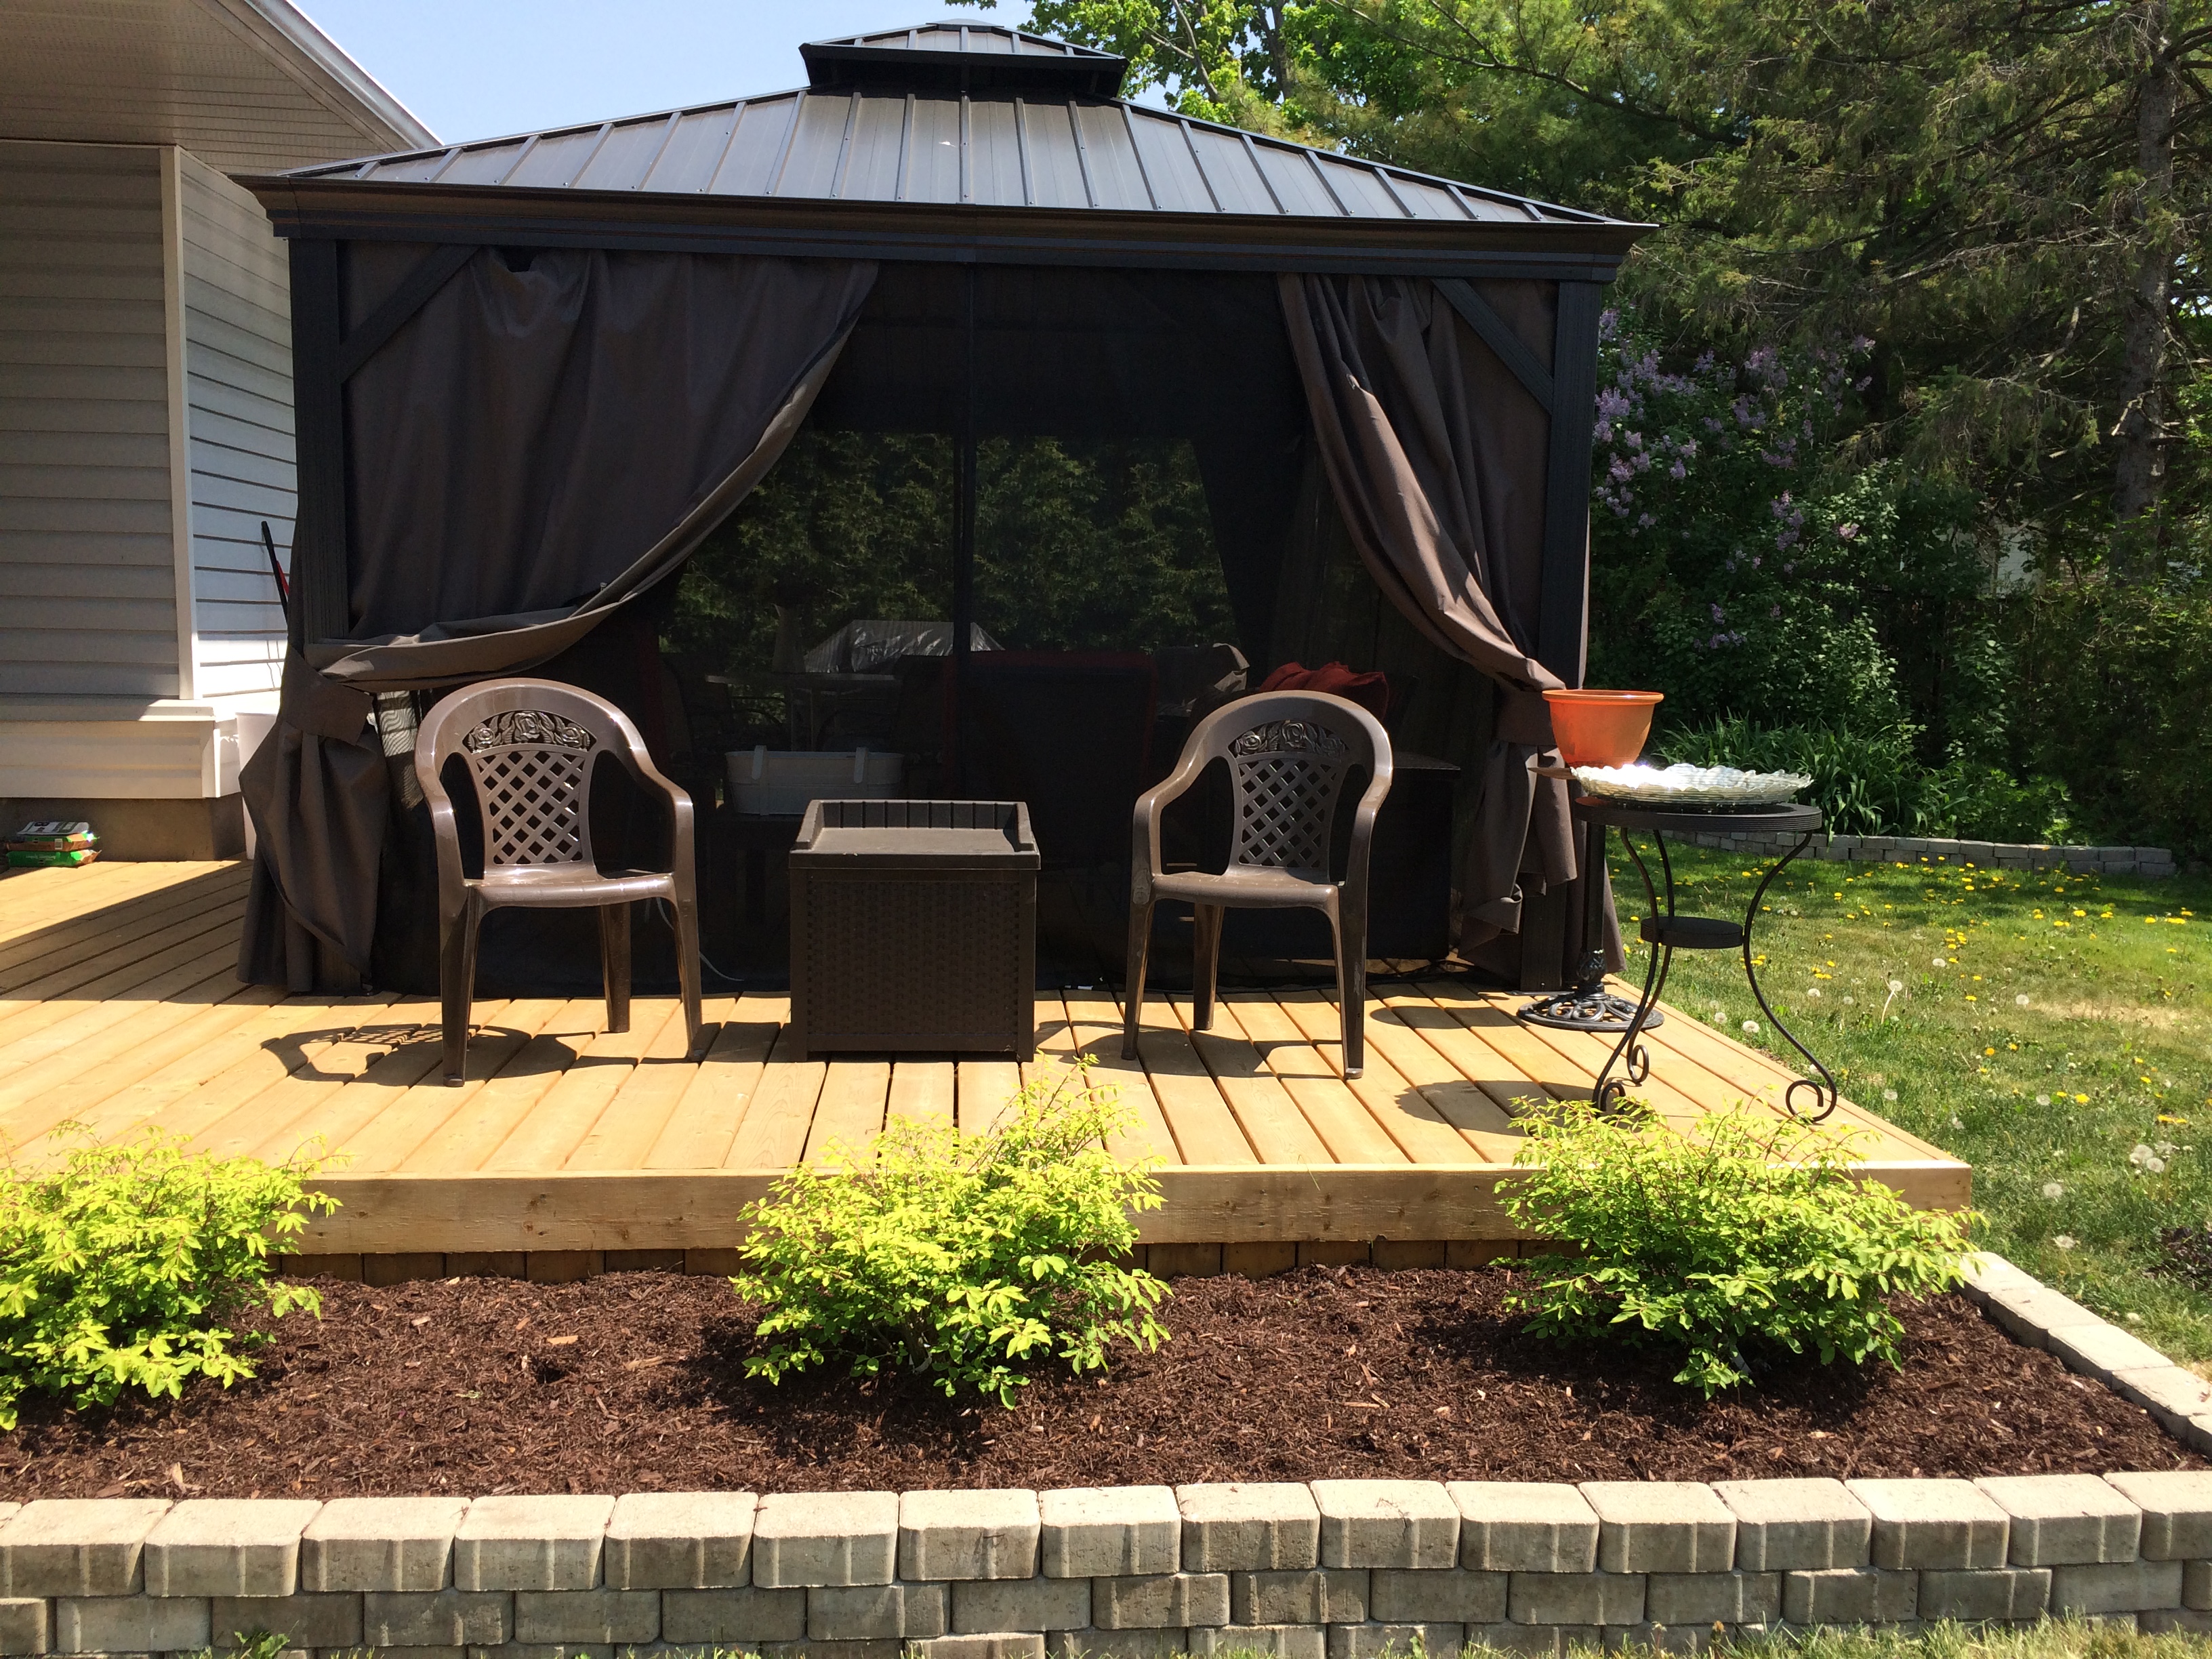
Backyard work in progress--May 2016 (68)

…and then a couple plants more for autumn colour…
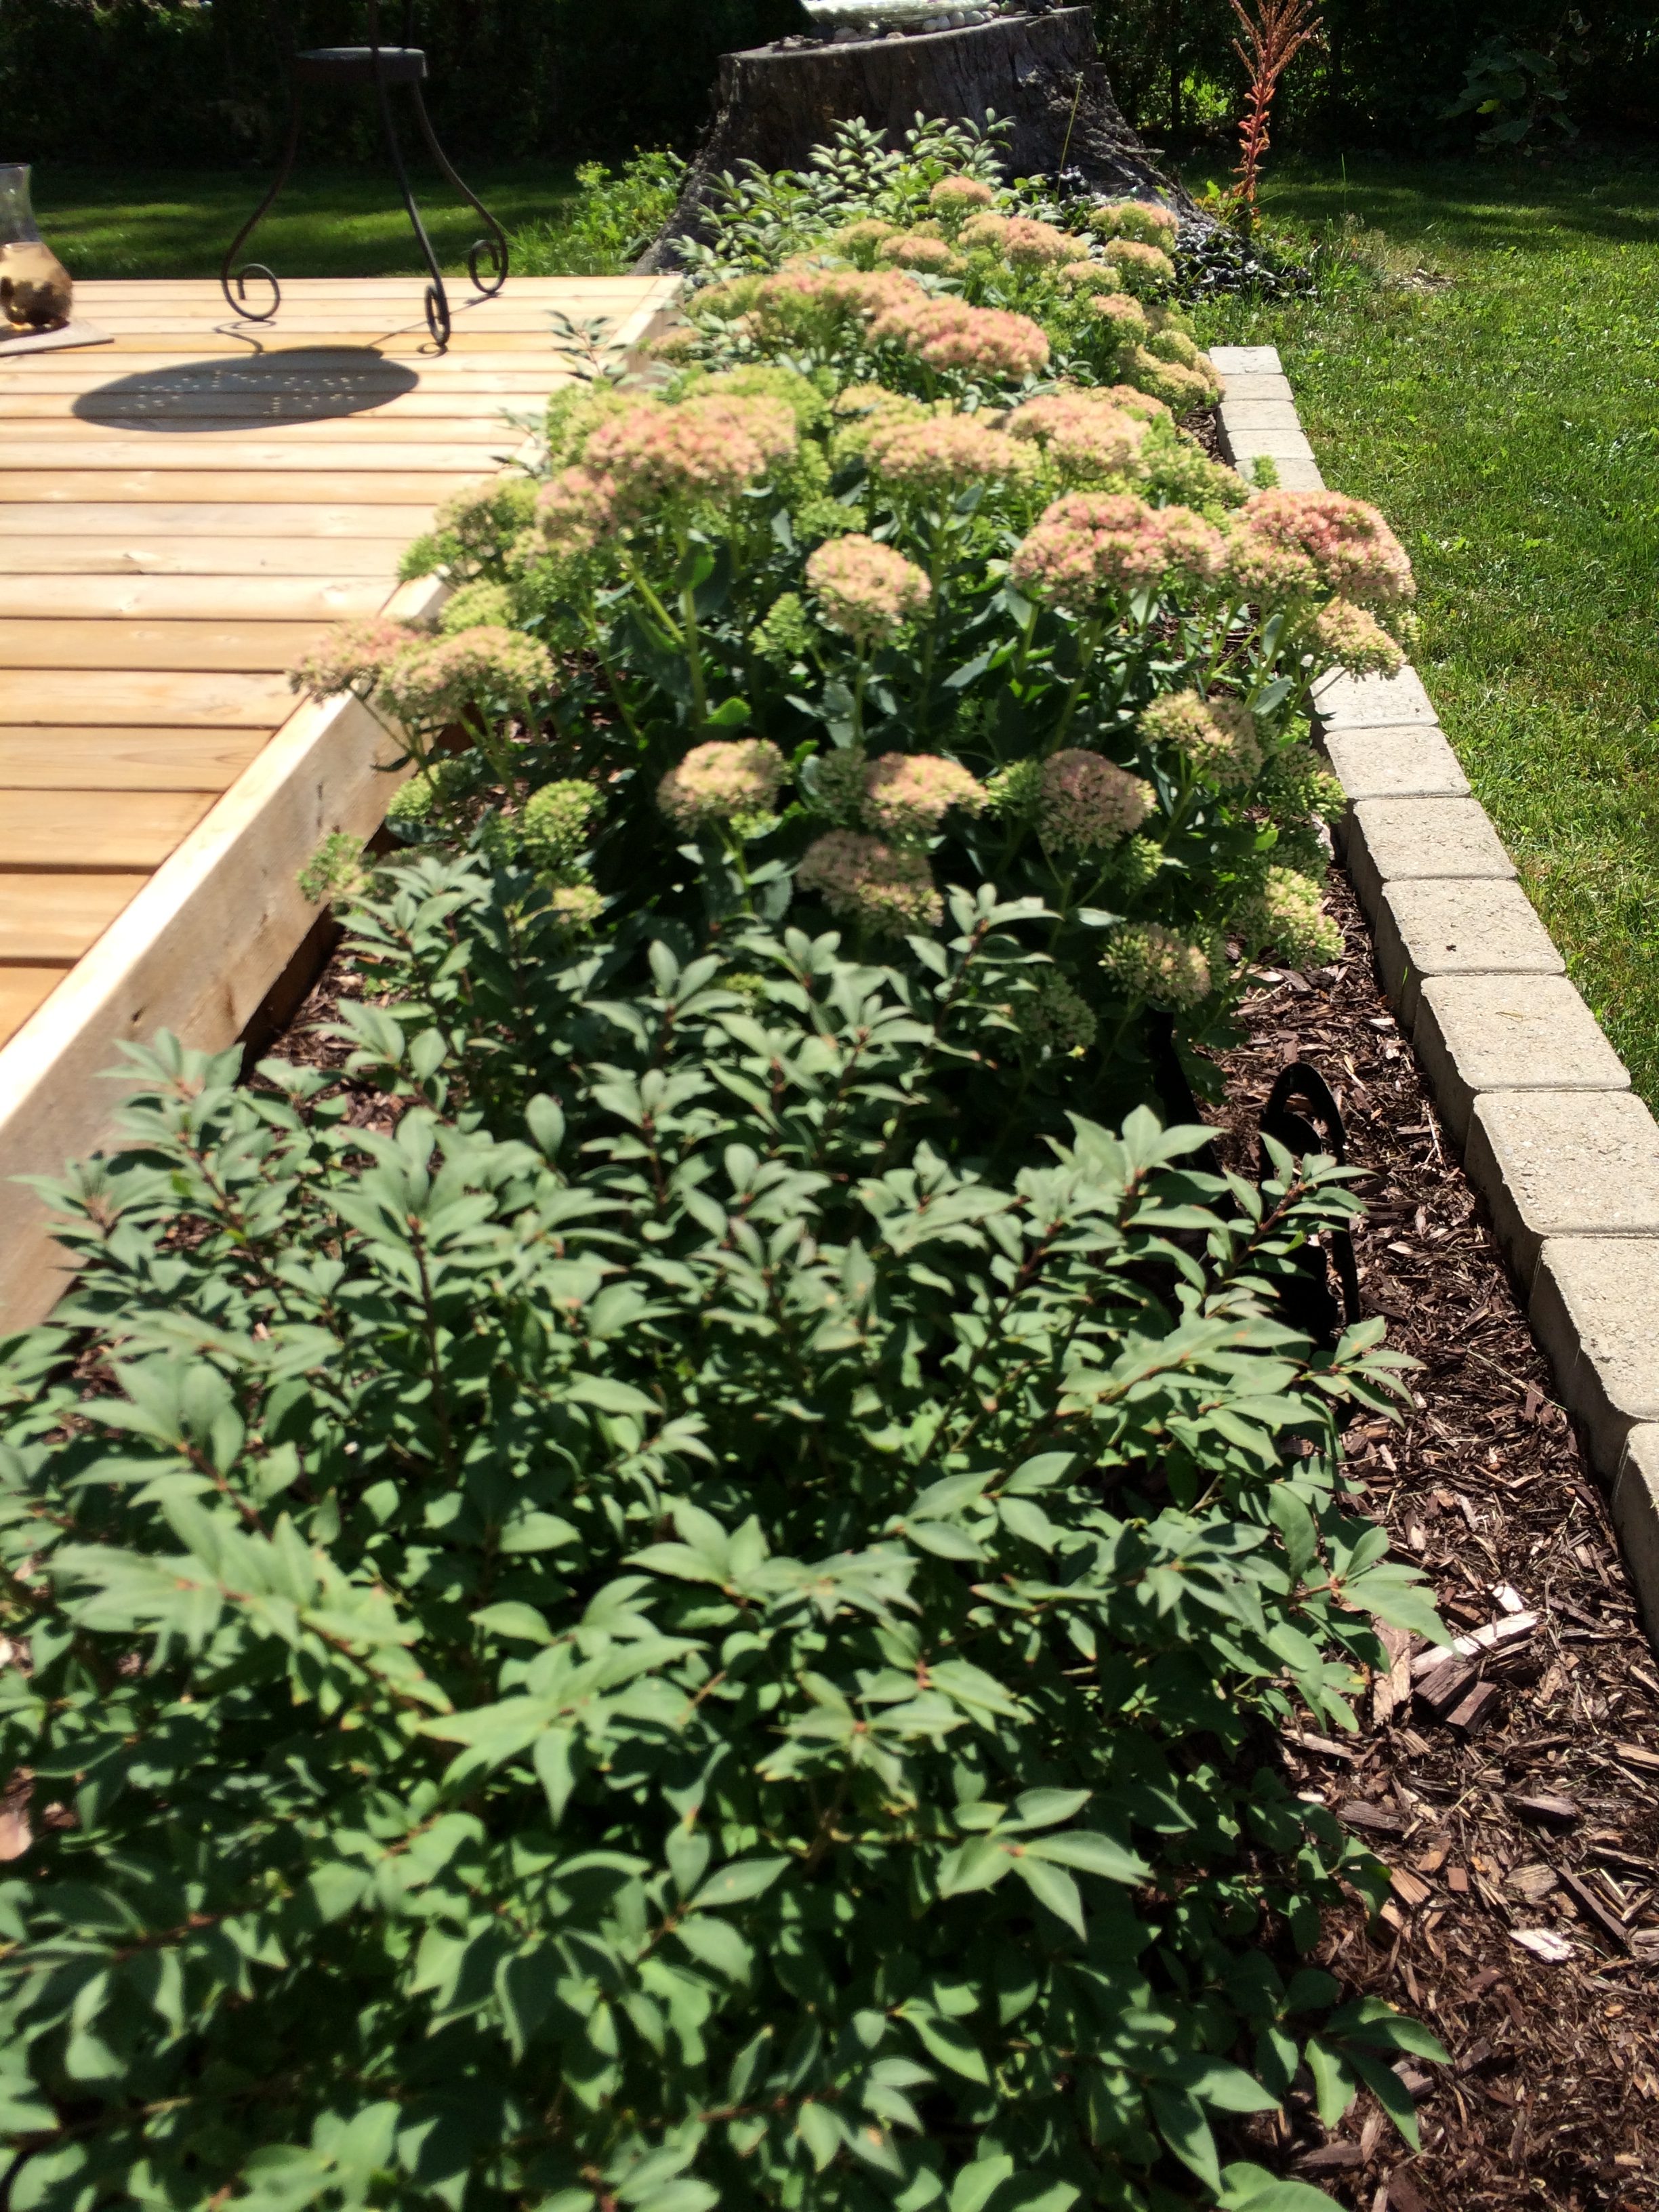
2016-09-04 12.06.07

…and another planting bed beside of the garden shed. I planted a Snowball hydrangea bush here, which will grow to be 10′ high and 15′ wide…eventually. At the moment, this bed a half-way house for  some displaced hostas. Next year they will be moved to their permanent home along the front of the deck.
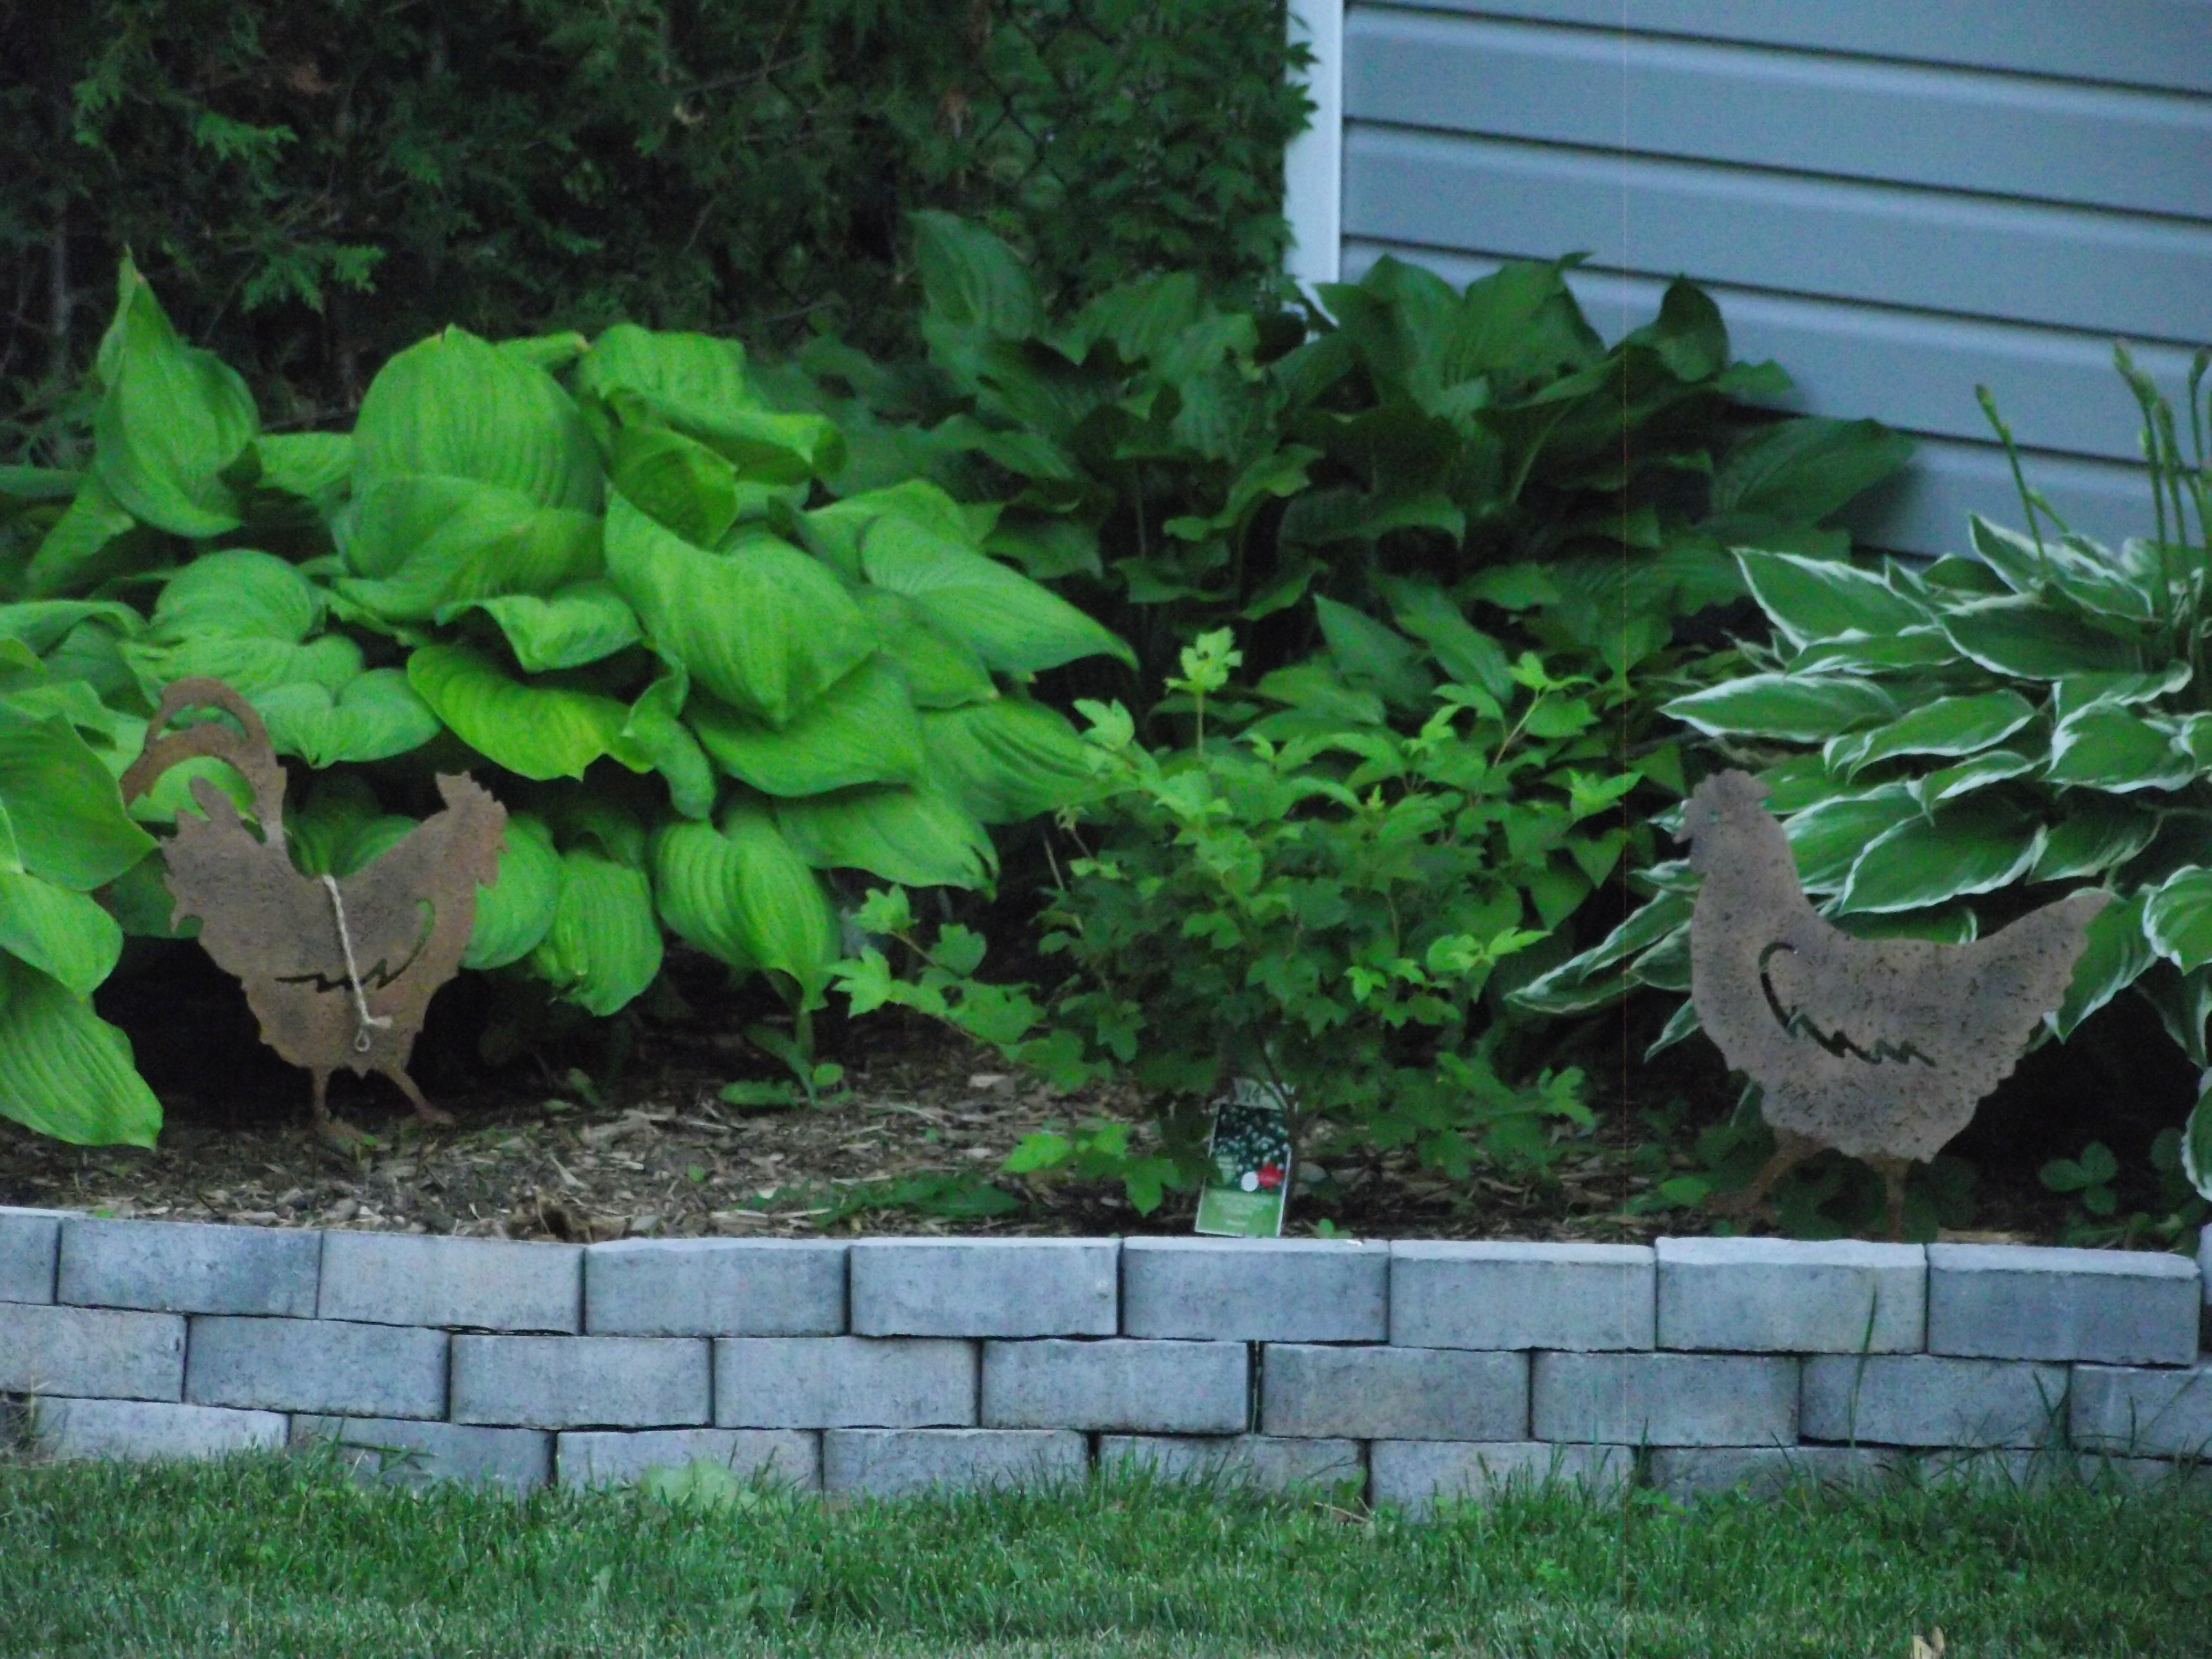
Backyard 2016-07-04 20.10 (33)

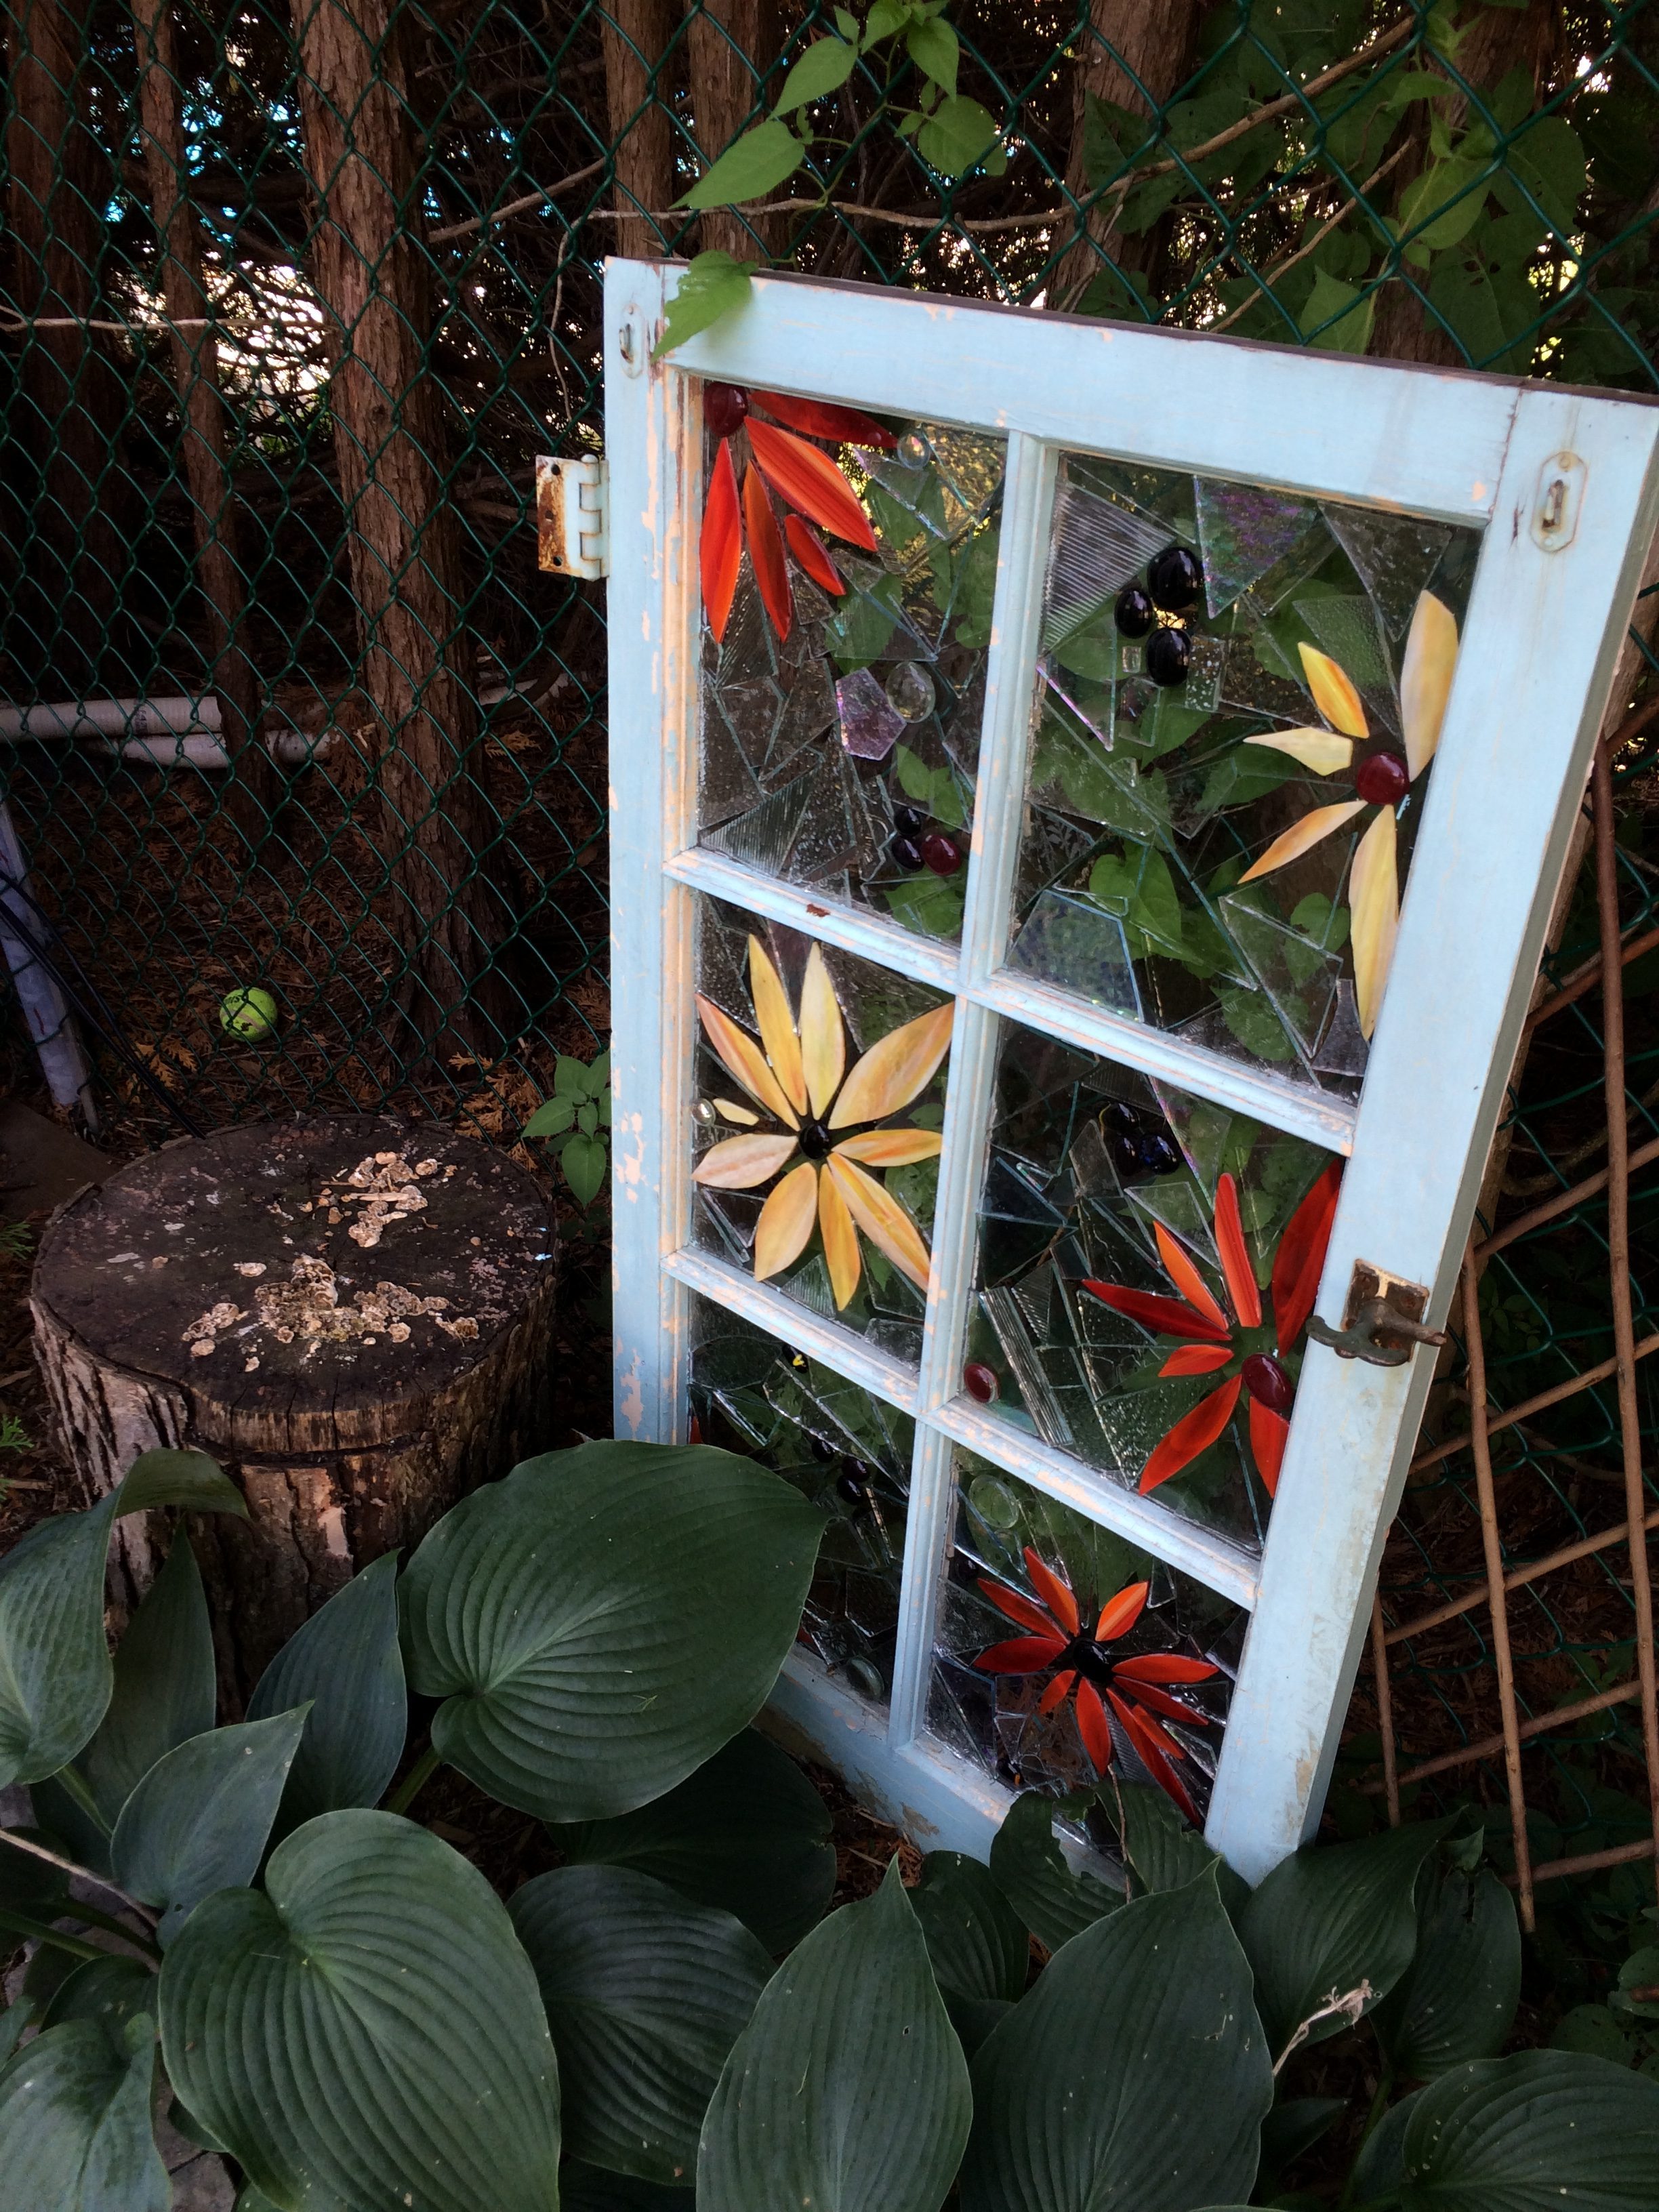
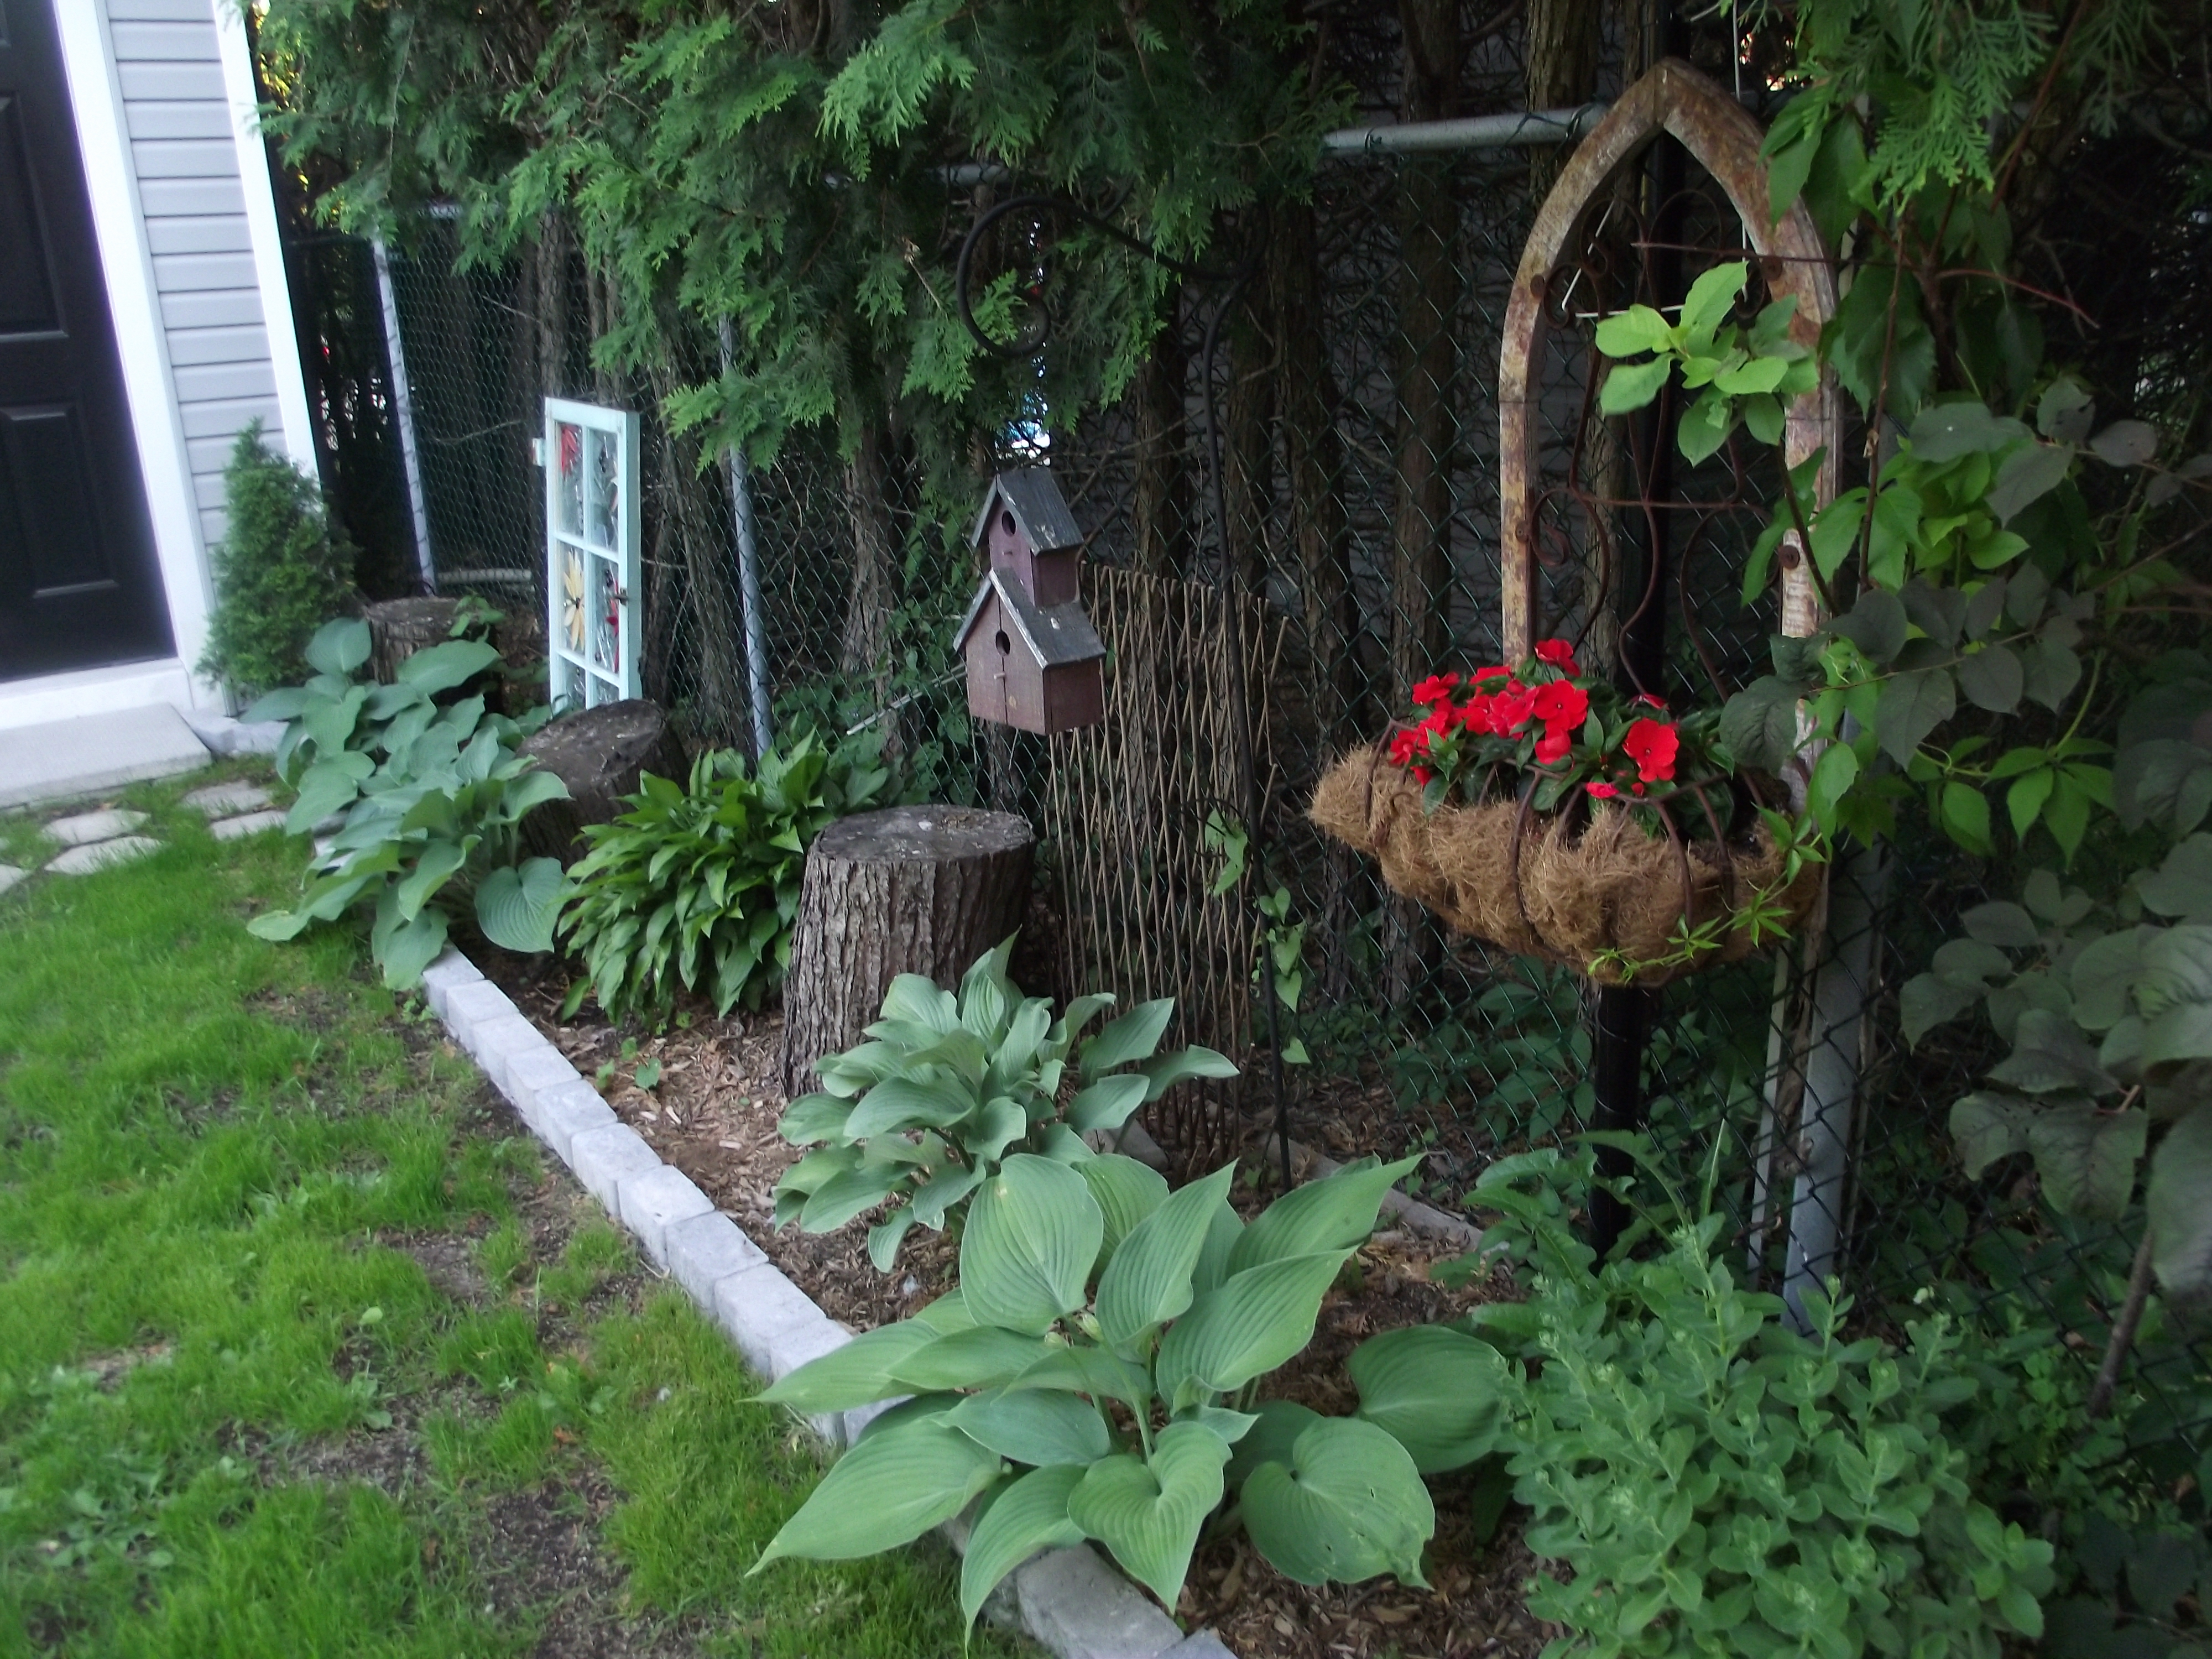
Below, is a photo of my favourite planting bed located along the fence near the garden shed. I wanted a very natural and eclectic look, so I incorporated a “mosaic on glass” window that I made, three huge stumps from a 40-year-old tree that we had to to have cut down, a rusty old wire planter and a cute birdhouse.
2016-09-04-12-03-36

Since I took this photo, the grass has become lush and green–despite this summer’s brutal heat. We pamper our grass with regular over-seeding, spring and fall fertilizers, regular mowing and by providing adequate water.
Backyard 2016-07-04 20.10 (3)

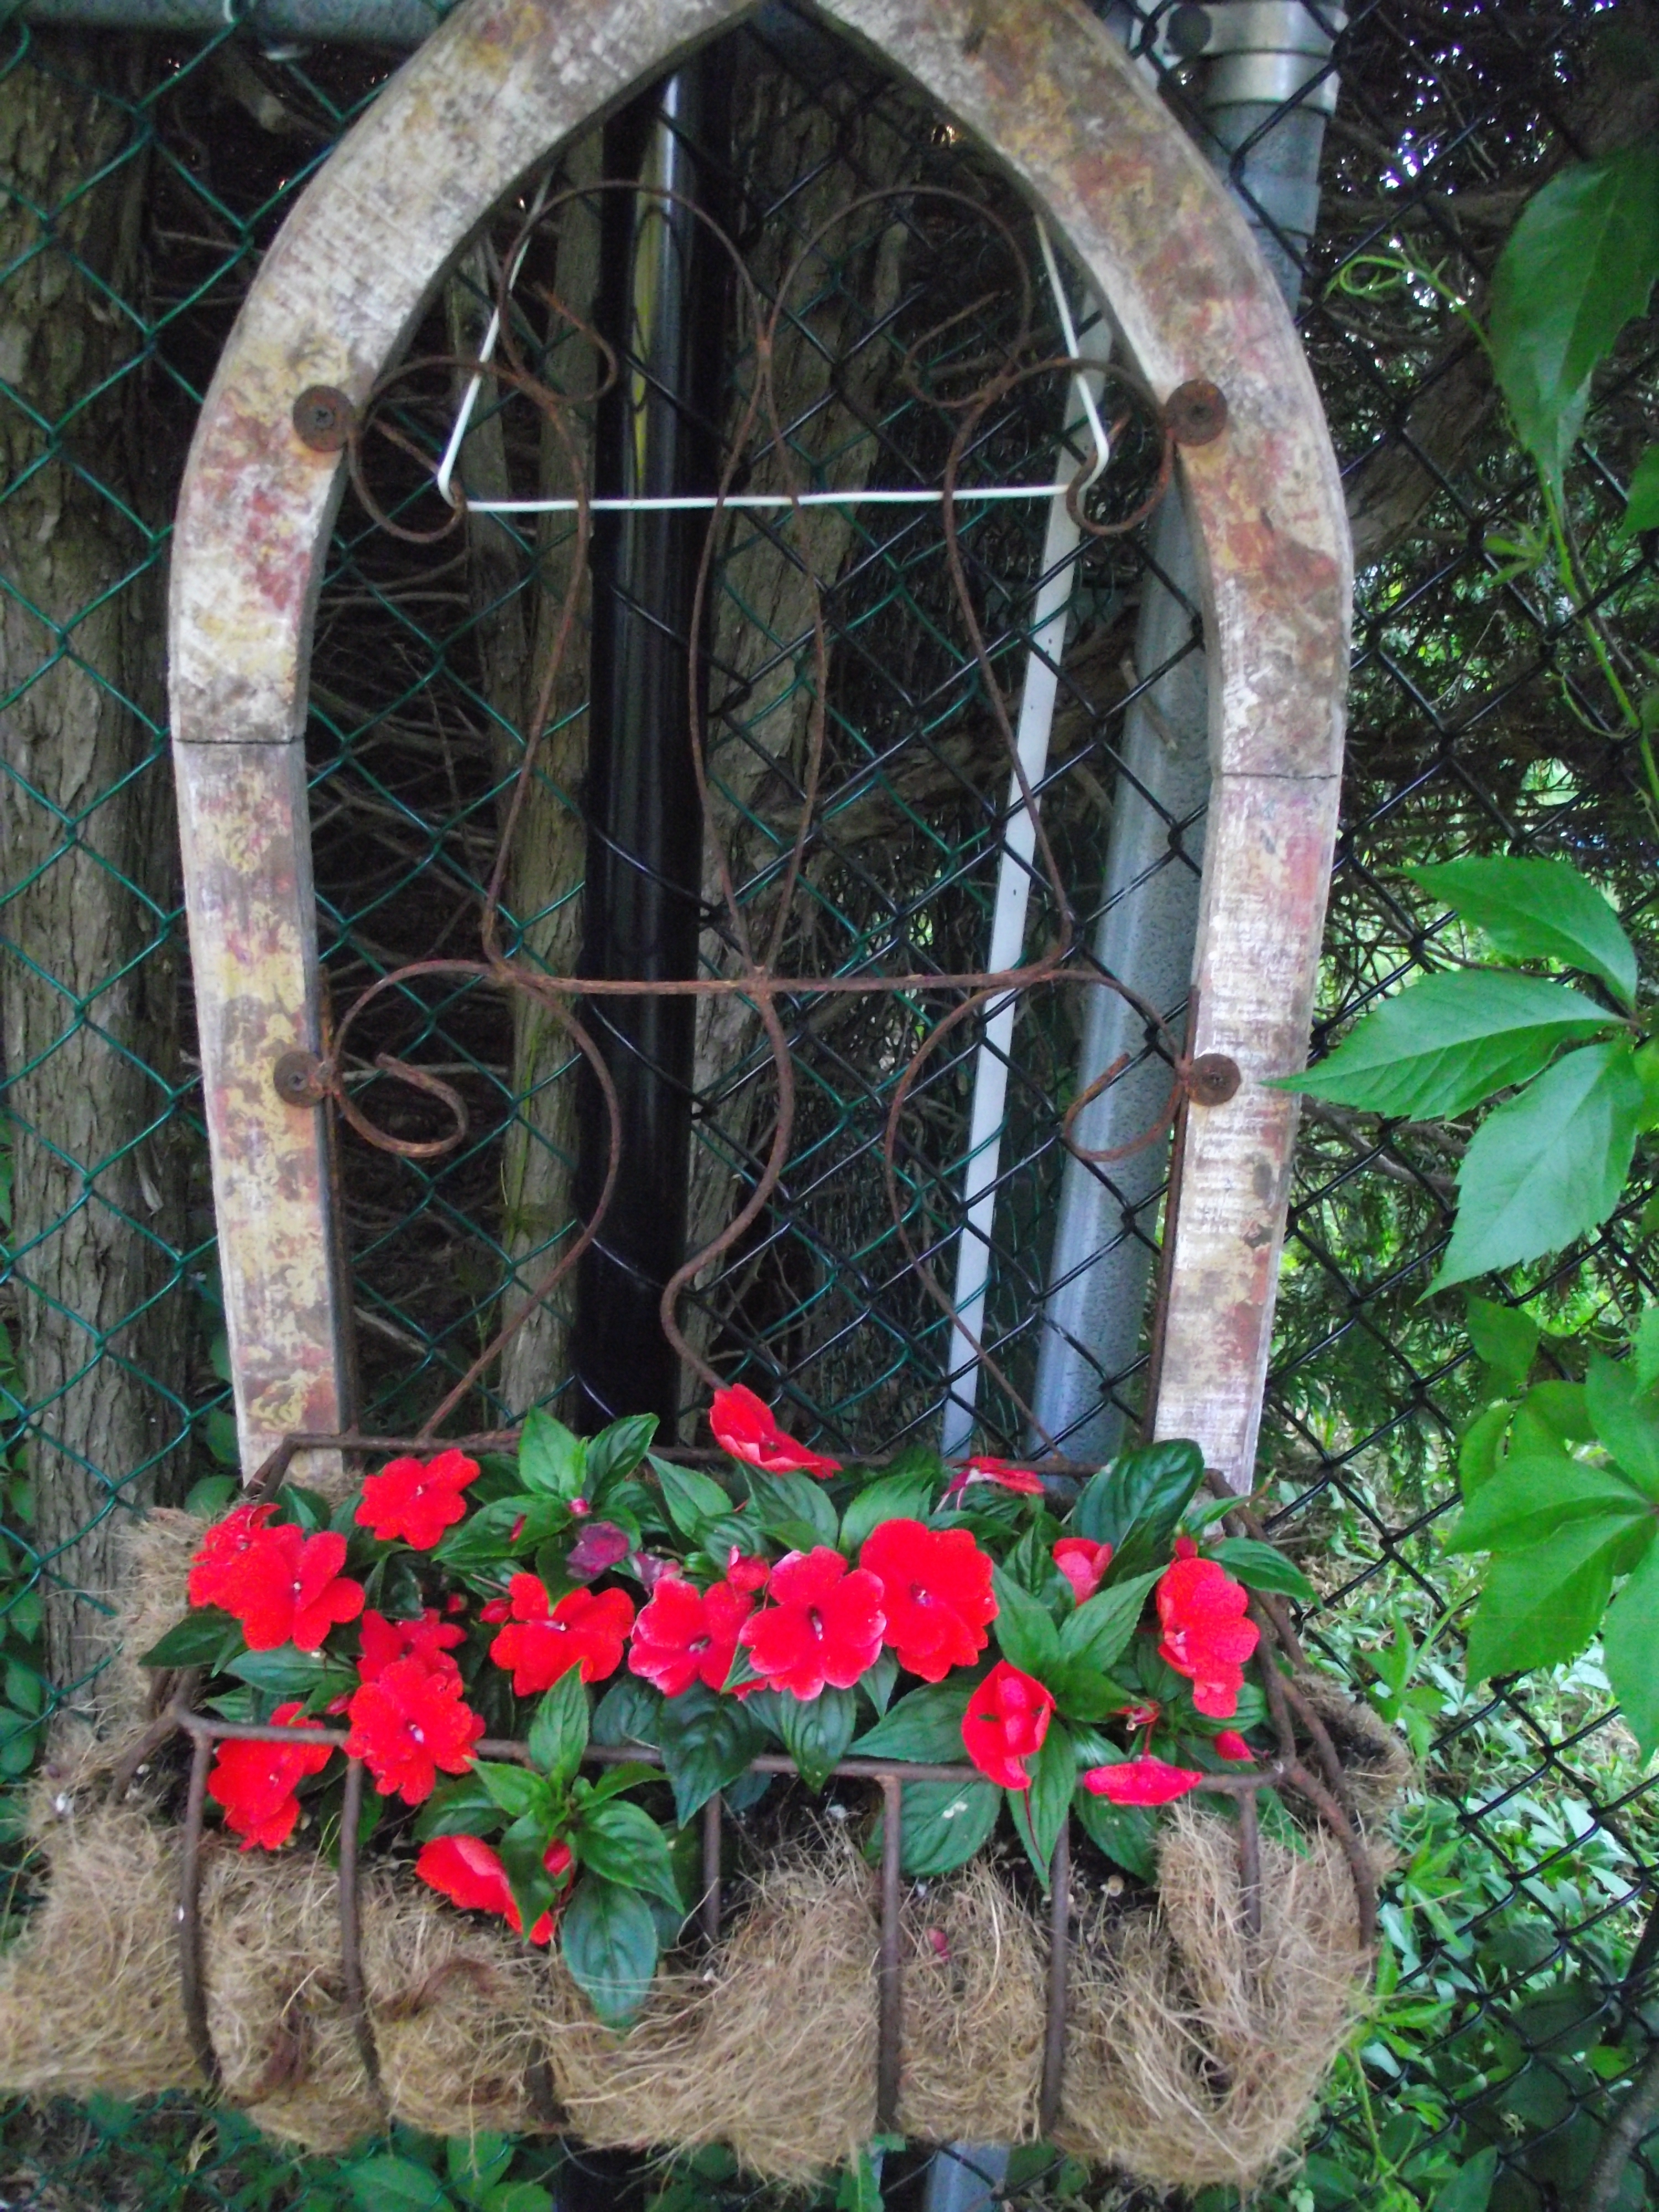
Here’s a closer look at this pretty and rustic planter that is hanging on the fence–a treasure I bought from a local antique dealer (very cheap).
Backyard 2016-07-04 20.10 (8)

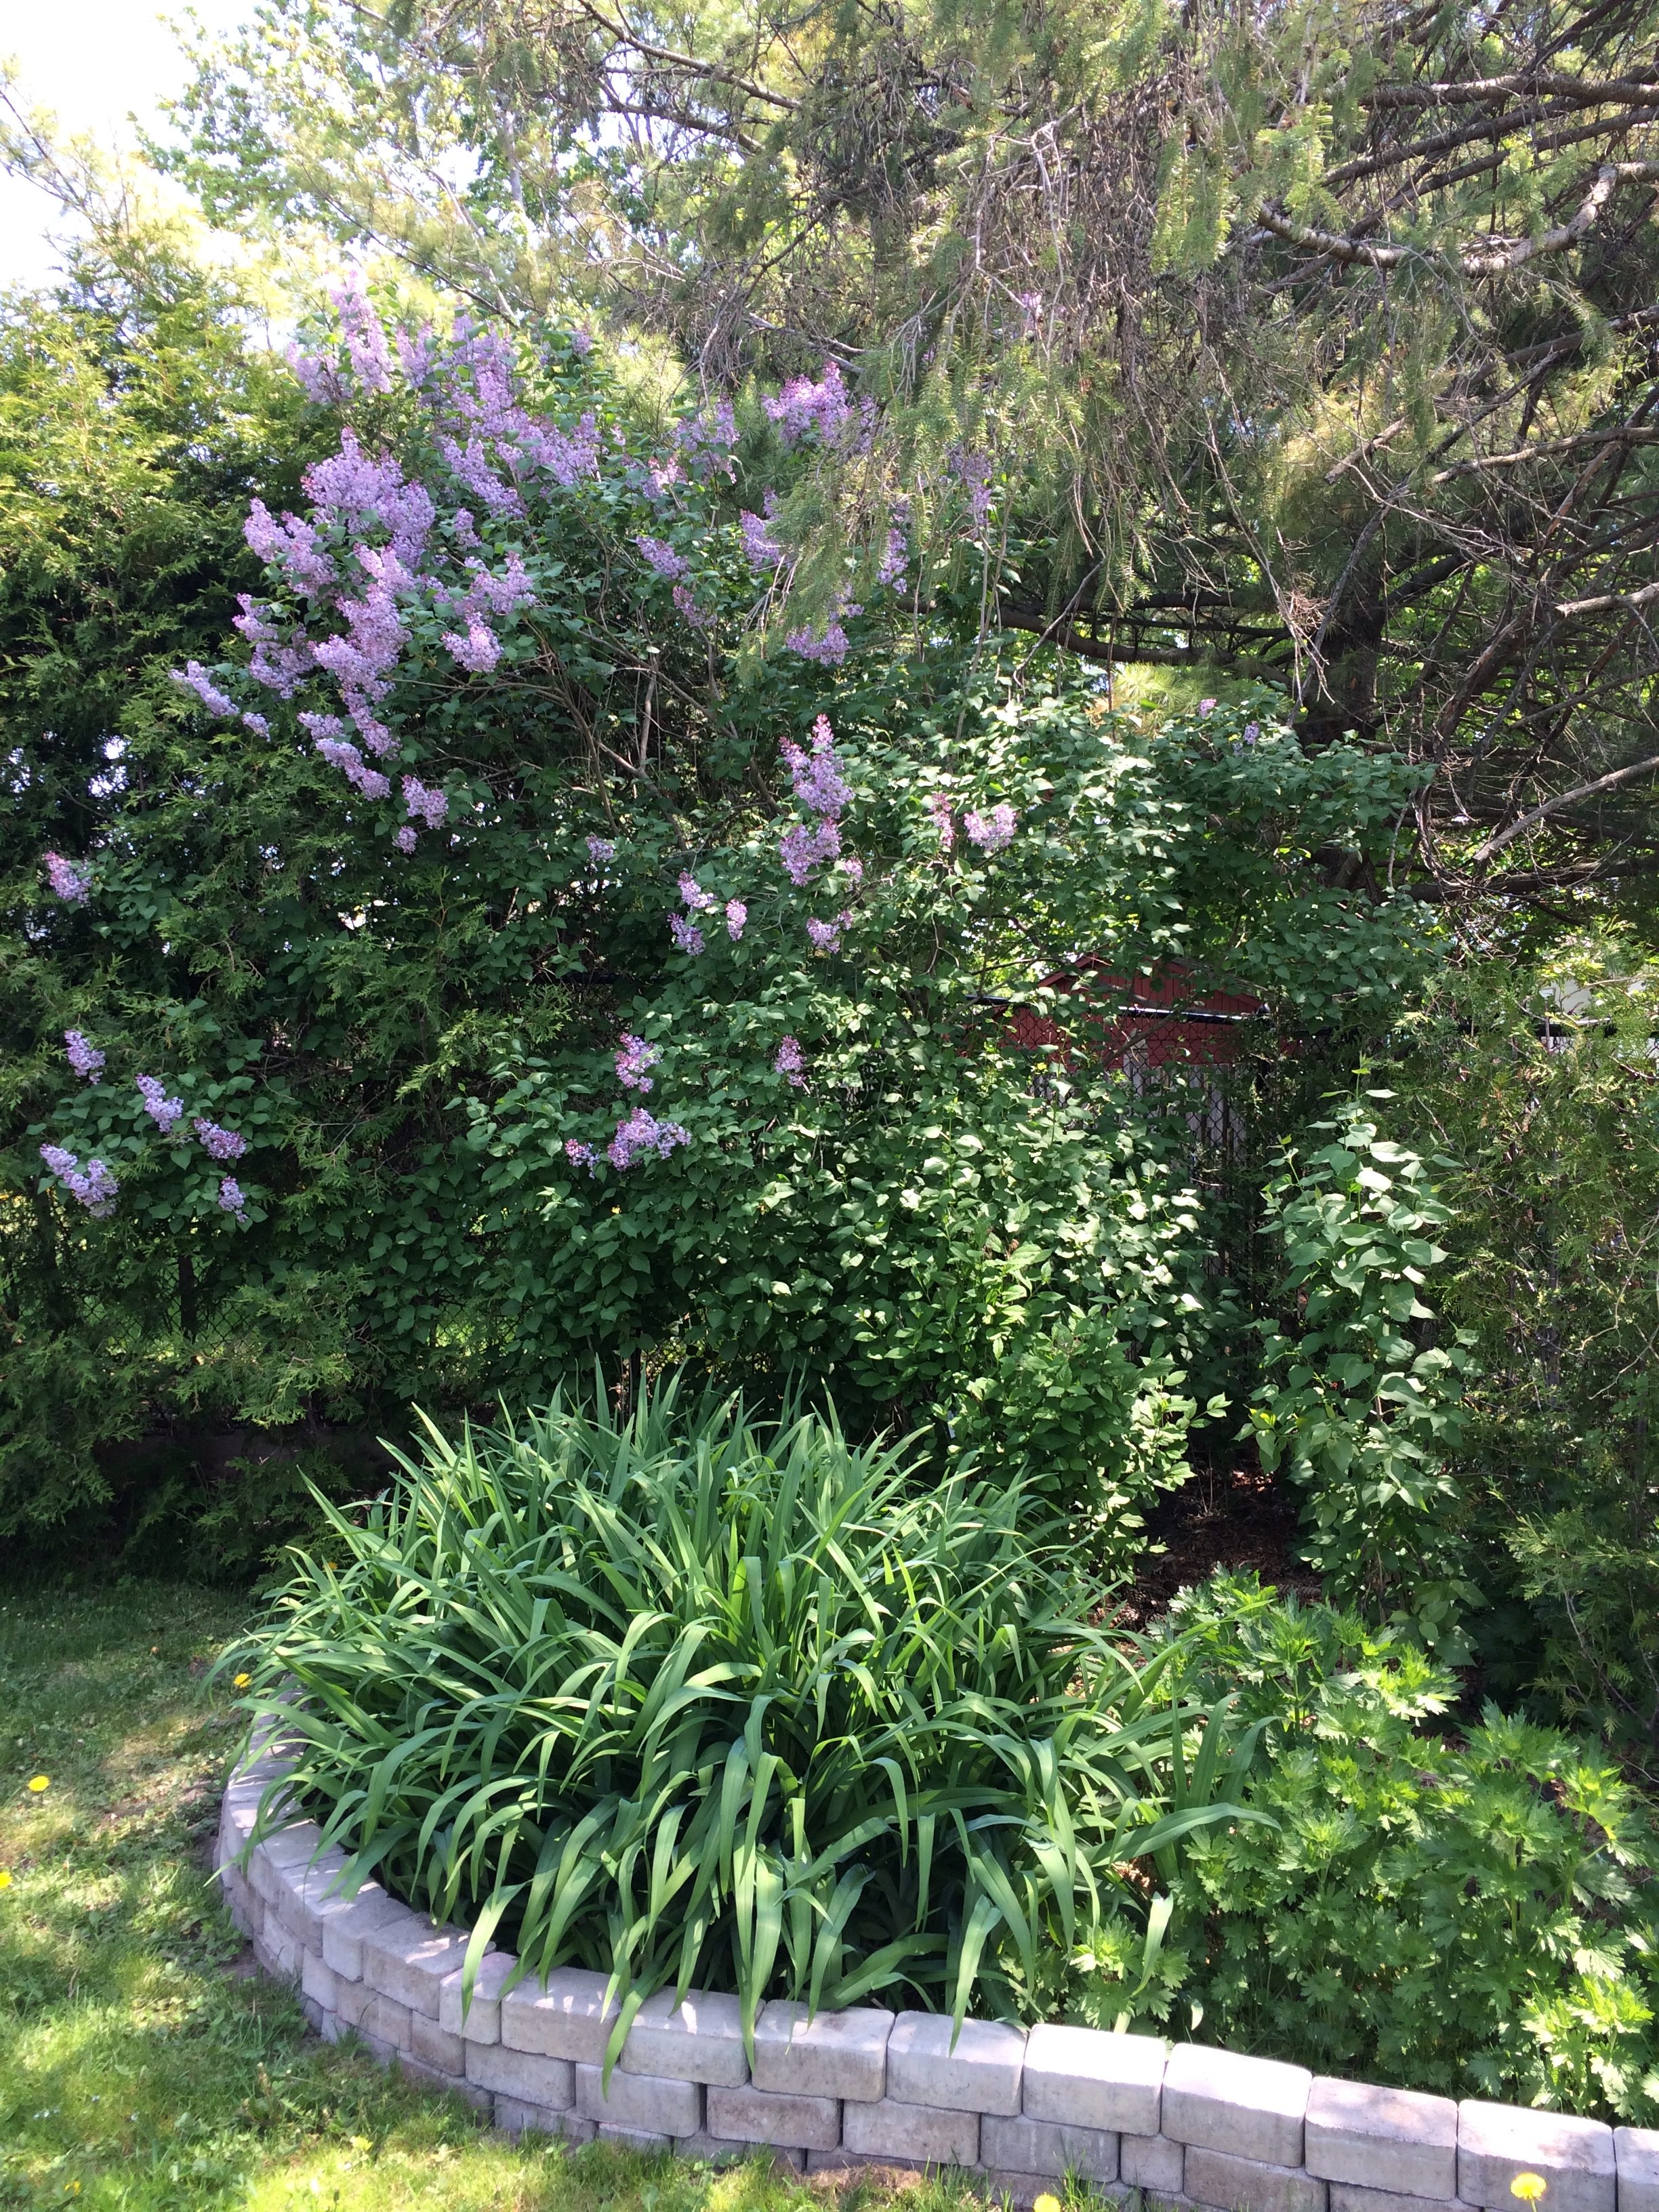
Next, is our orange lilies bed, with our lilac buses in the background. They totally fill up one corner of our yard.
Backyard work in progress--May 2016 (53)

IMG_0608

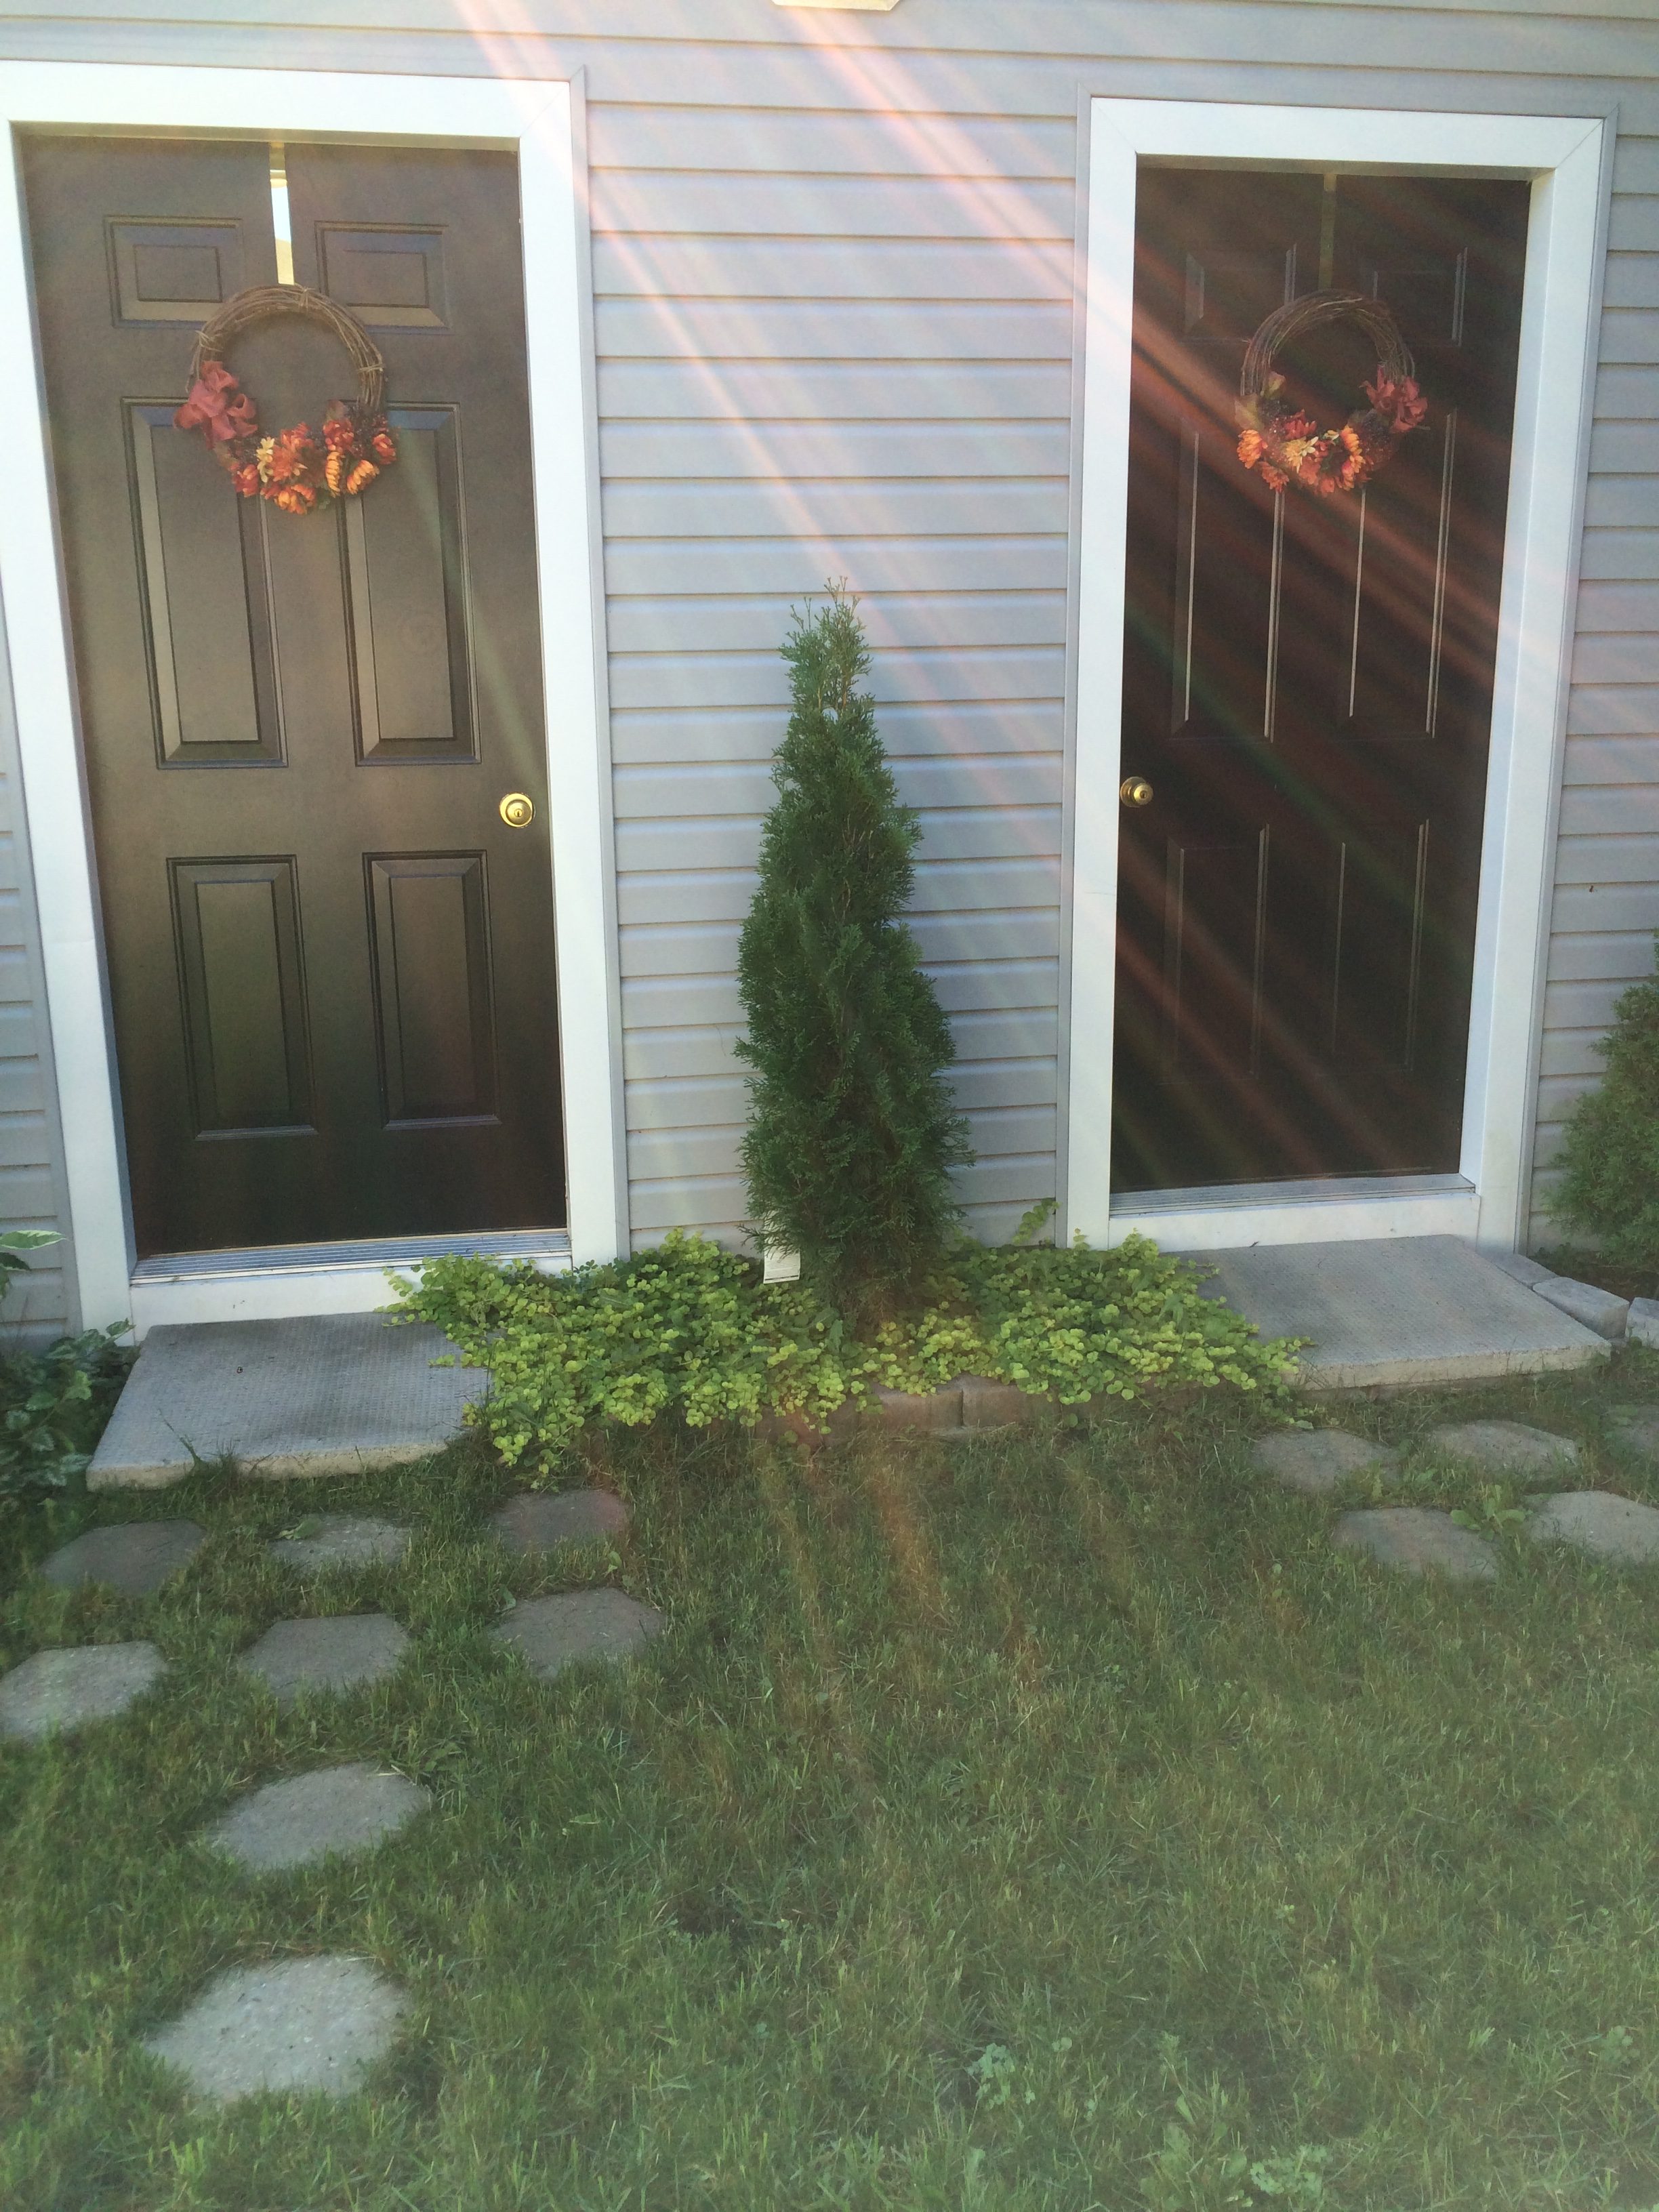
I painted the doors on our garden shed a shiny black to match the doors, window boxes and shutters on our house. I made two grapevine wreaths and hung one on each door. Such a pretty effect, don’t you think? A slender, slow-growing cedar tree adds a touch of nature! Again, using salvaged patio stones, we created a little walkway. I love how the vibrant green ground cover has eliminated weeds around the cedar and has started to soften the harsh edges of the patio slabs. Aren’t the sun rays pretty?
2016-09-05 10.43.18

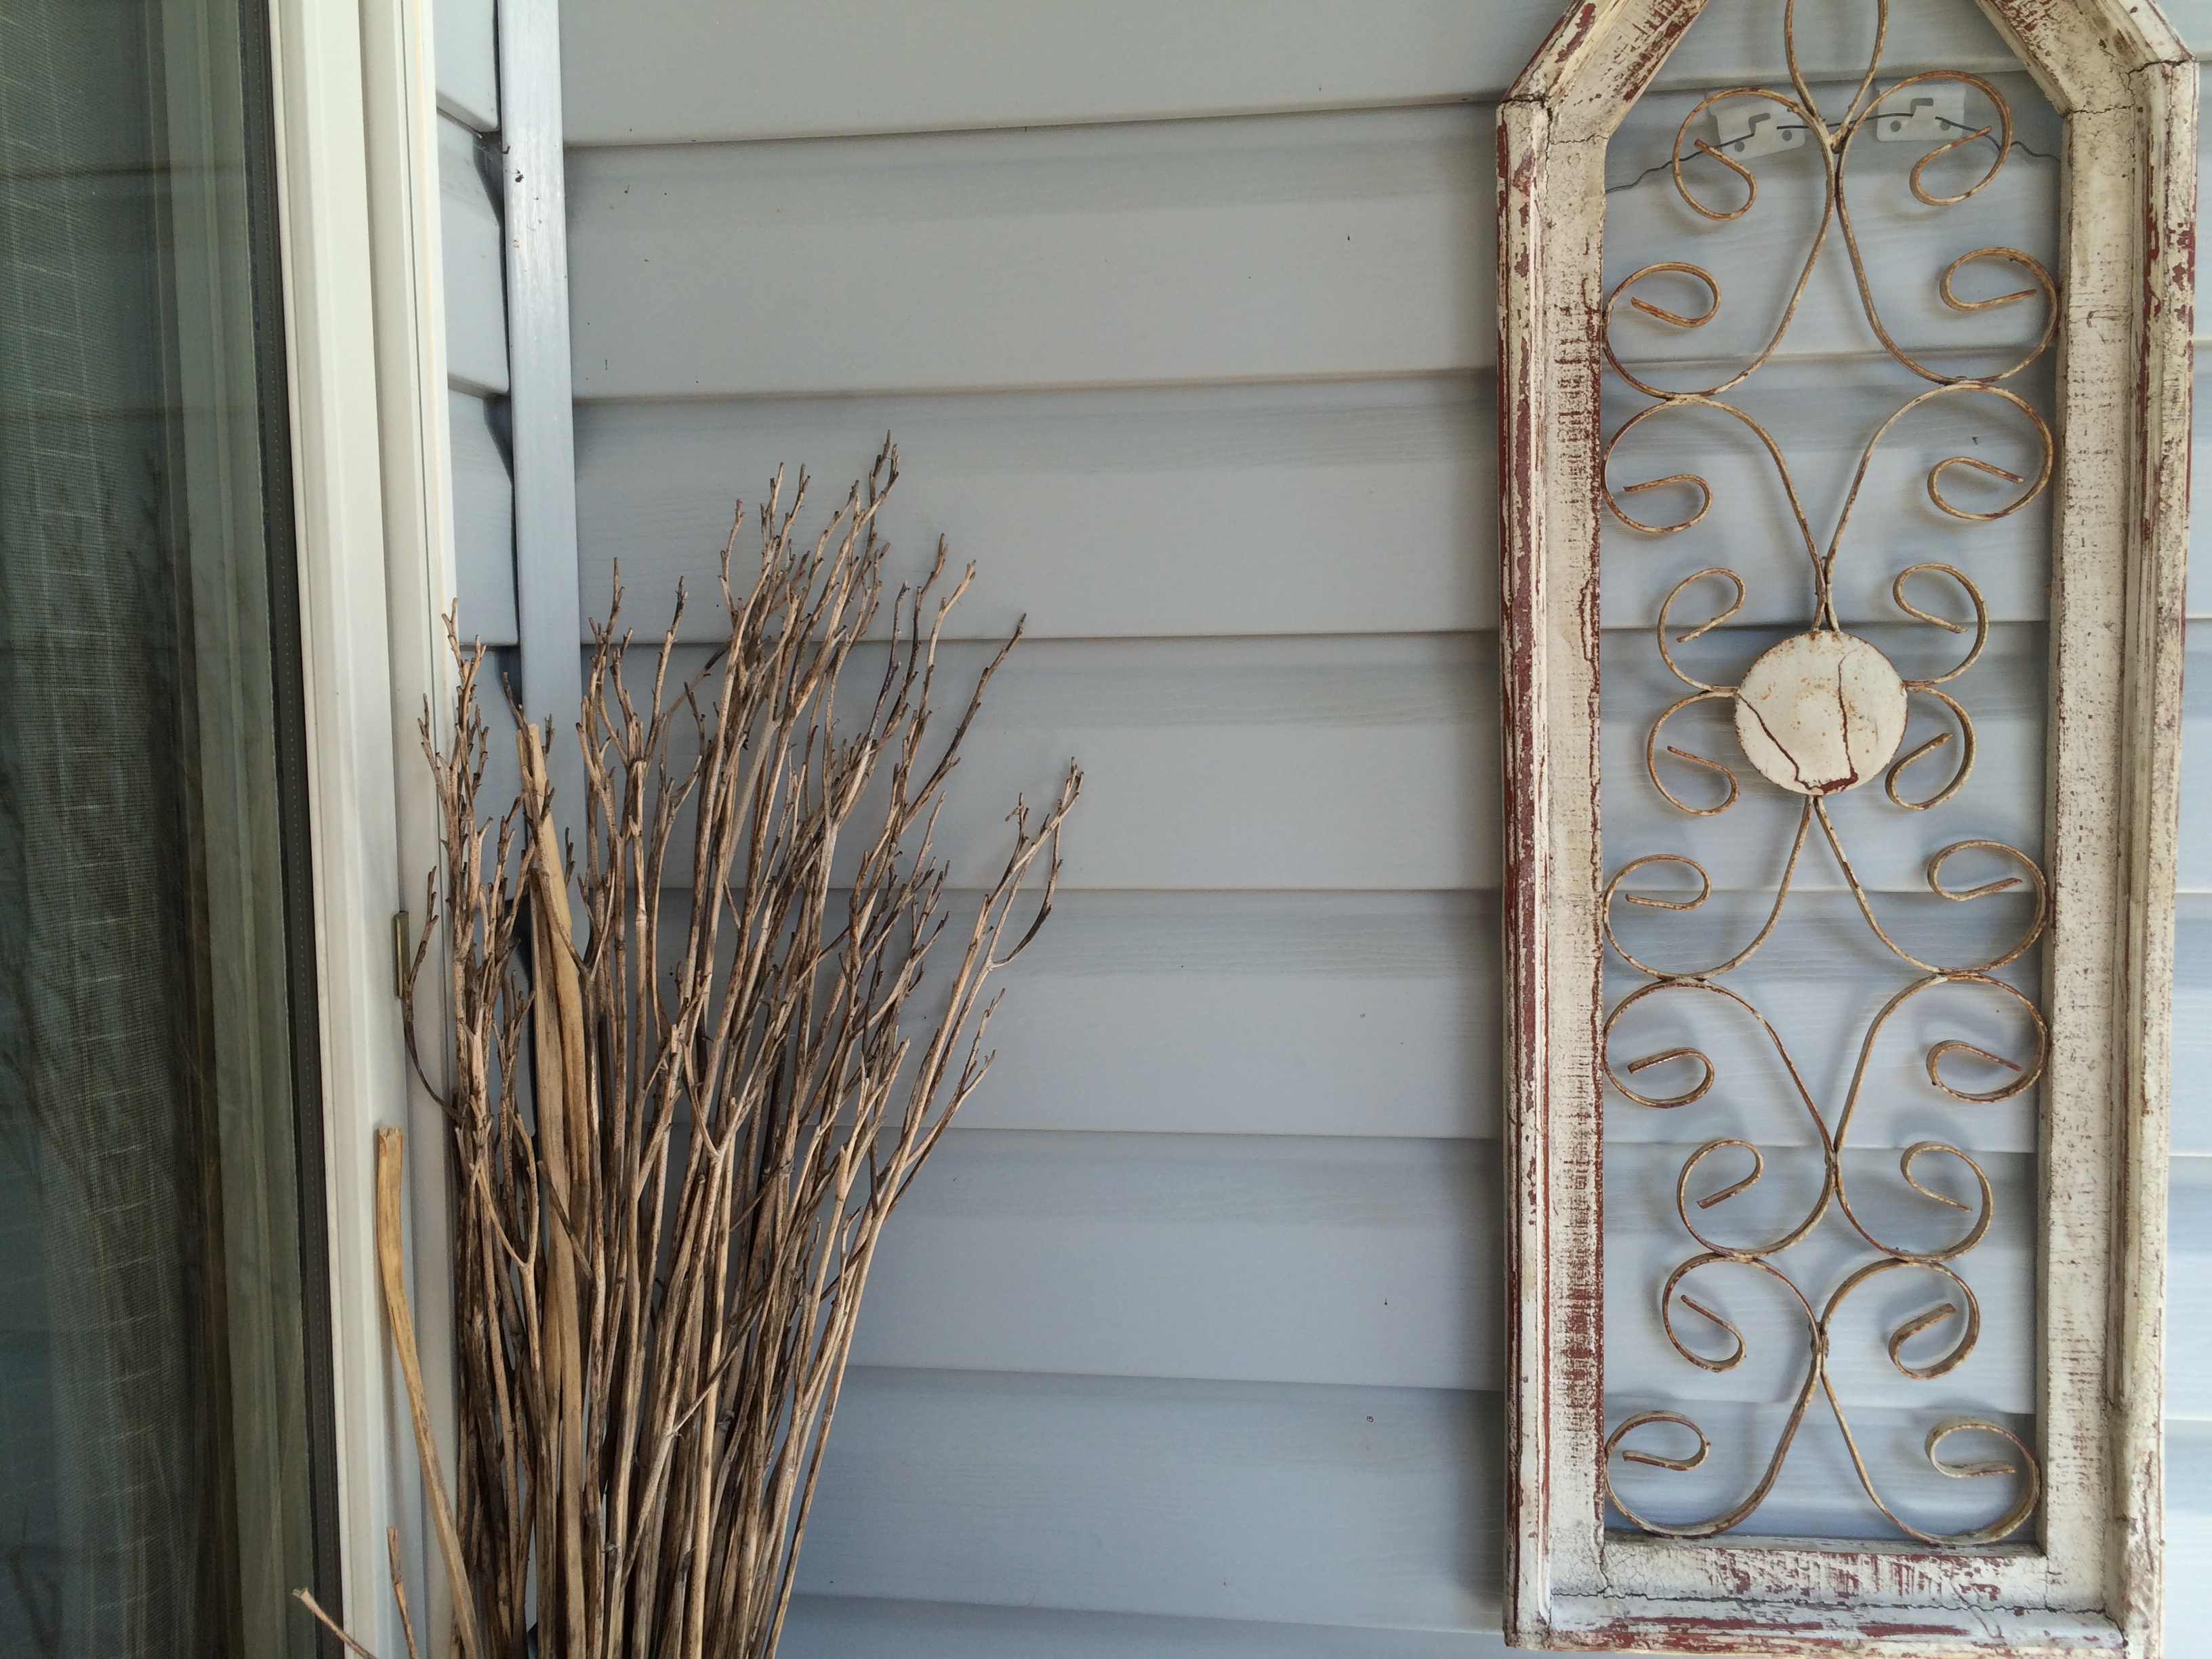
Just outside our back door, which opens onto the deck, there’s a wicker table (not shown in this photo) that I bought at Canadian Tire a couple of years ago and then decided not to use it where I had originally planned. Above it I hung a shabby chic grill that’s shaped like a church window–another antique yard find. The sheaf of straw-like spears in the corner are the 4′ high stems from last year’s orange lilies that I tied with some twine. (Notes: 1) after the lilies have bloomed and dried, the stems pull out effortlessly; 2) no need to use nails or screws to hang things on your house–you can buy “brick clips” and “siding clips”).
2016-09-04 12.06.39

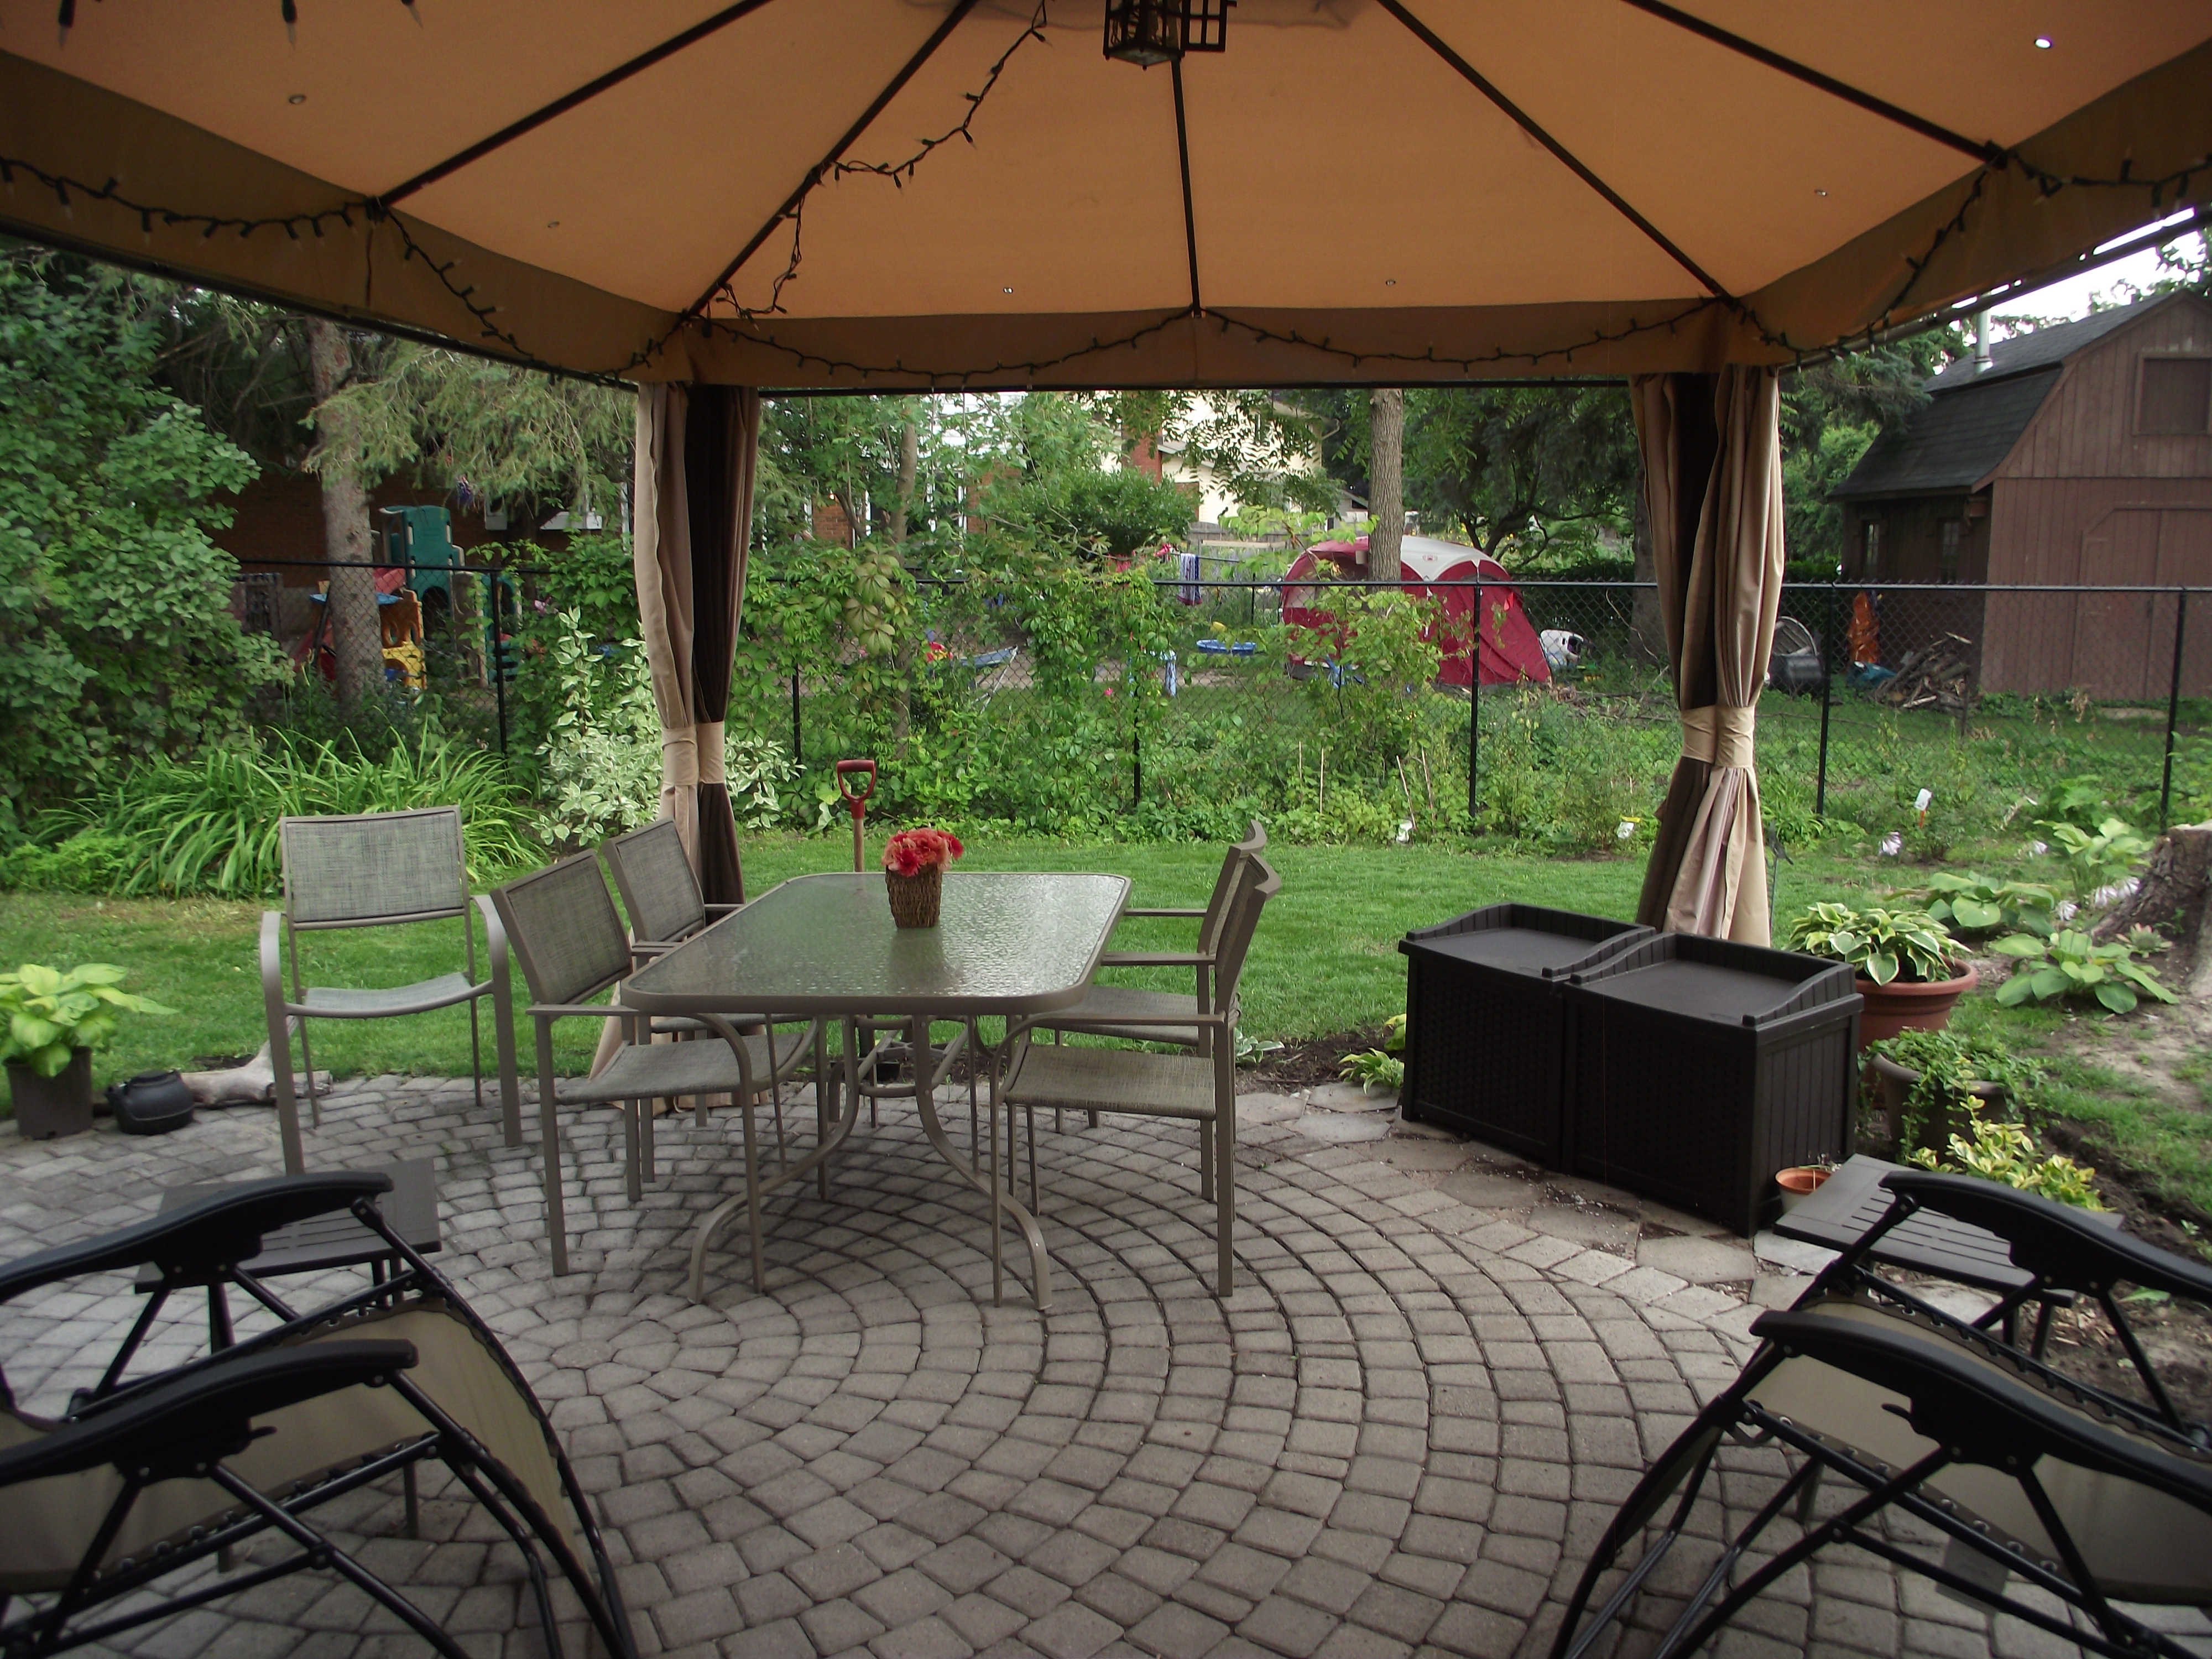
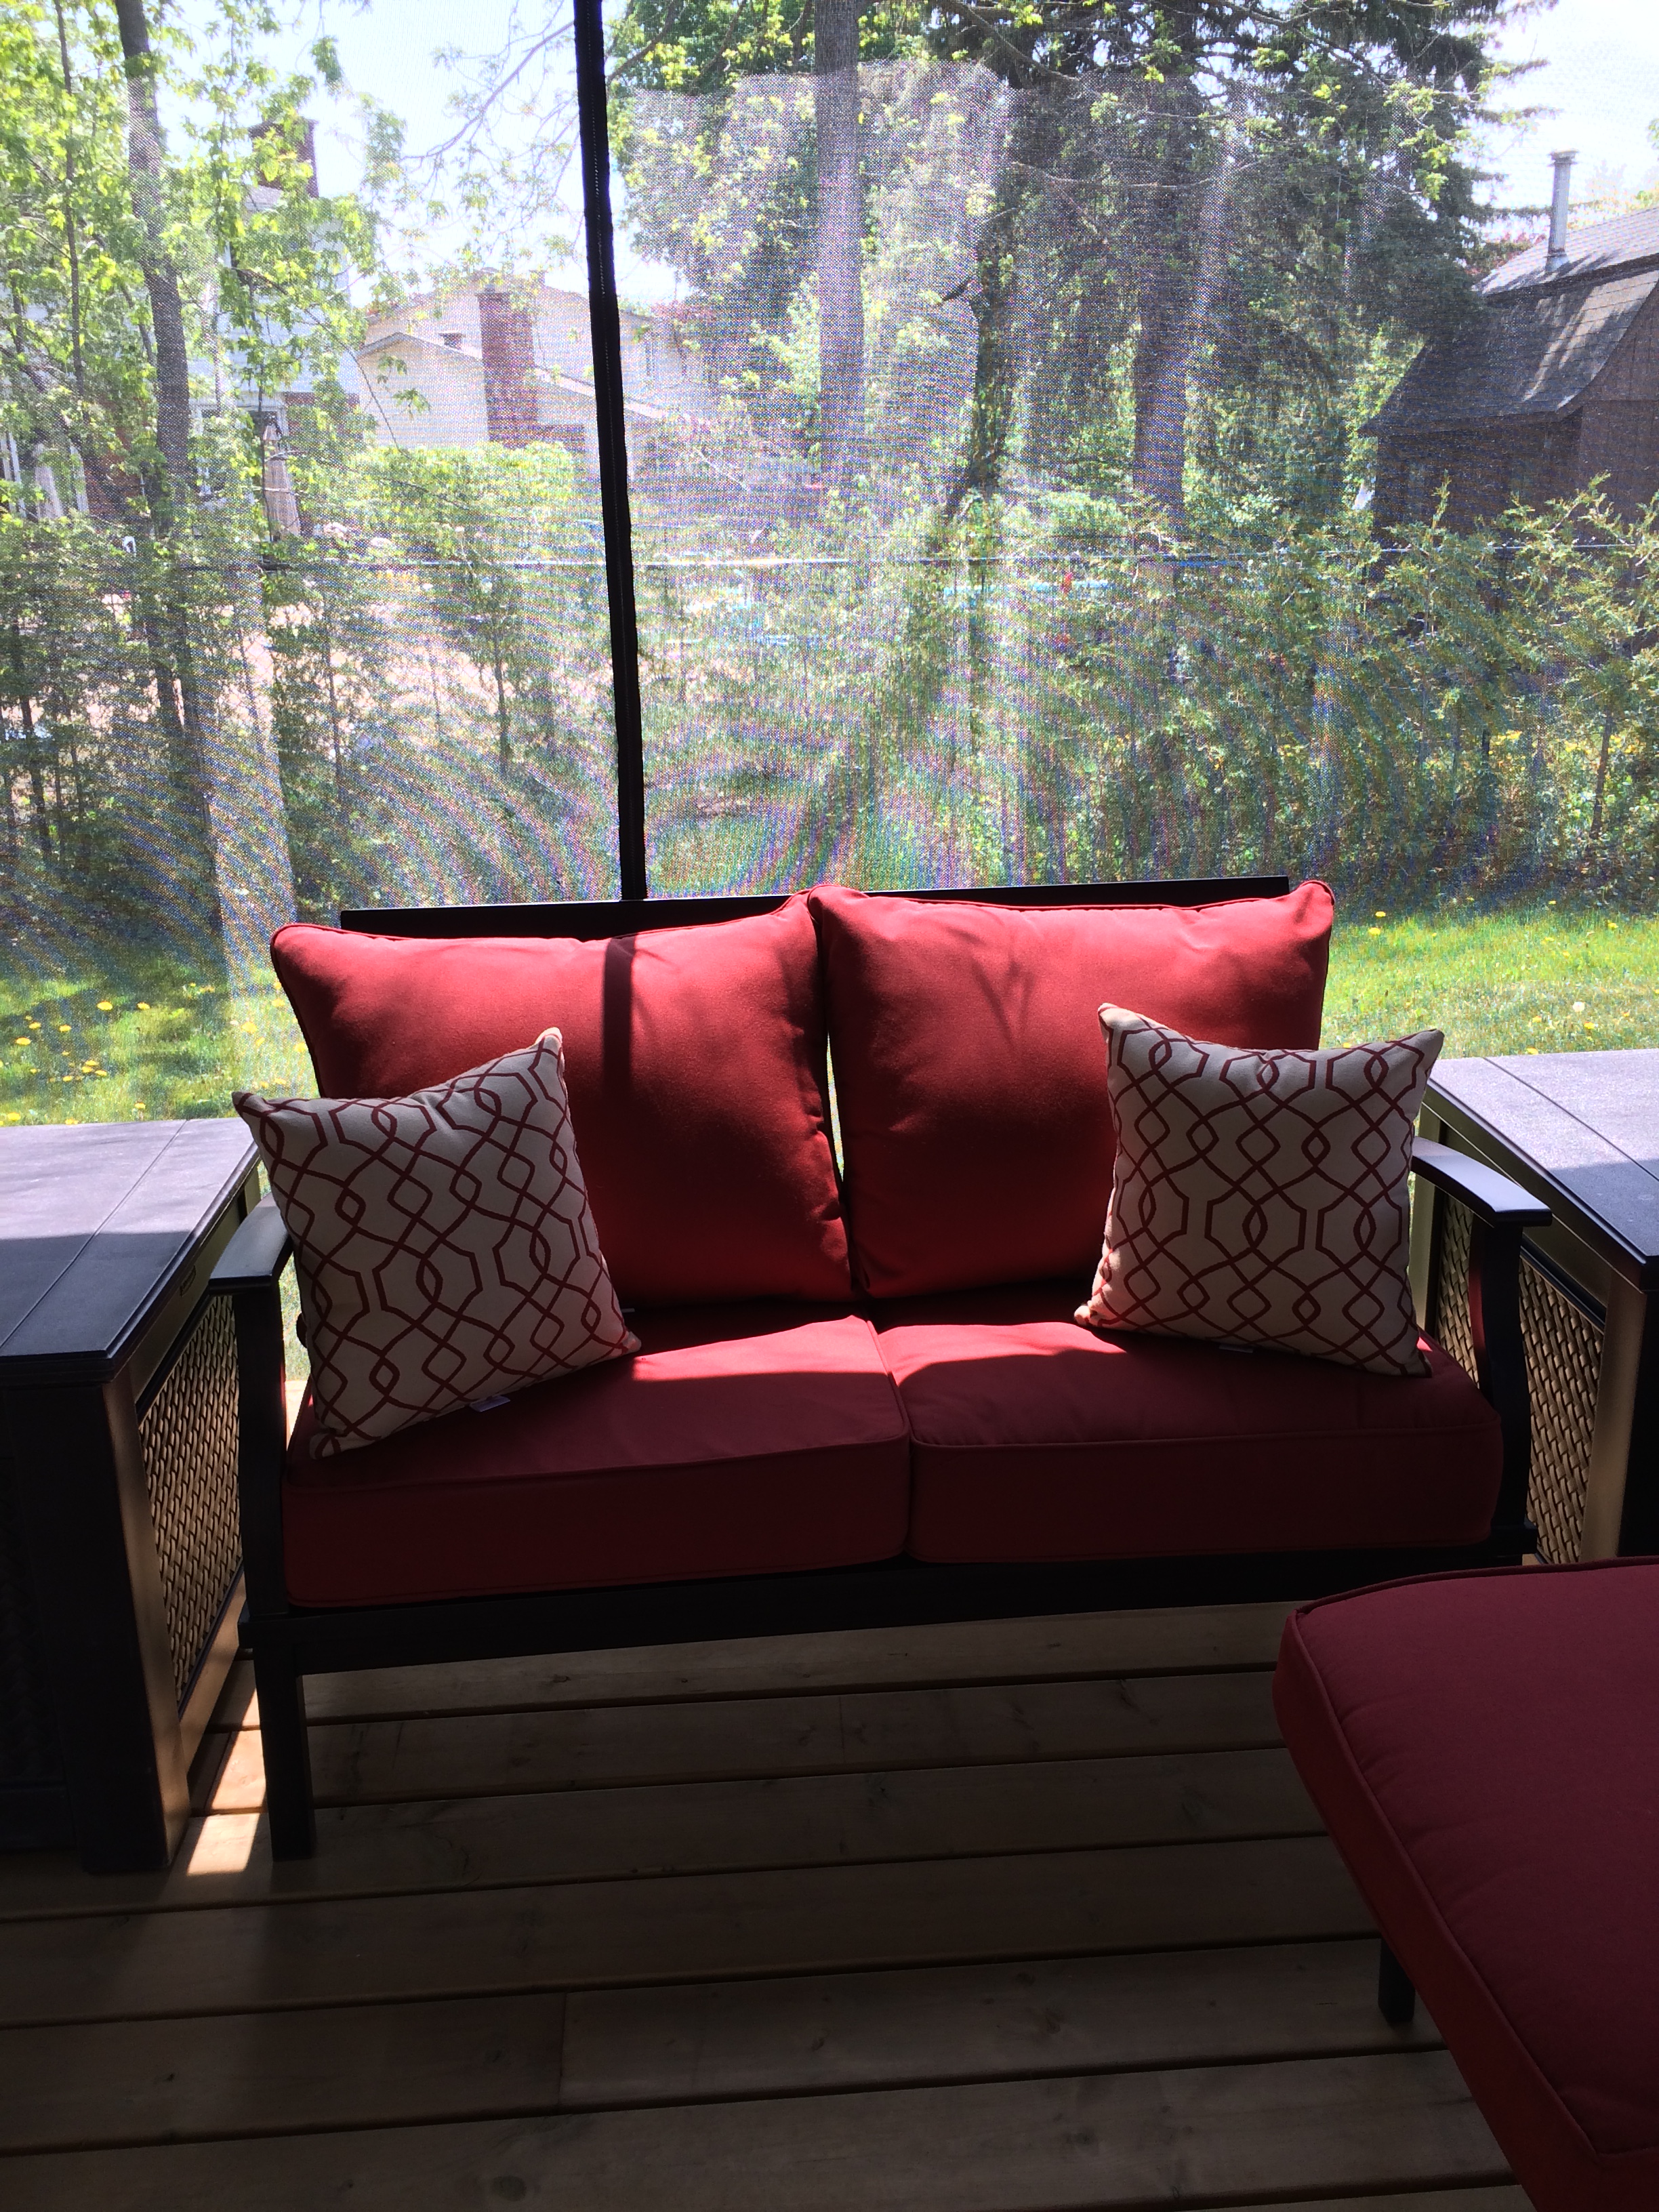
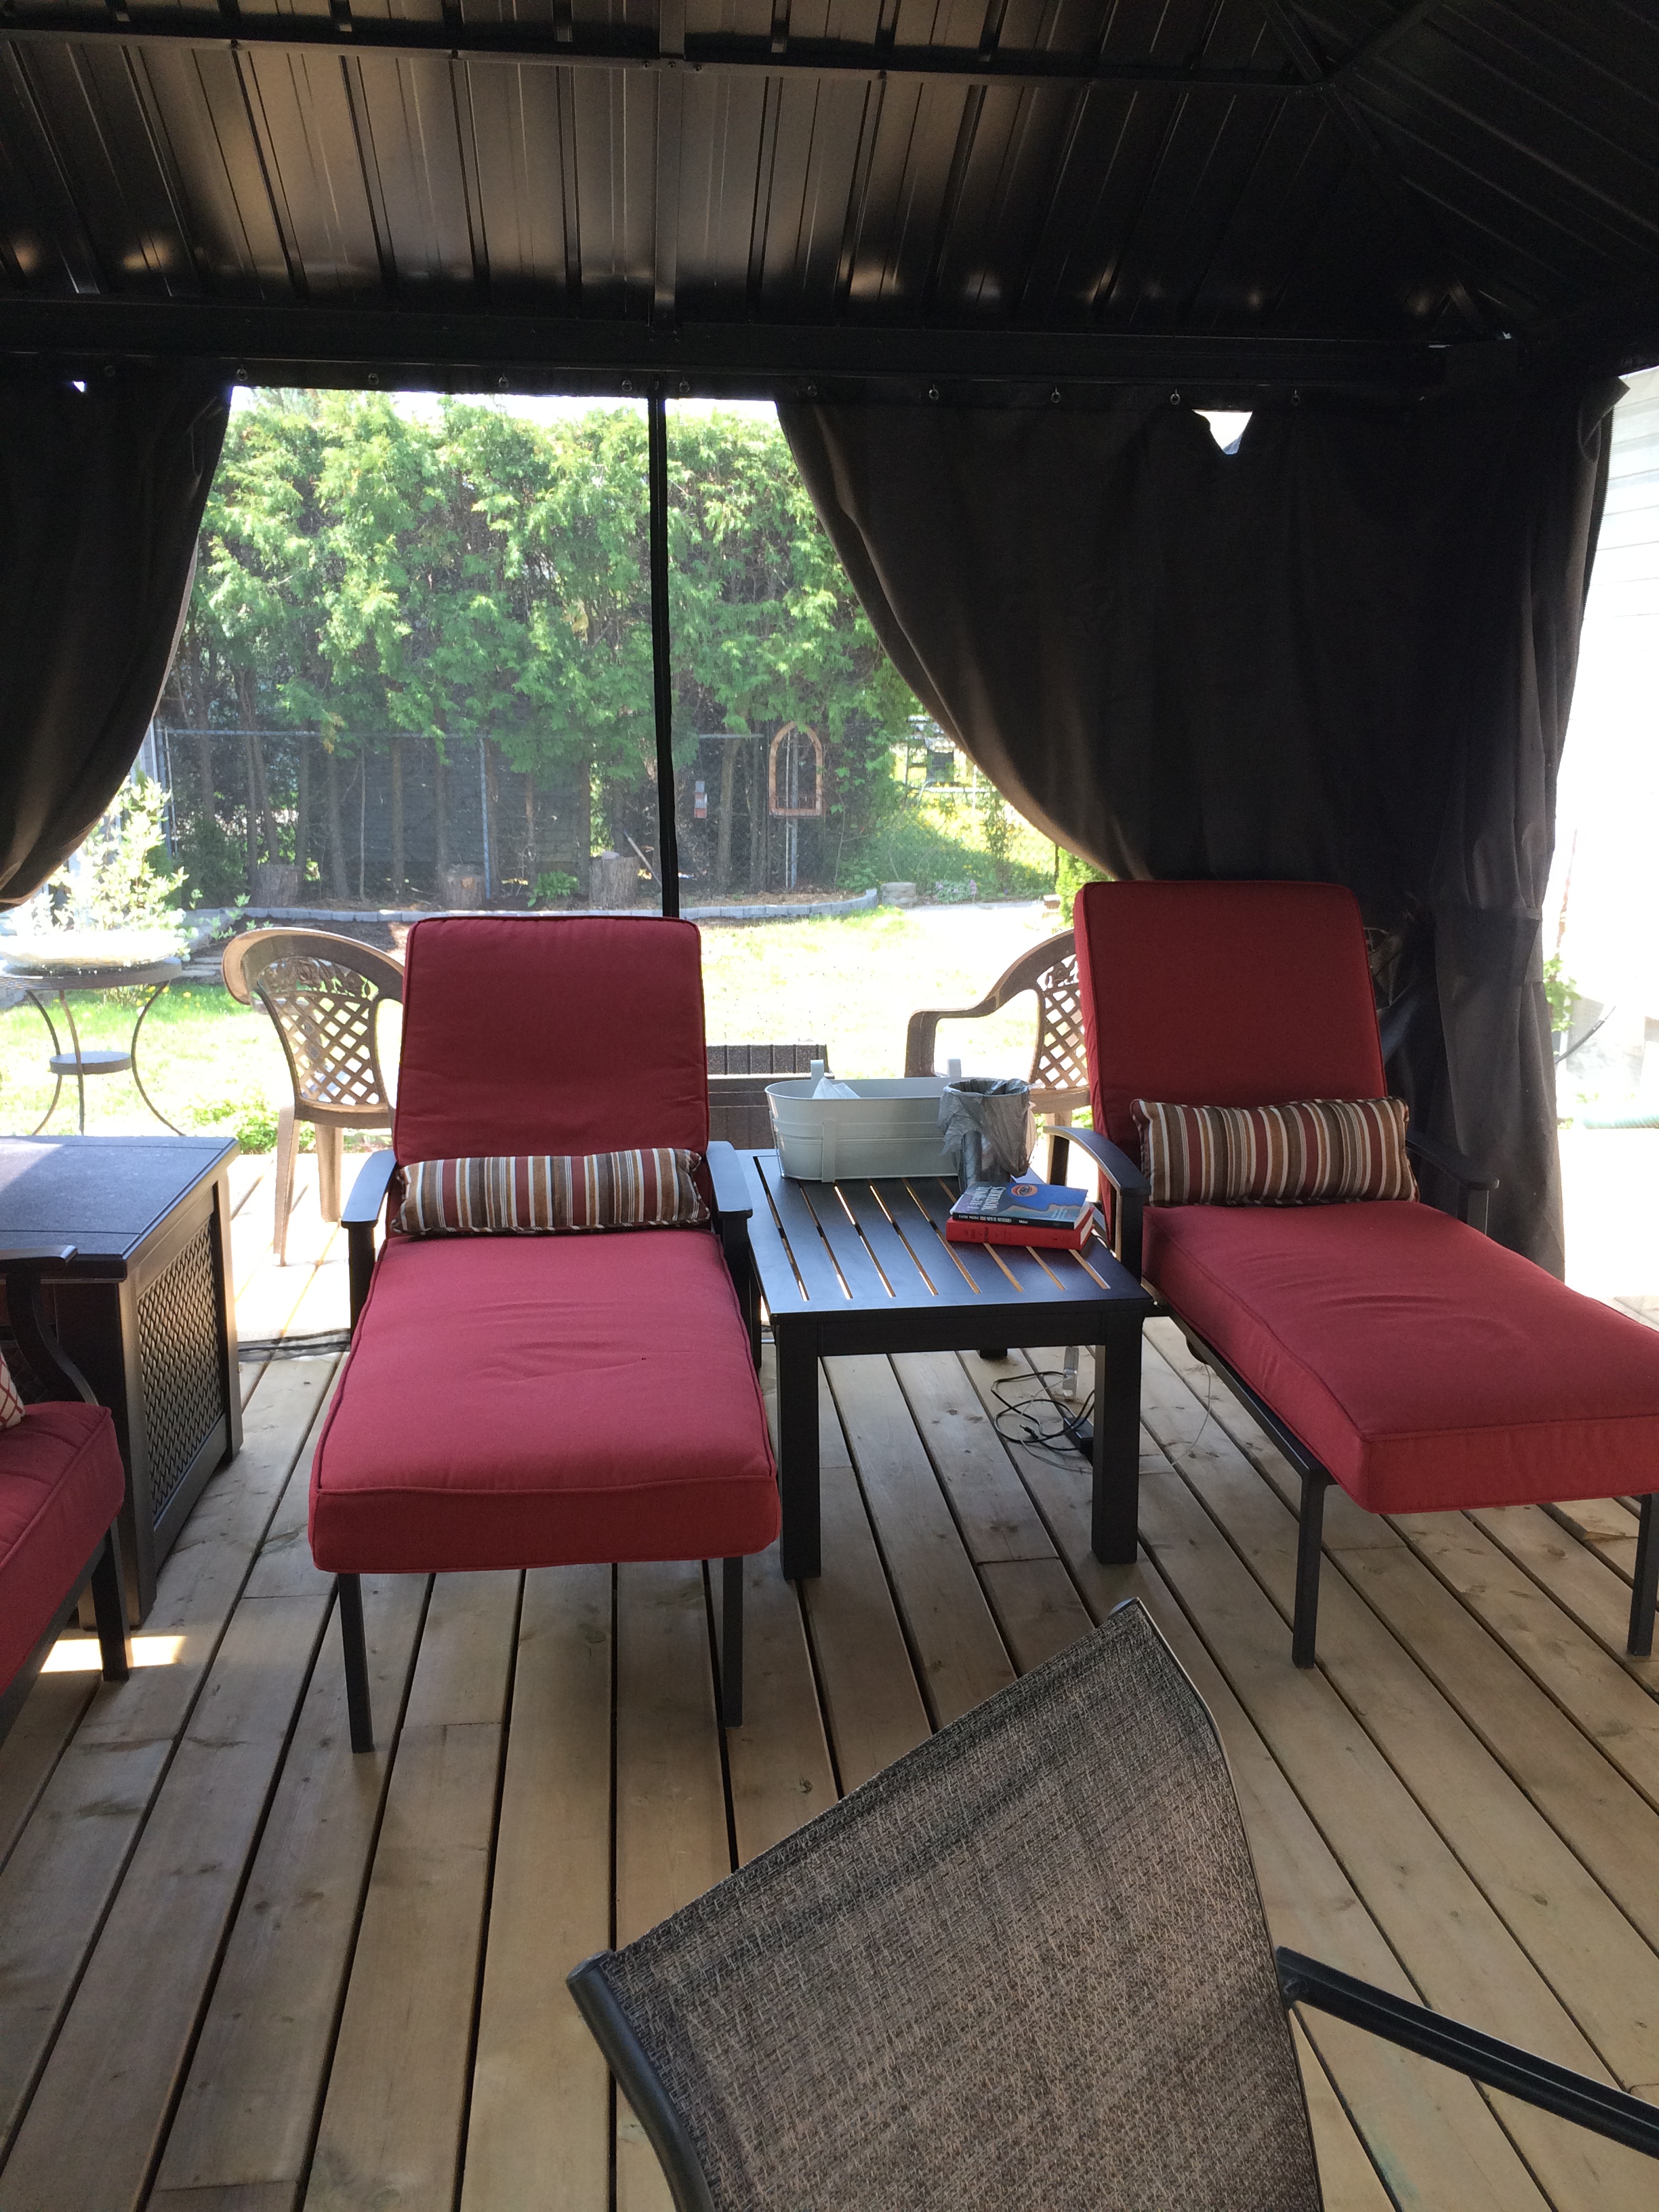
Here are a few photo of our gazebo, all ready for us to relax in. Some big square deck boxes store the furniture cushions and double as end tables. The chaise mattresses store nicely in a bigger deck box just outside the gazebo. Peter has hooked up some power cords for us so we can relax with our laptops, charge our cell phones, listen to our favourite tunes, etc.
Backyard work in progress--May 2016 (34)

I love to stretch out on a chaise with my laptop on my lap and my Bichon, Cookie, at my feet.
Backyard work in progress--May 2016 (36)

We love having our meals and snacks in the gazebo.Backyard work in progress--May 2016 (44)

Backyard work in progress--May 2016 (37)

And, last but not least, is our STUMP! This stump is what’s left of a 40-year-old Silver Maple tree that had to be cut down. The stump wasn’t going to go away, so I turned it into a birdbath and planted some ground cover that is spreading around  the base. I read somewhere that if you add a few stones to your birdbath, butterflies will light on them to drink. In addition to the stones, I also planted some pretty flowers that are guaranteed to attract butterflies. (Since this picture was taken, I have added some smaller stones to the birdbath and it seems to have done the trick–yay!!) Oh, I forgot to say that I bought this beautiful mother-of-pearl dish at a roadside antique shop during one of our Sunday drives. Cost: $10–colour me happy!

2016-05-31 18.31.45

The next few photos show the pretty ground cover that I planted around the base of my “tree-stump bird bath.”
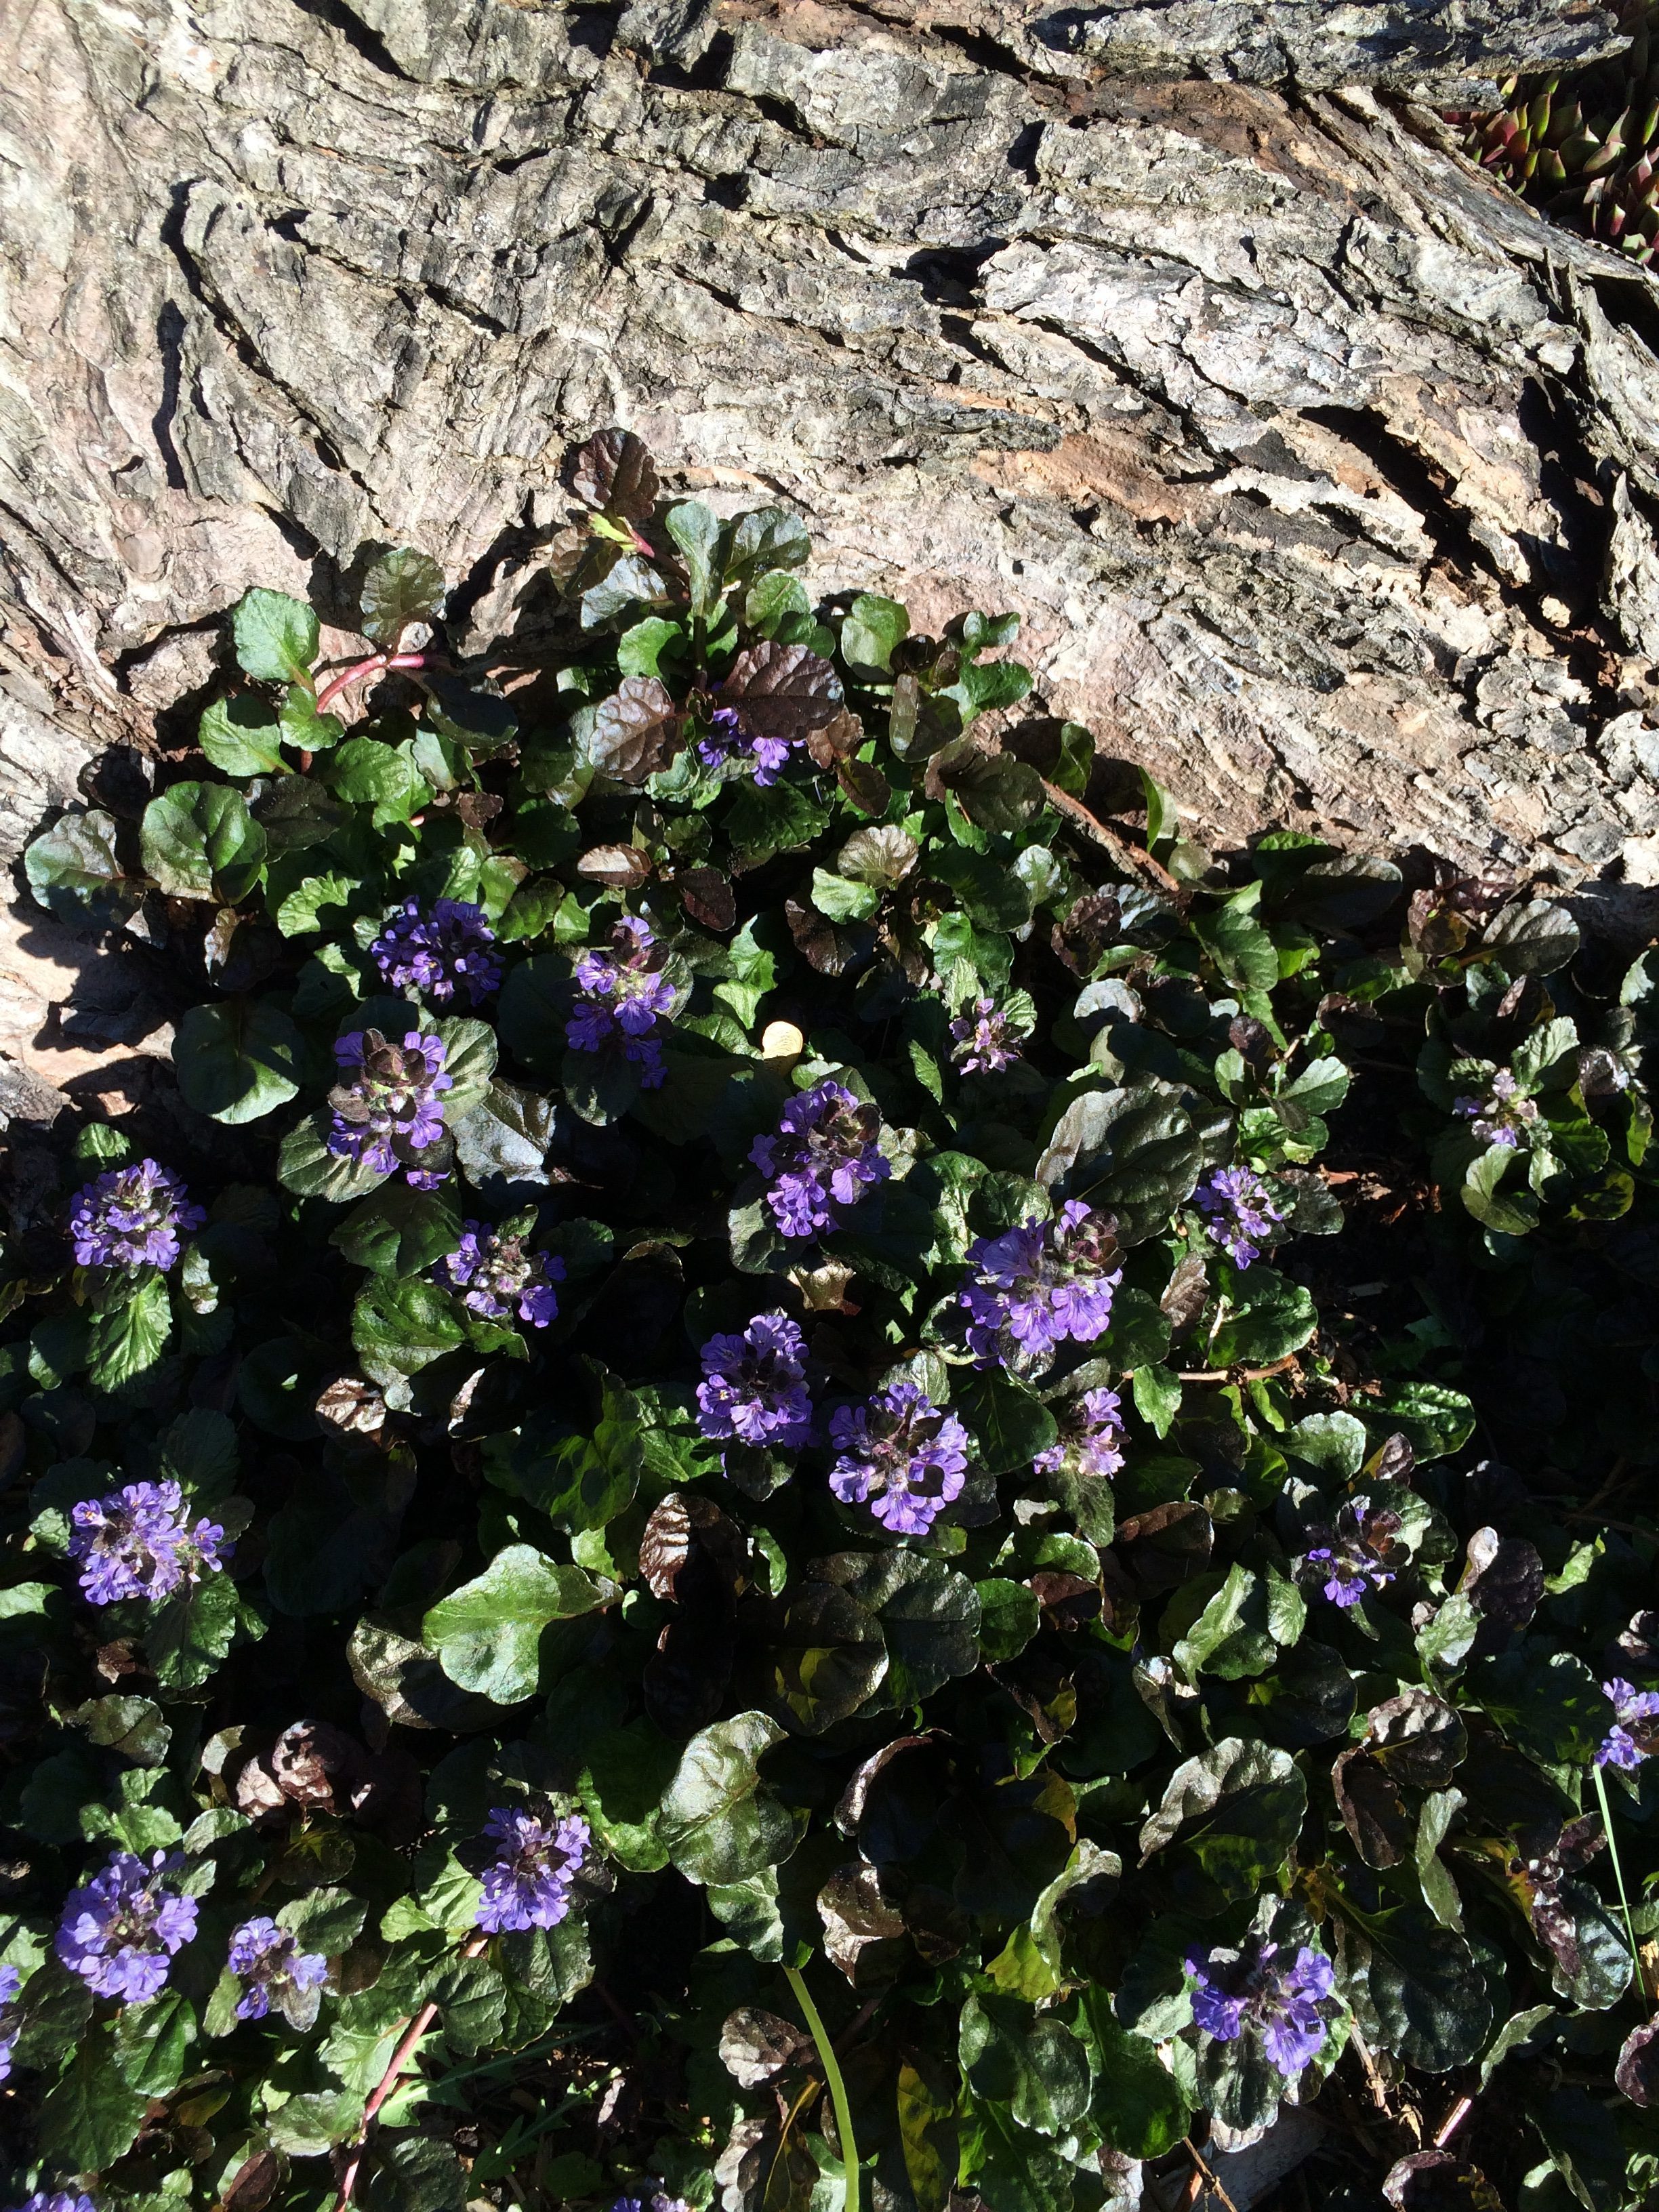
2016-05-31 18.31.19

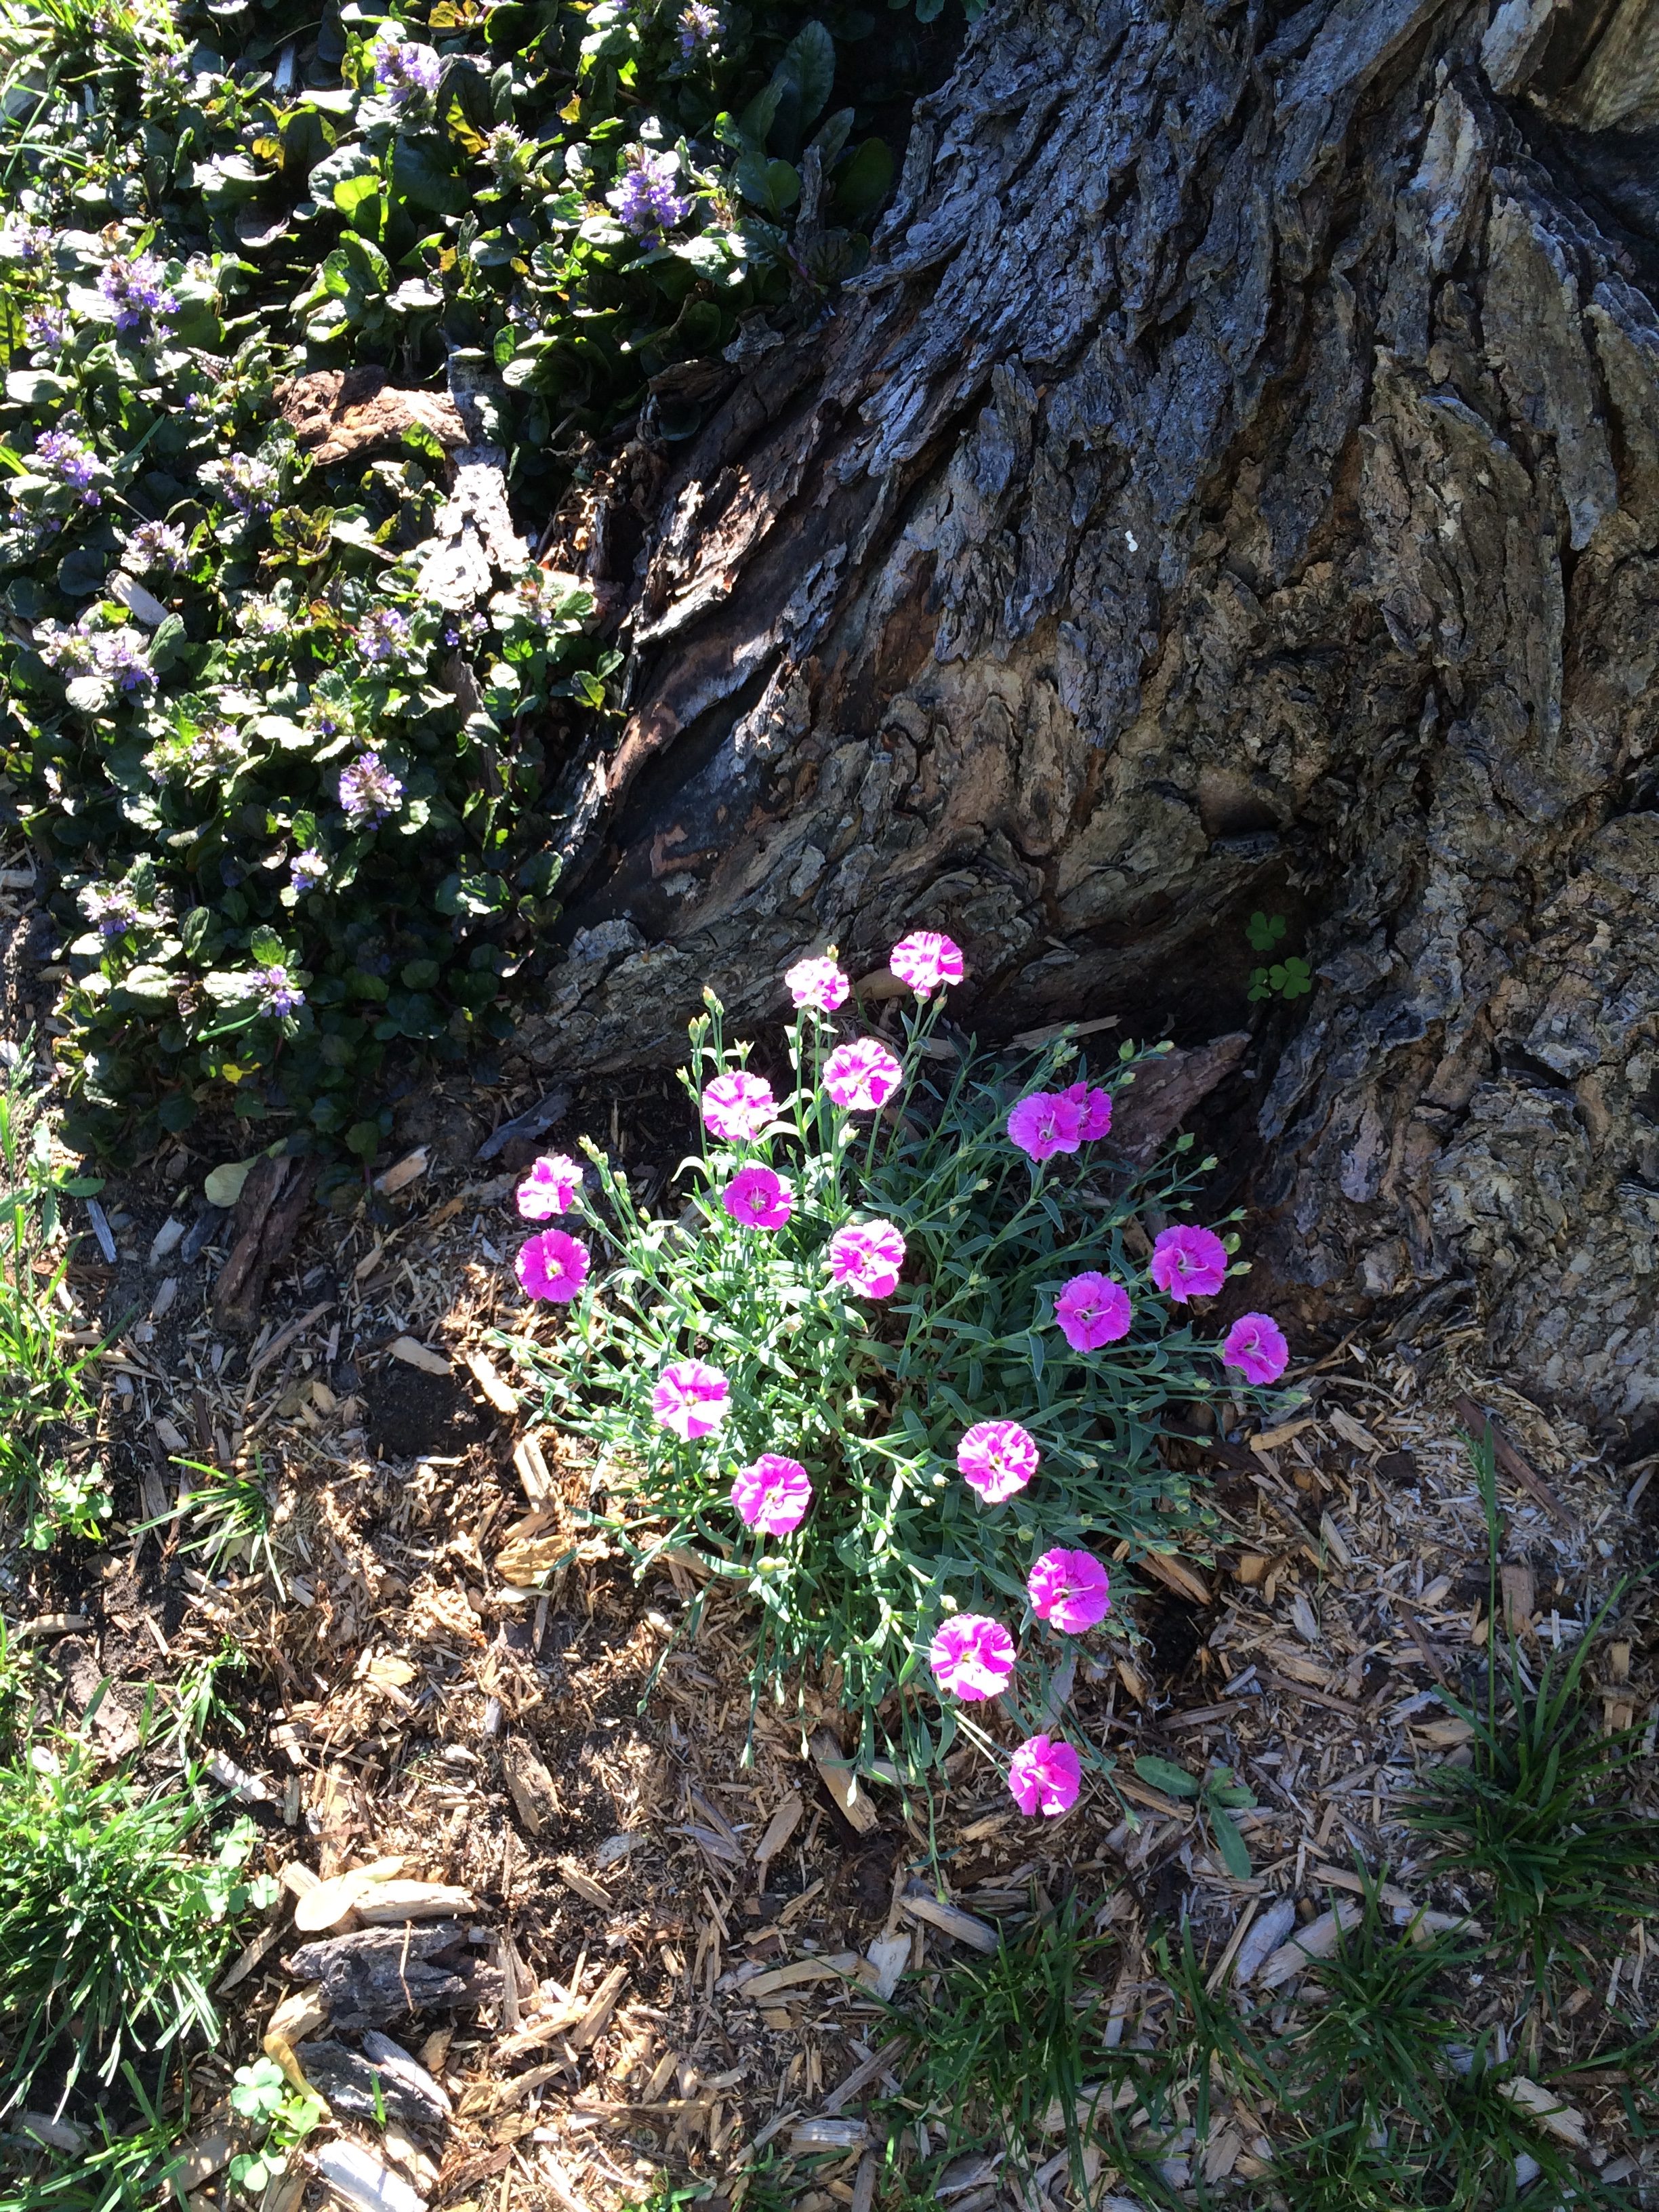
Here are the “butterfly flowers.”

2016-05-31 18.30.39

That’s our progress, to date. We’re getting very close to the point at which we can stop planting and just sit back and watch our little patch of heaven flourish and grow into our beautiful secret garden–guests always welcome, of course!

The contractors are coming tomorrow morning to start gutting our bathroom for a total renovation. And as soon as they finish it, they’ll be starting on the kitchen renos! I’m dreadomg of the mess, but as the late, great, Dorothy Parker, New York columnist. always said, “I hate writing, but I love having written,” …that’s pretty much how we feel about renovating.

Thank you for stopping by. Check in regularly for more updates and have fun make your house into your special home.
We have sunshine in our yard!

In my last post, our big old, dirty and rotting Silver Maple tree was being cut down, one nasty branch at a time. We lost a tree, but we gained a clean and sunny backyard. Yay!

Now we’re working hard to create the garden of our dreams. We’re just out of the starting gate, but we’re starting to see a little bit of progress. Another couple of summers and our yard will be our own private little haven.

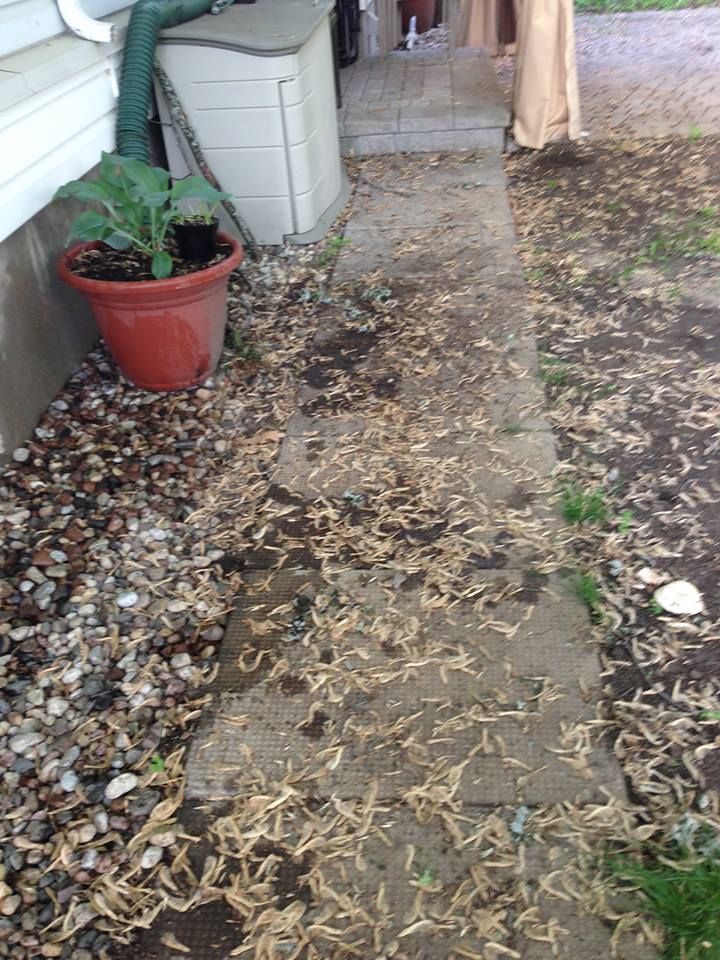
10492548_10202352524284215_8987381982005368000_n

Remember this? That’s what our yard used to look like every day. We swept and hosed and threw around a few colourful words, but nothing helped. We couldn’t even use our gazebo because of the flying filth from the tree!

Check out the photo below. That’s our nice clean patio, now. Much better, don’t you think?

I’ve planted very aggressive vines strategically along the fence, as well as some shrubs which don’t really stand out in the photo…yet!


13 Tripp Aug 2 2014 (25)

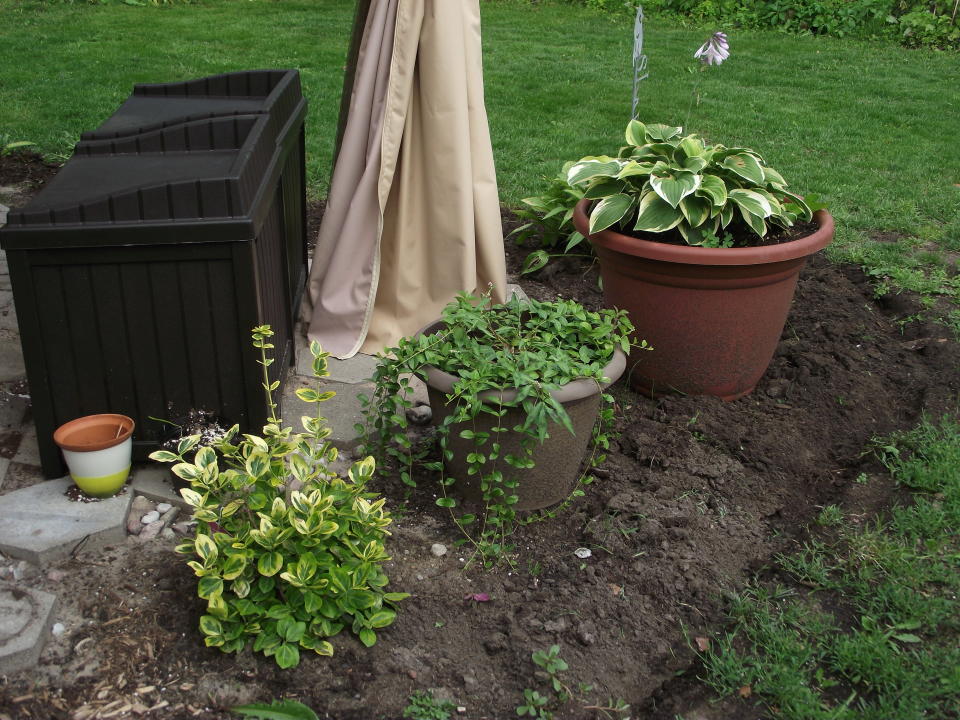
I’ve started creating a garden bed around the patio. It will be so pretty with many varieties of Hostas and ground cover. Here it is in it’s infancy. I need to put some sort of edging around it to keep the grass out…and lots of mulch to keep the weeds at bay. The Hostas will come out of their pots, of course.
13 TRIPP AUG 2 2014 (28)--Patio garden bed

Here’s the stump of what was once a 42-year-old, 80′ tree. I kind of like that old stump! Peter is going to hollow out the inside of the stump and put a big flower pot in it. Then, I’ll do some creative planting in it and it might just become a focal point in our garden.
13 TRIPP AUG 2 2014 (29)--the old stump

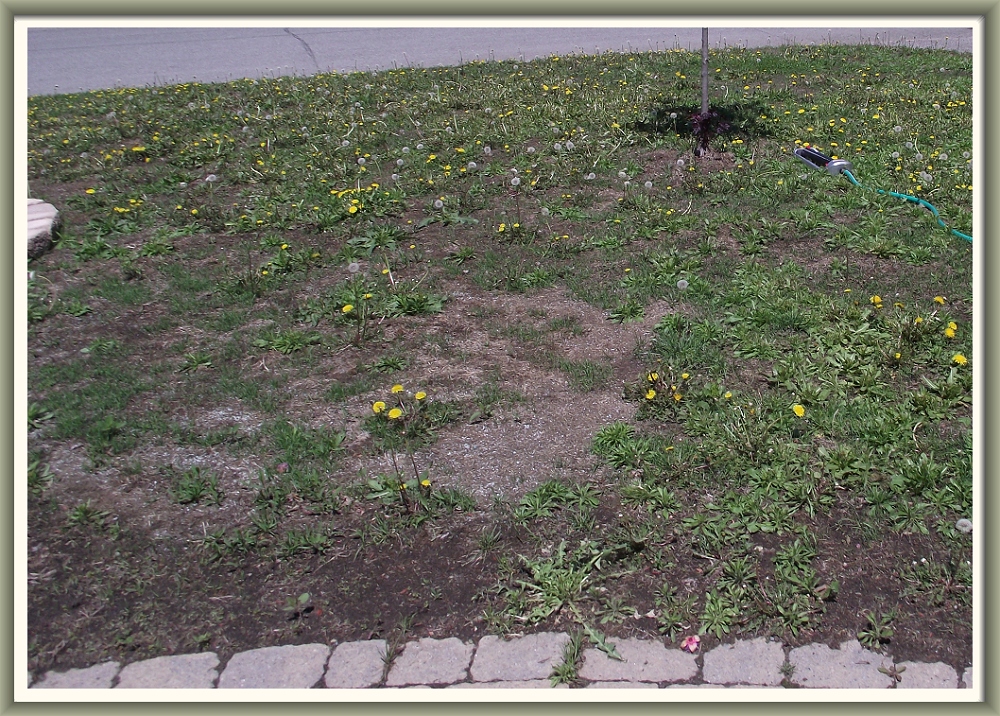
Before the tree was removed, grass simply wouldn’t grow in our yard. The root system of that huge tree drained the soil of moisture and everything we planted was stunted or slowly perished. Now, although we’re dealing with lots of bare spots and weeds, at least we’re starting to see green. And it’s spreading like…well, weeds!! Some grass seed and fertilizer will have this pathetic yard looking like a golf course in no time. If you think this is bad have a look at what our front lawn looked like last year, which was our first year in the house. A bag of Golf Green really can make miracles happen. (Please excuse the mess, it is a work in progress, but it will be pristine when we’re finished).

13 TRIPP AUG 2 2014 (27)-- back lawnIf you’d like to follow of our battle with the weeds, keeping coming back to see our progress. Lots more photos to come! Happy gardening, everyone! (P.S. Remember, we’re doing all this ourselves AND on a budget…but, we love a challenge!)

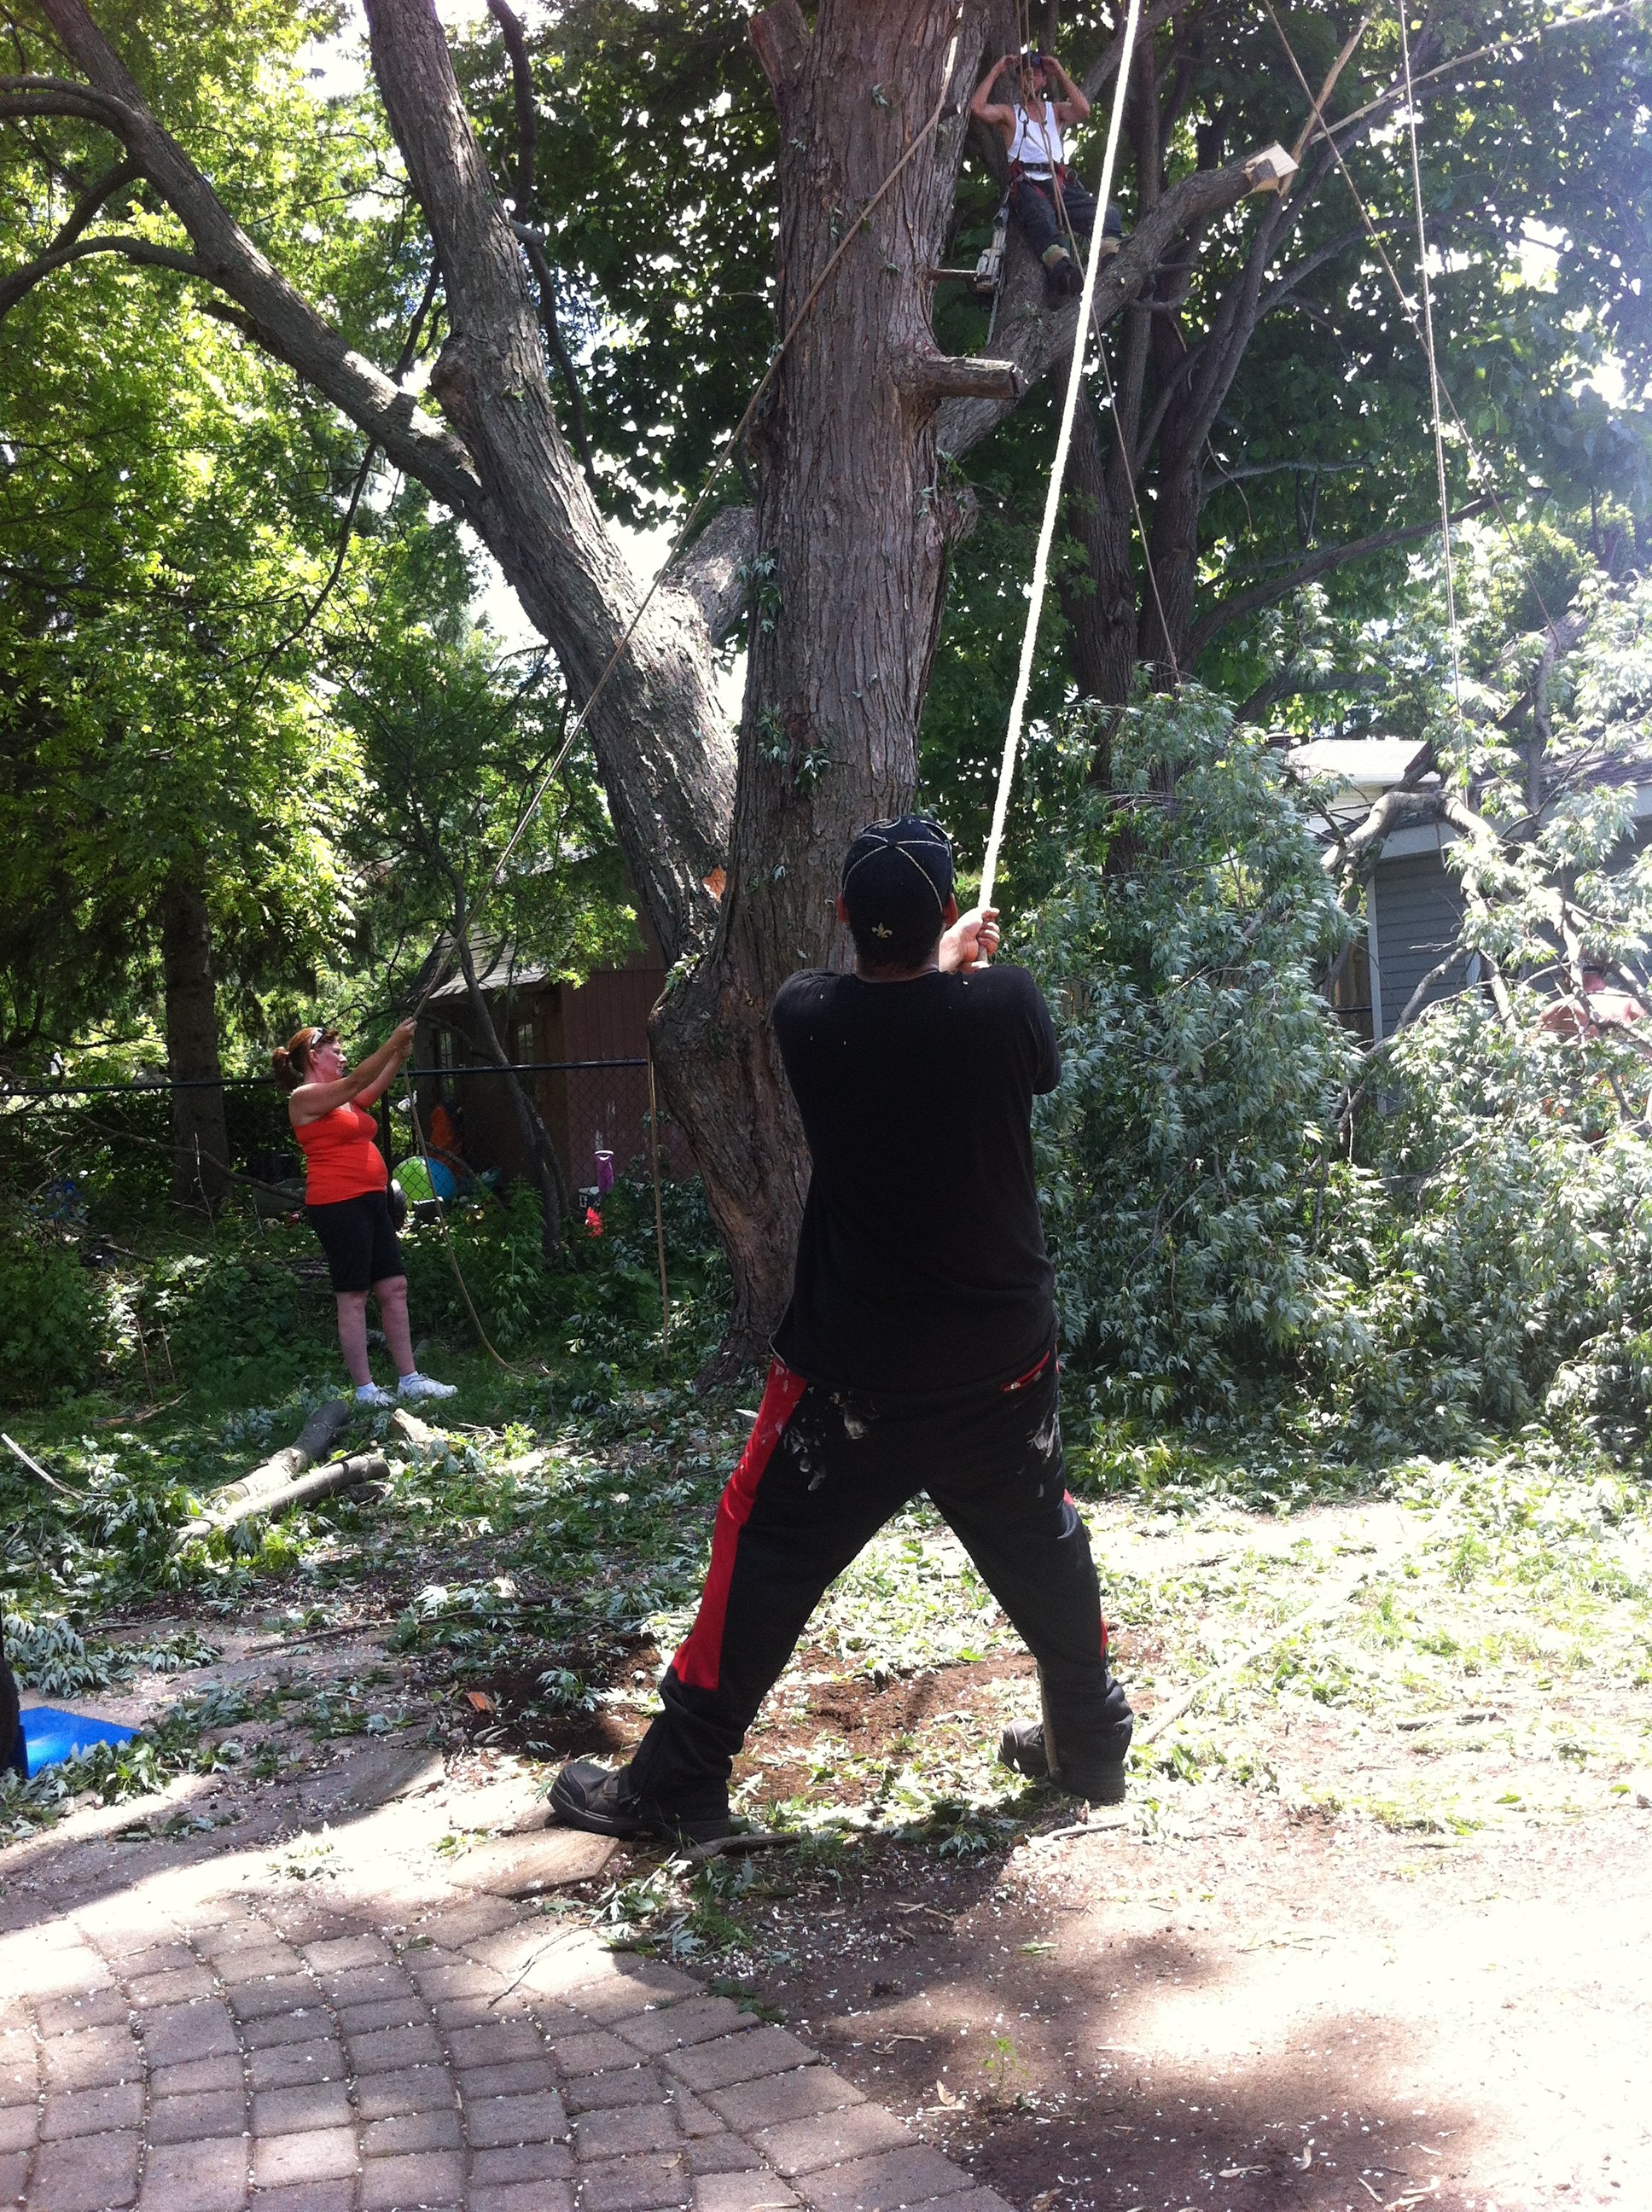
Look out, she’s coming down! Good-bye to our BIG, OLD and BEAUTIFUL, but very SICK and DIRTY tree…

Good-bye, Old Frenemy!!

2014-06-22 12.03.30It was definitely a love-hate relations ship. Our 40-year-old maple tree, that provided us with gentle breezes and cooling shade had to come down last week. It had become a dangerous tree, hollow in the middle and hanging on by a thread.

IMG_5113
In our backyard, the 40-year-old Manitoba (or Norway) Maple stands roughly 80 feet high. We bought the house in January 2013, and had no idea was a mess the yard was in, thanks to this beautiful, but sick, hazardous and dirty tree.
2014-06-28 12.25.39
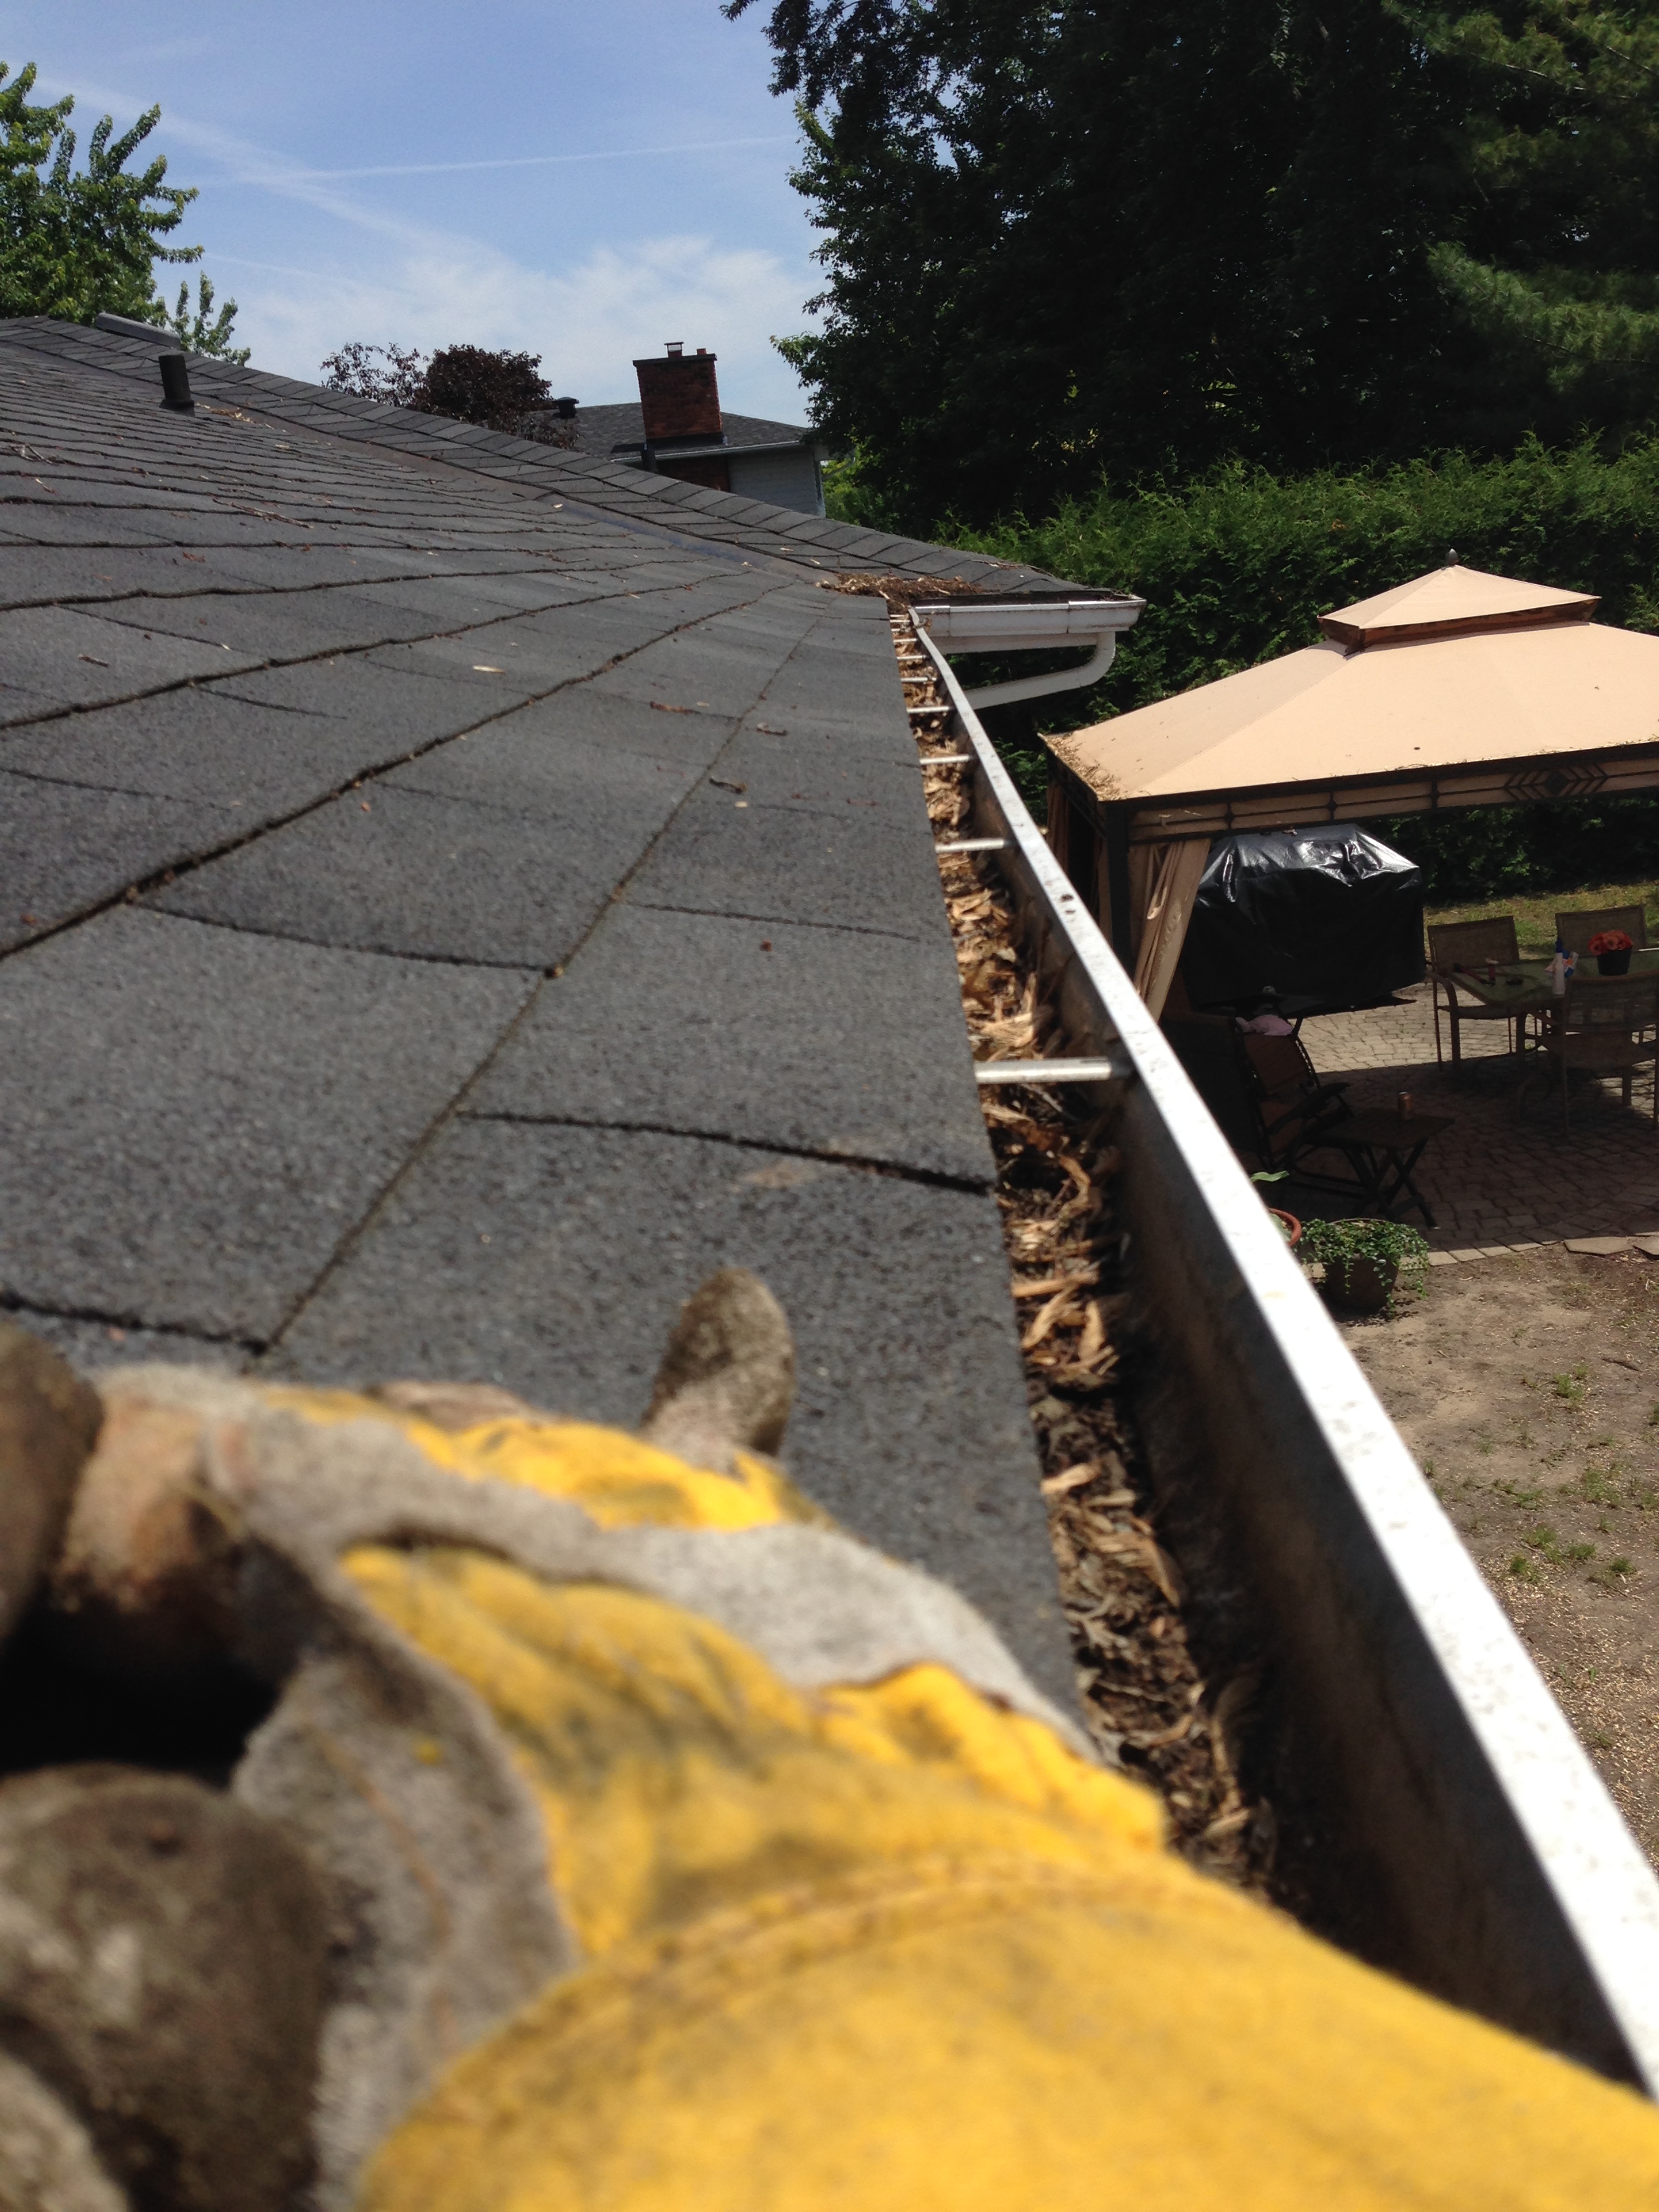
This is just one small area of the eaves troughs. We had to lay a big tarp on the ground to catch the mud-like filth that Peter scooped out. It looked disgusting and smelled terrible!! We won’t miss doing this job!!

Although we miss the beauty of the tree, we do not miss the filth that it continually dropped on our yard and into our eaves troughs. Cleaning the eaves troughs was an annual all-day (grueling) job, made even more difficult because of the heat and blistering sun.

The black seeds that the tree dropped clogged our eaves troughs and was ruining our roof. That big old tree also drank up every drop of rain and sprinkler water so that none of our other plants and flowers stood a fighting chance.

The most visible (and irritating) thing about that old tree was never having a clean and beautiful yard.

10492548_10202352524284215_8987381982005368000_n
This is what we faced every single day. I love a pristine yard, so you can image my level of frustration. Also glad we got the tree cut down before it FELL down!! It was hollow–in fact, the tree-cutter put a rake handle into the Y of the tree, where the two biggest branches met the main trunk, and it was hollow as far down as the rake handle could reach. YIKES!!

So, while we miss its beauty, the shade it provided and the much needed breezes, we are very excited about being able to have meals on our patio (under our new shade-providing gazebo).

I have replanted all of the shrubs and flowers that I had to dig up before the tree-cutters could start their work (photos to come). Phew! It’s been a busy couple of weeks.

But, it’s DONE and I’m heading out to our CLEAN patio to relax with a big cold drink!! Oh, by the way, any recommendations for a nice clean tree? I’m thinking birch clump…


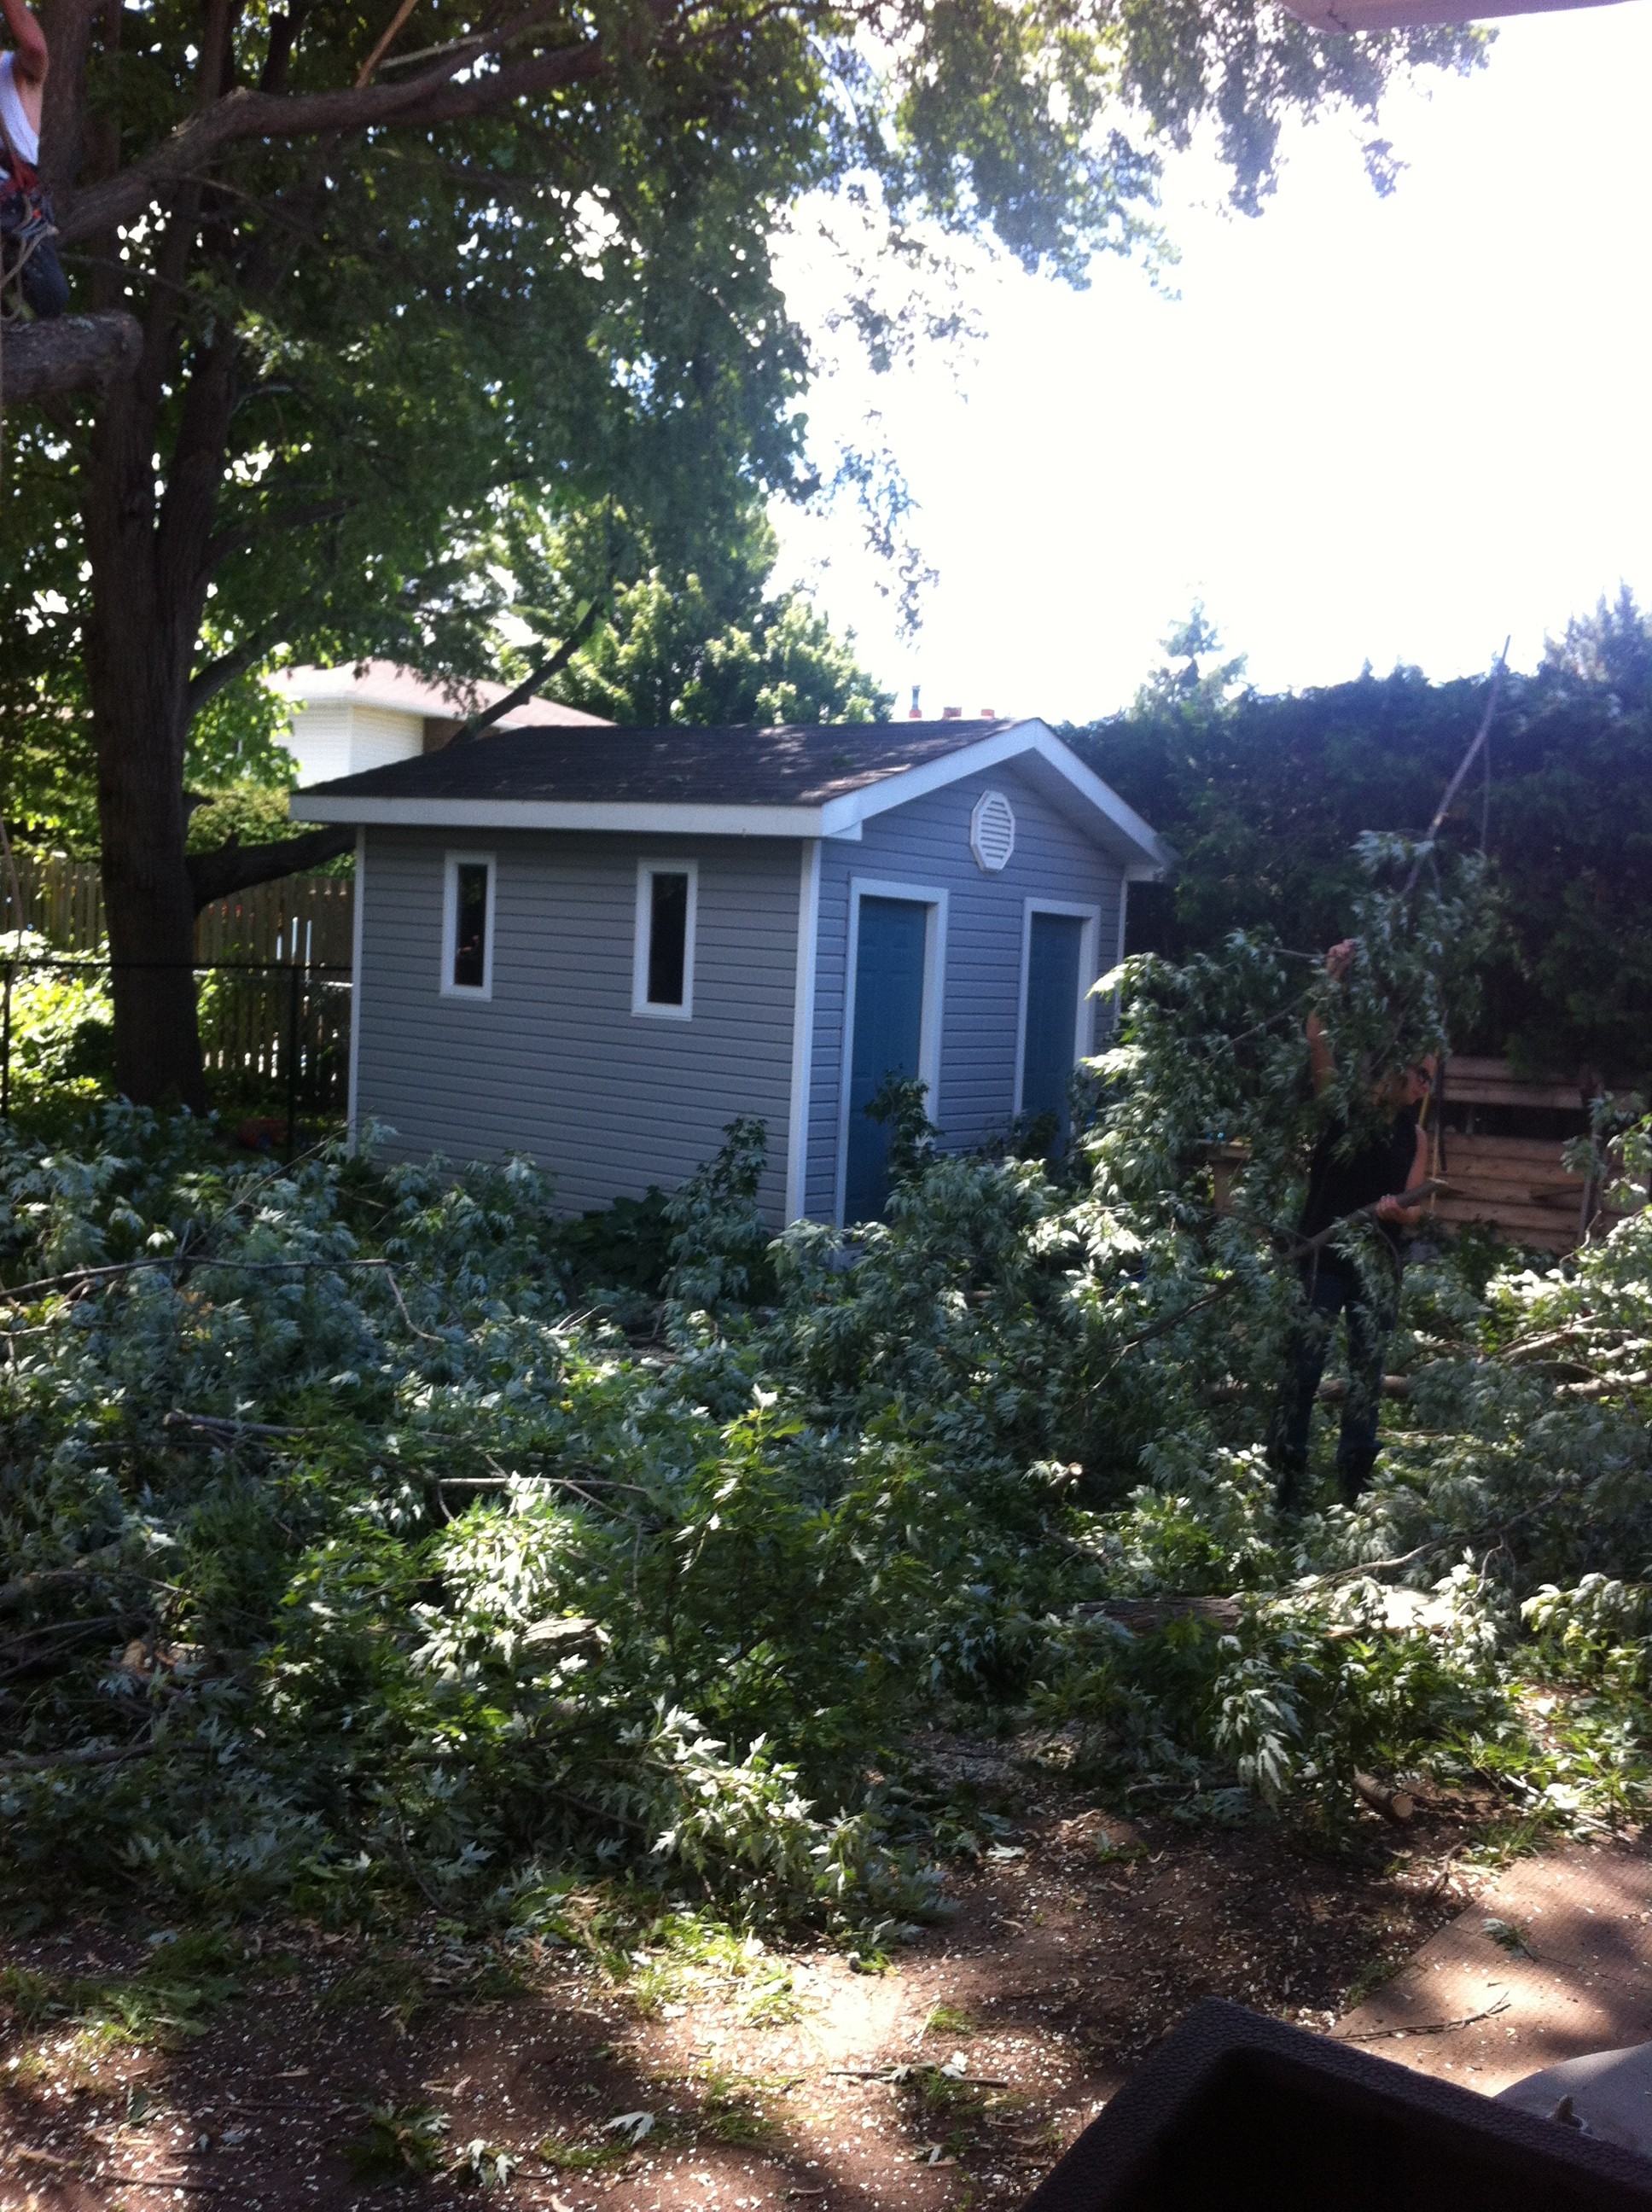
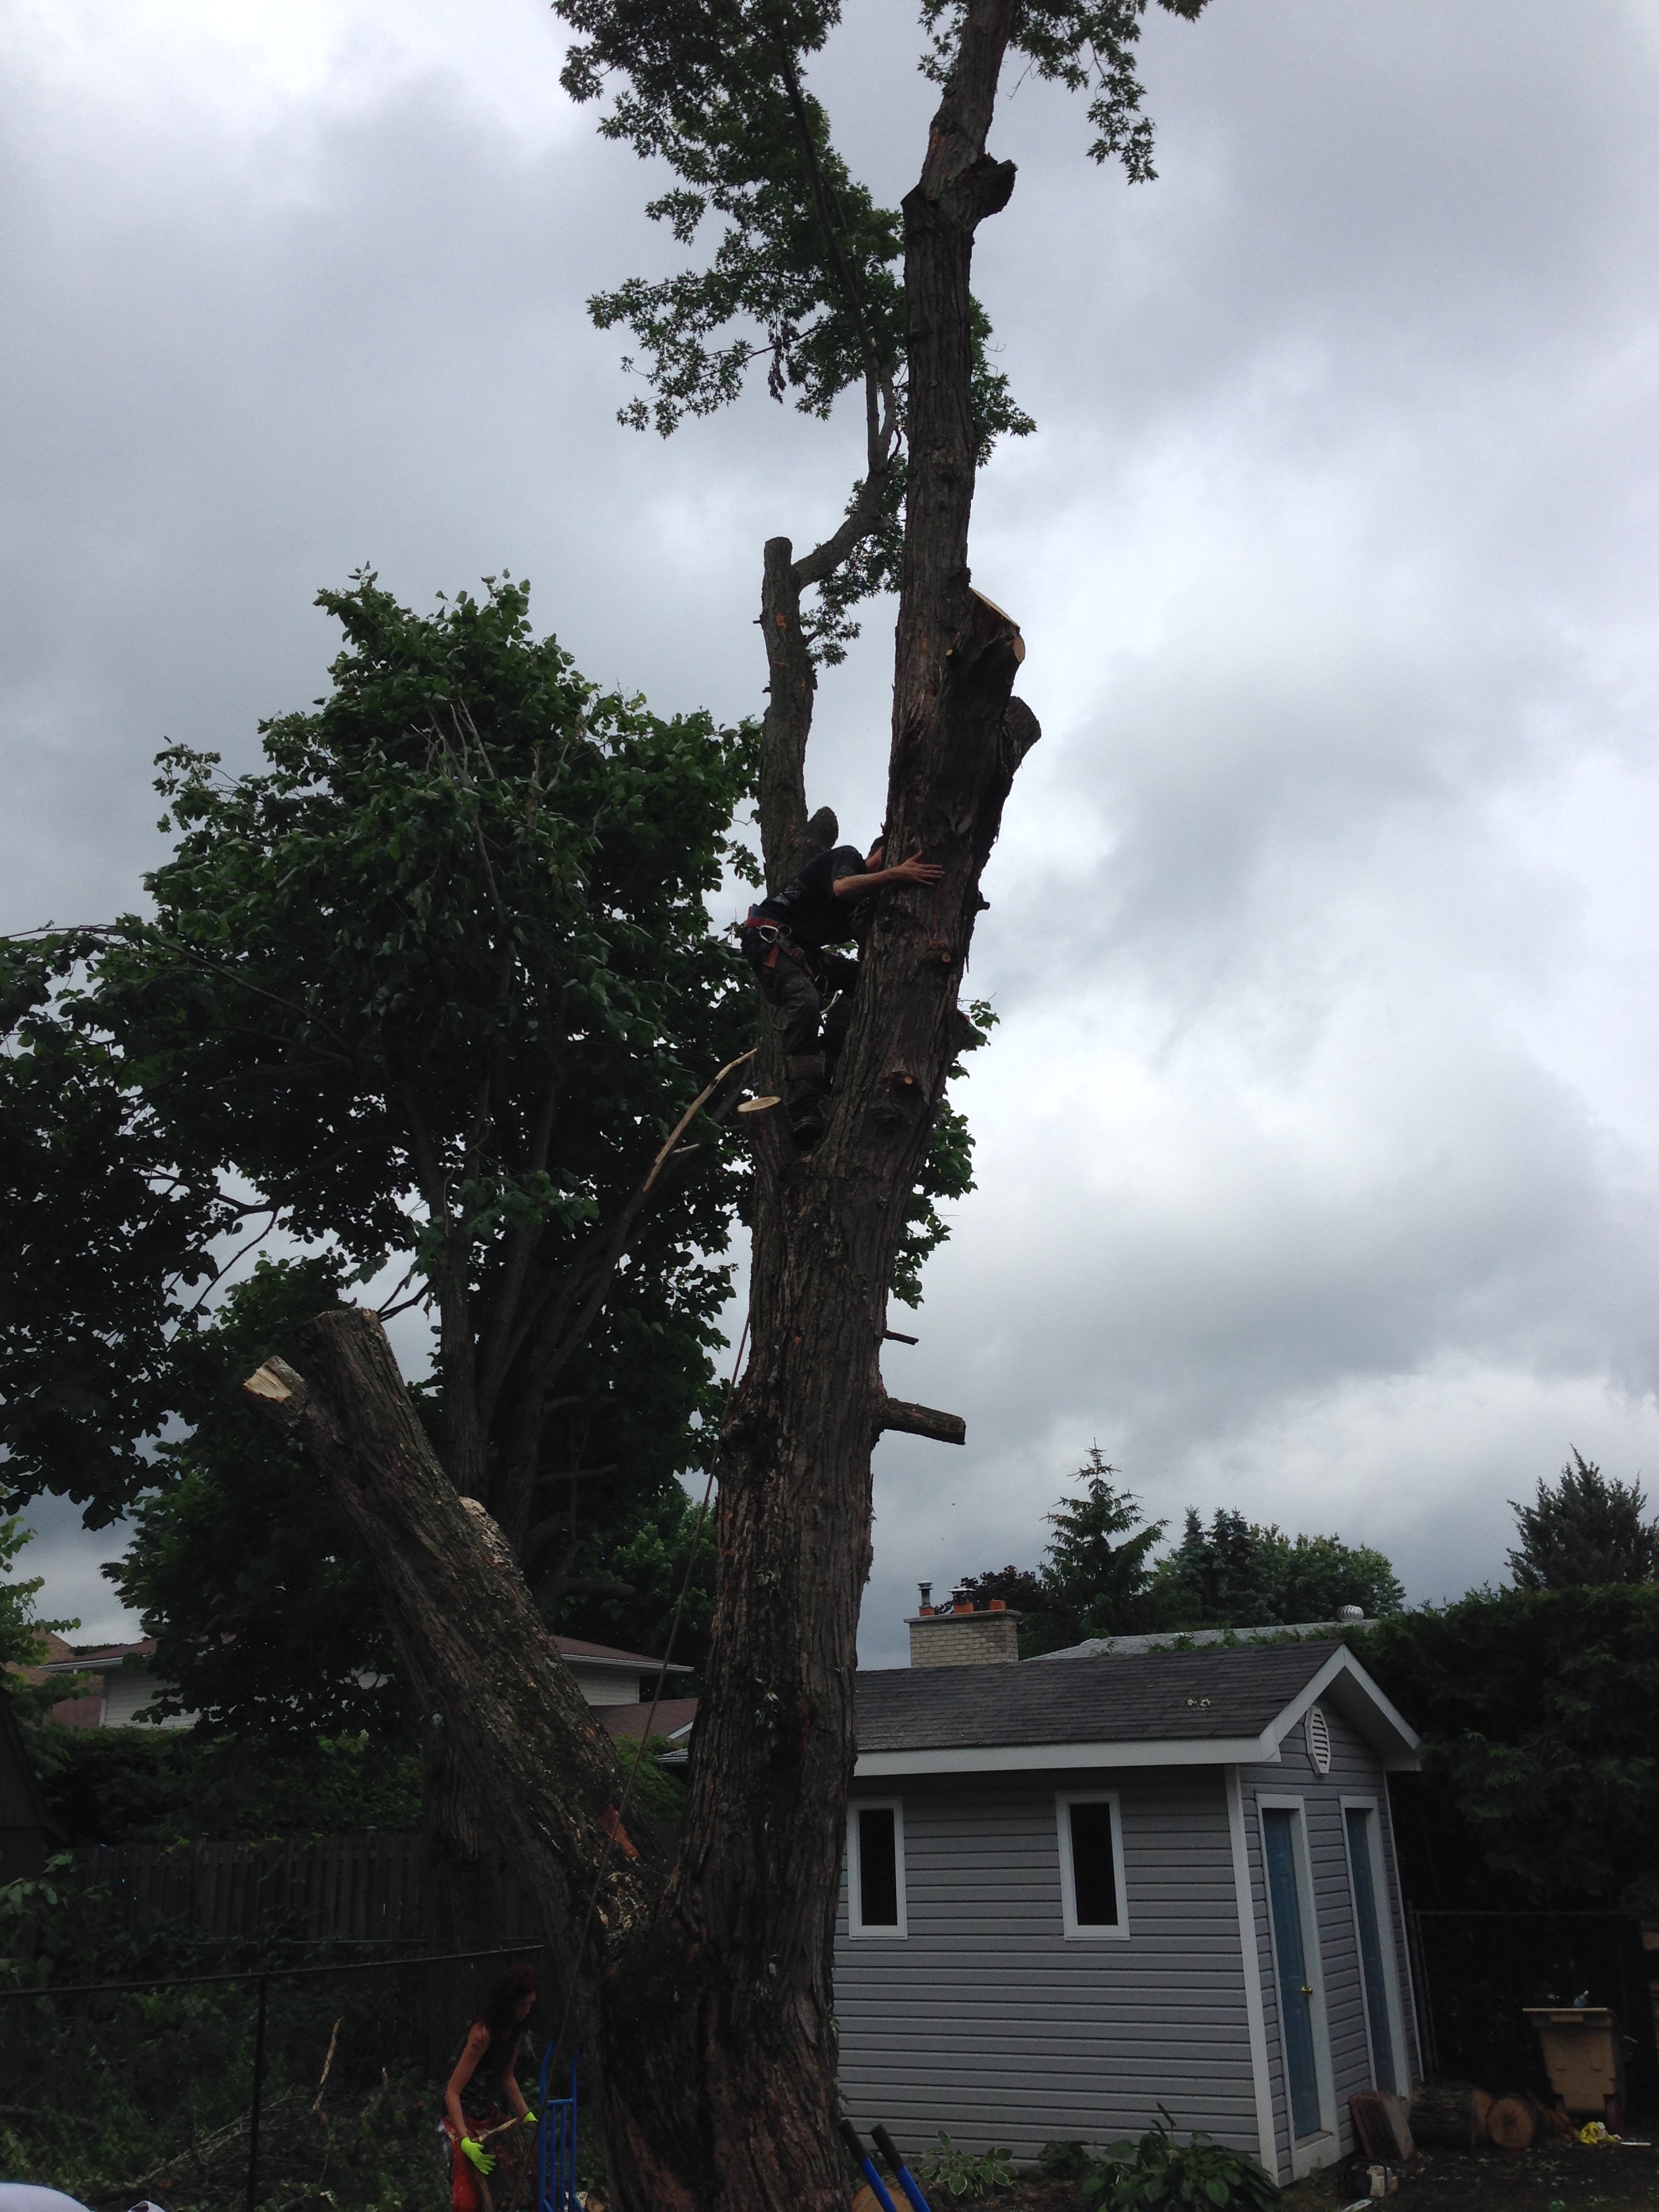
Following are some photos of the tree-cutting in progress. It was as good as watching a movie!

IMG_5159 IMG_5158 IMG_5165

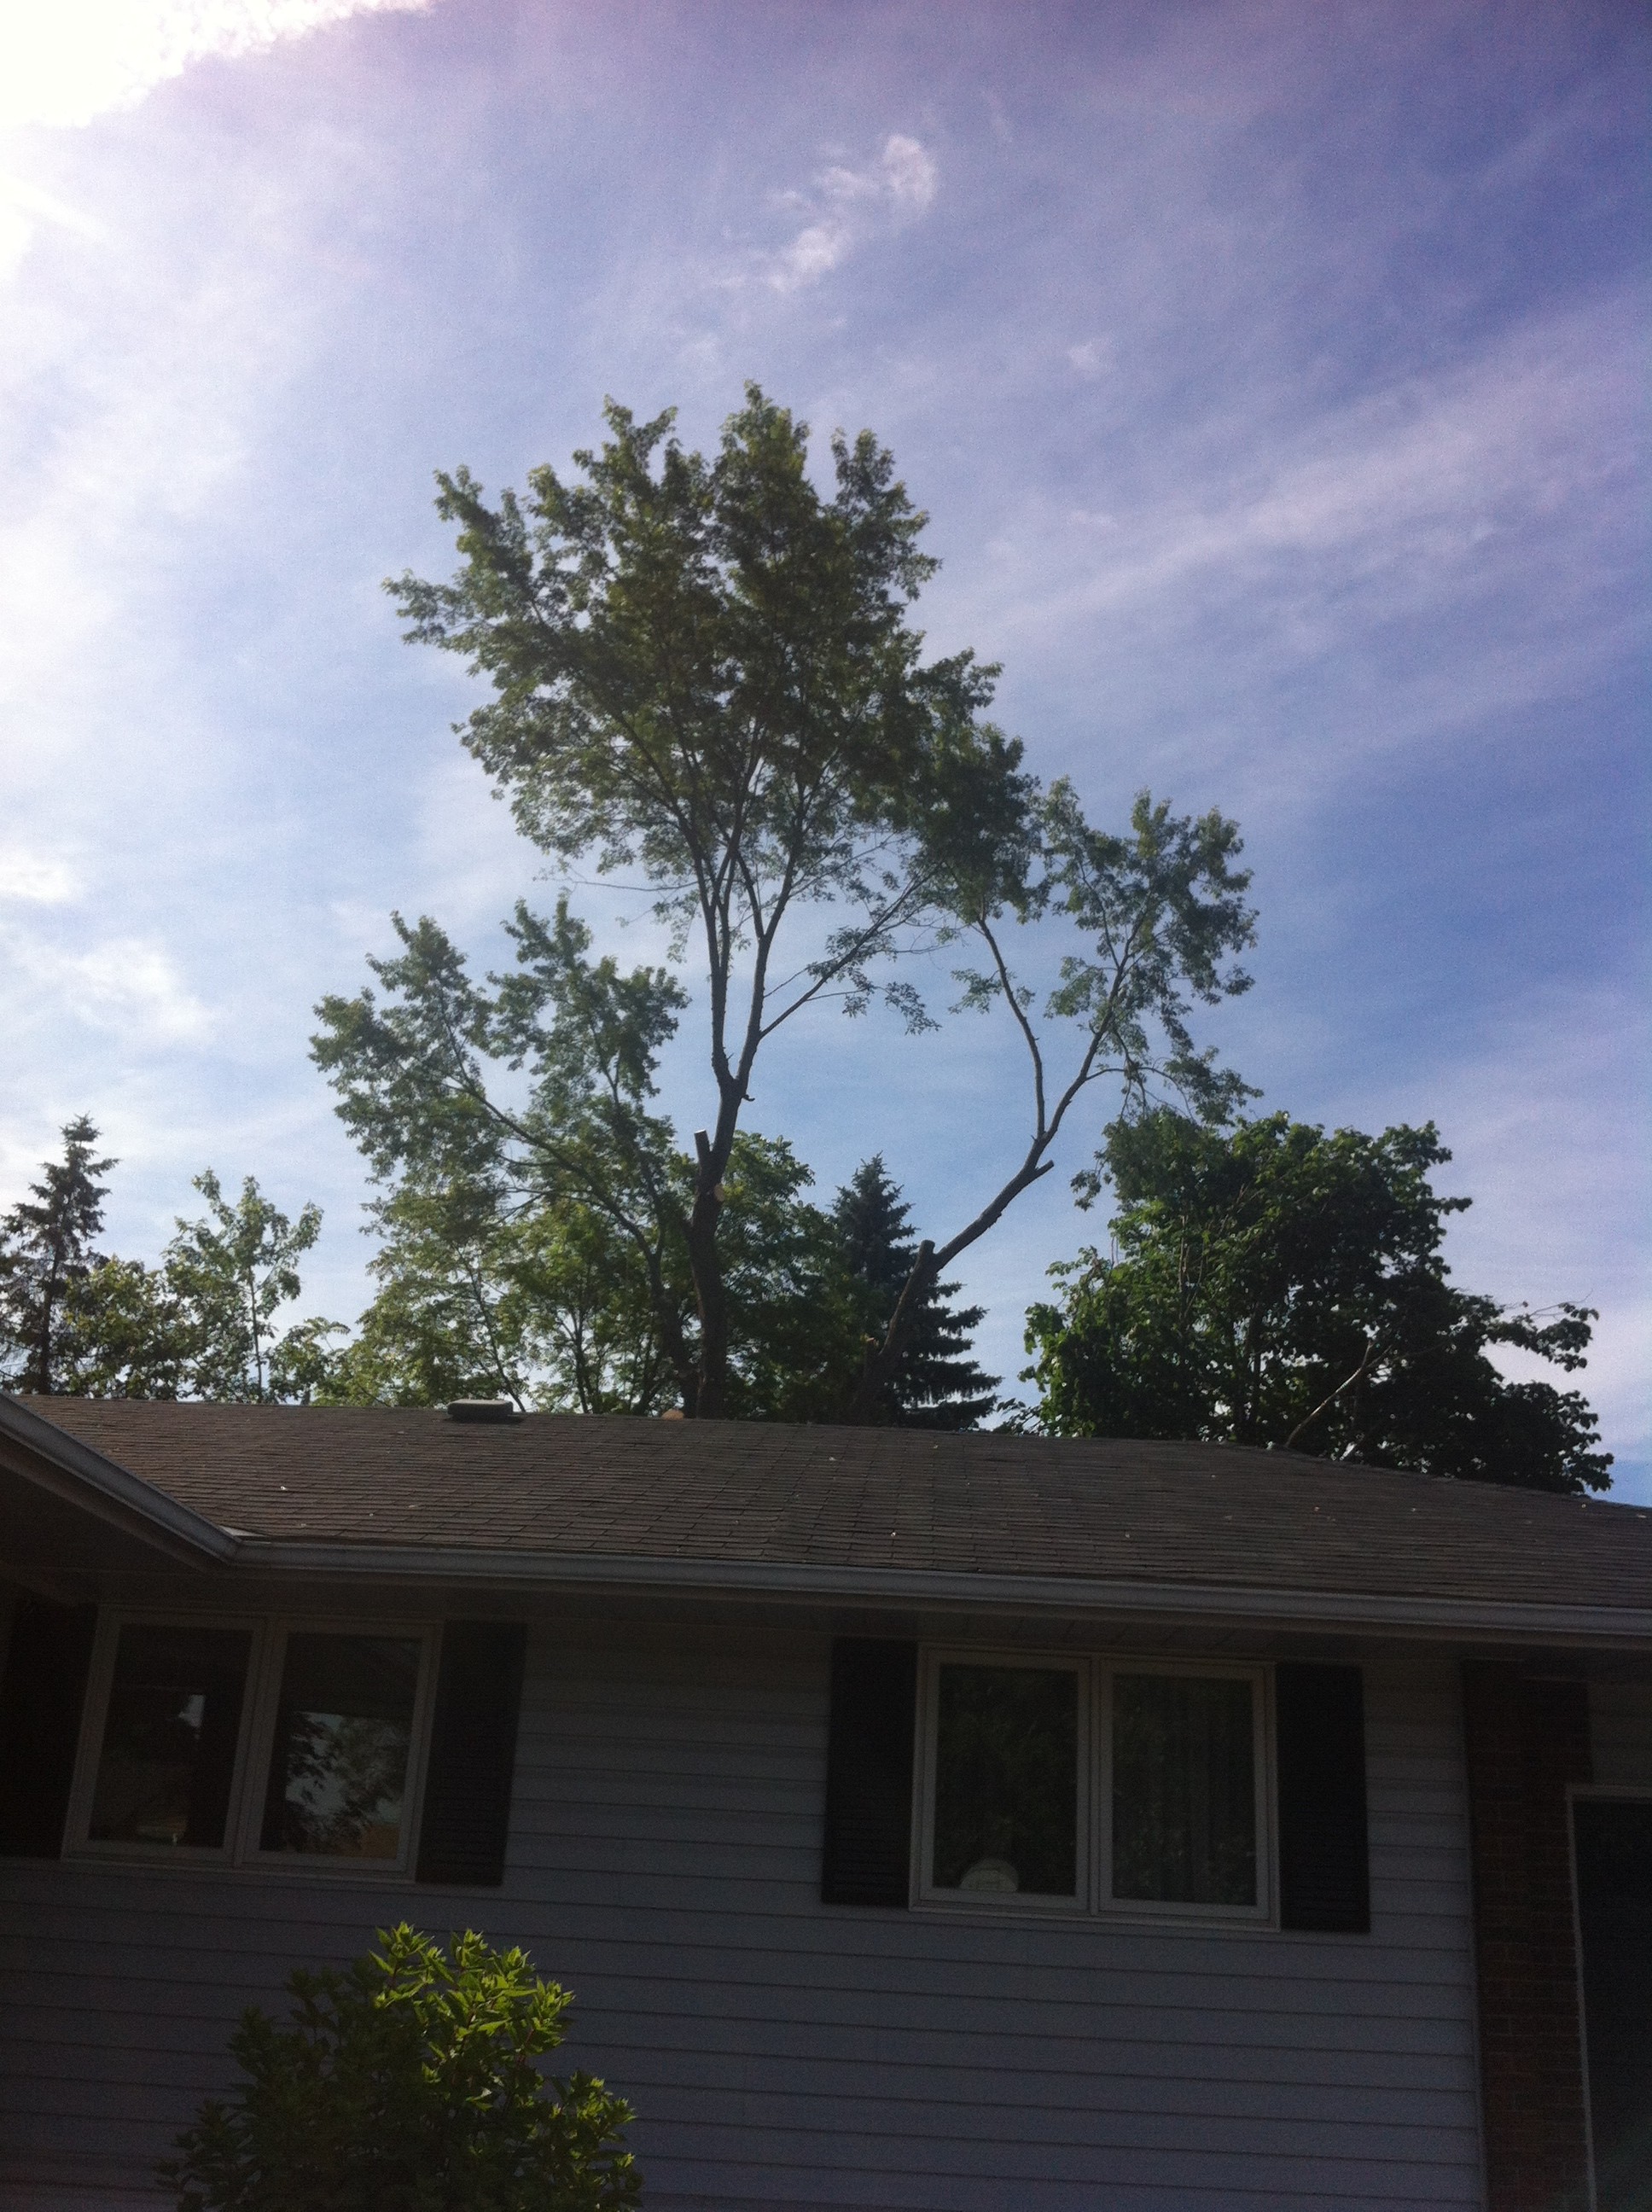
Looking somewhat alien, here's the tree with just three big branches left to cut down. And then, the job of cutting down the main trunk, which was 10 feet in circumference!!
Looking somewhat alien, here’s the tree with just three big branches left to cut down. And then, the job of cutting down the main trunk, which was 10 feet in circumference!!

2014-06-25 09.59.15 2014-06-25 10.04.44


Lovin’ my BIG shed!

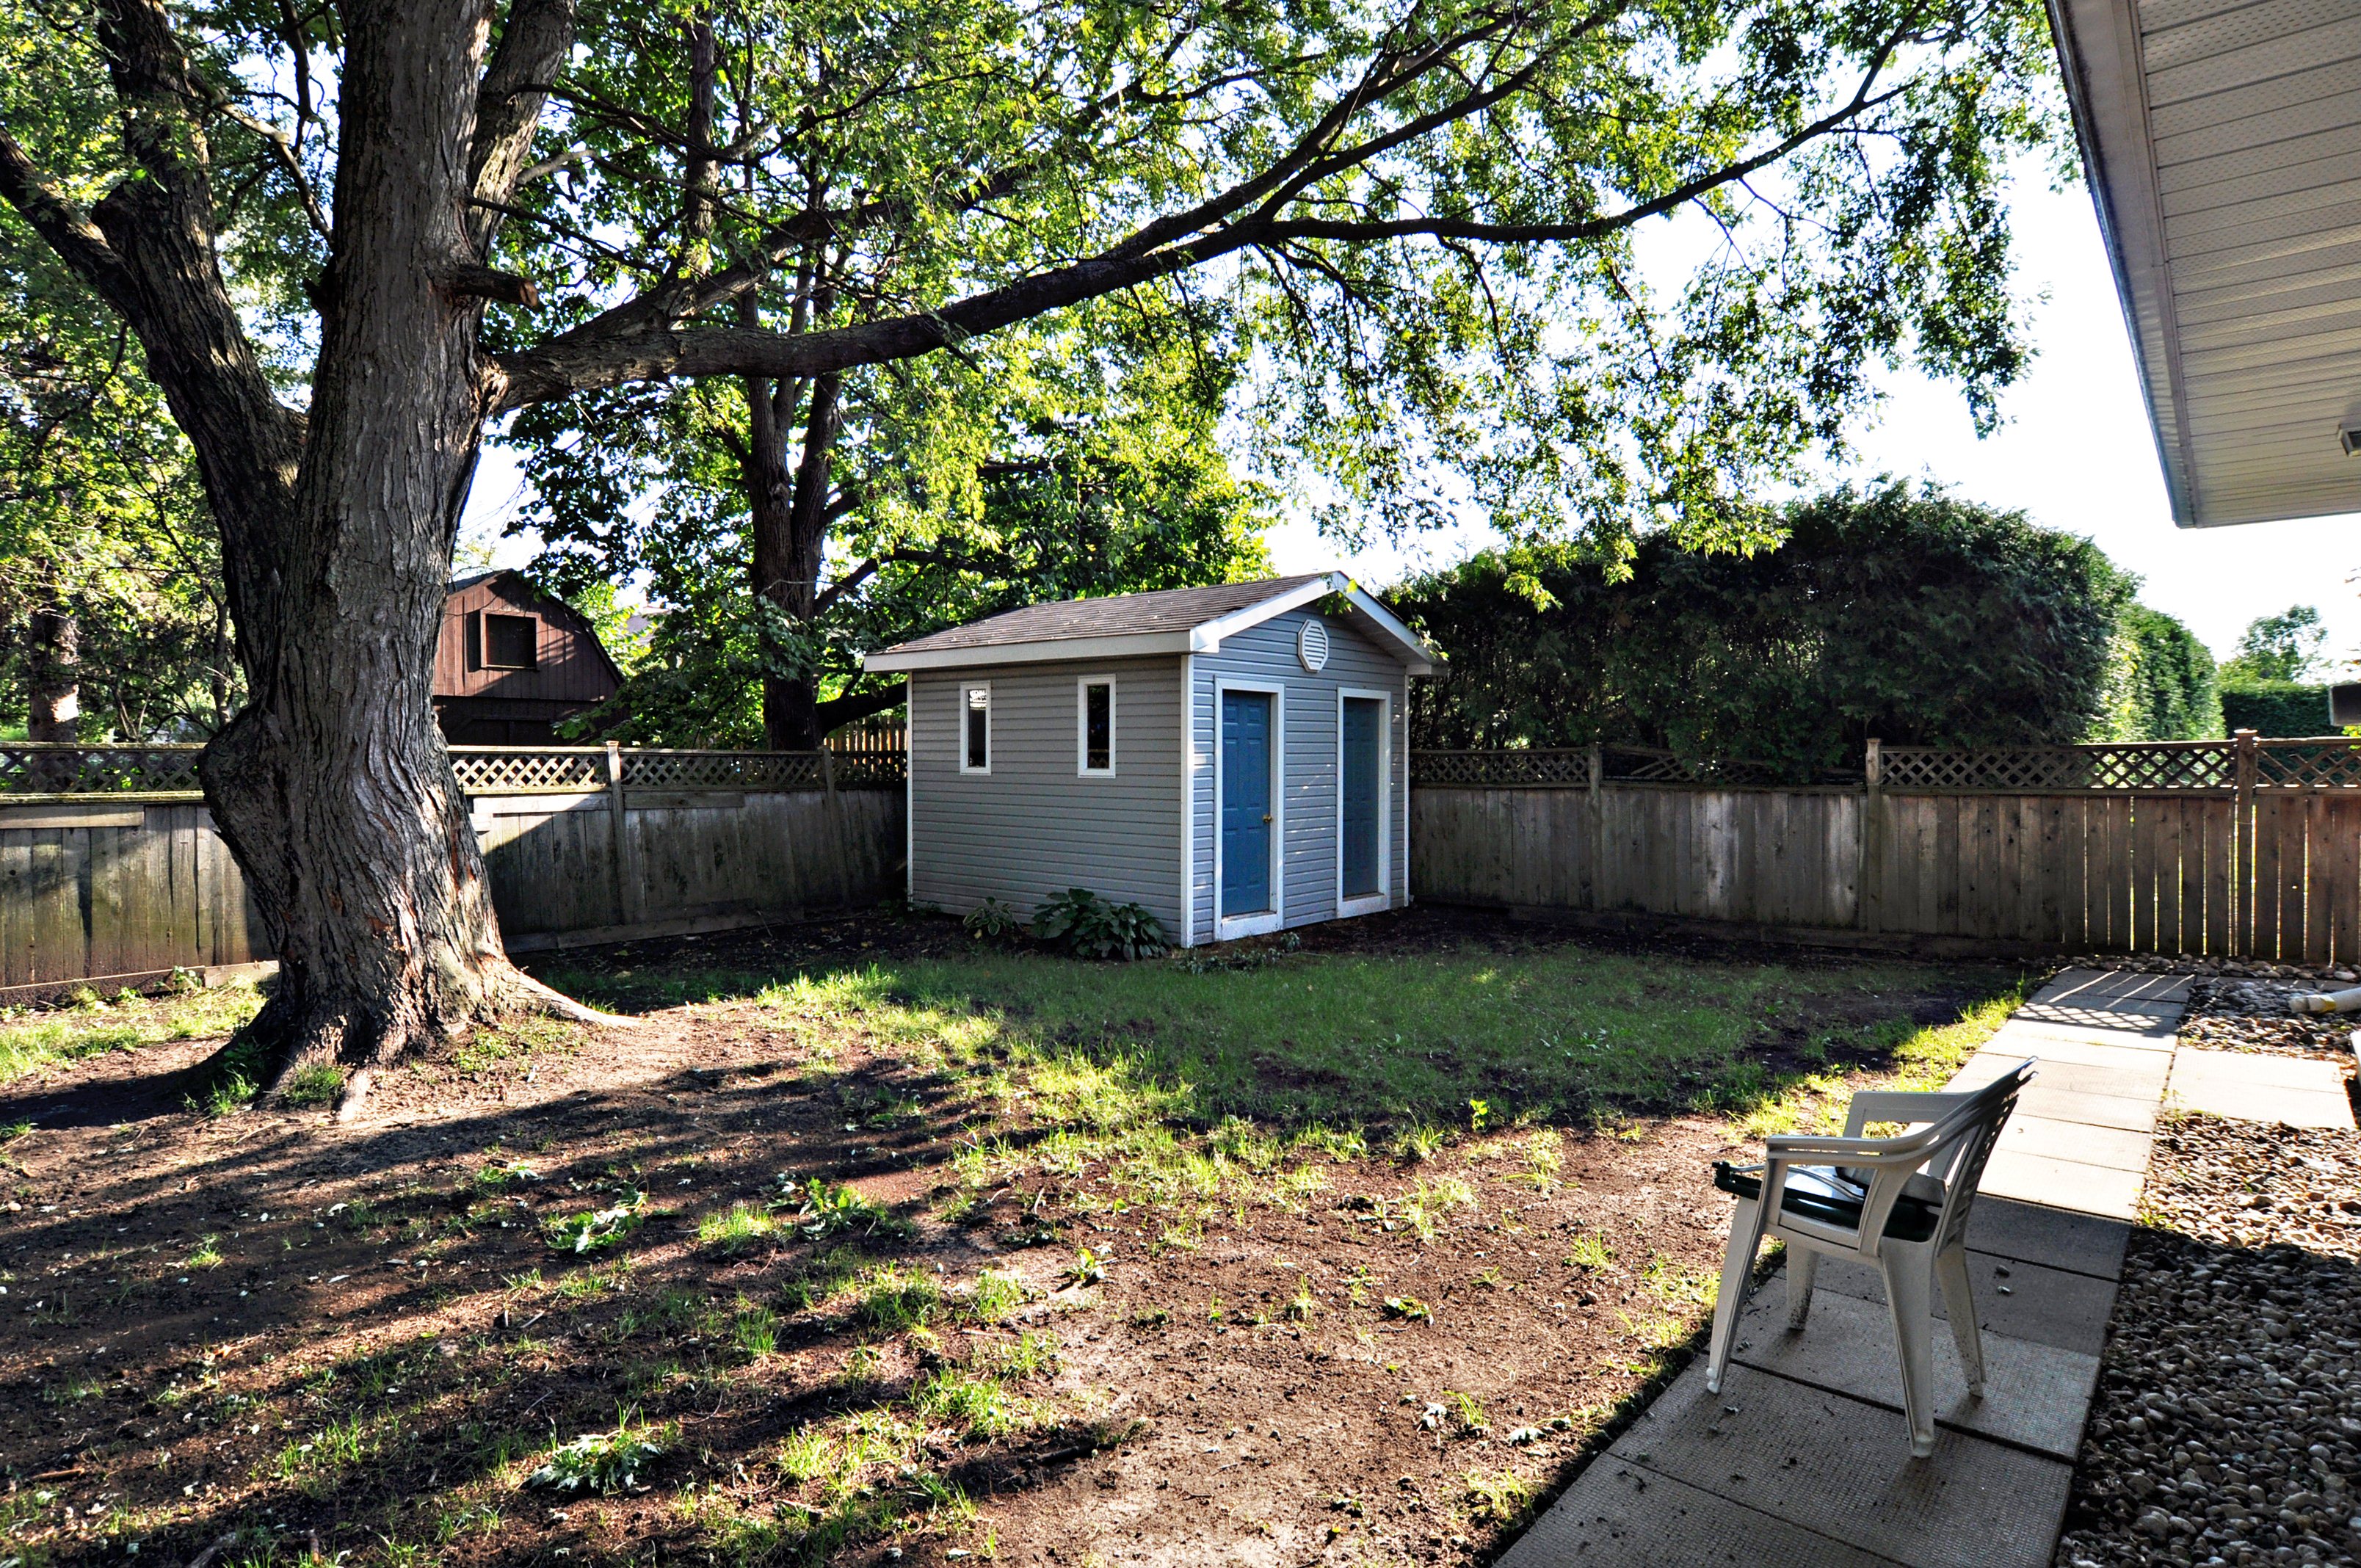
 Meet our shed!

It’s big. It’s solid. It’s spacious! It’s OURS!

And, look, it has two doors…but, why? Maybe the former owners went to a two-for-one sale at Home Depot.

13_tripp_crescent_MLS_HID746807_ROOMbackyard3

And, it’s a mess!

DSCF1213

But, in our defense, we moved into our house in January, right in the midst of a cold, nasty, snow-drifting blizzard. It was so cold outside. We were so tired. And, we were so eager to get the important stuff into our house that we literally piled stuff,haphazardly, in the shed.

February 2013 (19)

It bugged me and bugged me and bugged me, all winter long. I HAD to get that shed organized!

And, that’s exactly what we did, today.

That’s my Sweet P, Peter. Smiling, as always!

DSCF1218This is  me. I’m smiling, too, because I’m so happy to be cleaning and organizing our big, beautiful shed!  What a mess, huh? Sometimes, you have to make things worse before they can get better.

Frame_Gloria cleaning the garden shed 2013

Three hours later…

DSCF1224

Looking good!

Not bad, but it’s not finished, yet. Tomorrow I will finish organizing and grouping together all like items, such as gardening products, tools, etc., into containers. And then, the final touch: Labels. I love labels!! By the way, the big black shelves are from Costco, $24.97, each. They are super strong and snap together in about five minutes. A well-spent $75.

We were able to accomplish all this, thanks to our consultant, our guiding light, our savvy supervisor, Cookie. Thanks, Boss!

DSCF1219

Coming next week: Project New Fence!

DSCF1223