And the make-overs continue. . .

We’re still pretty busy getting organized in our new house. It takes time to find a place for everything and put everything in its place.
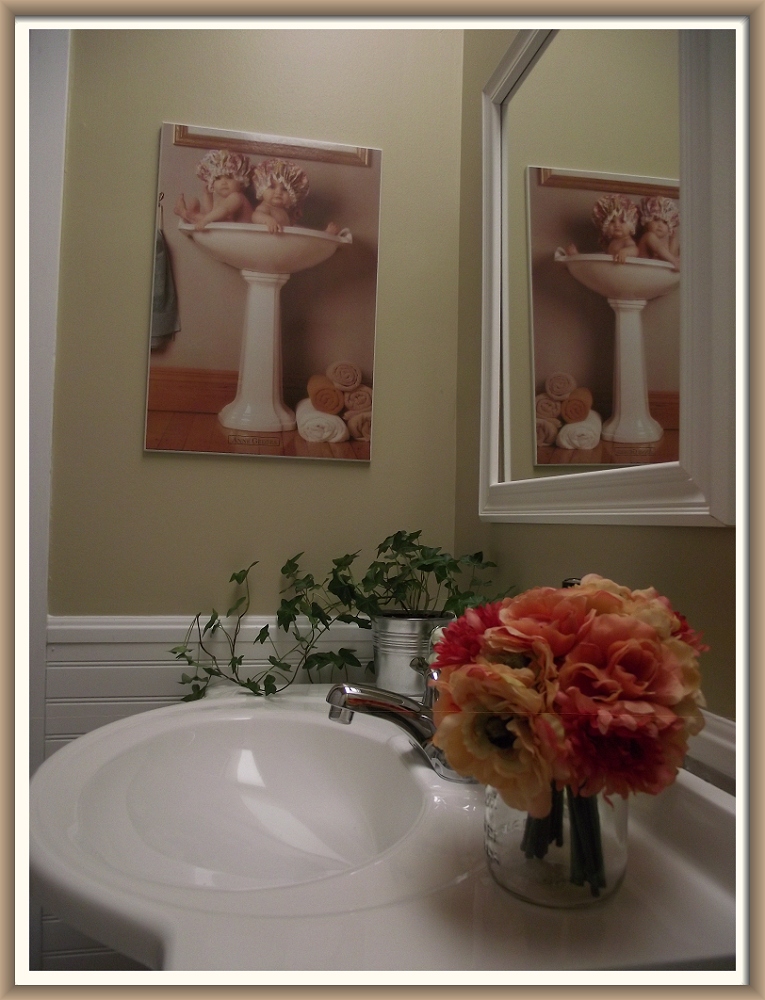
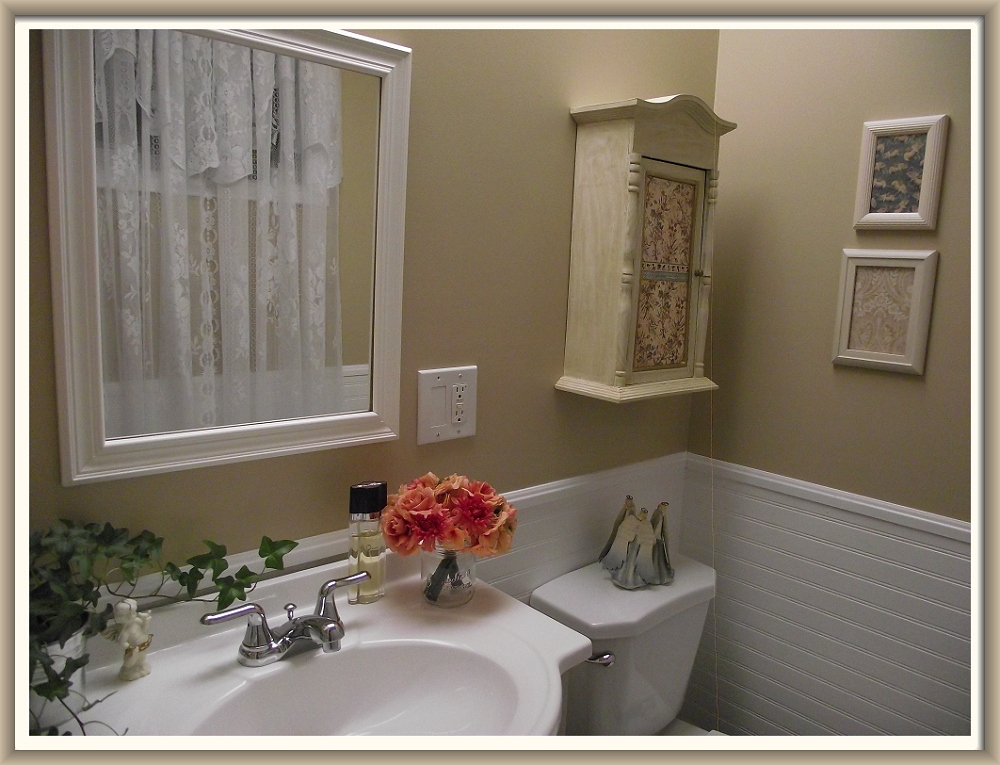
We’ve got the main floor in pretty good shape, except for the two bathrooms. The main bathroom is next on my list of make-overs, but for right now, I just have to tell you the story of our ensuite, which could be more aptly called our unsweet.
The plan was for me to do this make-over on my own and turn this little “mistake” into a sweet ensuite just for me. Before I go any further, though, I have to thank my husband, Peter, who came to my rescue every time I couldn’t reach or lift something and when I needed an extra brain, third hand or a second opinion. He is always there, with his never-ending good-nature, to help me with anything and everything. I thank God for him, every day.
From what we can tell, the main bathroom originally had a doorway from the hall and another from the master bedroom (designers call it a “cheater ensuite”). One of the previous owners, however, decided to build a wall that would cut the room into one main bathroom and one teeny tiny laundry room (which could only be accessed from the master bedroom)–strange, but true.
The house was next owned by a family who, just a few years after buying the house, were transferred across the country. In an effort to sell the house quickly, they decided to turn the laundry room into an ensuite.
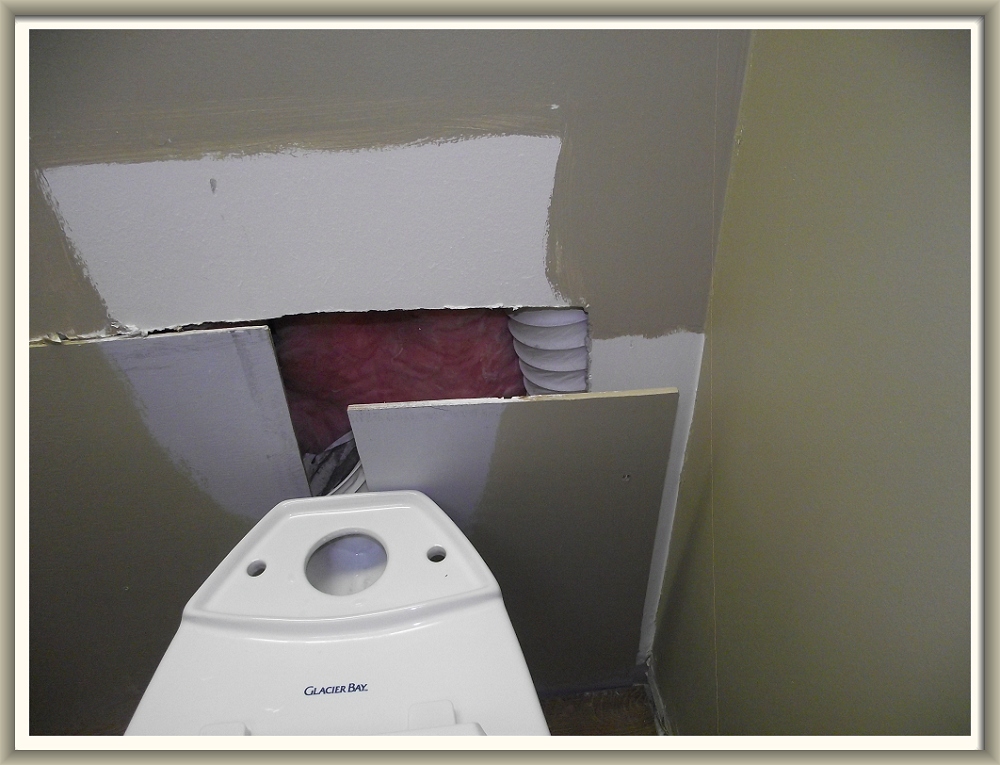
Unfortunately, these folks weren’t about to win any do-it-yourself awards, as you can see from the photos. The ensuite was just one mistake after another. Look at what I found when I took the toilet tank off!
Holes in the wall were patched with scraps of plywood placed over other scraps of plywood.
I wanted it to look feminine and somewhat vintage. I was so excited! And, Peter is perfectly happy with the main bathroom, so I don’t have to feel guilty for claiming this little space as my own. By the way, we have another full bathroom downstairs that also needs sprucing up. . . but I’m saving that one for the last.
Back to my ensuite makeover. I started by turning off the water to the toilet, draining the tank and removing it. That gave me access to the mess of boards that had to be removed before I could install the new wall board. See the photo above…that’s what it looked like once the tank was off. You can see the dryer vent hose and some pink insulation.
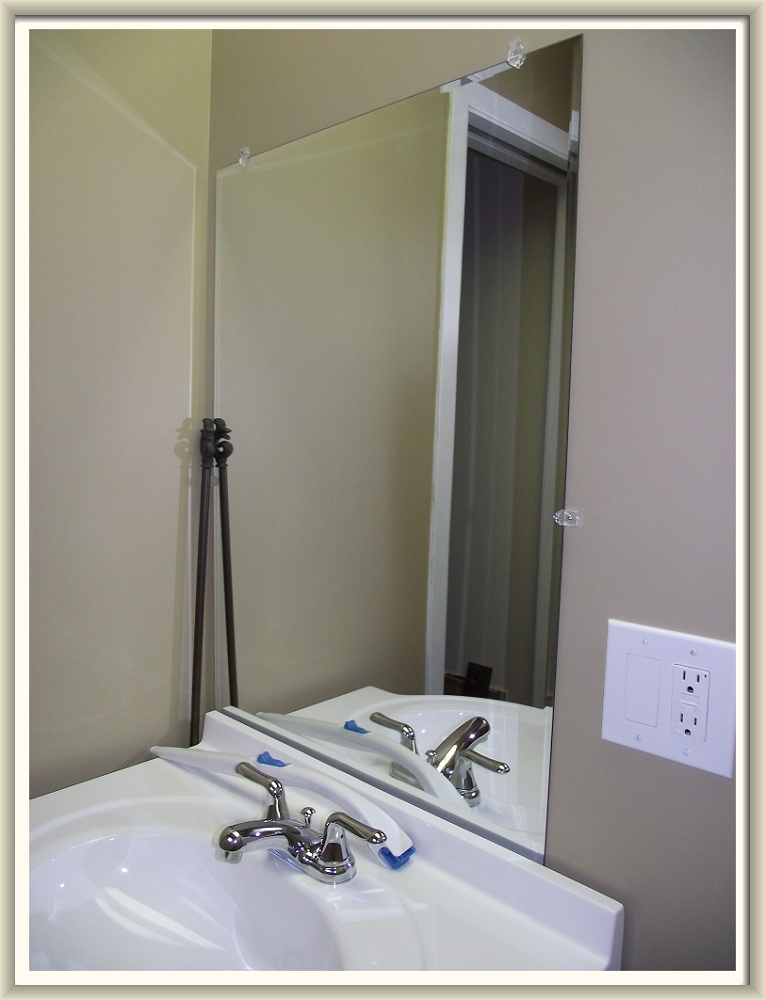
Next, I removed the mirror, which was too big for the space and totally off-centre.
And, the paint colour–oh brother!!! It definitely had to be changed. I was so glad that the previous owners had left a half-gallon of paint that would be just perfect for this room–light tan/taupe/beige (I never know what to call it). Good, another $50 saved. Every penny counts when you’re on a very skinny budget!
So far, $0 spent.

Next came the bead board–you know, it’s that 4′ x 8′ wall board that looks like individual boards. I needed two sheets, at a cost of $26 each. Not bad. As you can see, I ran it horizontally, rather than vertically. Creative decision? Nope, the board-cutter guy at Home Depot cut it wrong, so I just went with it. Actually, I rather like the effect.
In keeping with the vintage look and my skinny budget, I rooted around in the basement until I found this simple white-framed mirror that my mother gave me years ago. It was just the right style and size for my pint-sized ensuite. And, the price was right! (You’ll see in the final photo.)
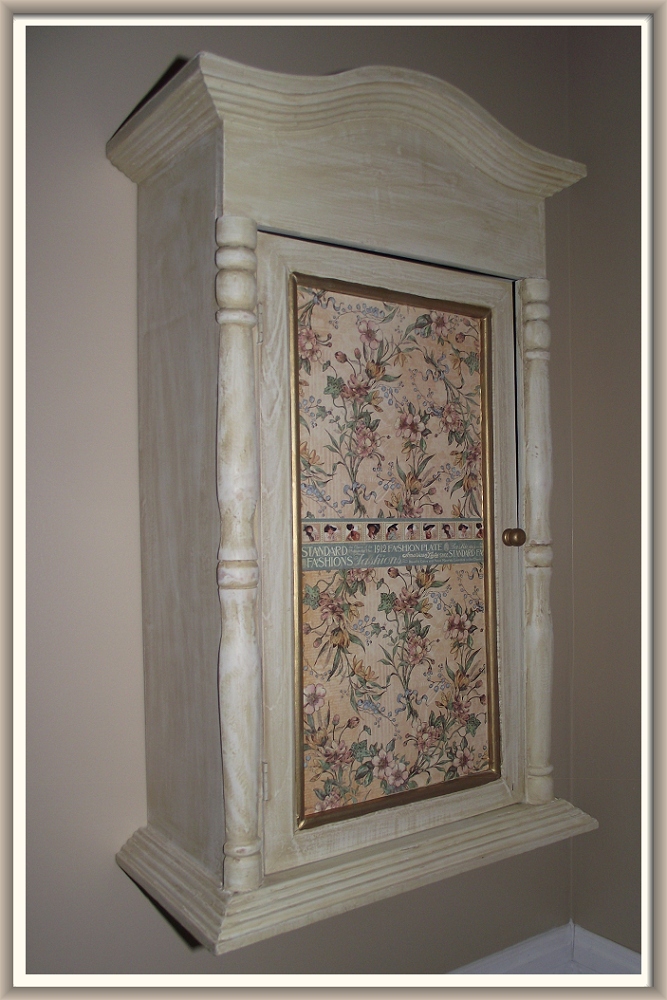
I wanted to put up a small medicine cabinet to store my tooth brush, medications, and so on. Given the petite size of the room, I knew the cabinet would have to be quite small. A couple of weeks of on-line searching didn’t turn up anything that was both small and vintage-looking. And then I remembered Winners. It’s the one place where you can always find something unique and priced to sell. Sure enough, I found the perfect little cabinet. It’s just the right scale and it’s very vintage. The only problem was that the door had ugly purple grapes and gaudy green leaves painted on it. But, that could be easily fixed with a sheet of pretty card stock from my craft room. I forgot to take a “before” photo, but here’s how it looks, now.
 The window in this room is very high up on the wall and is certainly not a feature point. To deal with that, I bought a pair of full-length lace curtains from Sears for $30. They are so pretty, with their long, attached, scalloped valance. They make a beautiful feminine and vintage statement.
Next, there was this big and ugly fluorescent light that had been very crudely installed in  the ceiling. Yep, a big hole was cut in the ceiling and the light was stuck up there. Period. Replacing the whole ceiling and the light was not option, so I created a frame around it with leftover baseboard. A huge improvement!
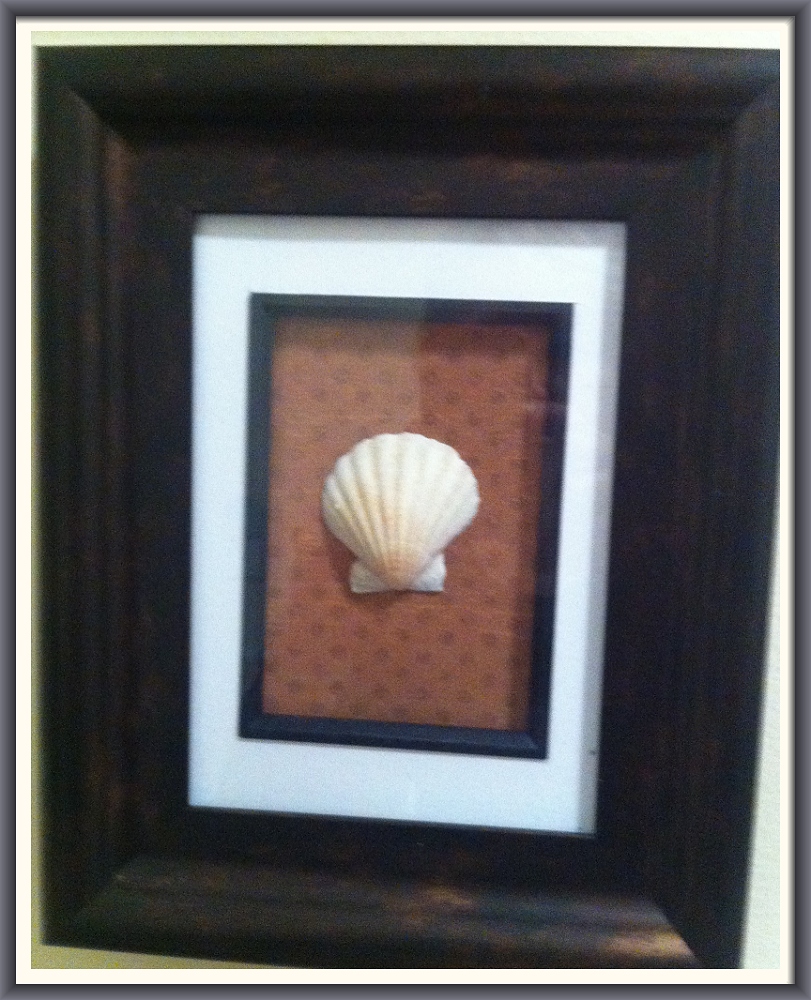
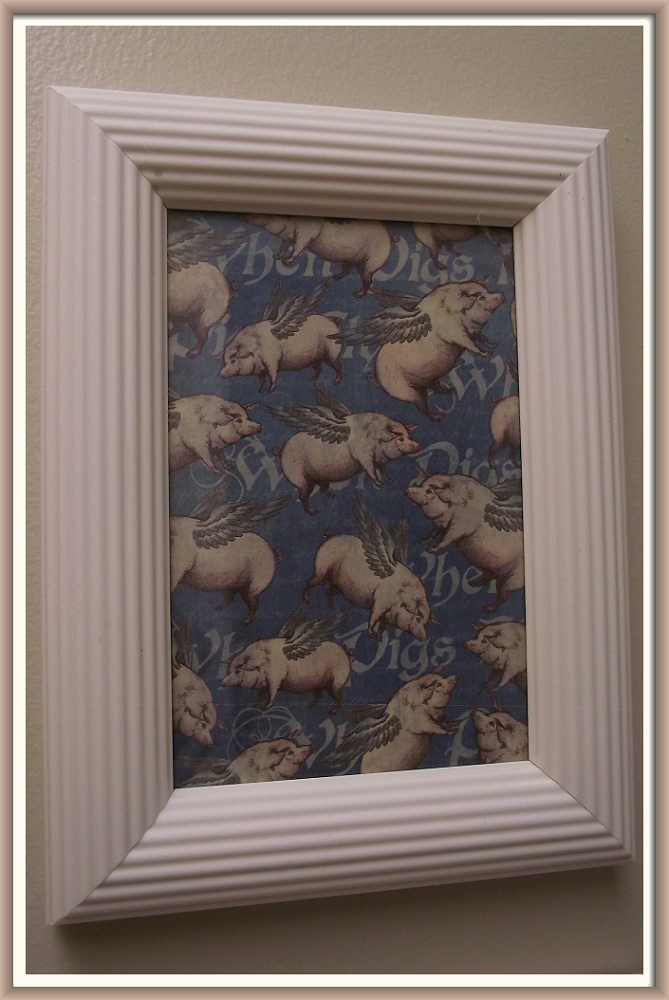
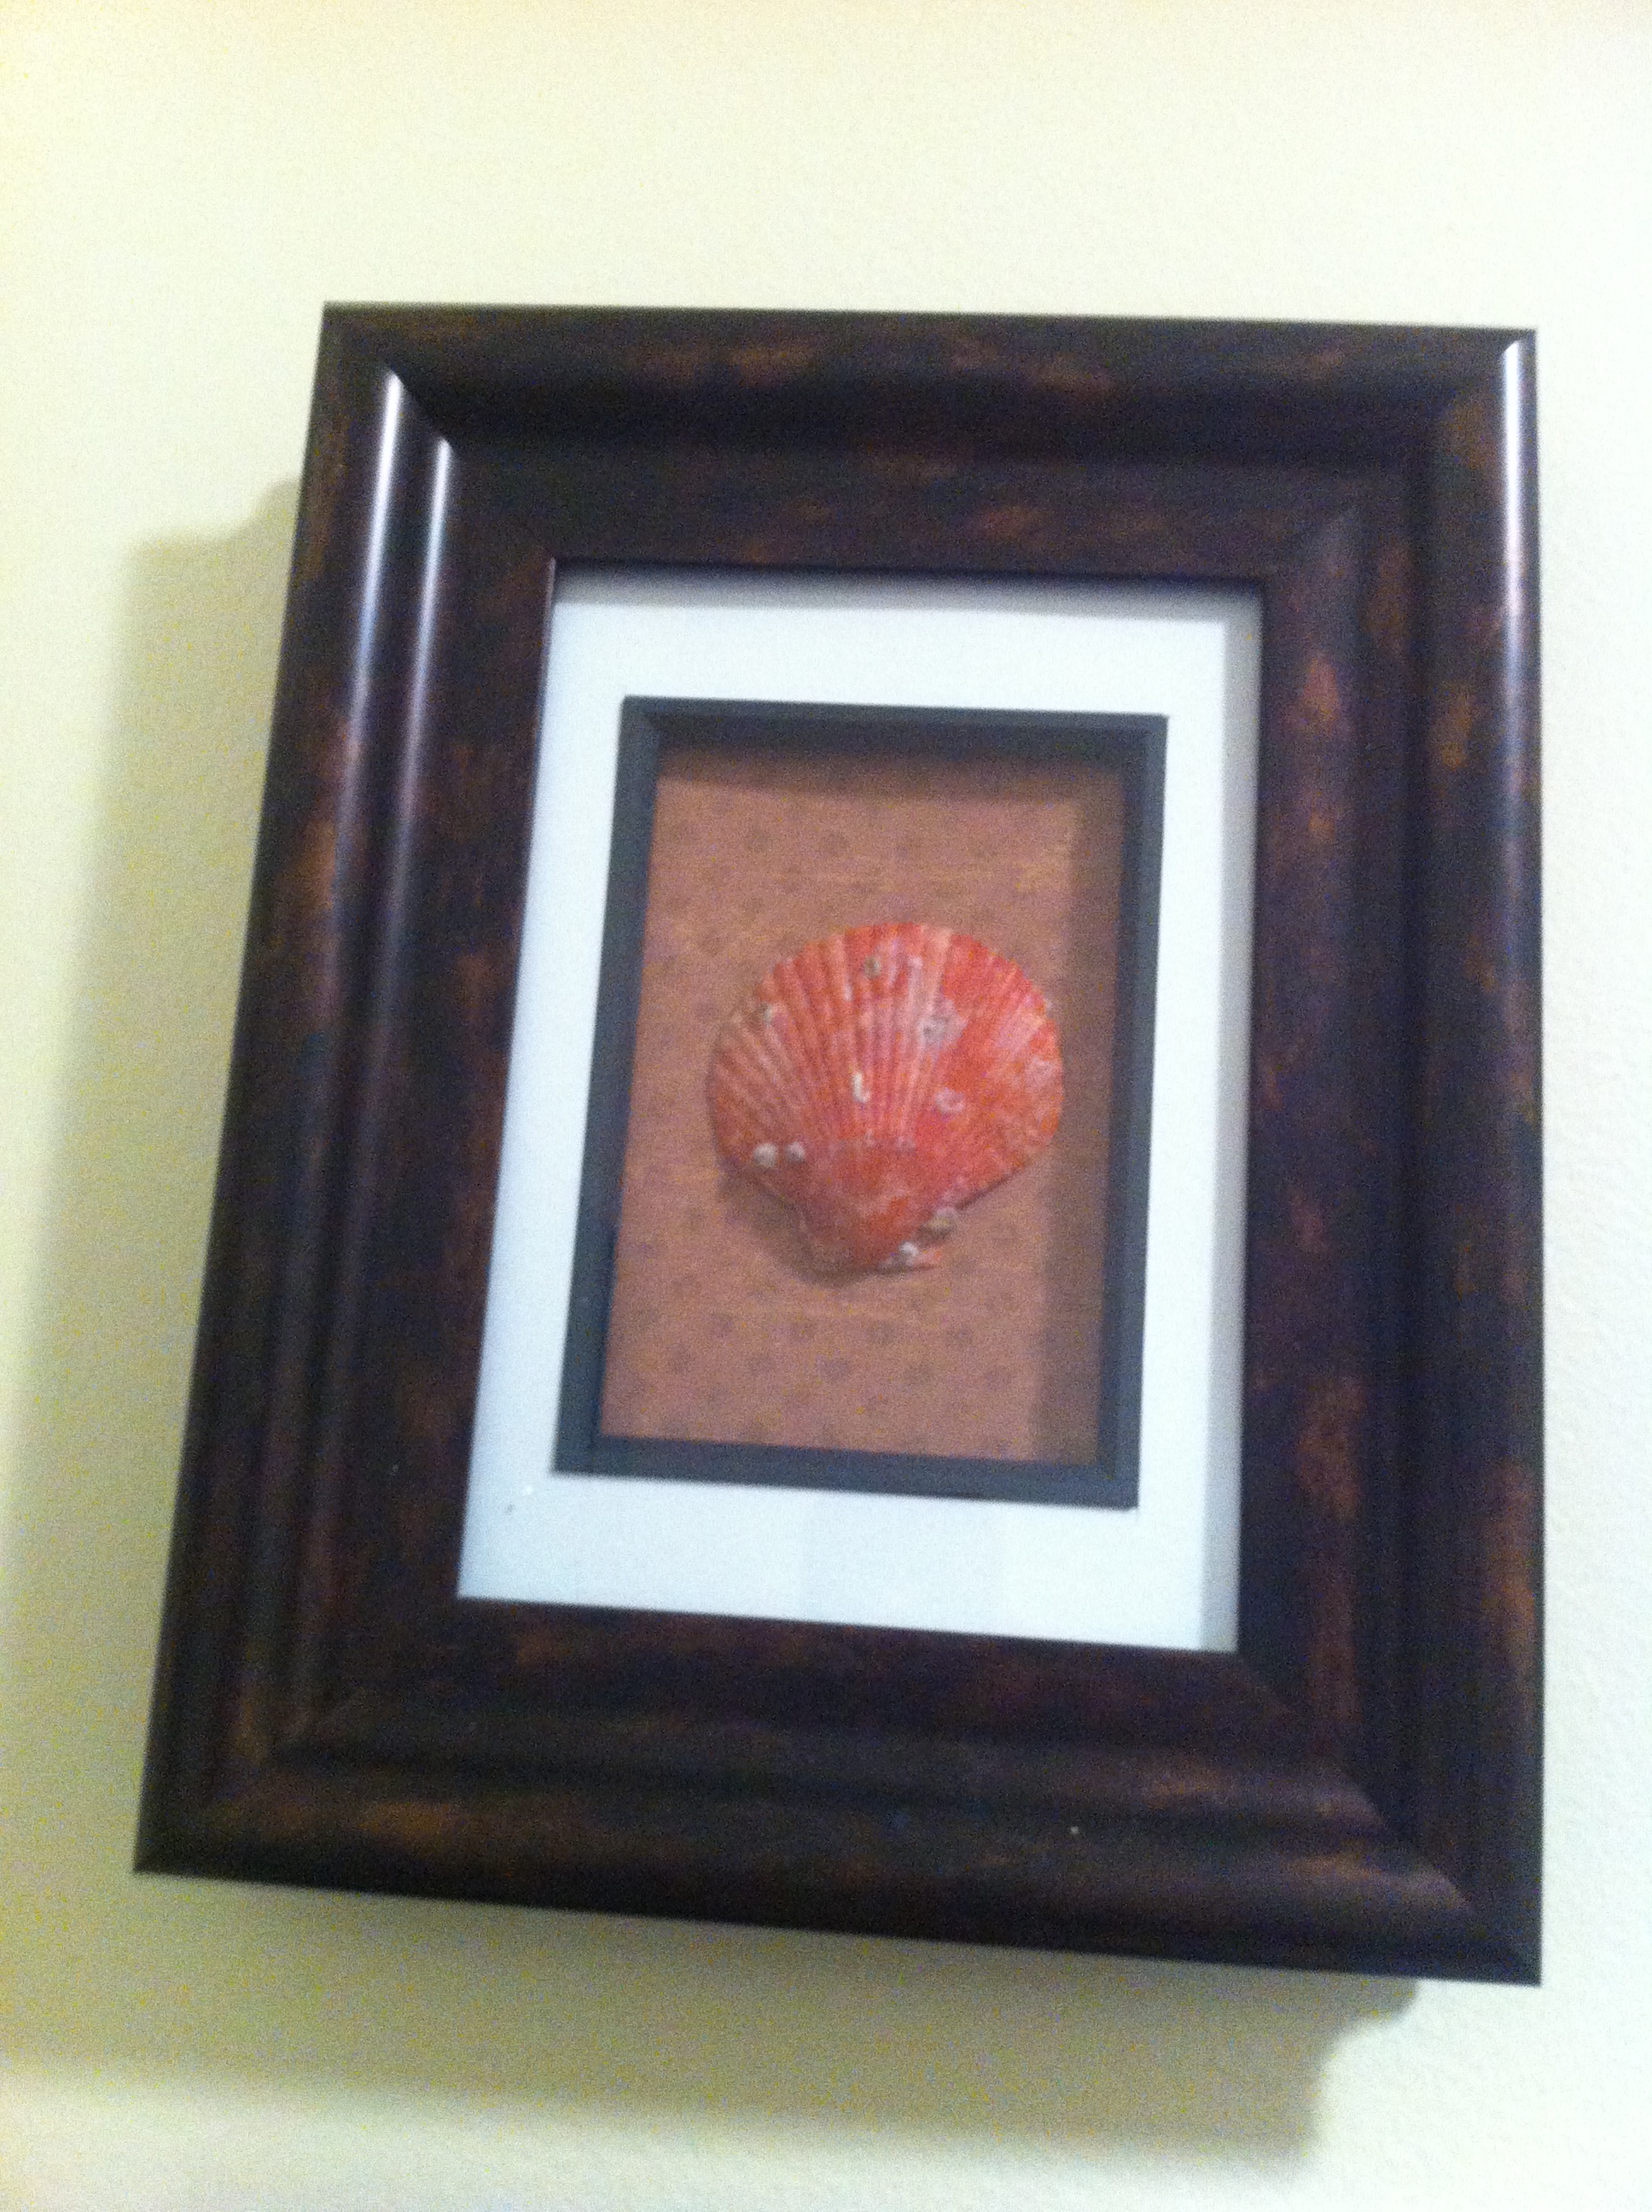
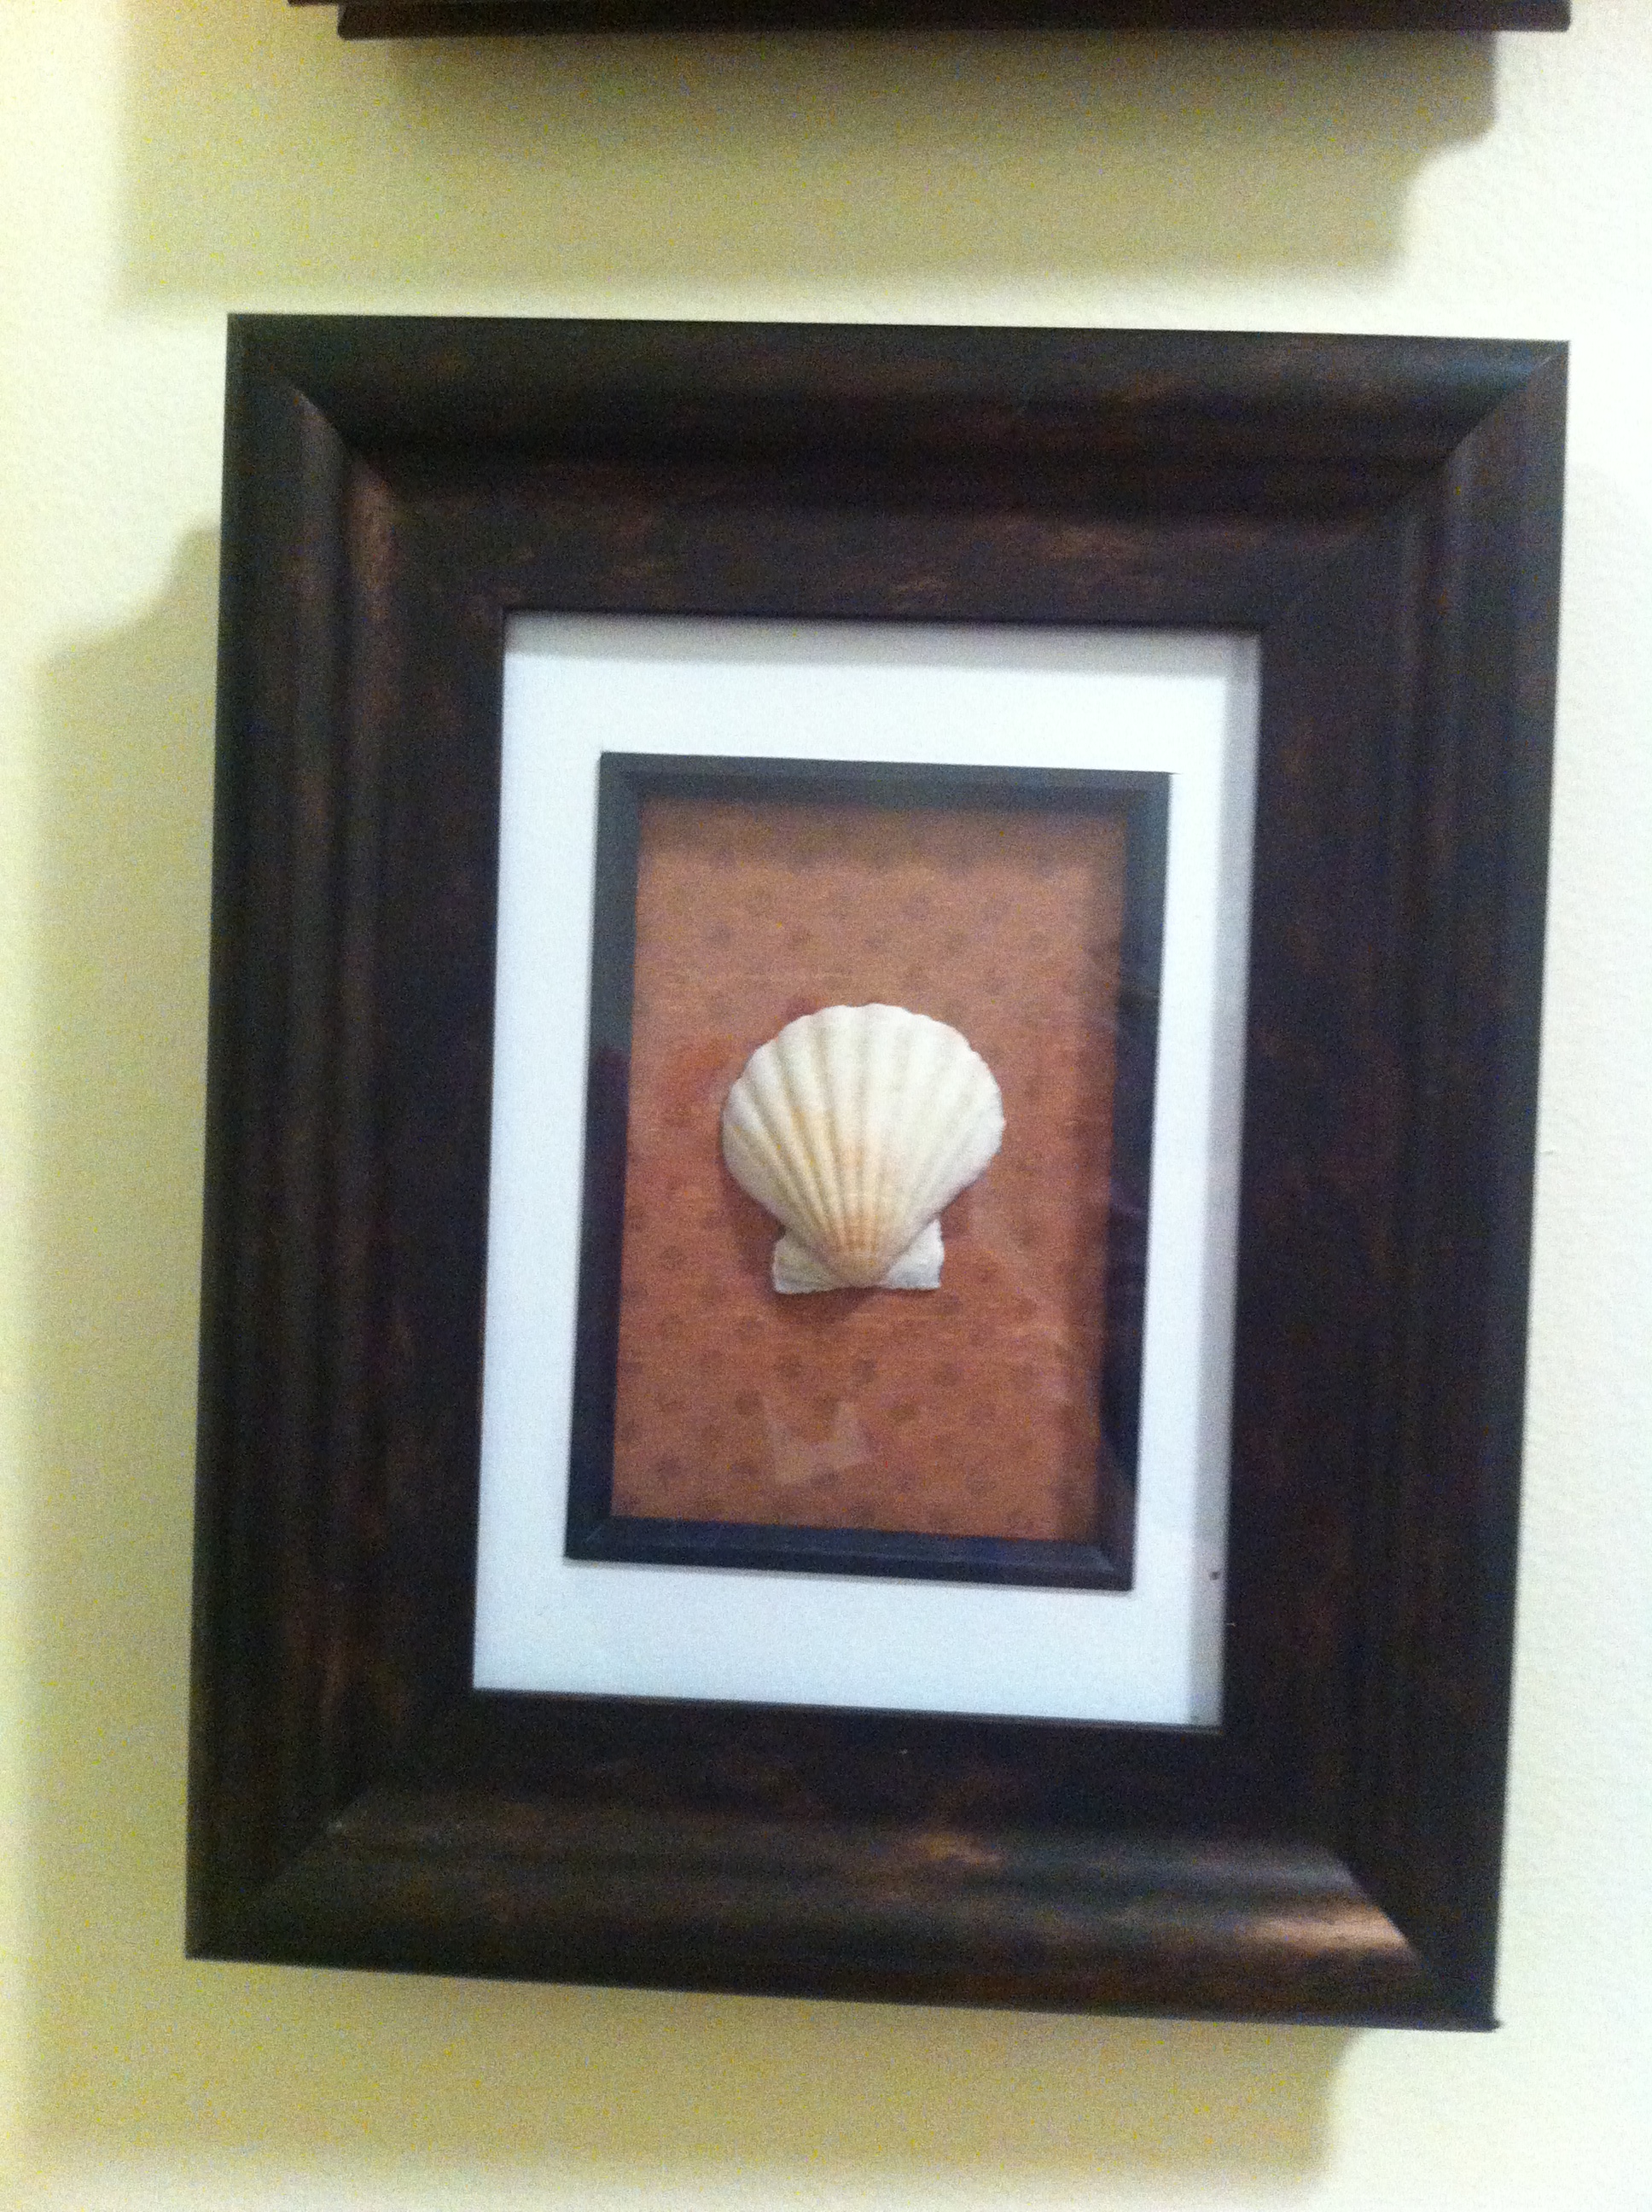
And last, but not least, a few decorative touches. I wanted to hang something pretty on the wall that would tie in with the vintage theme and match (or at least not clash with) my new medicine cabinet. Back to my stash of designer paper and down to the basement to find a couple of old frames. Flying pigs and a muted vintage floral pattern.
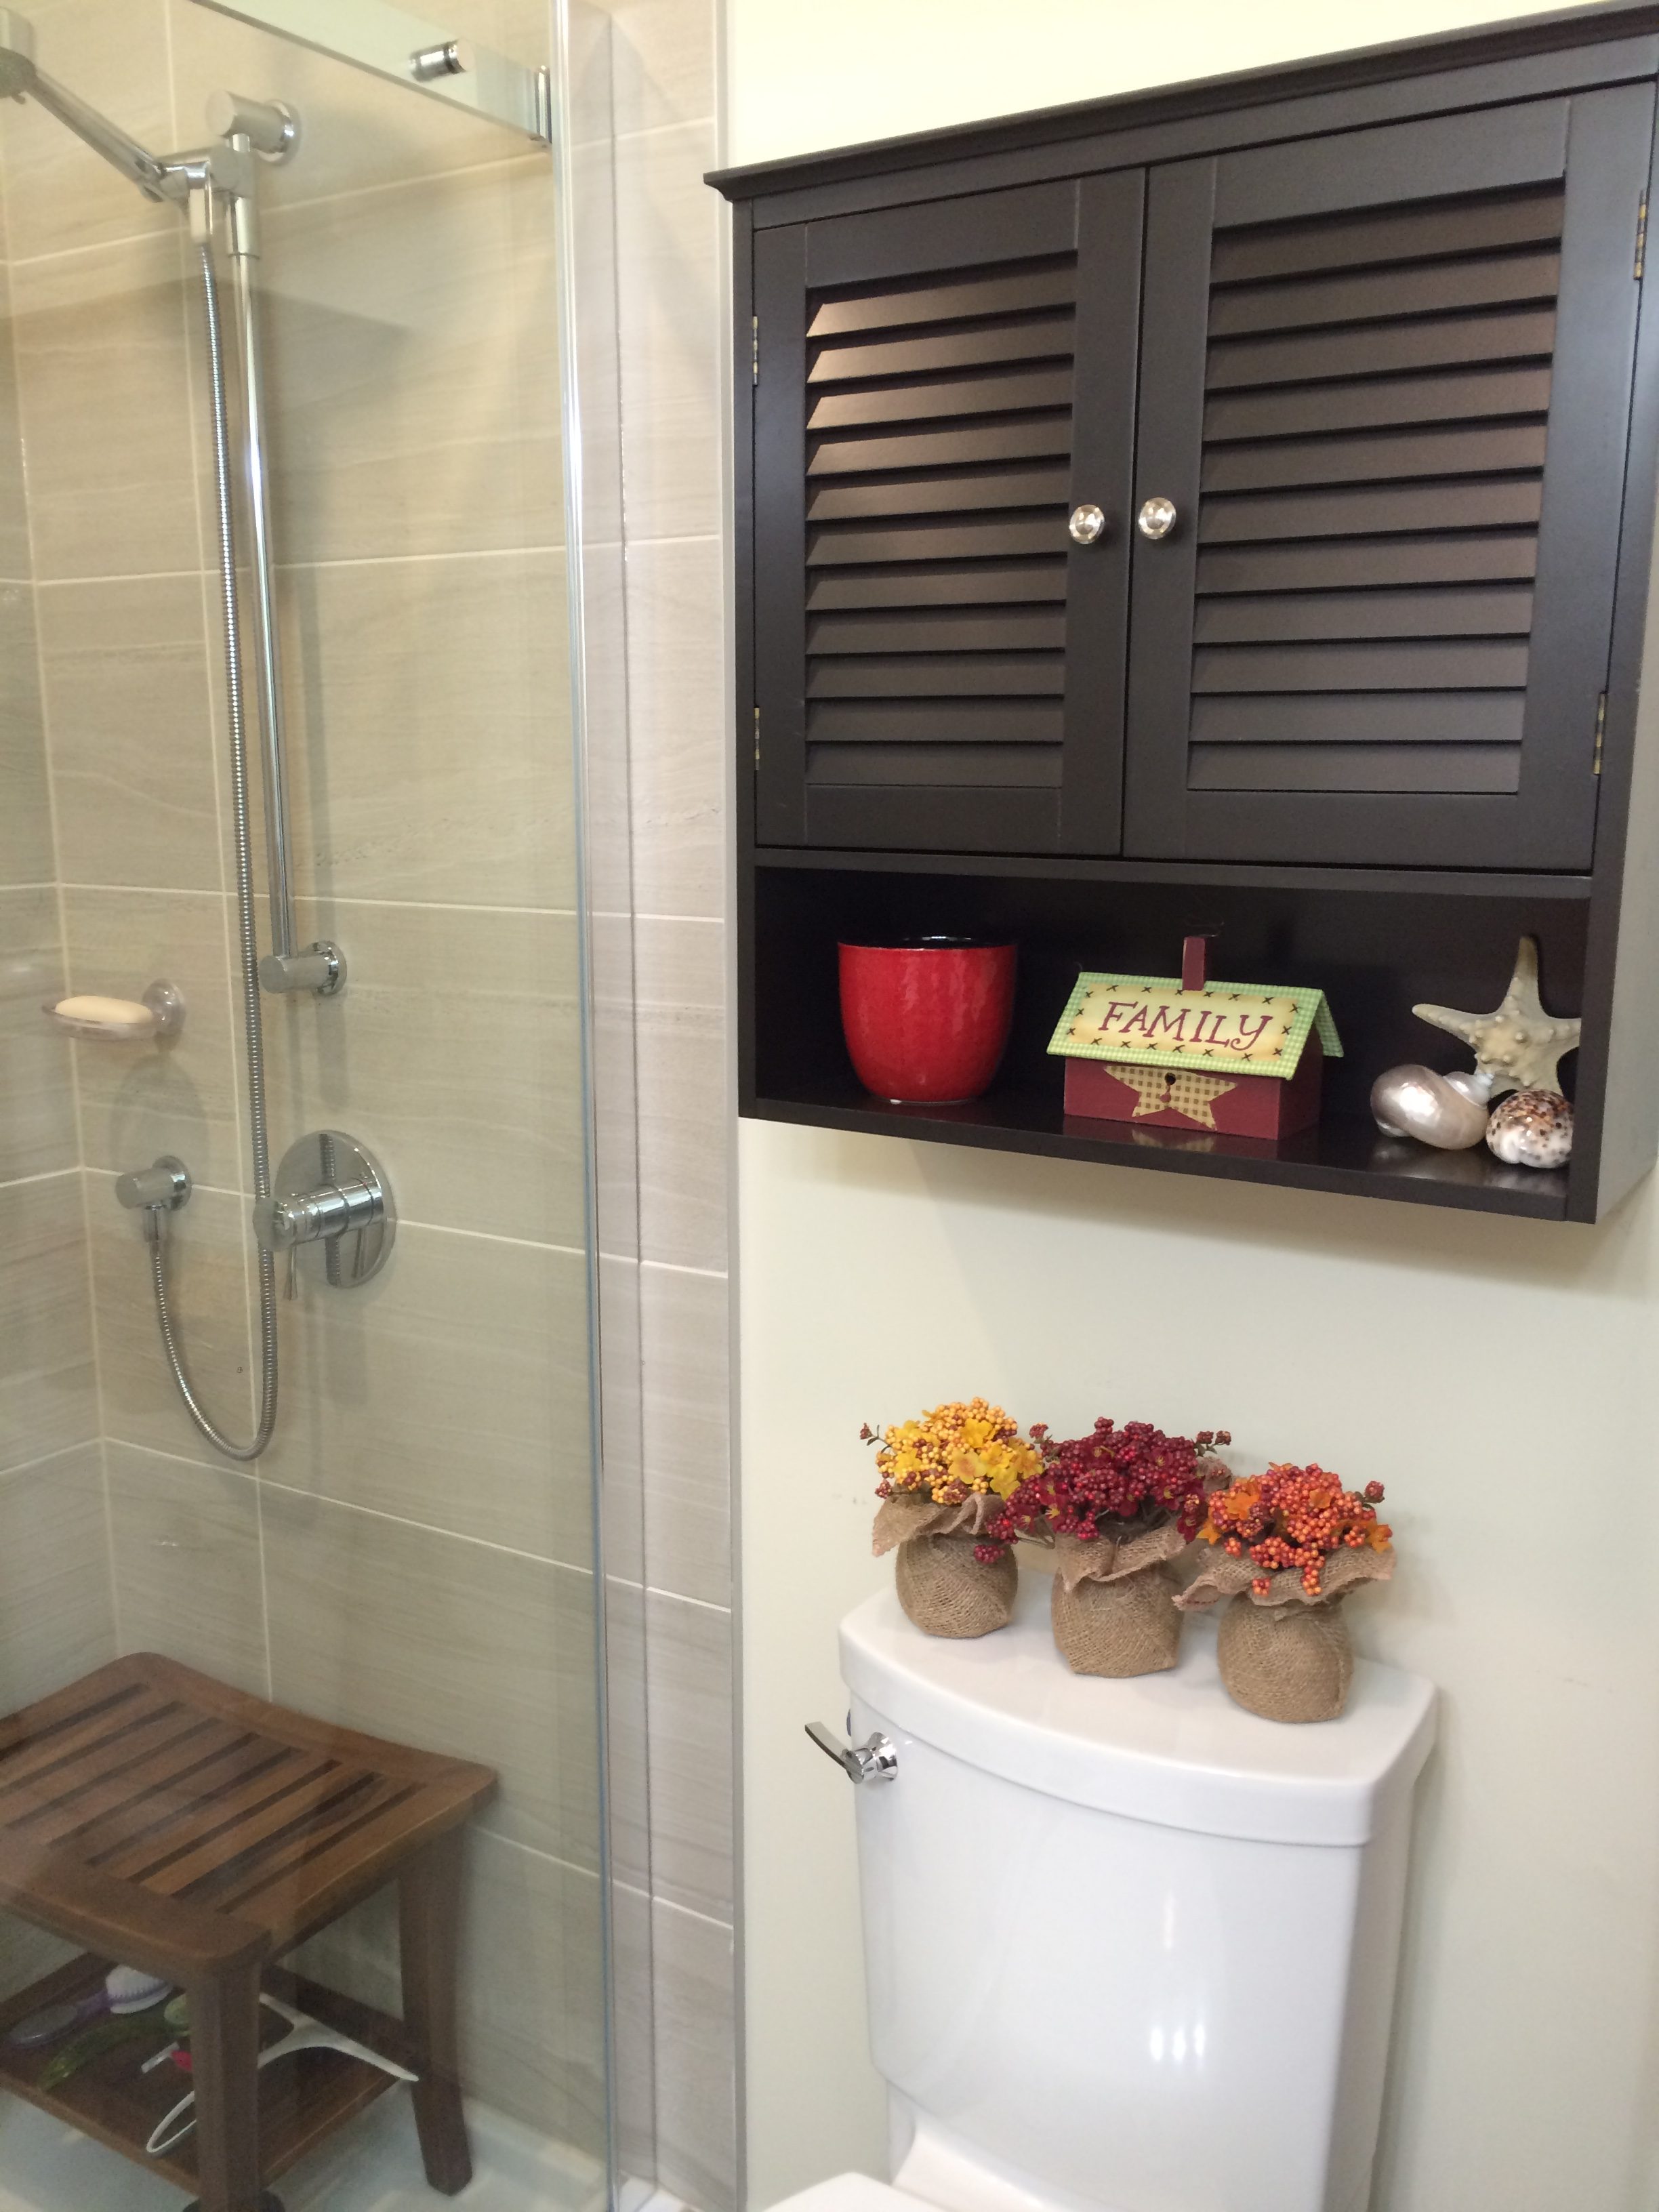
Here is the finished room. It’s so tiny that it was impossible to back away far enough to get everything into the photo. What do you think of the results?


Here’s a summary of my costs:
Paint: $0
Mirror: $0
Frames and pictures: $0
Medicine Cabinet: $25
Beadboard (2 sheets): $52
Baseboard (3 lengths): $15 (this did the both the floor and around the light fixture)
Curtains: $30
Other decor items: $0 (re-purposed from the old house)
Total room makeover cost: $122 + tax
I was hoping to do it for under $100, but I always plan at least 20 per cent for contingencies. And, I always need it! Oh, yes, and Peter just reminded that this project required three trips to Home Depot. He has a rule of thumb that every DIY project requires at least three trips to Home Depot!

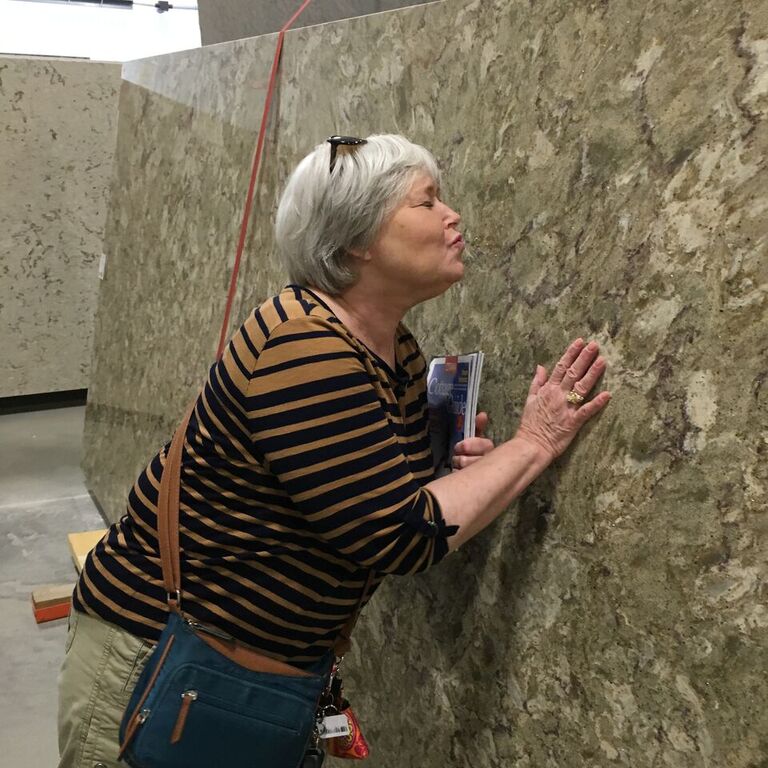
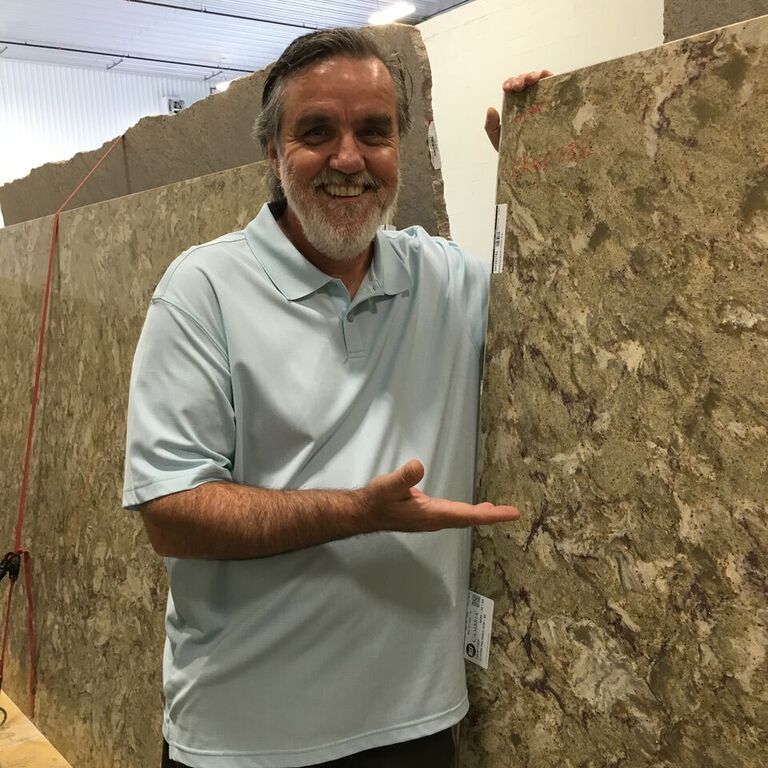
 When we moved into our 1972 bungalow in 2013, we knew we had lots of work ahead of us to make this drab house into our cozy home. We were determined to do as much of it as possible by ourselves and on a shoestring budget. That said, when it came to our kitchen and main bathroom, we simply didn’t have the time, tools or expertise to tackle a full reno. So, reluctantly, I blew the dust off of my piggy bank and hired a professional bathroom and kitchen renovation company. Goodbye shoestring budget. Goodbye savings.
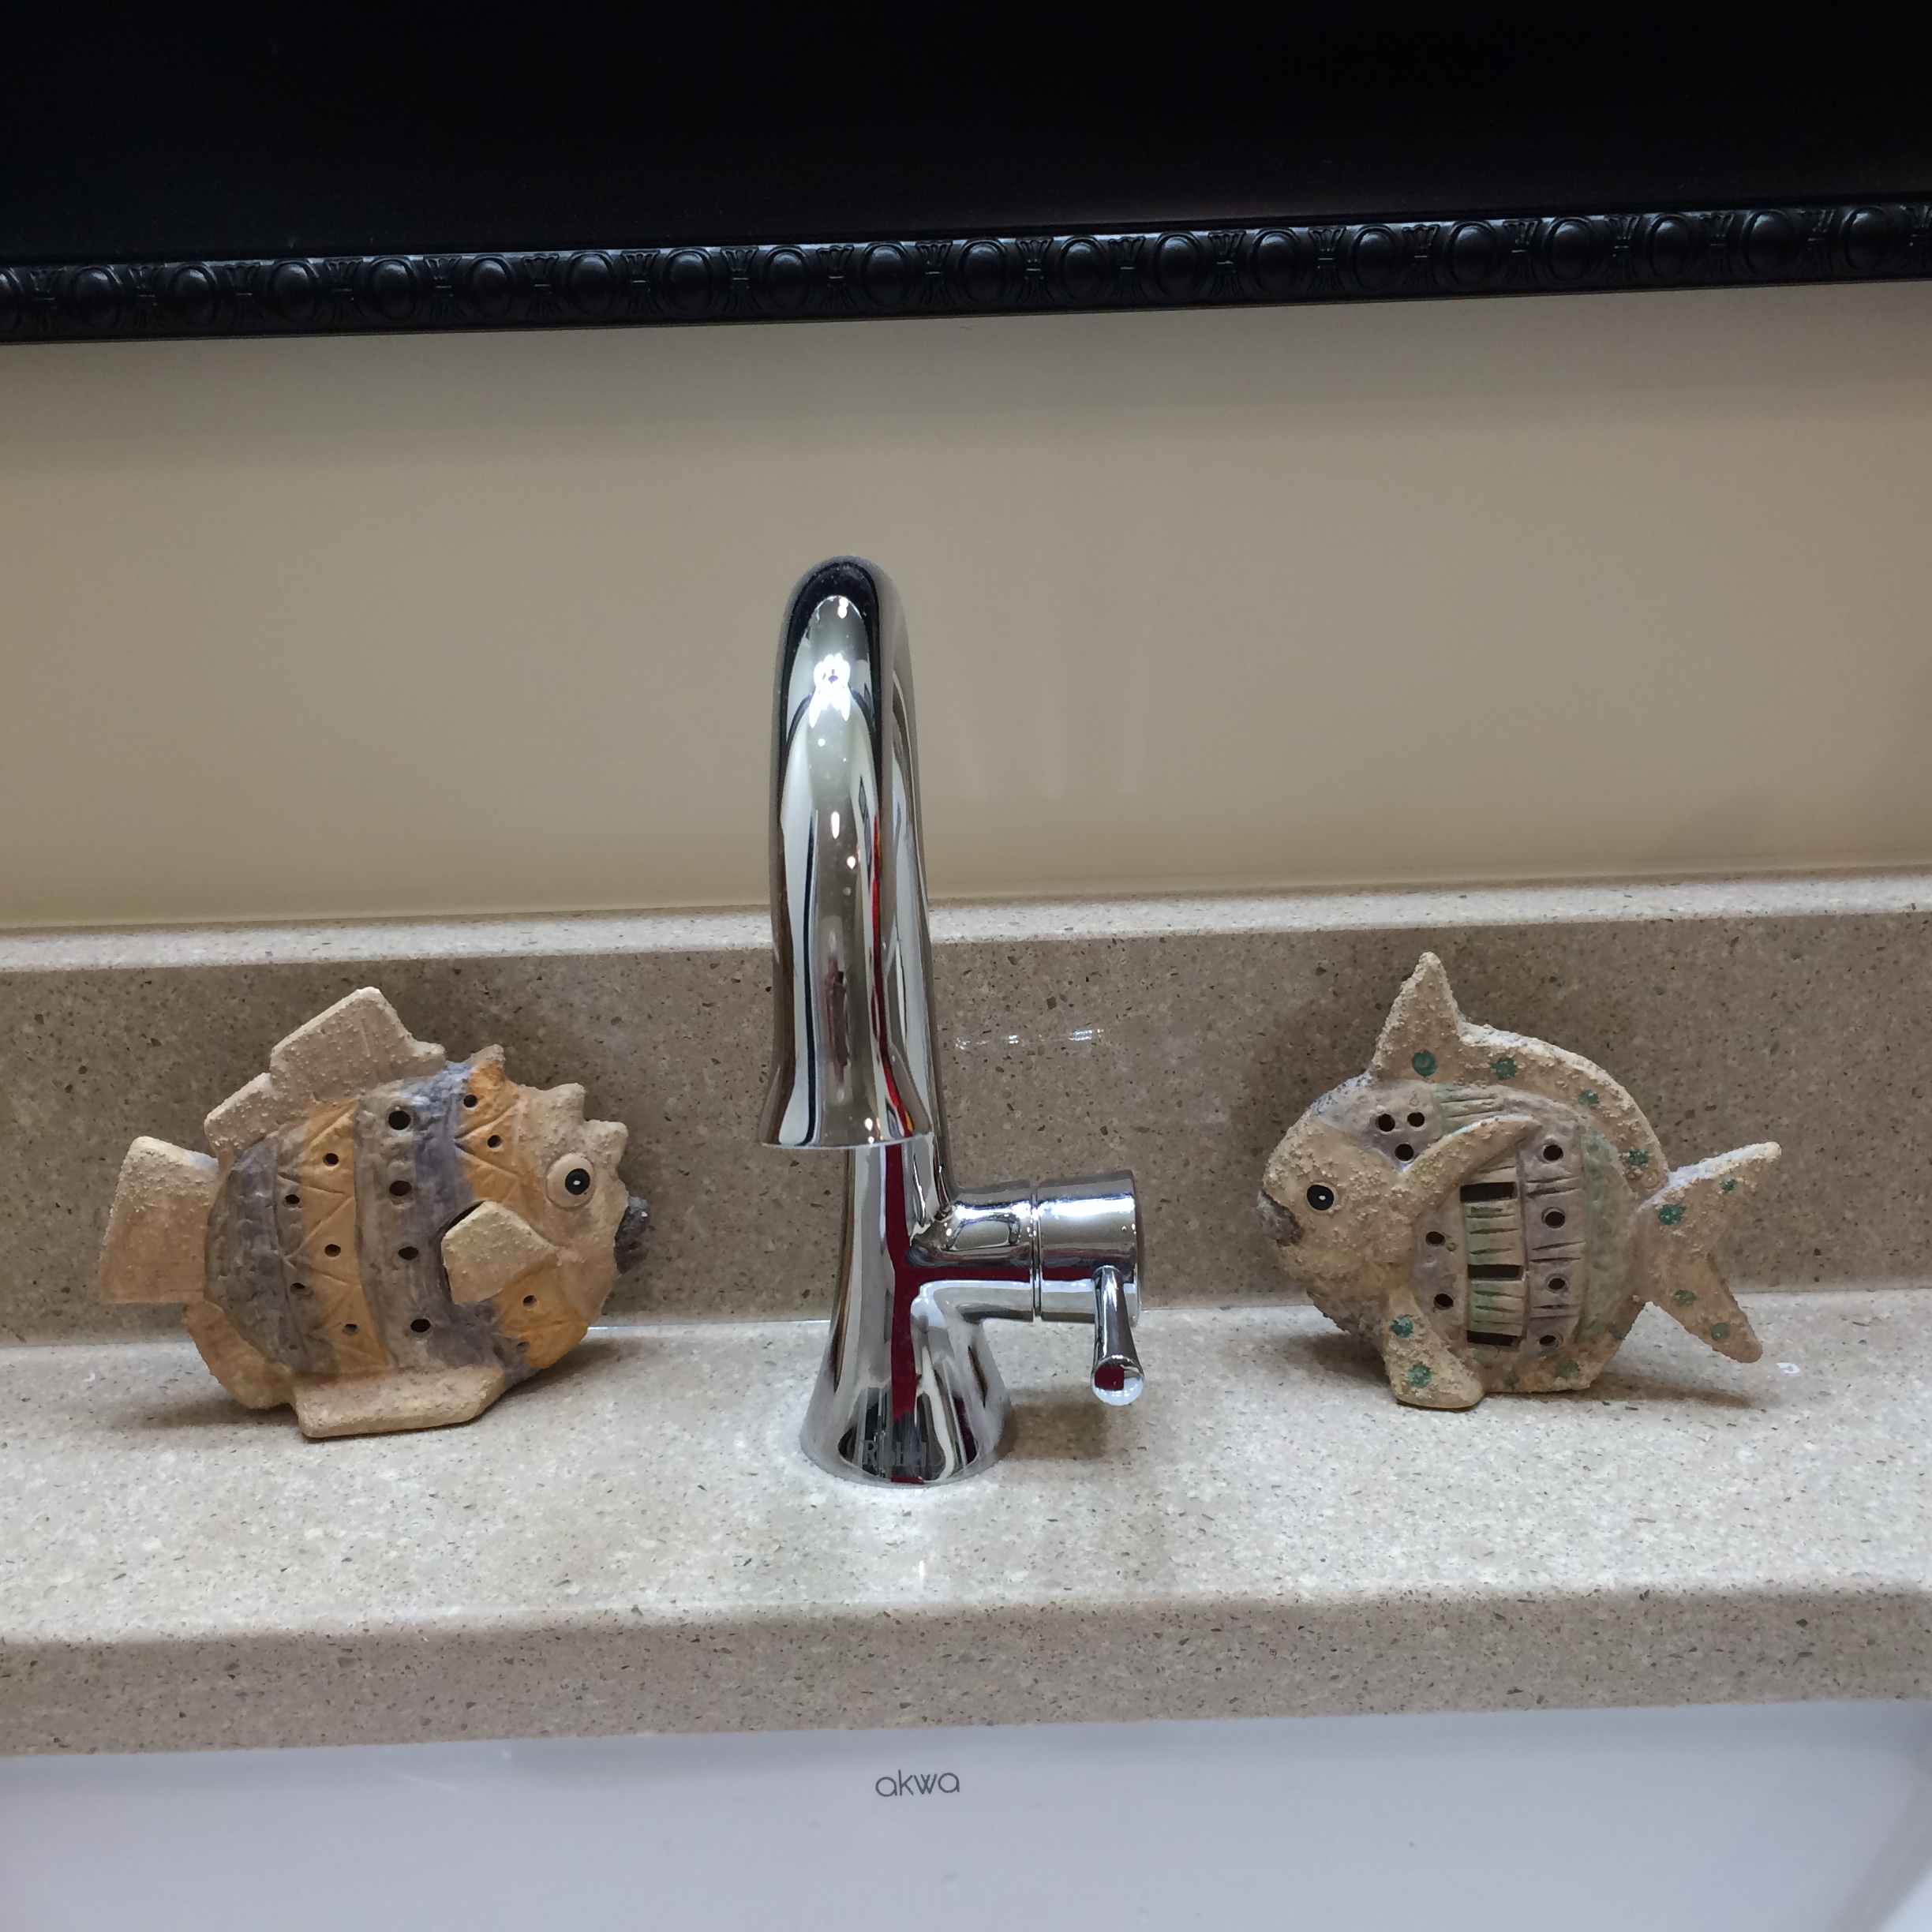
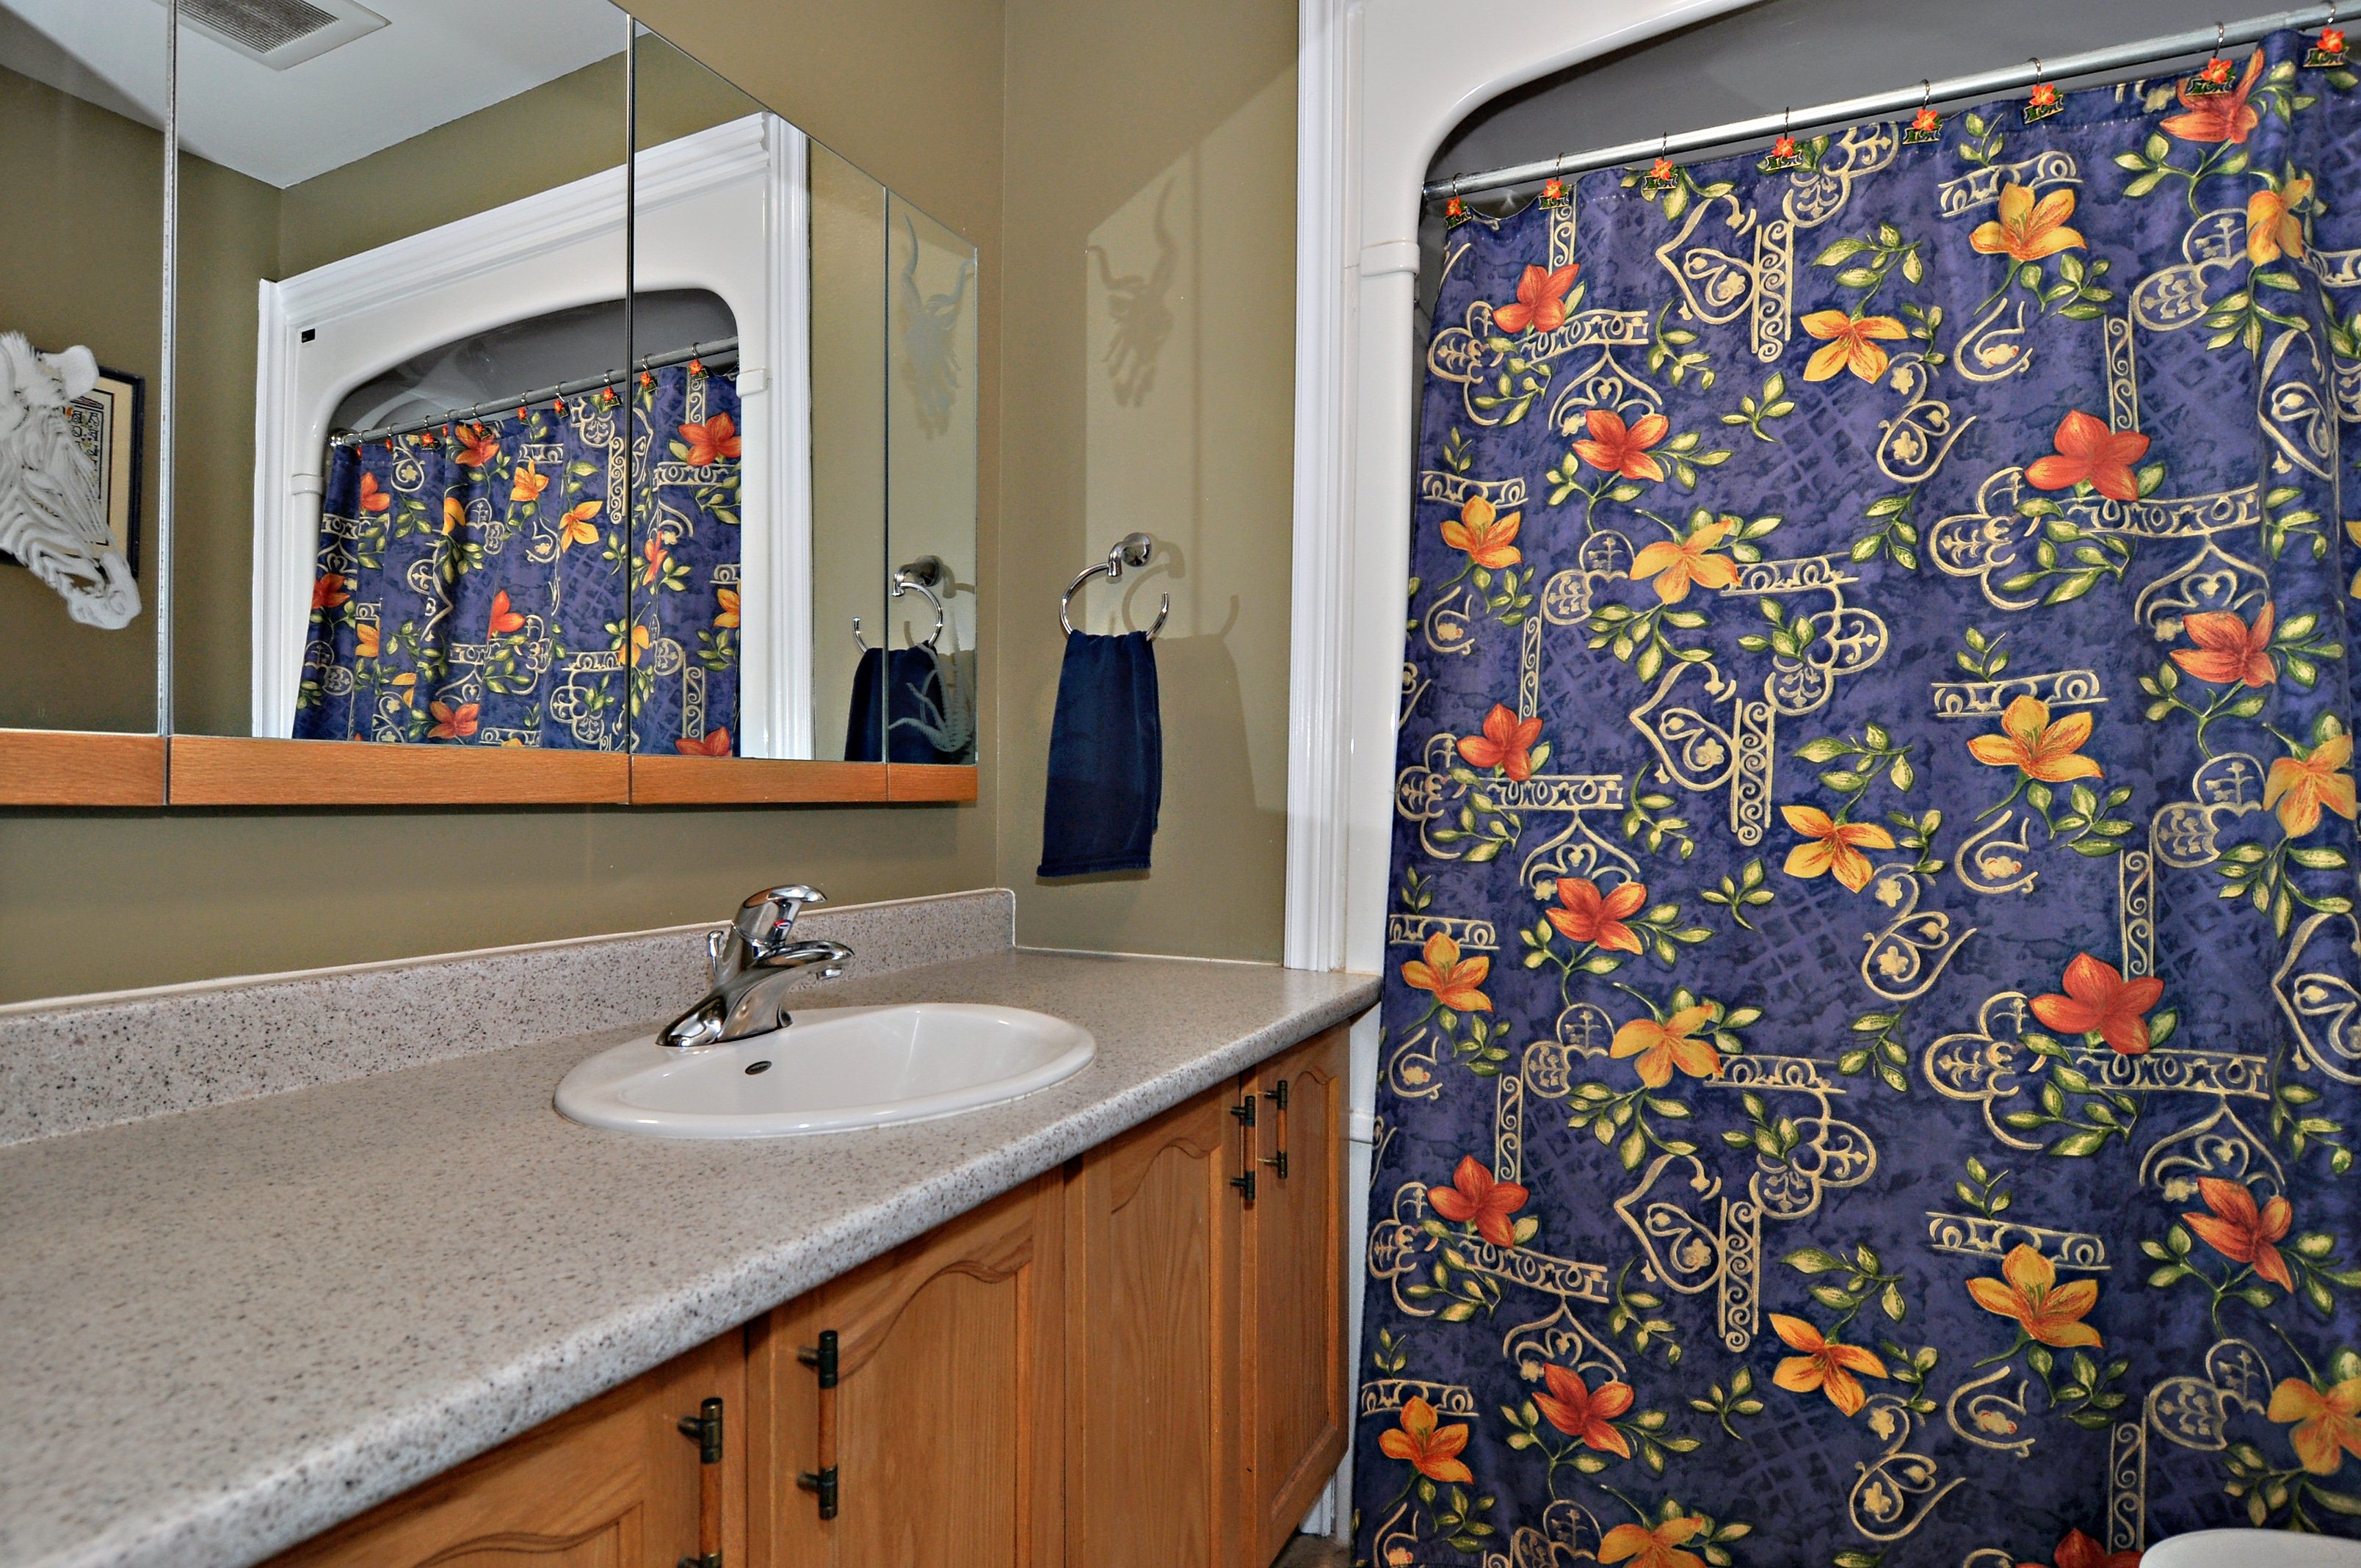 AFTER… Here is our new and improved bathroom.
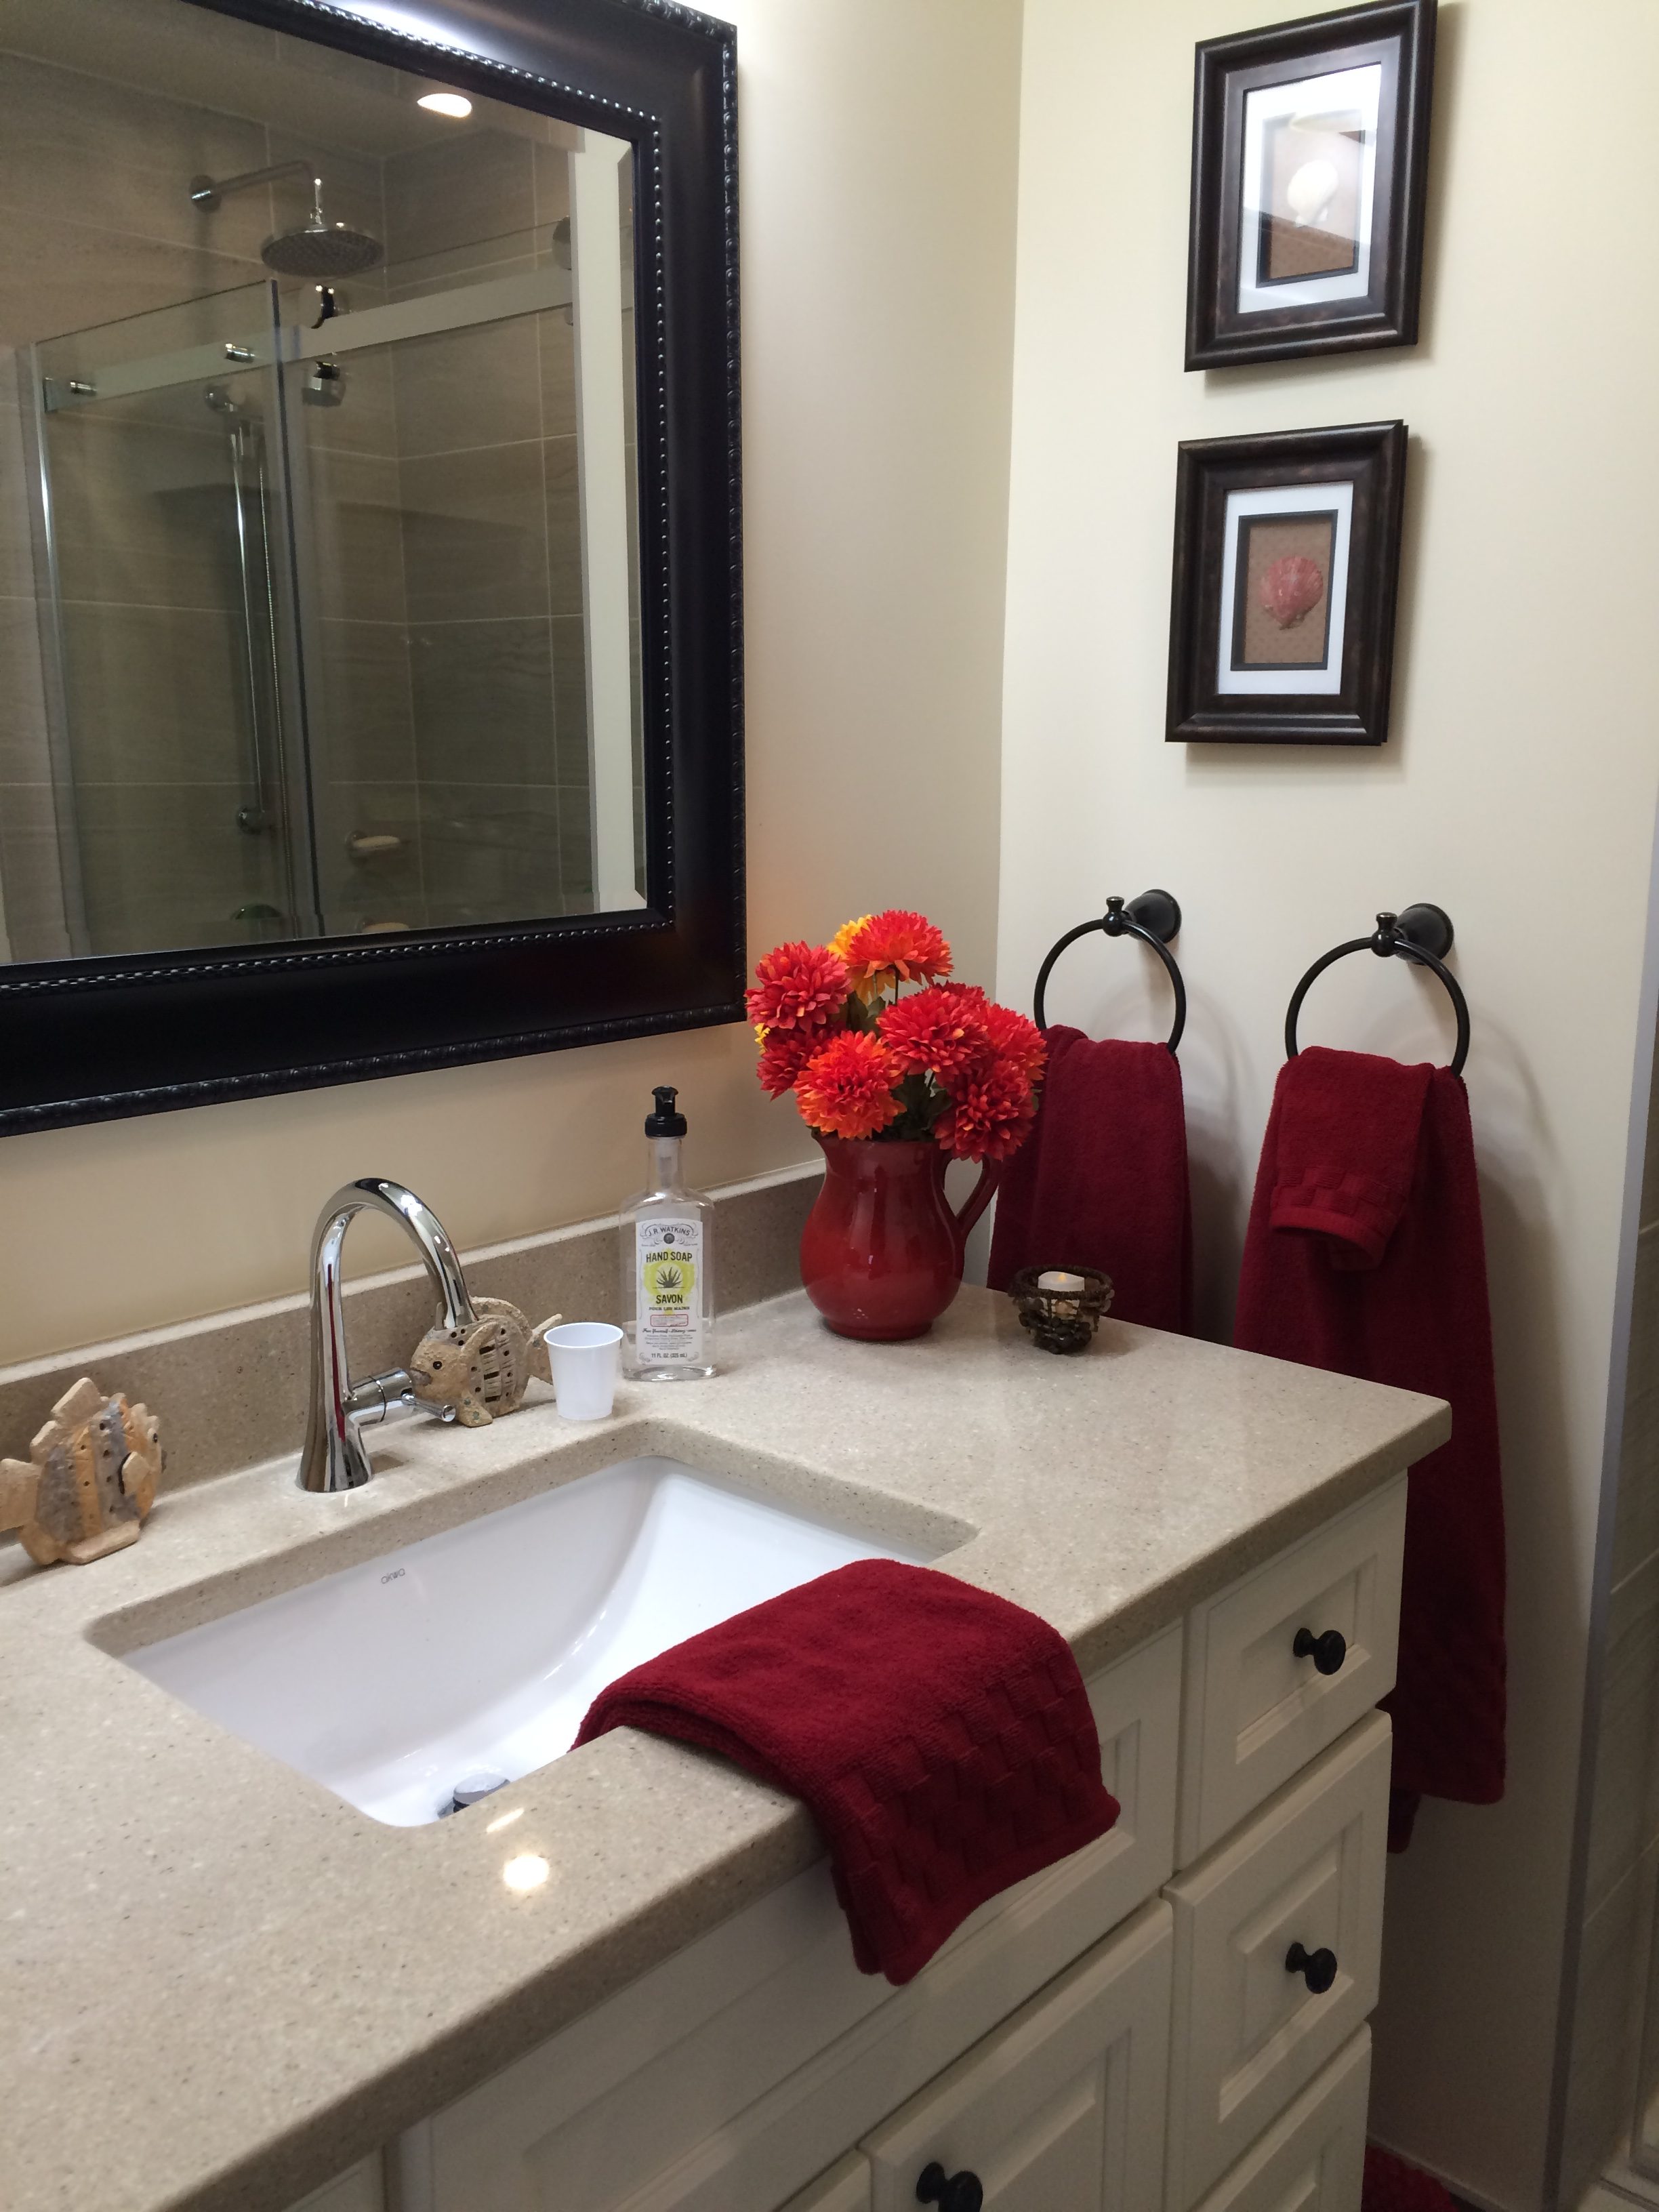


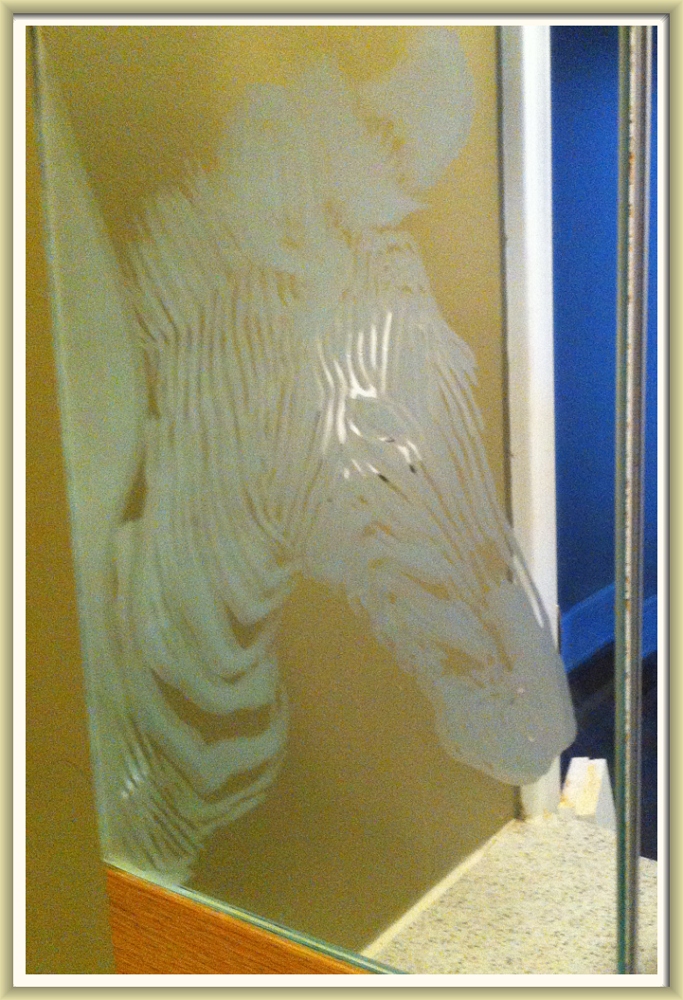
 And, these aren’t all of my etchings. There’s seaweed in one corner and a tropical fish in another. (They also etched masterpieces into the mirrors in the guest bathroom, too).