My little powder room

February 13, 2022

After nine years on my household “to-do” list, my little two-piece ensuite bathroom (4’x5′) finally got a makeover. Thanks to my amazingly talented son-in-law, Scott, who volunteered to do the whole reno. So, without further ado here are some photos:

I painted a couple of little pictures to add some colour.
A sweet little waterfall faucet.
A nice farmhouse light fixture.
I love my new patterned floor tiles. Peel-and-stick! The morning
sun shines right into the mirror, leaving me blinded, so I put
up some curtains. I chose a sheer fabric because it softens the
sunlight while still keeping the bathroom bright and cheery.

Thanks to Scott, I smile every time I walk into my little bathroom.

Our little arbor

December 13, 2020

I’ve wanted an arbor for such a long time and this summer we finally put one in our backyard. We added a few flagstones around it and planted some flowering shrubs on either side–three-season lilacs. I also planted some grapevines that will, hopefully, cover the arbor in beautiful shade-producing greenery.

Here’s Peter putting it together…with my help, of course!

Well, someone had to test it out.

We built our arbor on the back deck and then we moved it into its permanent location at the back of the yard.

It looks so pretty and it was just what we needed in front of the bare spot in the hedge.

Sometimes I sit there and just take in the beauty of summer.

The summer of 2020 was sweltering and the grapevines struggled to hang on. It was also the summer of the great pandemic, COVID-19. I believe that next summer will be the best summer, ever! Dontcha think?

Relax and unwind, you’re on patio time!

Our very talented niece, Renée, and her husband, Félix, created two beautiful signs for our deck planters. My husband, Peter, came up with the slogan. I think they look great!

First, the wood is burned to preserve it and then the text is carved out. I added a coat of Varathane for further protection and Peter put them up with his trusty drill. And, now, it’s time to relax and unwind, it’s patio time!

Summertime, and the living is easy

I’ve been so busy with gardening and other outdoor work (like sitting in the gazebo with a good book) that I haven’t had time to do much blogging. So, here’s an update on our yard…it’s starting to take shape, finally. When we moved in here in January of 2013, the entire property was hidden under snow, so we had no idea what we’d find come spring. Well, spring came, and it wasn’t pretty. But, enough about that. Here’ what we’ve created over the past few years…a new deck, gazebo, flower beds, plants and shrubs, outdoor lighting…

When we cleaned out the garden shed we found this old baker’s rack. I spray painted the metal part a nice shiny black, added new boards for the shelf and popped some plants onto it. It sits on the deck, right outside our back door. Everything old is new, again!


Our new planter boxes. This photo was taken in May…you should see them now! The boxes are overflowing with blooms.

The gazebo at night is so pretty with the lights in it.

The big old stump from a giant Norway pine that we had to cut down. Peter hollowed out the centre and I planted some flowers in and around it. It’s so pretty now.

Our pretty garden shed.

Peter showing off his big-man muscles.

I found the metal base of our birdbath in a neighbour’s trash one day when I was out for a walk. I lugged it home and painted it black. Peter added a board to the top of the post which I then painted in teal to match the birdbath. I put a few rocks in so the butterflies can land on them and have a drink, too.

I just love this birdbath.
So many hostas!

Yep, more hostas…and there are lots more, too!

While every garden has weeds, have you ever seen a dandelion this big? I found it way underneath our Silverleaf Dogwood. What a monster!

I could go on and on about our backyard, but I think you get the idea, right? Anyway, we feel very blessed to have a yard that we can enjoy and relax in.

Happy gardening to you!

Fireplace Makeover 2

March 31, 2019

When we bought our 1972 ranch style bungalow back in January 2013, it had a dark and dreary red brick fireplace. We hated it.

So, in 2016, we painted it white. Well, that really brightened things up, But, it was just so white.

Today, we gave up our Sunday naps, got out our paint brushes and took another crack at it. We think it looks much warmer and cozier.

And, now, we turn the page and go on to our next little project.


Thanks so much for dropping in. I hope you’ll stop by, again!

Still working on our backyard…

Unless you can afford to hire professional landscapers and pay them big bucks to do all your landscaping at once, the other option is to do-it-yourself, year by year.

Well, let me tell you, it’s a big job and it’s not cheap. But, every spring we have added, subtracted and changed our outdoor property to get it looking pretty and inviting. And, we still have lots more to do. But, hey, it keeps us busy and it’s great watching our work take effect as the season goes on.

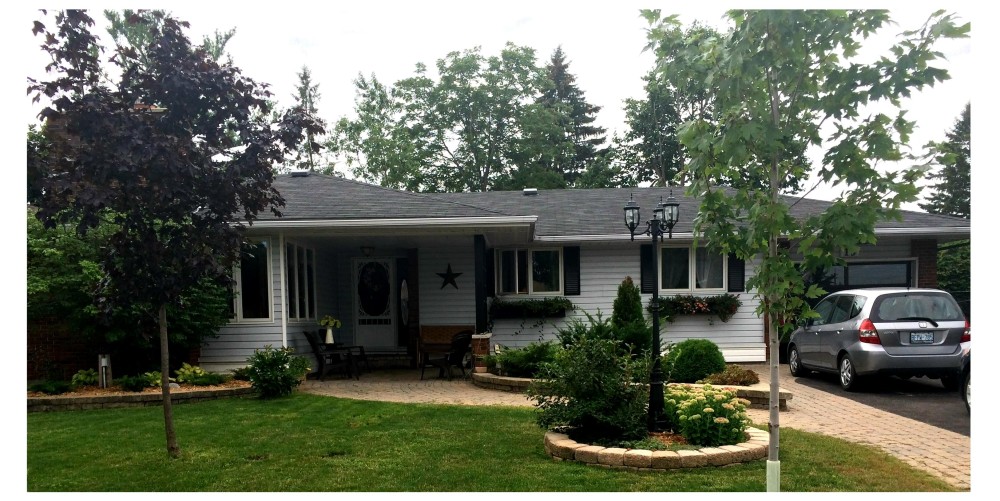
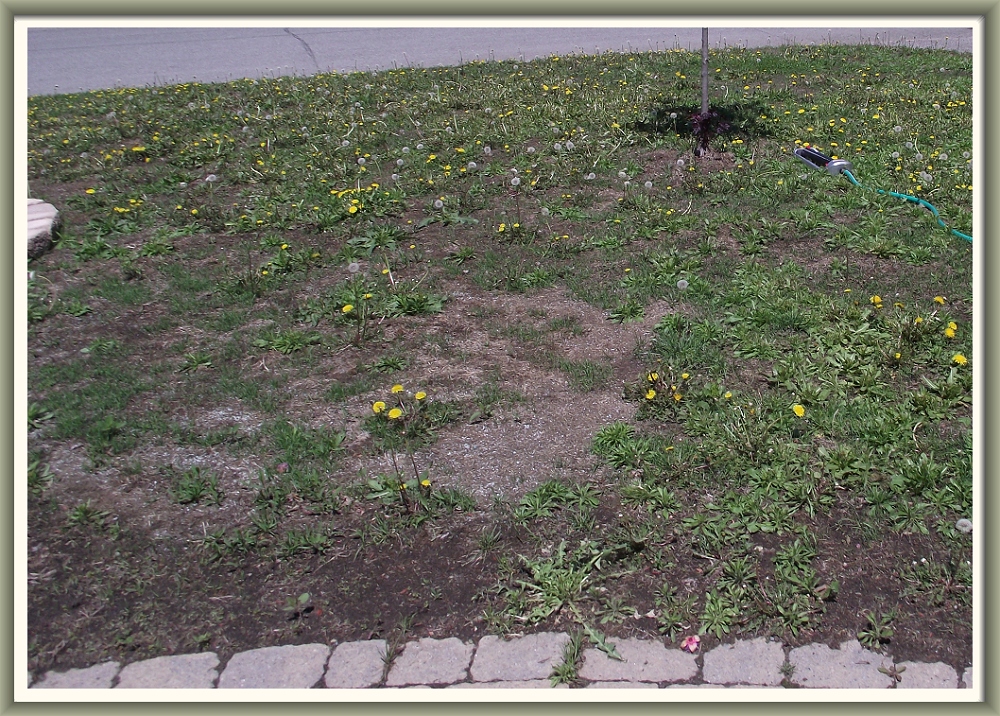
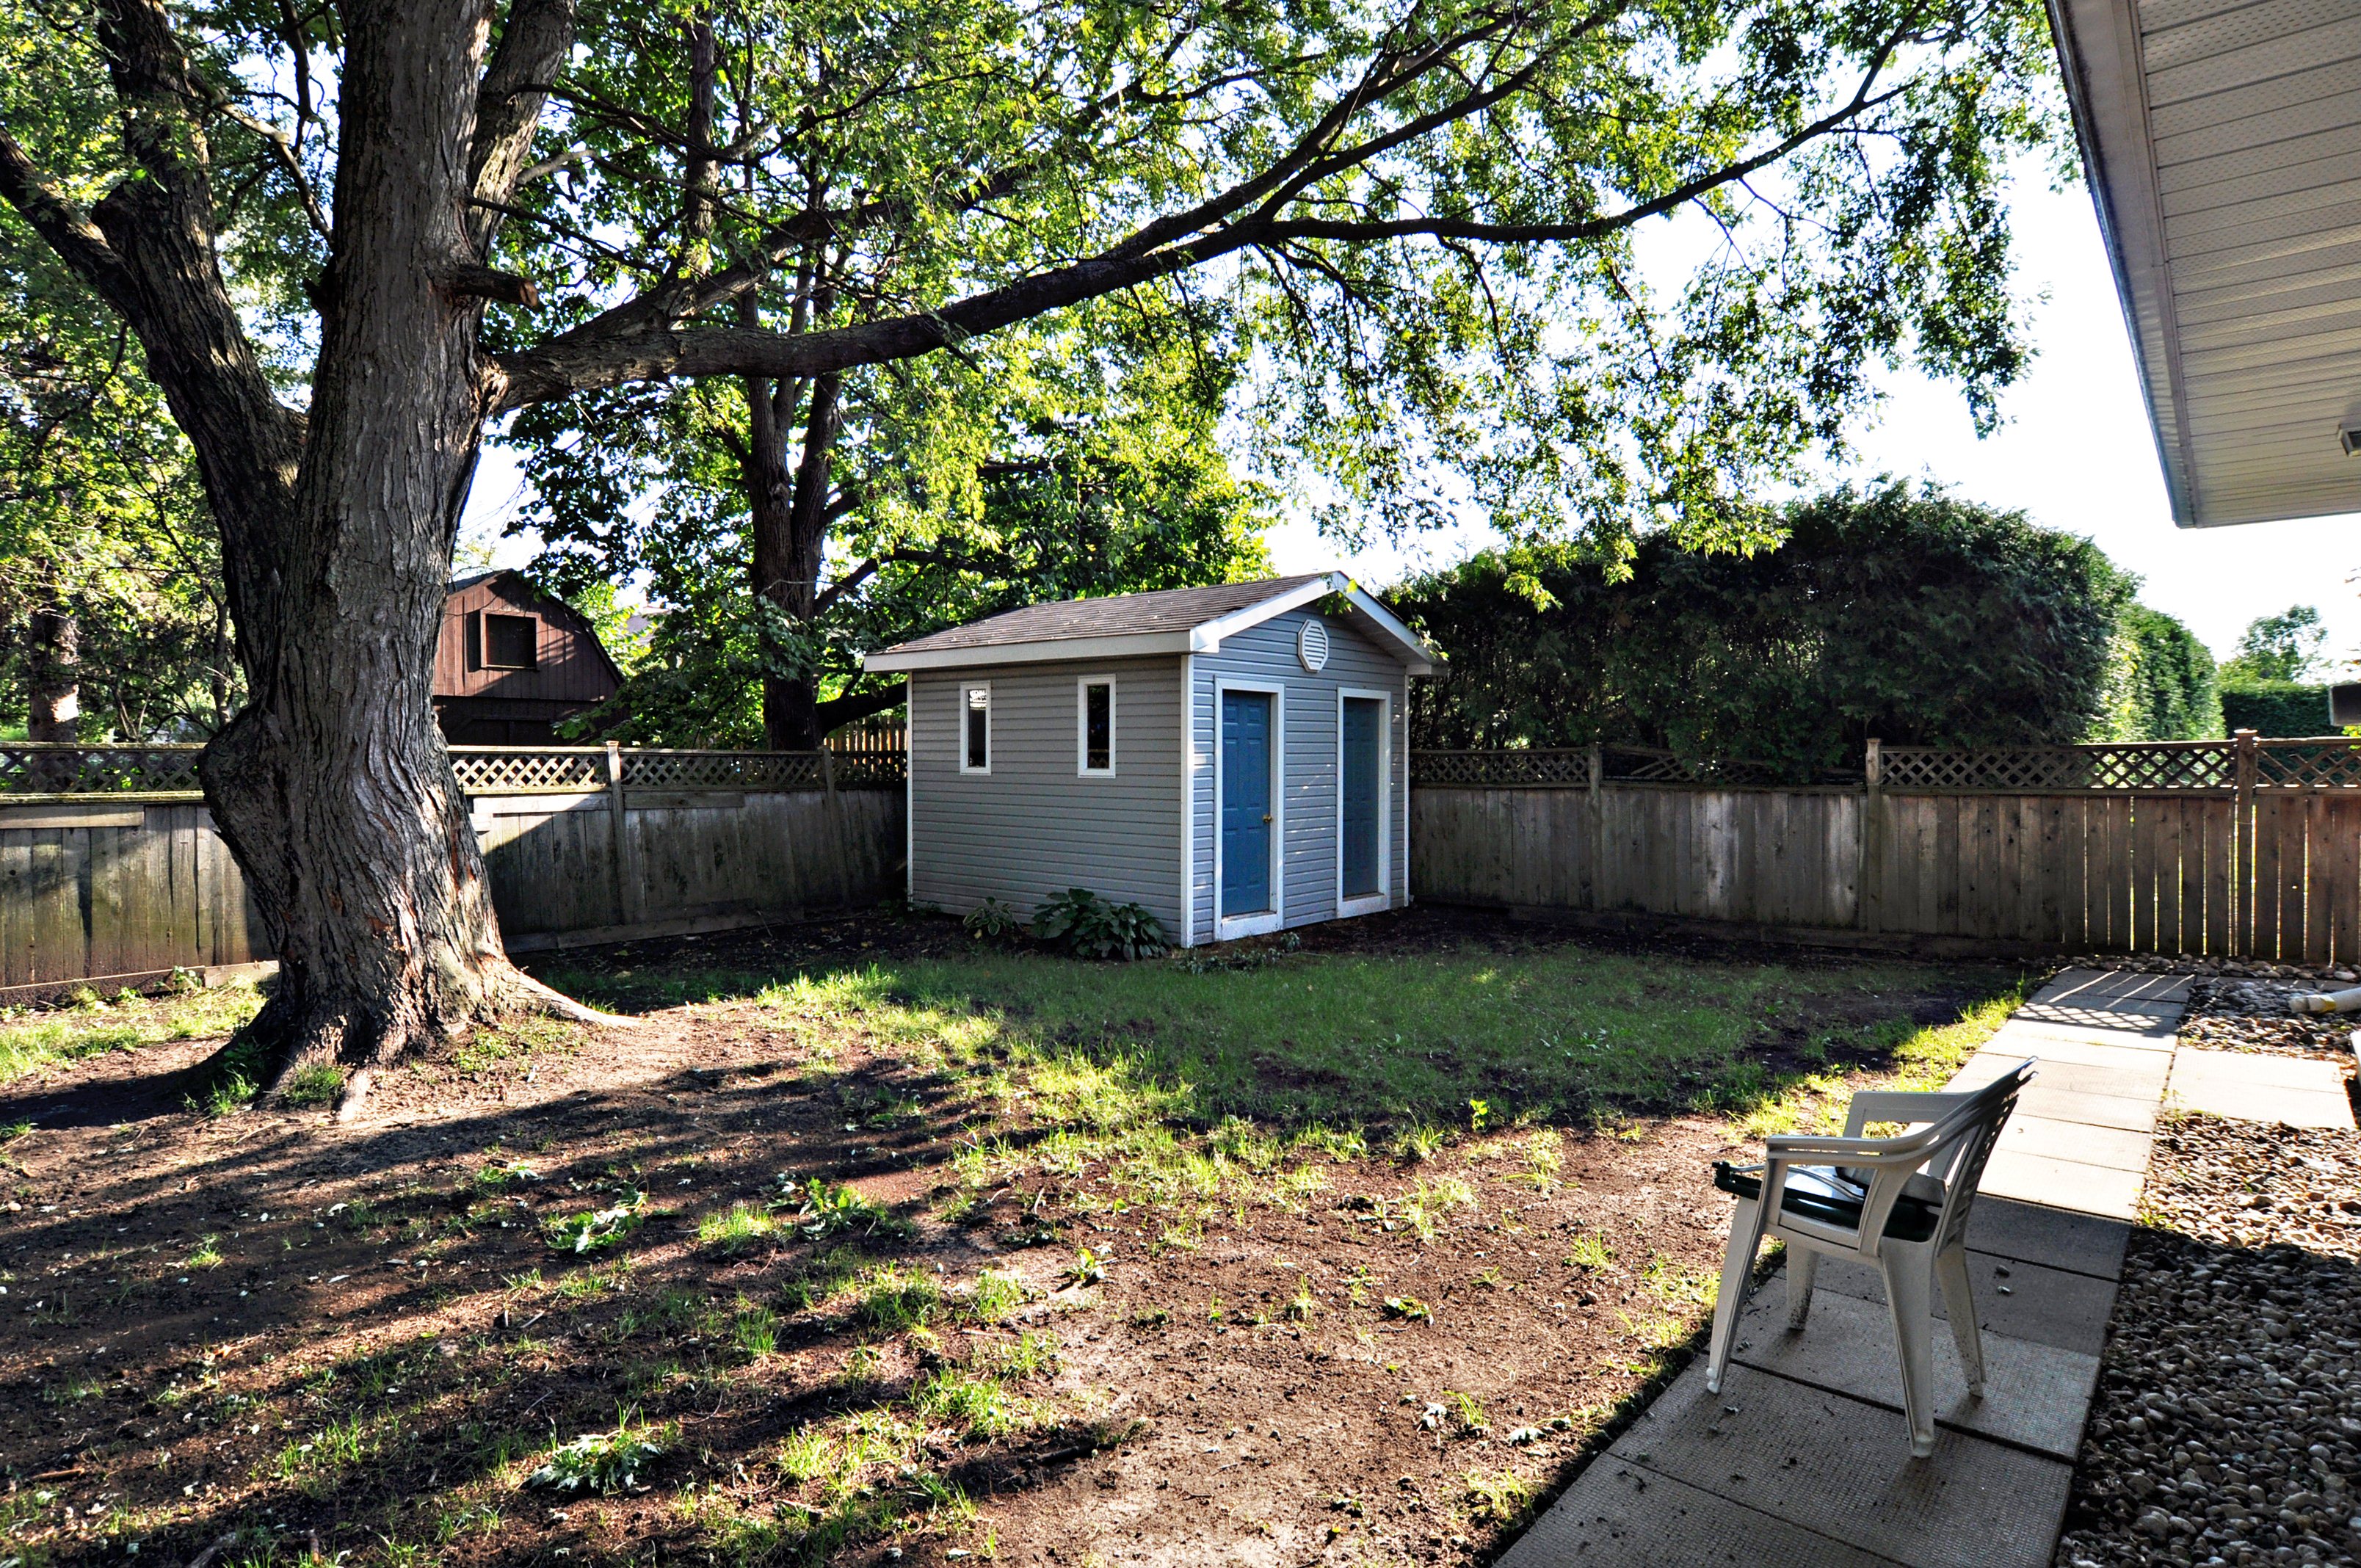
It all started with a big, old, ugly and rotten tree in the middle of our backyard. We had that cut down in 2013, our first summer in this old 1972 ranch style house. There was no grass anywhere on the property. Ugh!! Here’s are a few photos from 2013.

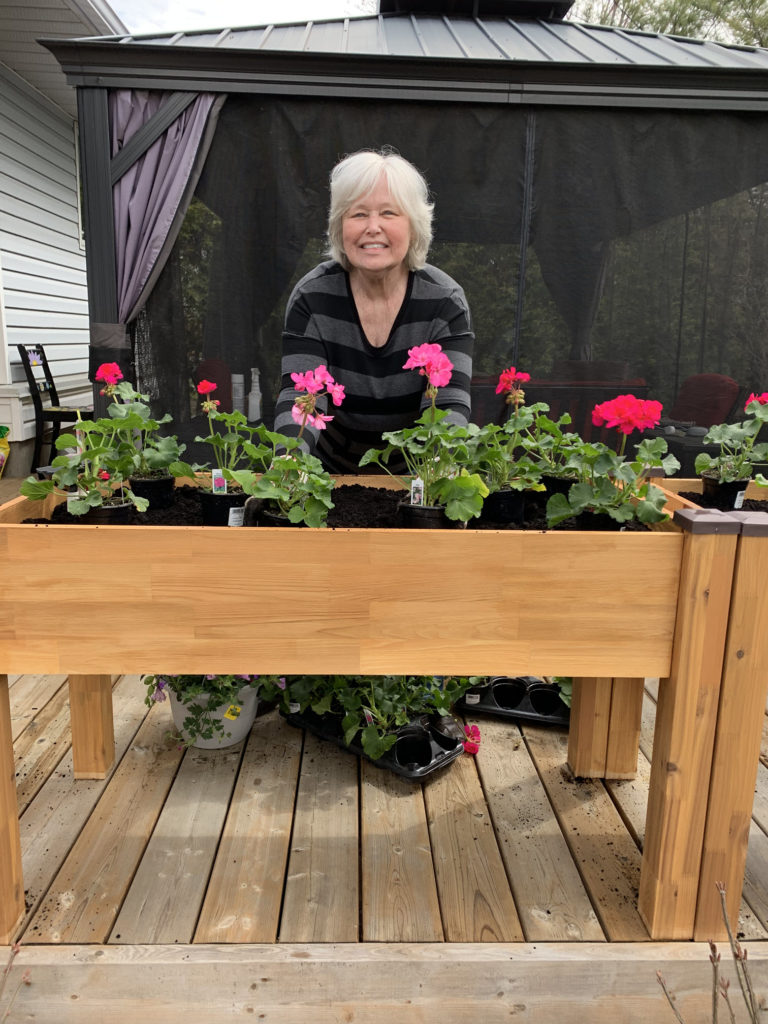
Here’s our work-in-progress..

The new deck from two years ago looks great with the gazebo on it. At 16′ x 12′, the gazebo gives us plenty of shade and a nice breeze, too.

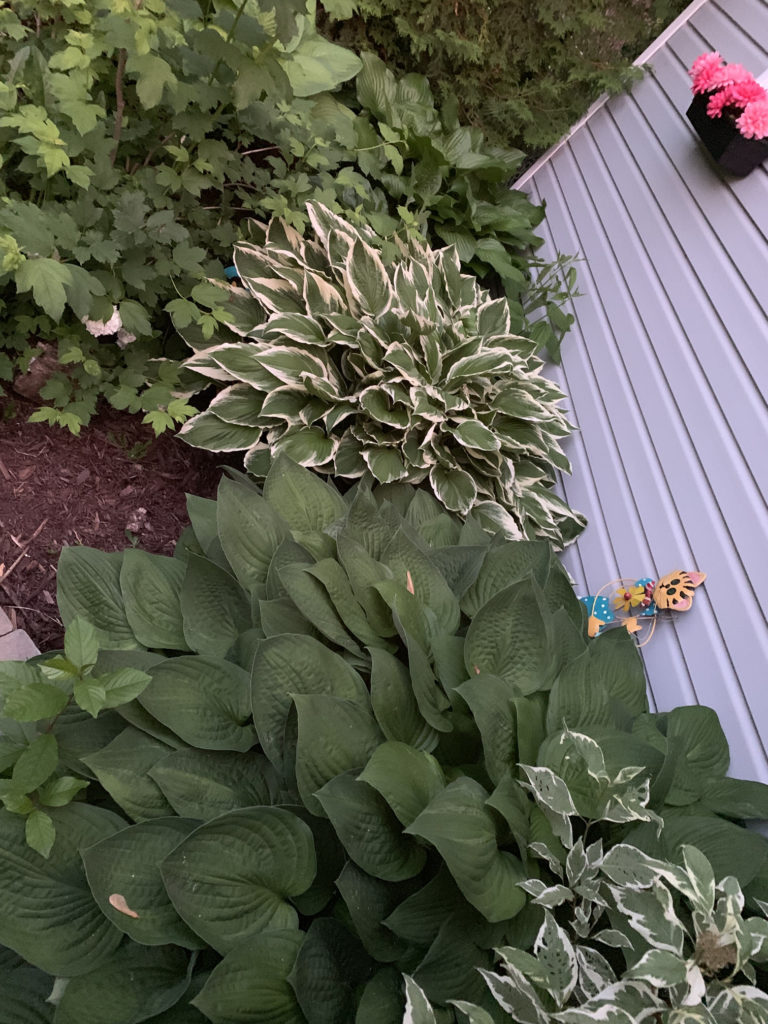
Beside the shed there is a lovely hosta garden.

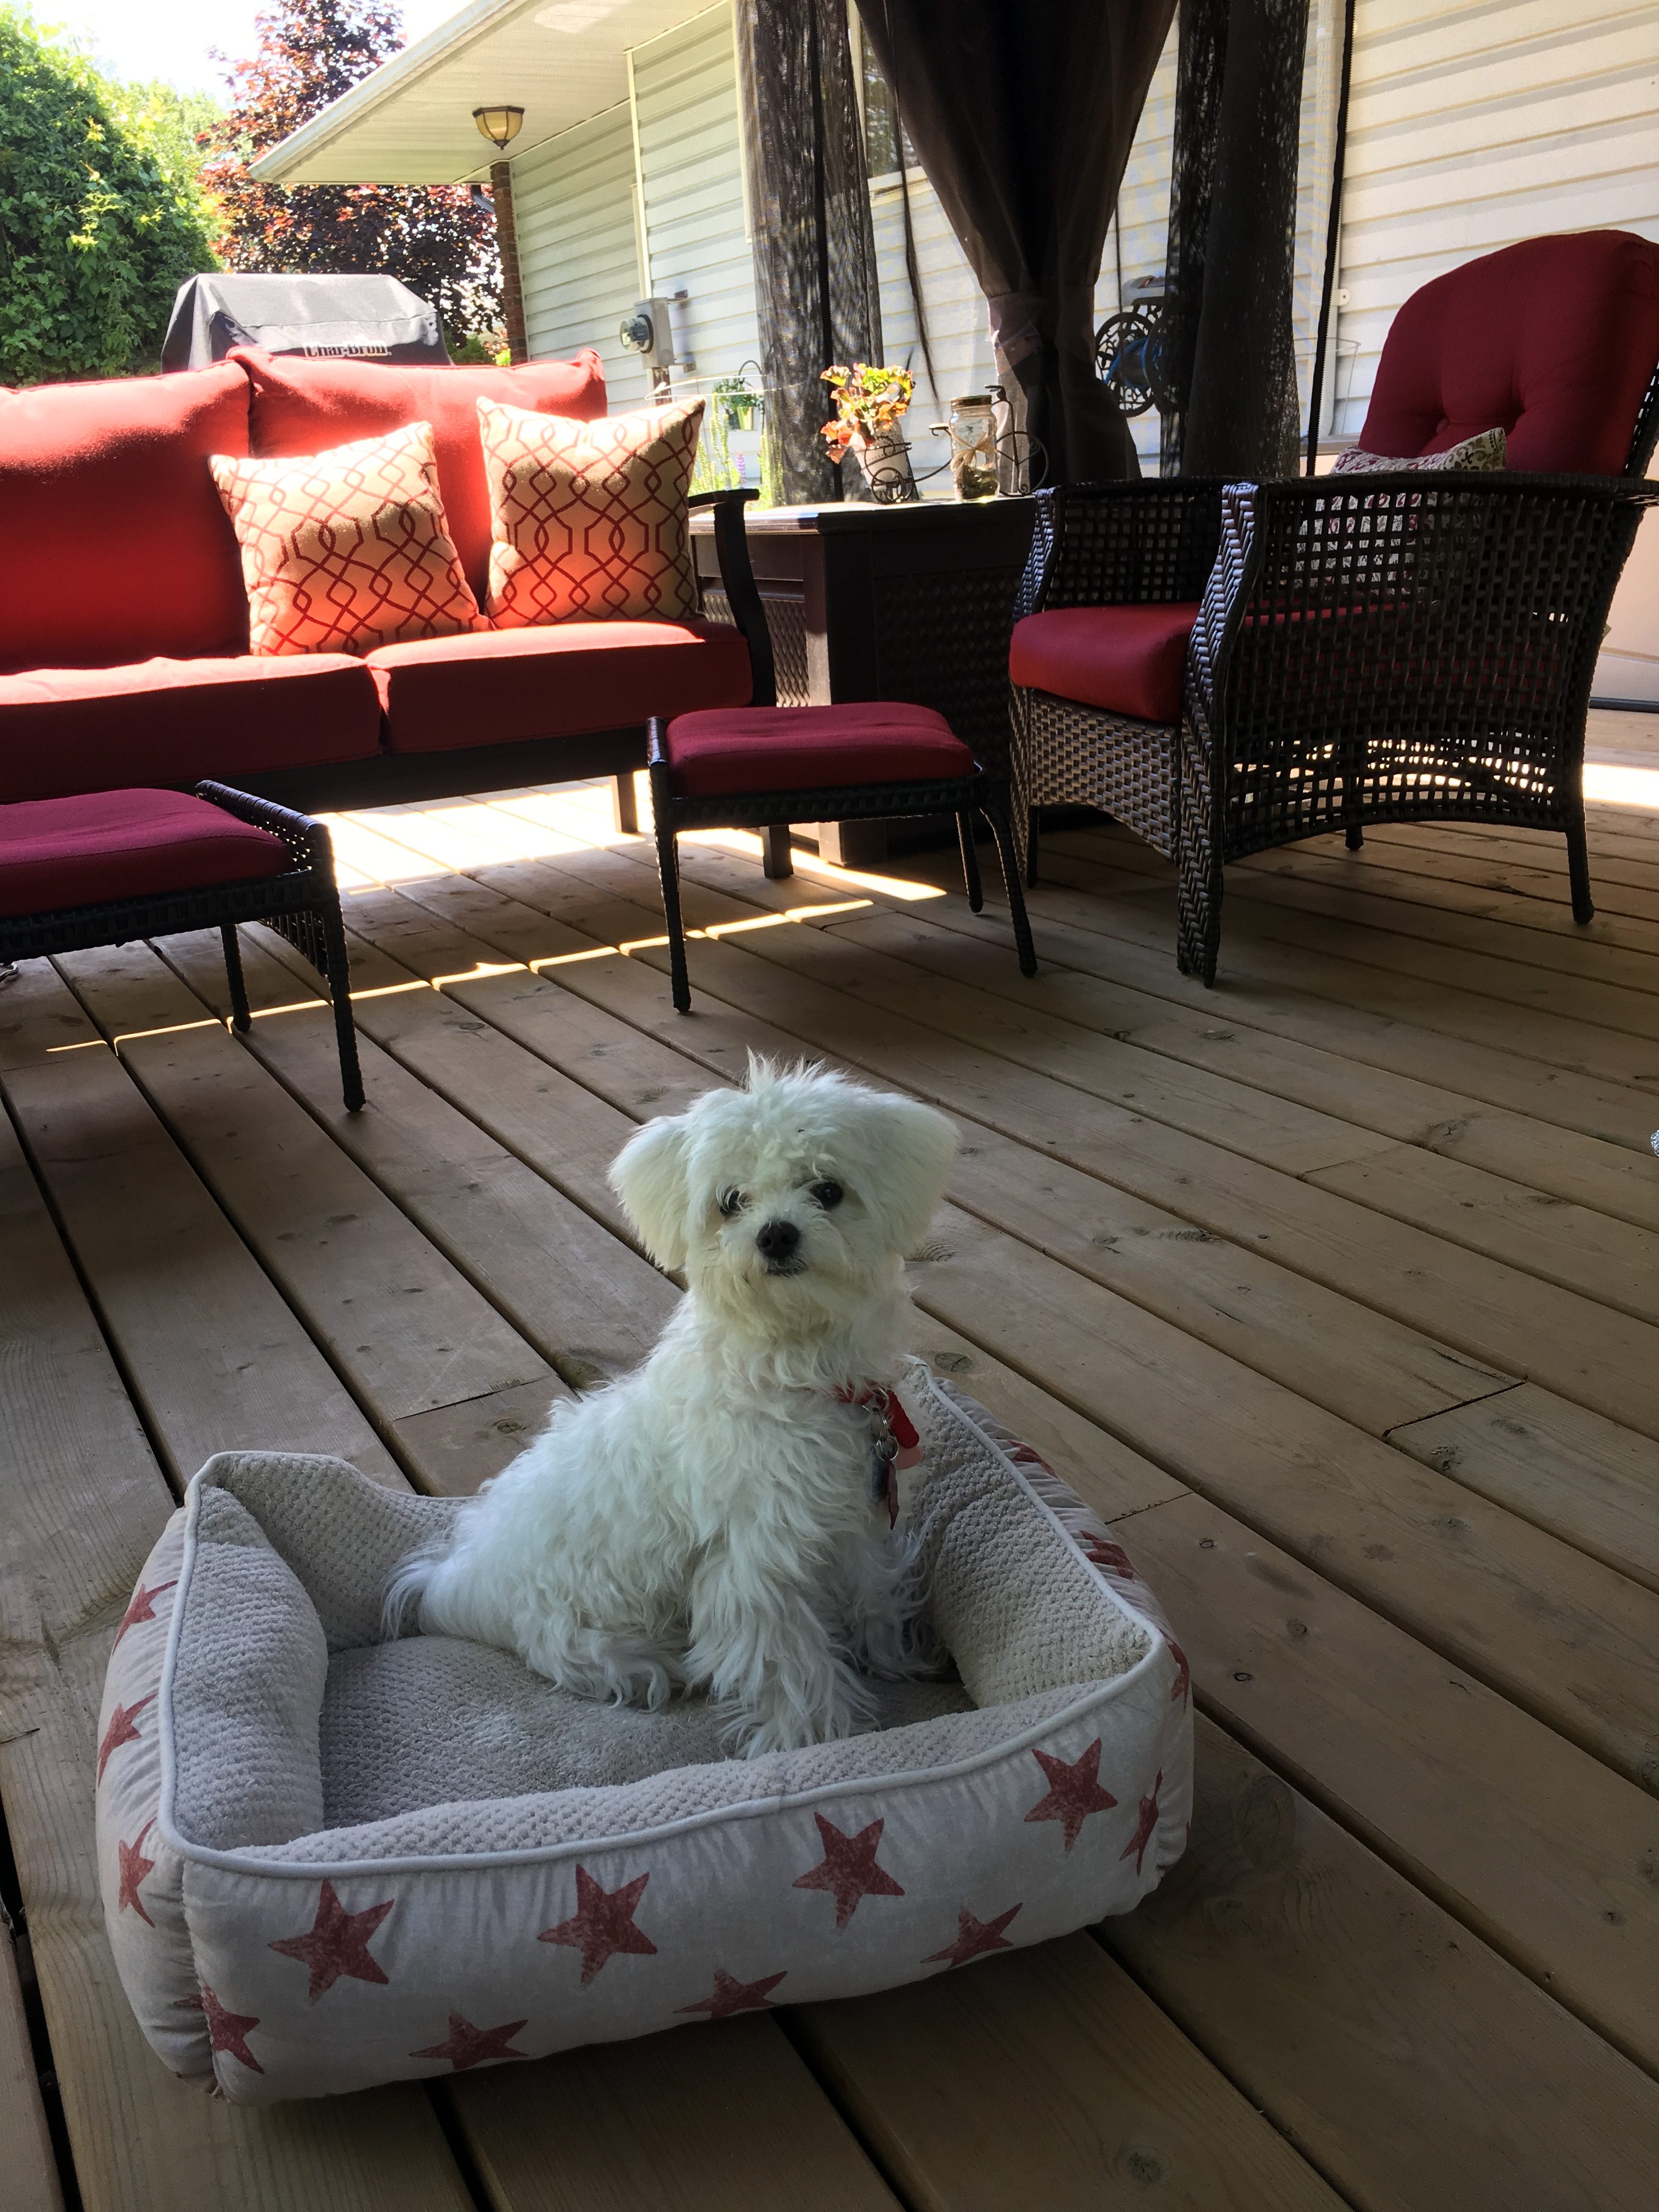
When little Holly takes a break from exploring the yard, chasing the birds and chipmunks and hiding the hedges, she likes to have a rest in her bed.

We were trying out our new “patio lanterns,” and Peter caught me scooting by in my old pajamas.

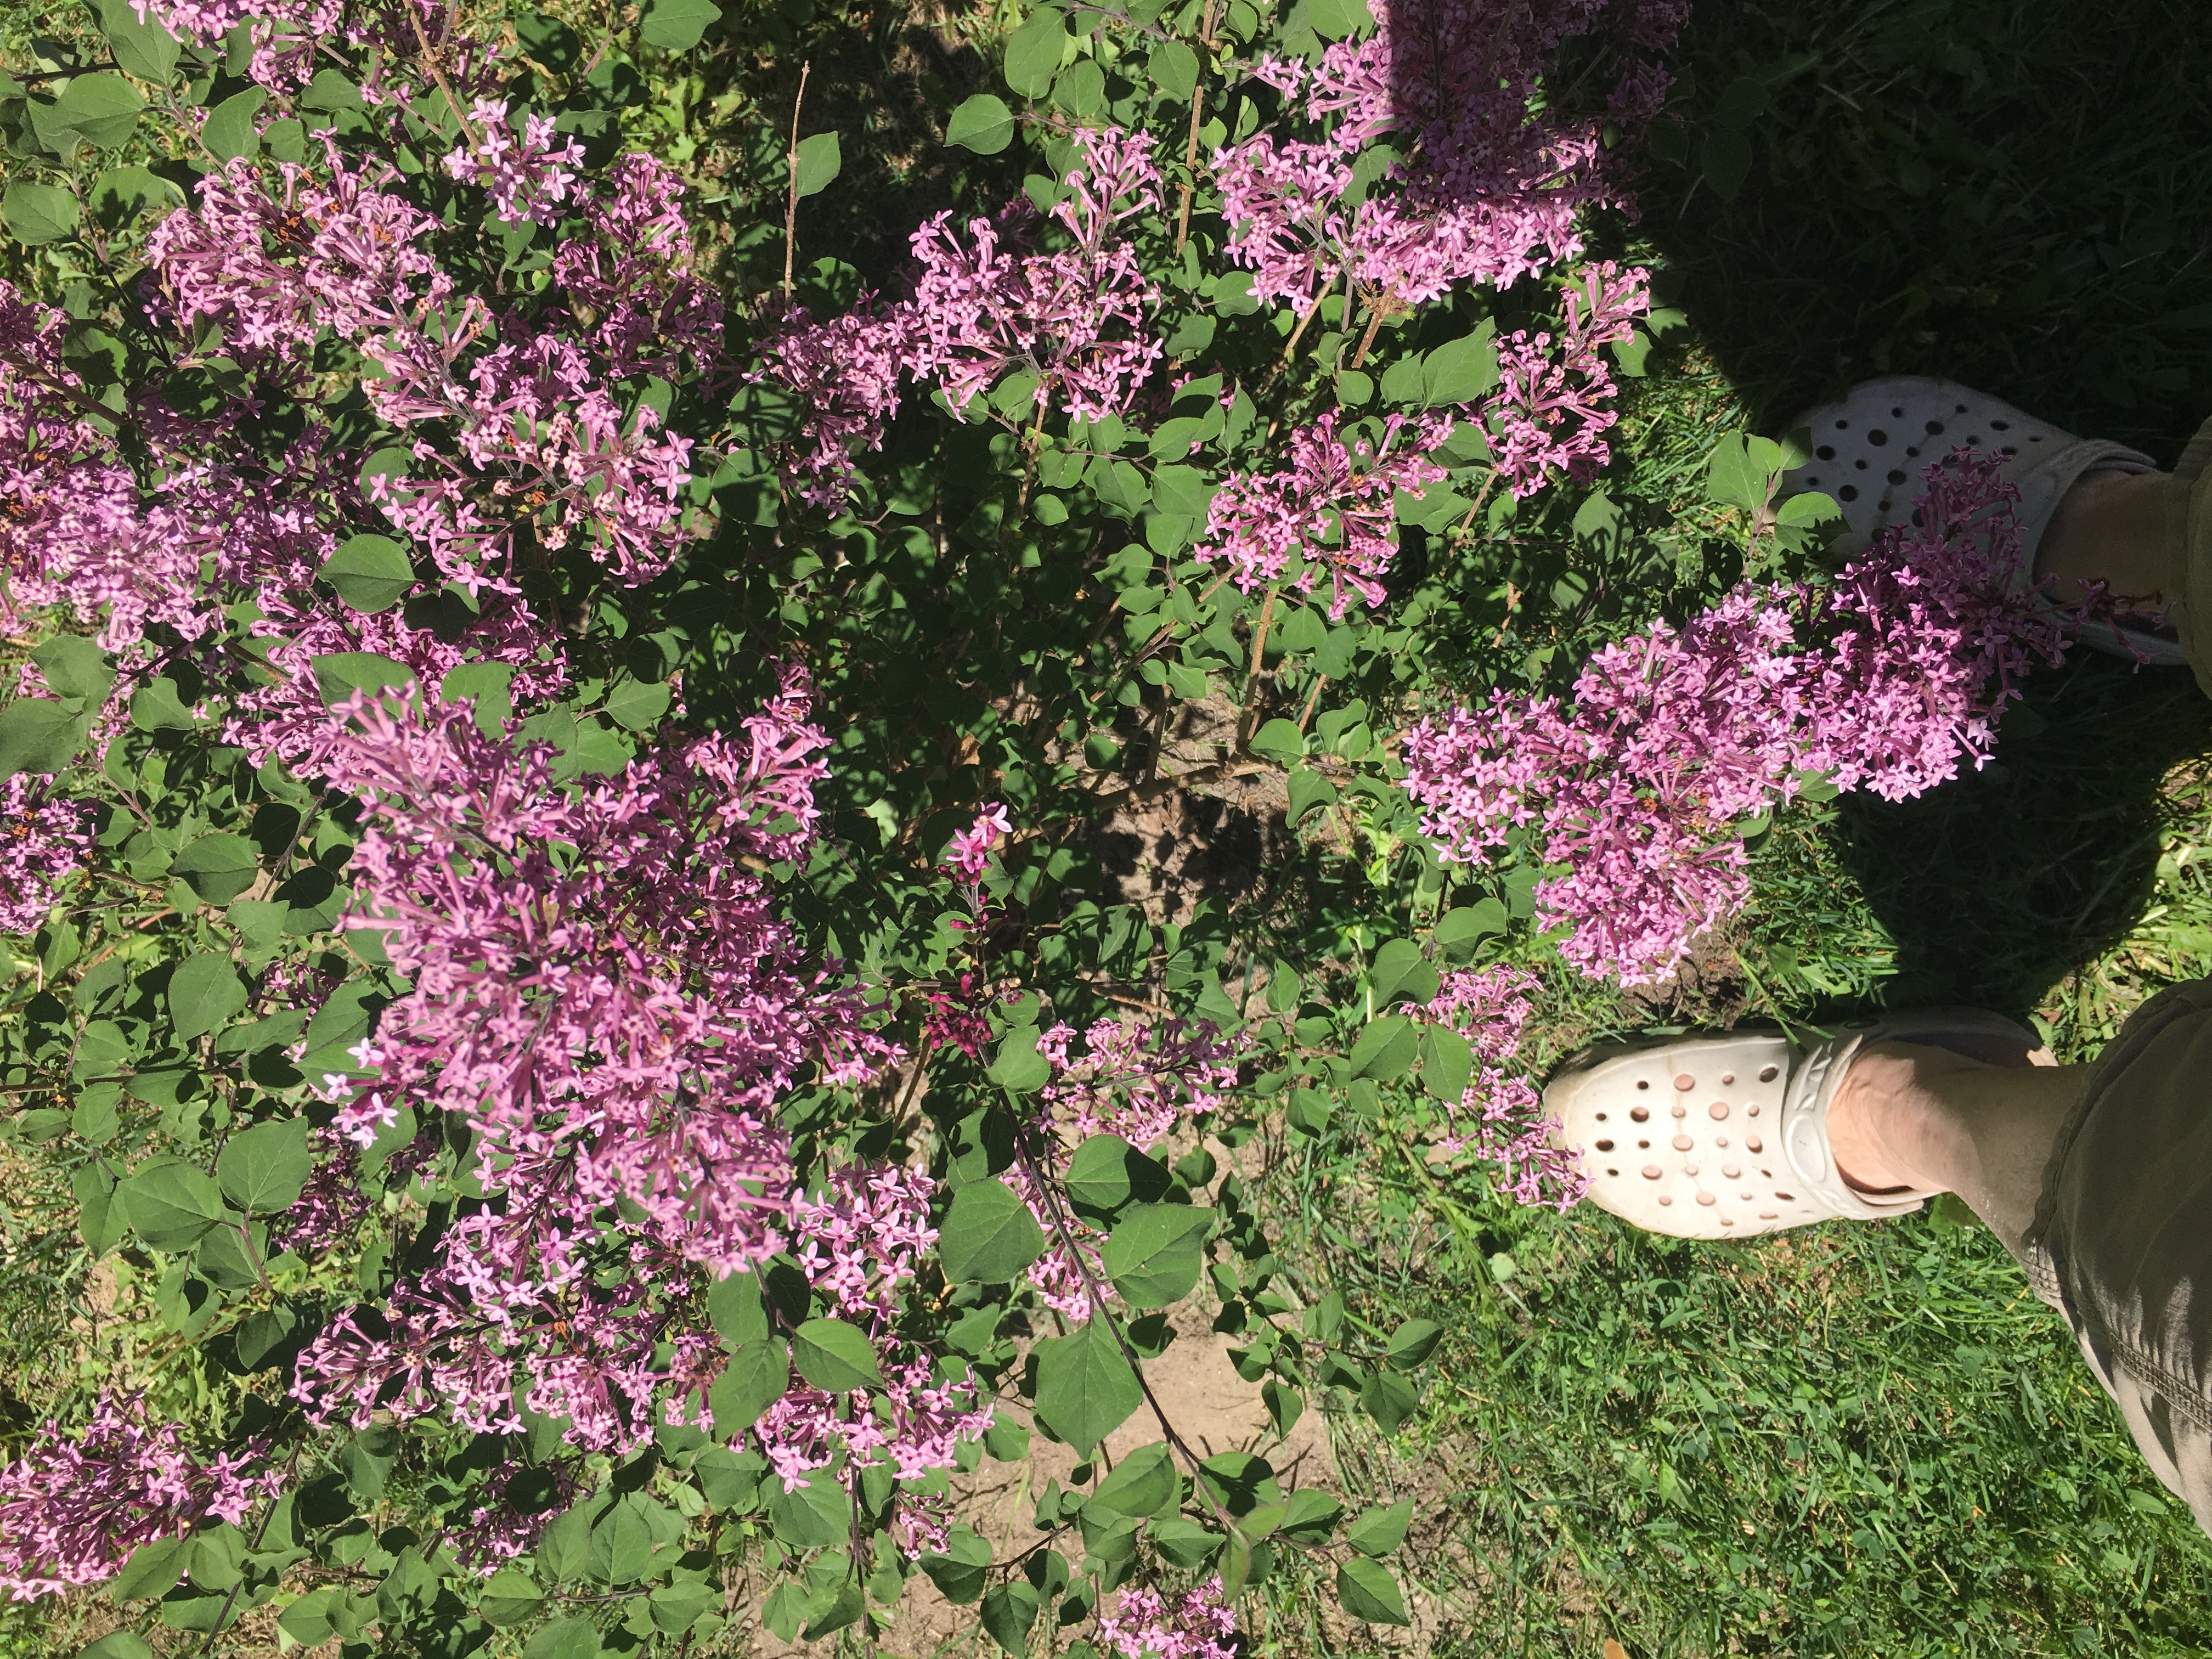
The scent of our lilacs waft into our bedroom as we’re drifting off to sleep at night. By the way, this is a new variety of lilac that blooms three times over the season. It grows about 4′ high and 4′-5′ around. I just planted it this spring, so it’s only about three feet high, but it has already burst into glorious blooms. In one corner of  our yard we have some really big lilac bushes. Yahoo!

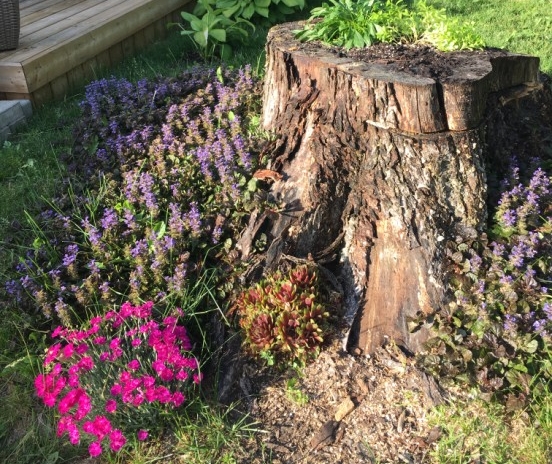
The stump of our Norway Maple that we cut down in 2013. It’s sort of interesting, don’t you think? We hollowed it out, added earth and planted some perennials in it. I added a birdbath to it and planted some awesome plants around it.

There’s so much more going on since we took these photos. The plants are going crazy and the grass is beautiful and lush, thanks to a nice big bag of grass fertilizer.

Anyway, that’s it for now, with lots more to come later.

Thanks, so much, for dropping by!

My dream kitchen!

Finally, I have a white kitchen!

We moved into our house five-and-a-half years ago. The kitchen was very nice, but it just wasn’t white. So, a few weeks ago, after much deliberation and checking and rechecking my budget, I finally hired a company to transform my kitchen cabinets. Two years ago, I had quartz counter tops, new mosaic back splash and a new floor installed. Although they really improved the look of the kitchen, the cabinets were still maple. Sigh…

So, here are the before photo, the way the kitchen looked when we bought the house. Not white, but not bad.

Here is my beautiful white kitchen. (Note: the window treatments aren’t on, yet. That’s tomorrow’s job!) FYI, it was Acell Painting that did the job. Chris did the cabinets and Mike did the walls, room doors, crown molding, etc. Also, the doors were taken to their shop and went through a rigorous 14-day process to transform them into these gorgeous white cabinets.


If you’ve been thinking about transforming your kitchen, think about painting before you make the decision to purchase all new cabinets. It’s a fraction of the cost!

Thanks, for dropping by!

Flowers are always a good idea

Here it is, mid-August and my flower garden is filled with the most luscious blossoms. Autumn may be just around the corner, but I’m going to enjoy my flowers until  the first snowflake. Here are some of the beautiful flowers in my garden, starting with the spring lilacs and peonies, and moving on to the late summer blooms. Enjoy!


There are lots more beautiful blooms in my garden, but that’s all the photos I have at the moment. The window boxes on the front of my house are overflowing with petunias. More photos to come!

Our kitchen reno, finally!

Little changes can make a big difference.

cropped-New-header-front-of-house-2.jpgWhen we moved into our house in January 2013, I was in love with my kitchen–more or less. It’s big and bright, has a perfect work triangle and tons of storage. I wasn’t crazy about the colour of the cabinets or counter tops, but I knew they could be changed. I really like to preserve and update what we have, rather than just tossing things into the landfill and the cabinets are solid maple and in excellent condition–all good reasons for keeping them. Also, it would have been very expensive and quite extravagant, really, to replace all the cabinets, so we decided to keep them and change the really ugly stuff. (I’m going to live with them for a while and perhaps one day I will have them painted white…although that is doubtful, given that the estimate to have them professionally refinished is about $5,000.  Hmmm…i’ll have to give this one a lot of thought).

Here are the photos of the kitchen as it looked when we bought the house. You can see it had great potential, but the dark gray counter tops were just so dreary.

BEFORE…dark gray counter tops, outdated back splash and hardware that did nothing to enhance the cabinets.

13_tripp_crescent_mls_hid746807_roomkitchen4

AFTER…dscf2074

A CLOSER LOOK…quartz counter top, brick back splash and black handles that pop!
img_8686

We have so much counter space that we had to buy two slabs of granite…ykes! But, it is a beautiful piece of stone.

gloria-kissing-quartz-counter-top-july-2016

I carried the brick right up over the windows to add interest and I added some pretty bar stools that I bought on sale when Target went out of business here in Ottawa. This photo captures a few of my favourite things: the gorgeous lamp I bought for a steal at Walmart (of all places) and filled it with wine corks; the pretty clock my mom gave me for Christmas last year; and the plaid curtains and valances I bought on Amazon for a fraction of the price I would have paid elsewhere. Our style could be described as casual/country/farmhouse chic…pretty much.

img_8687

Last year we had the dark and dreary gray ceramic tiles replaced with this beautiful wide plank laminate…I know, I know, everyone hates laminate. Well, not this girl! The new laminates have texture and look like real wood…and, five years from now they’ll look the same. (Left: on the day we moved in I was cleaning the grout…ugh…what a job. Right: my beautiful new laminate, heavy with texture and no grout to scrub. That makes me a happy girl!)

img_3518

2015-07-05-13-09-34

We also replaced the old black energy-hog of a fridge with a sleek and shiny stainless steel model…with an ice-maker. We’re practically living on ice-water these days; it’s so refreshing!

2016-09-20-12-04-01

And, last but not least, my double under mount sinks. They are so deep I can put my soup pot right into one of them for scrubbing.

img_8688

While this reno was not on my usual shoestring budget, it was an excellent investment in our home and we get to enjoy it for years to come. My next project is tiny: add shelves to the “broom closet” to store cleaning products. Now that’s something I CAN do on a shoestring budget!

Thanks for dropping in. I hope you will visit again, soon. Until next time, happy renos, happy everything!

Gloria

Brick Fireplace Makeover

From dark and dreary to bright and cozy.

I guess back in 1972 this dark brick fireplace was pretty cool. Today, not so much. That dreary brick just sucked the light right out of our living room. So, after much research on Pinterest and many YouTube DIY videos, we decided to go for the gusto and paint it white.

A gallon of Behr white semi-gloss paint (we used the kind with built-in primer), a lot of elbow grease and, presto, our fireplace looks like a million bucks! By the way, we did use a wire brush to clean any dust off the bricks, but other than that, we just painted. One more tip: our brick is extremely rough and jagged and it took special effort to get full coverage. A paint brush worked fine for the grout lines, but the only thing that worked for the brick was a sponge…pound, squish, pound…that’s the technique…seriously.

Here are the before and after photos. By the way, we put up the mantel a couple of years ago at a cost of about $250; the paint job came to about $100 for paint and supplies–that’s what I call sticking to my shoestring budget.

BEFORE

old-fireplace-cropped

AFTER

fireplace-white-cropped

style=”text-align: left;”>I hired a contractor to build in a bookcase to the right of the fireplace and a bookcase that wraps around under the corner window.

dscf2078

img_8634

Th-th-th-that’s all for now, folks. Please drop in again, soon, for more shoestring reno ideas.

Gloria