As they say,”a picture is worth a thousand words.”
So, rather than bore you with a lot of text, I’m going to post some photos of our back yard. It’s still a work in progress, but it’s a far cry from what we inherited from the last owners. It’s only been three years since we bought the house and already we’re seeing our hard work pay off. It took a lot of sweat and elbow grease, but we think it was well worth it.
Here we go. First up is our back yard in 2013, when we bought the house. The patio required hours back-breaking work every week to keep the weeds out…they popped up as quickly as I pulled them out. Also, note the lack of privacy from our rear neighbours. The decades-old wood fence was literally falling over when we moved in, so we had a chain link fence installed and a cedar hedge planted the following year. Cedar trees grow about 12″ to 18″ per year; ours were scrawny, but six feet tall, so it won’t be long before they fill out and reach a height of 12′-15′, more than enough to give us some privacy.
FIRST, THE BEFORE PHOTO:
Here’s the old patio, freshly weeded. I took the photo quickly before the weeds grew back.
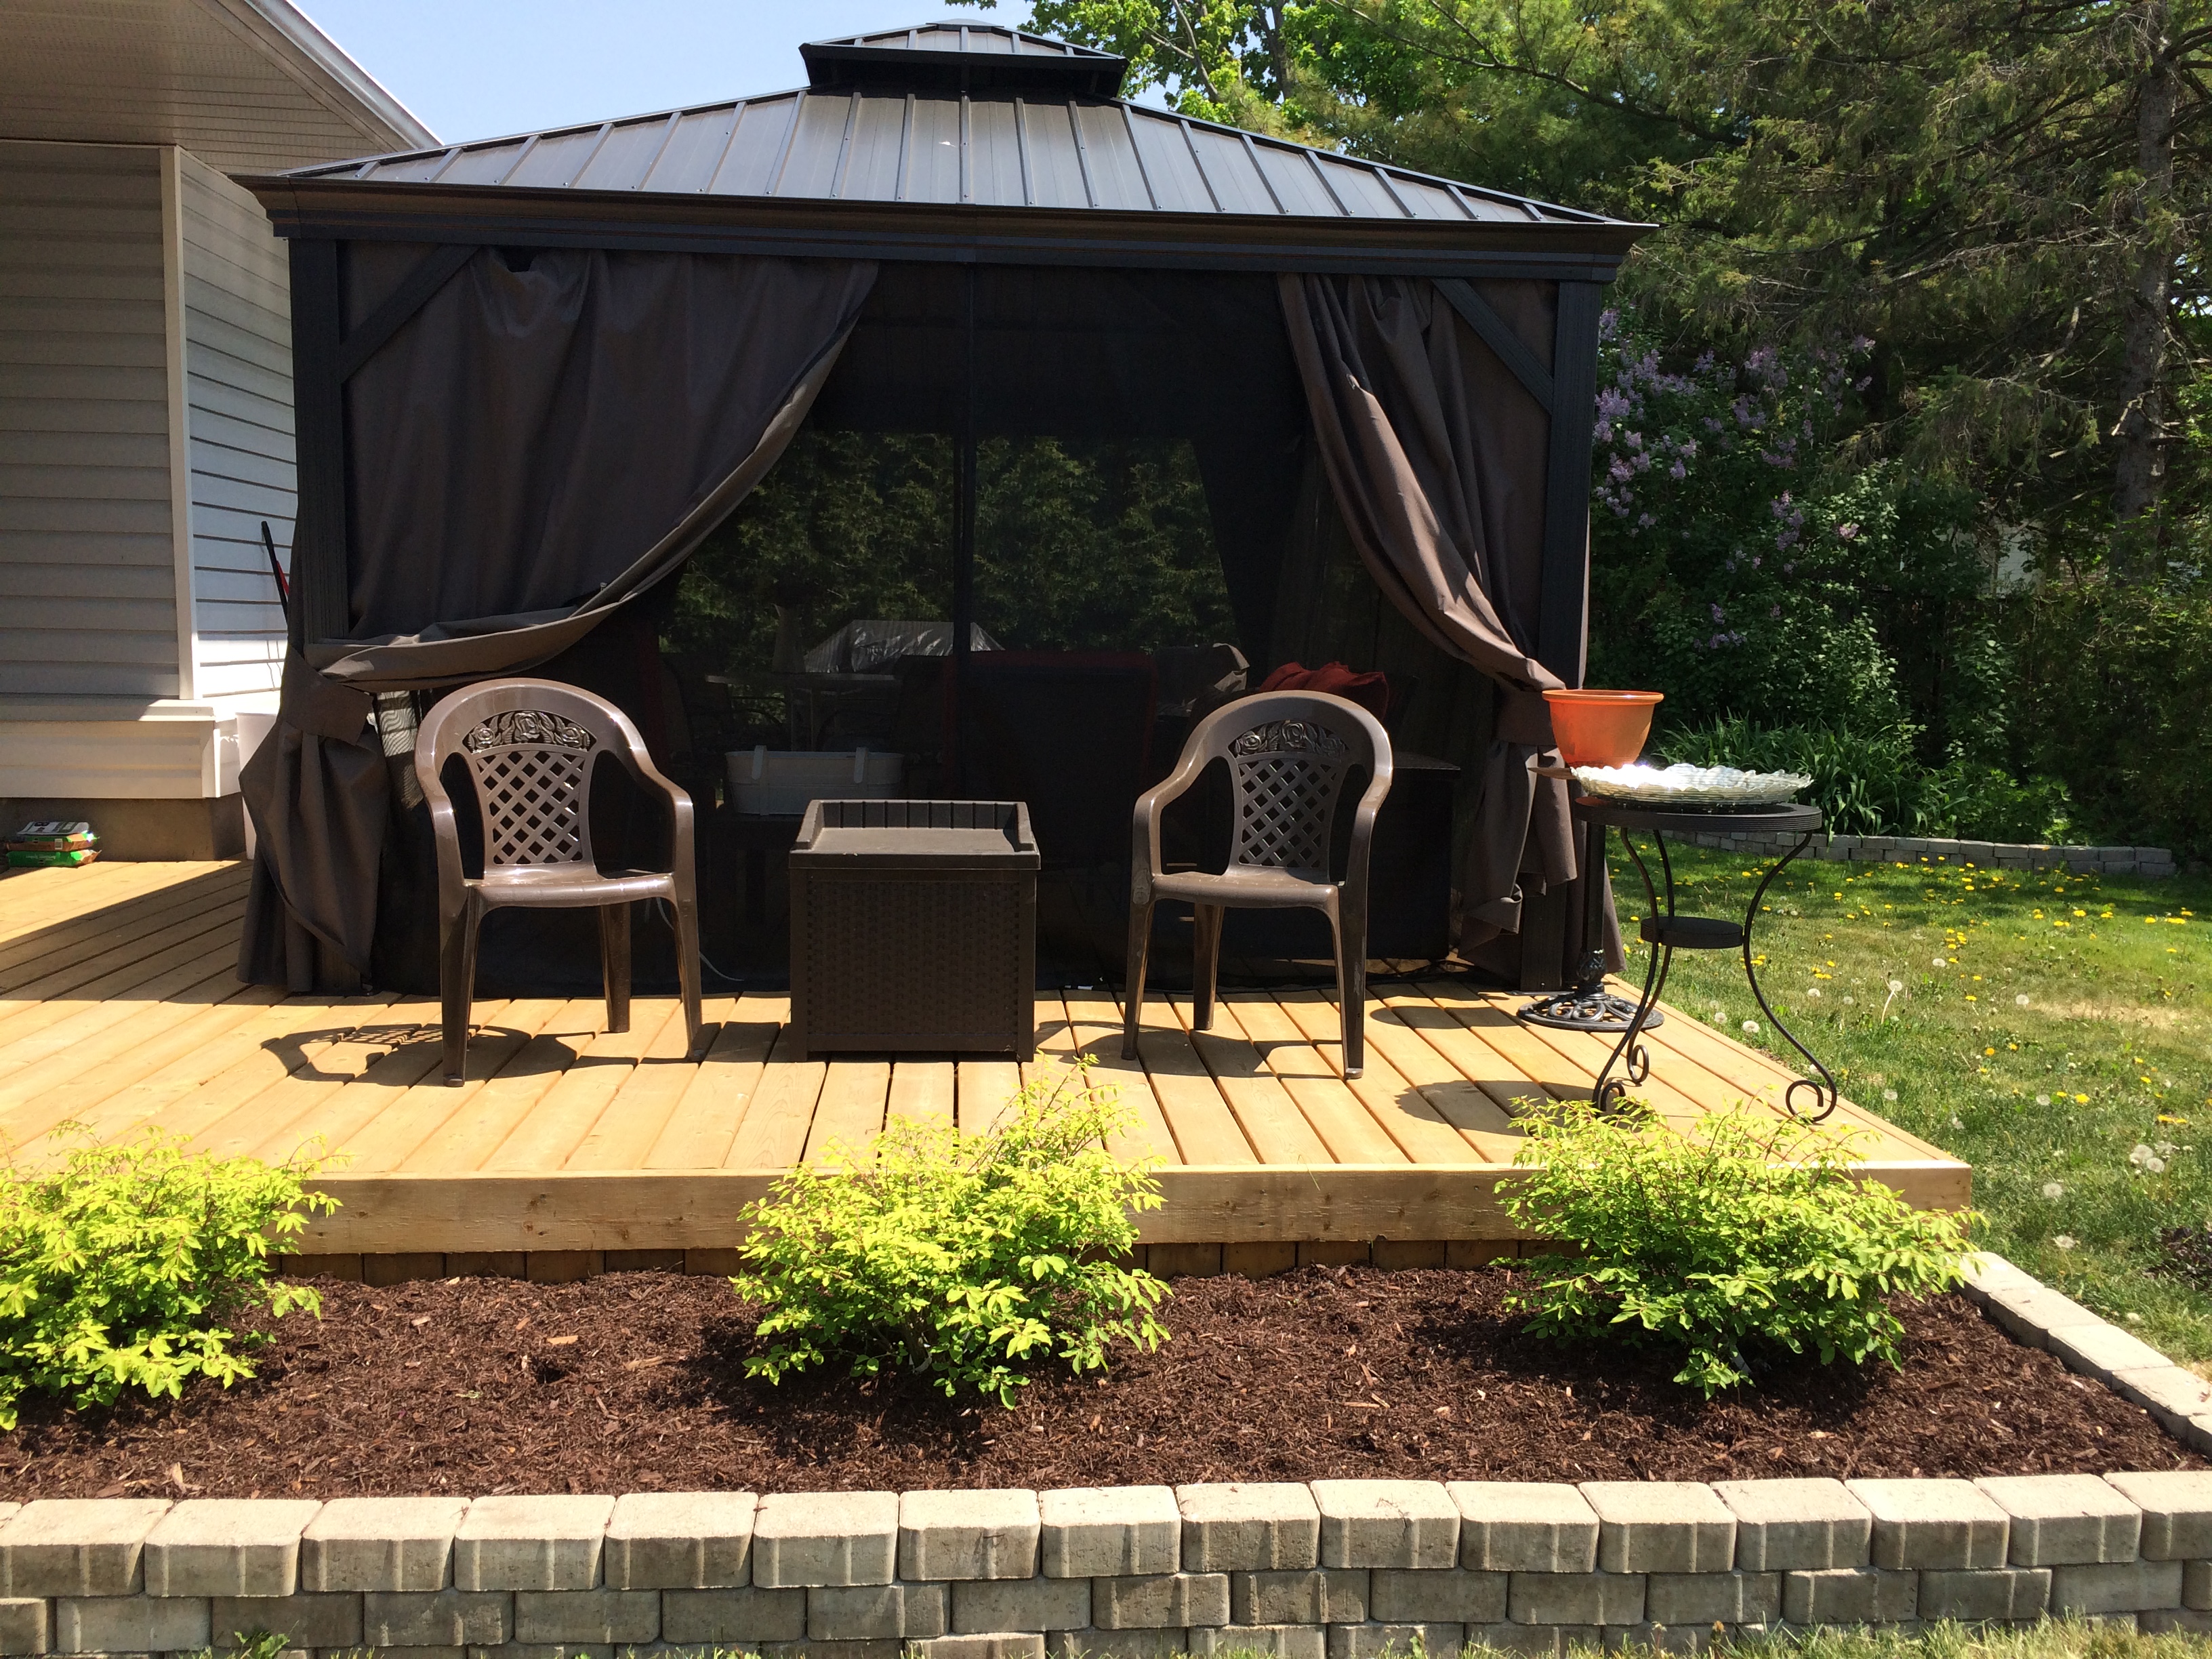
So, last year we had a huge deck built (18′ x 24′) right off the back of the house. (Note the cedar hedge to the left, that’s how it looked when it was planted in November 2014. So, this is only it’s second growing season and it’s already filled in to give us some much needed privacy. Now, it just needs to get taller!

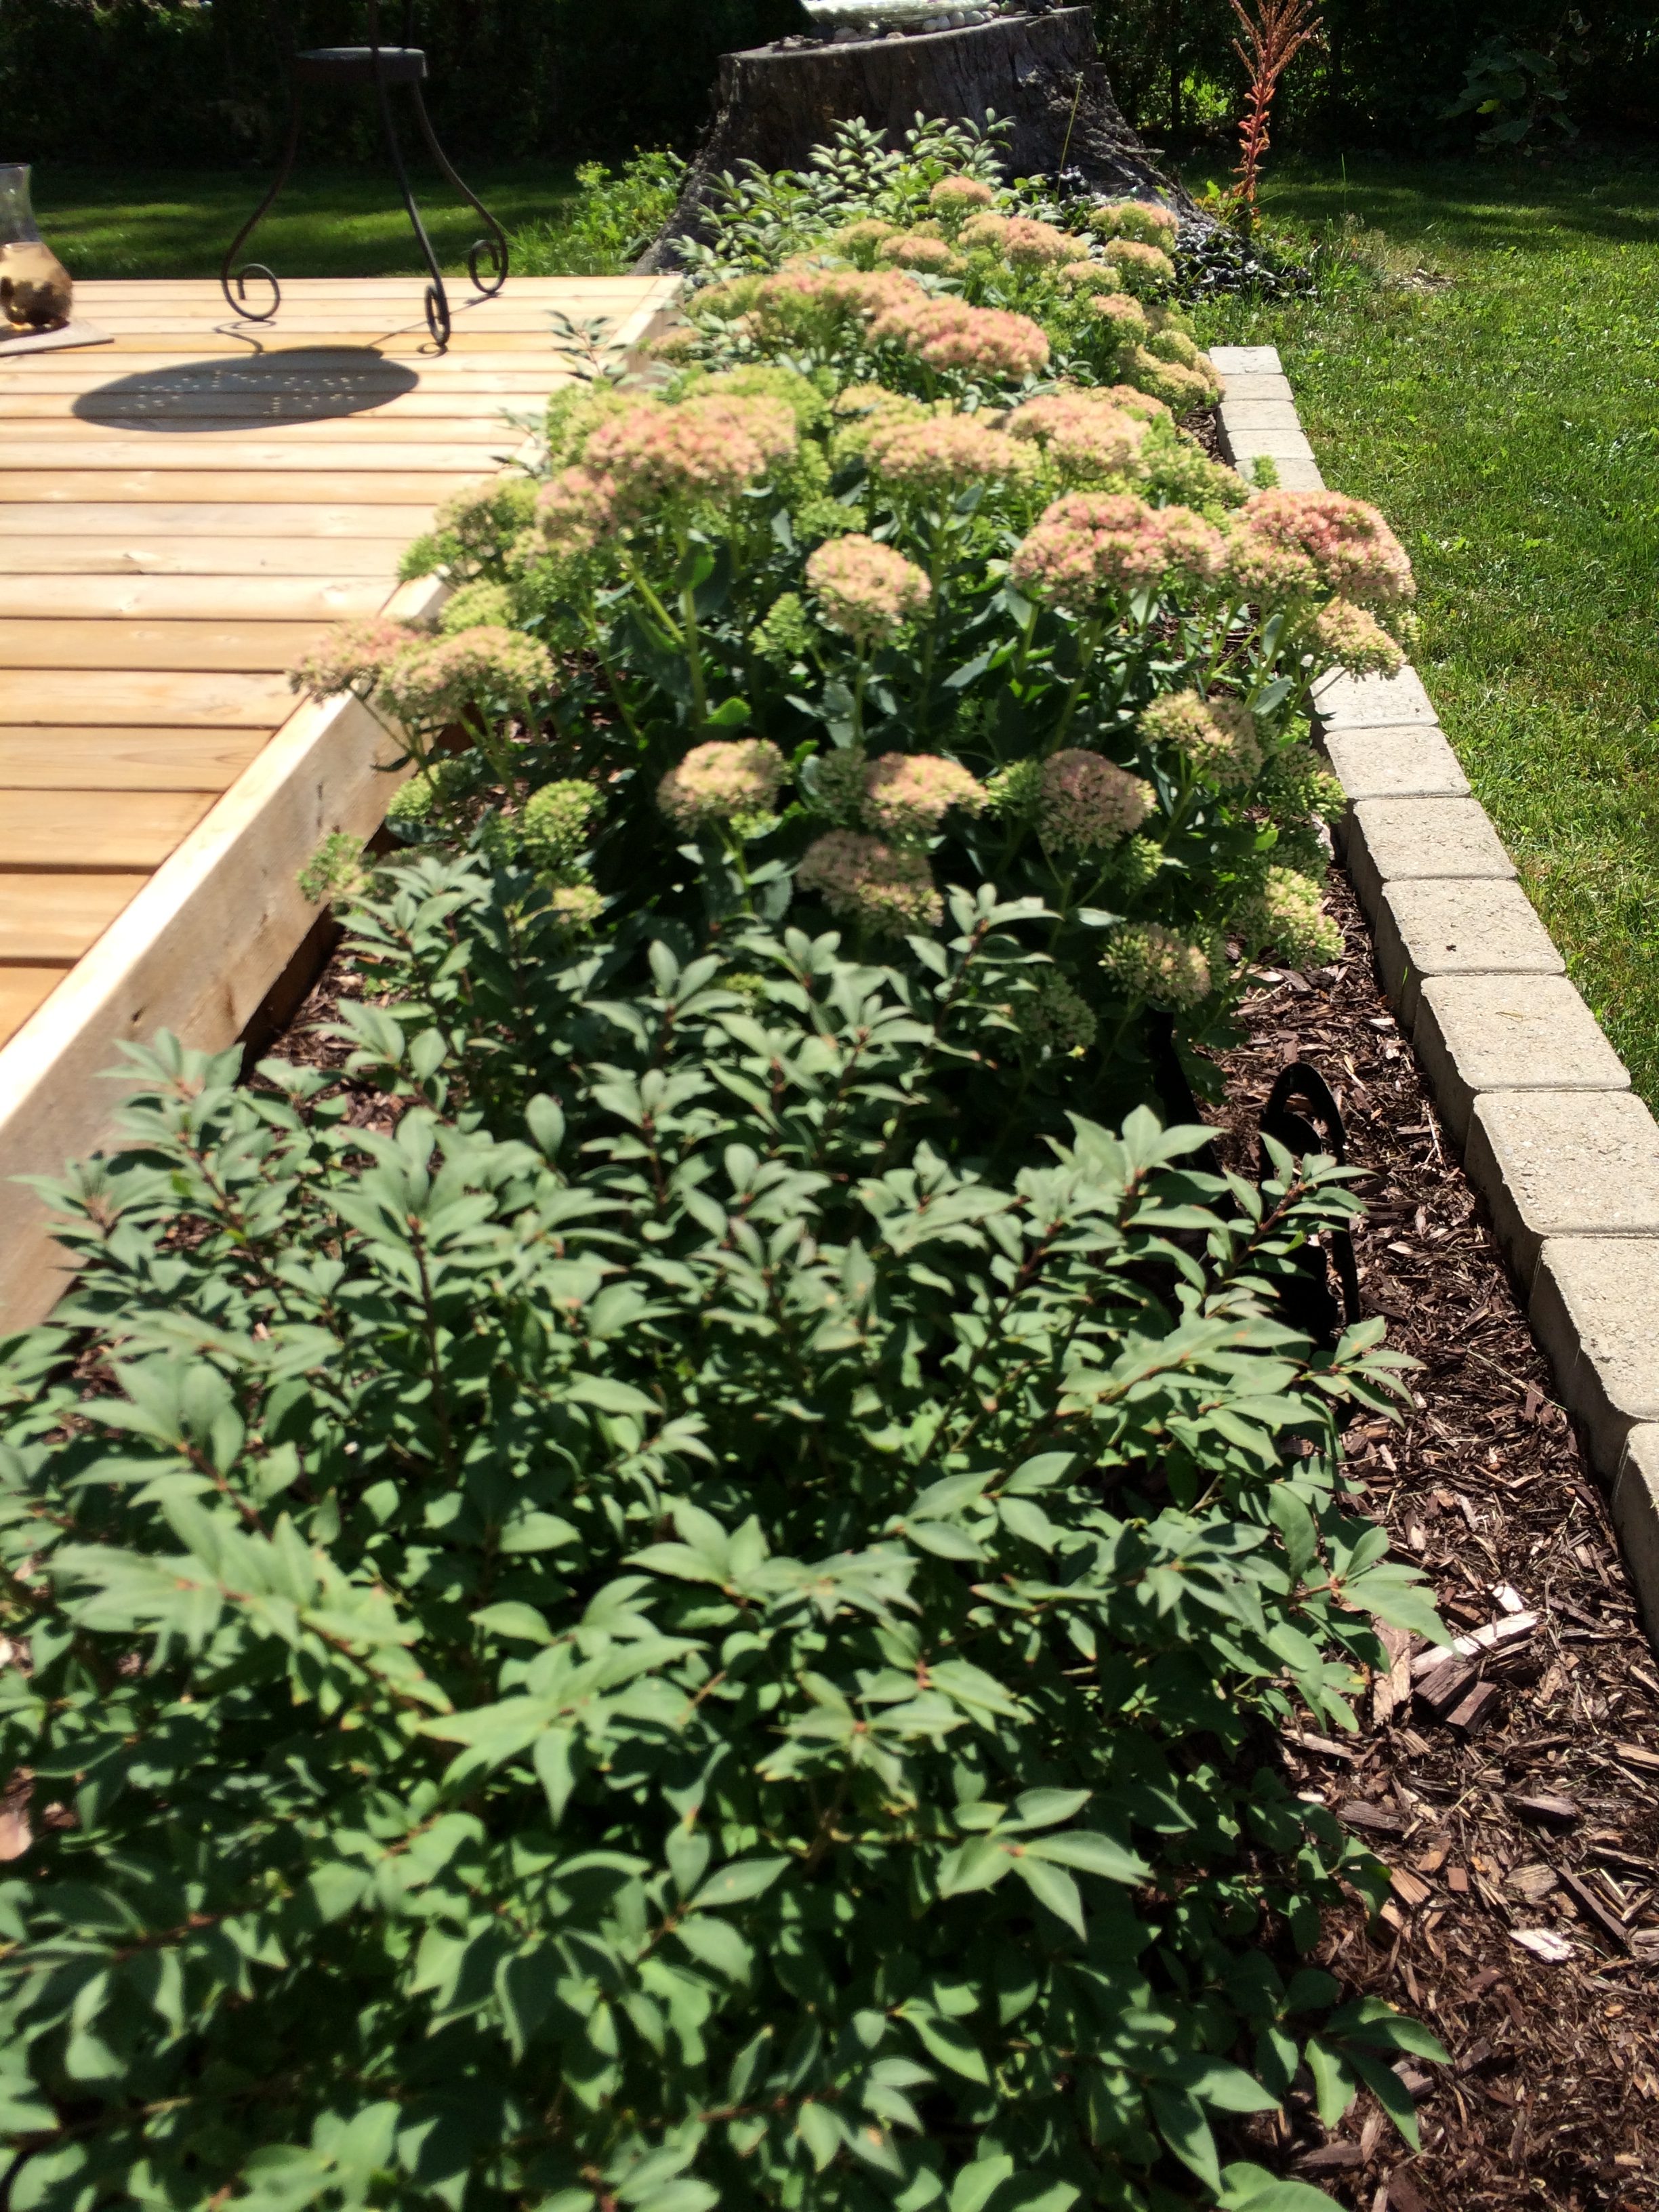
Then, we had a 12′ x 16′ gazebo installed on it to provide shade and protection from bugs. Always keeping in mind my shoe-string budget, we removed a huge pile of stones from the patio before they disappeared forever under the new deck. We then used the stones to create some planting beds next to the deck and in strategically located areas around the yard. Cost: Free! I added three compact shrubs in the planting bed and a ton of mulch (not one weed popped up all summer).
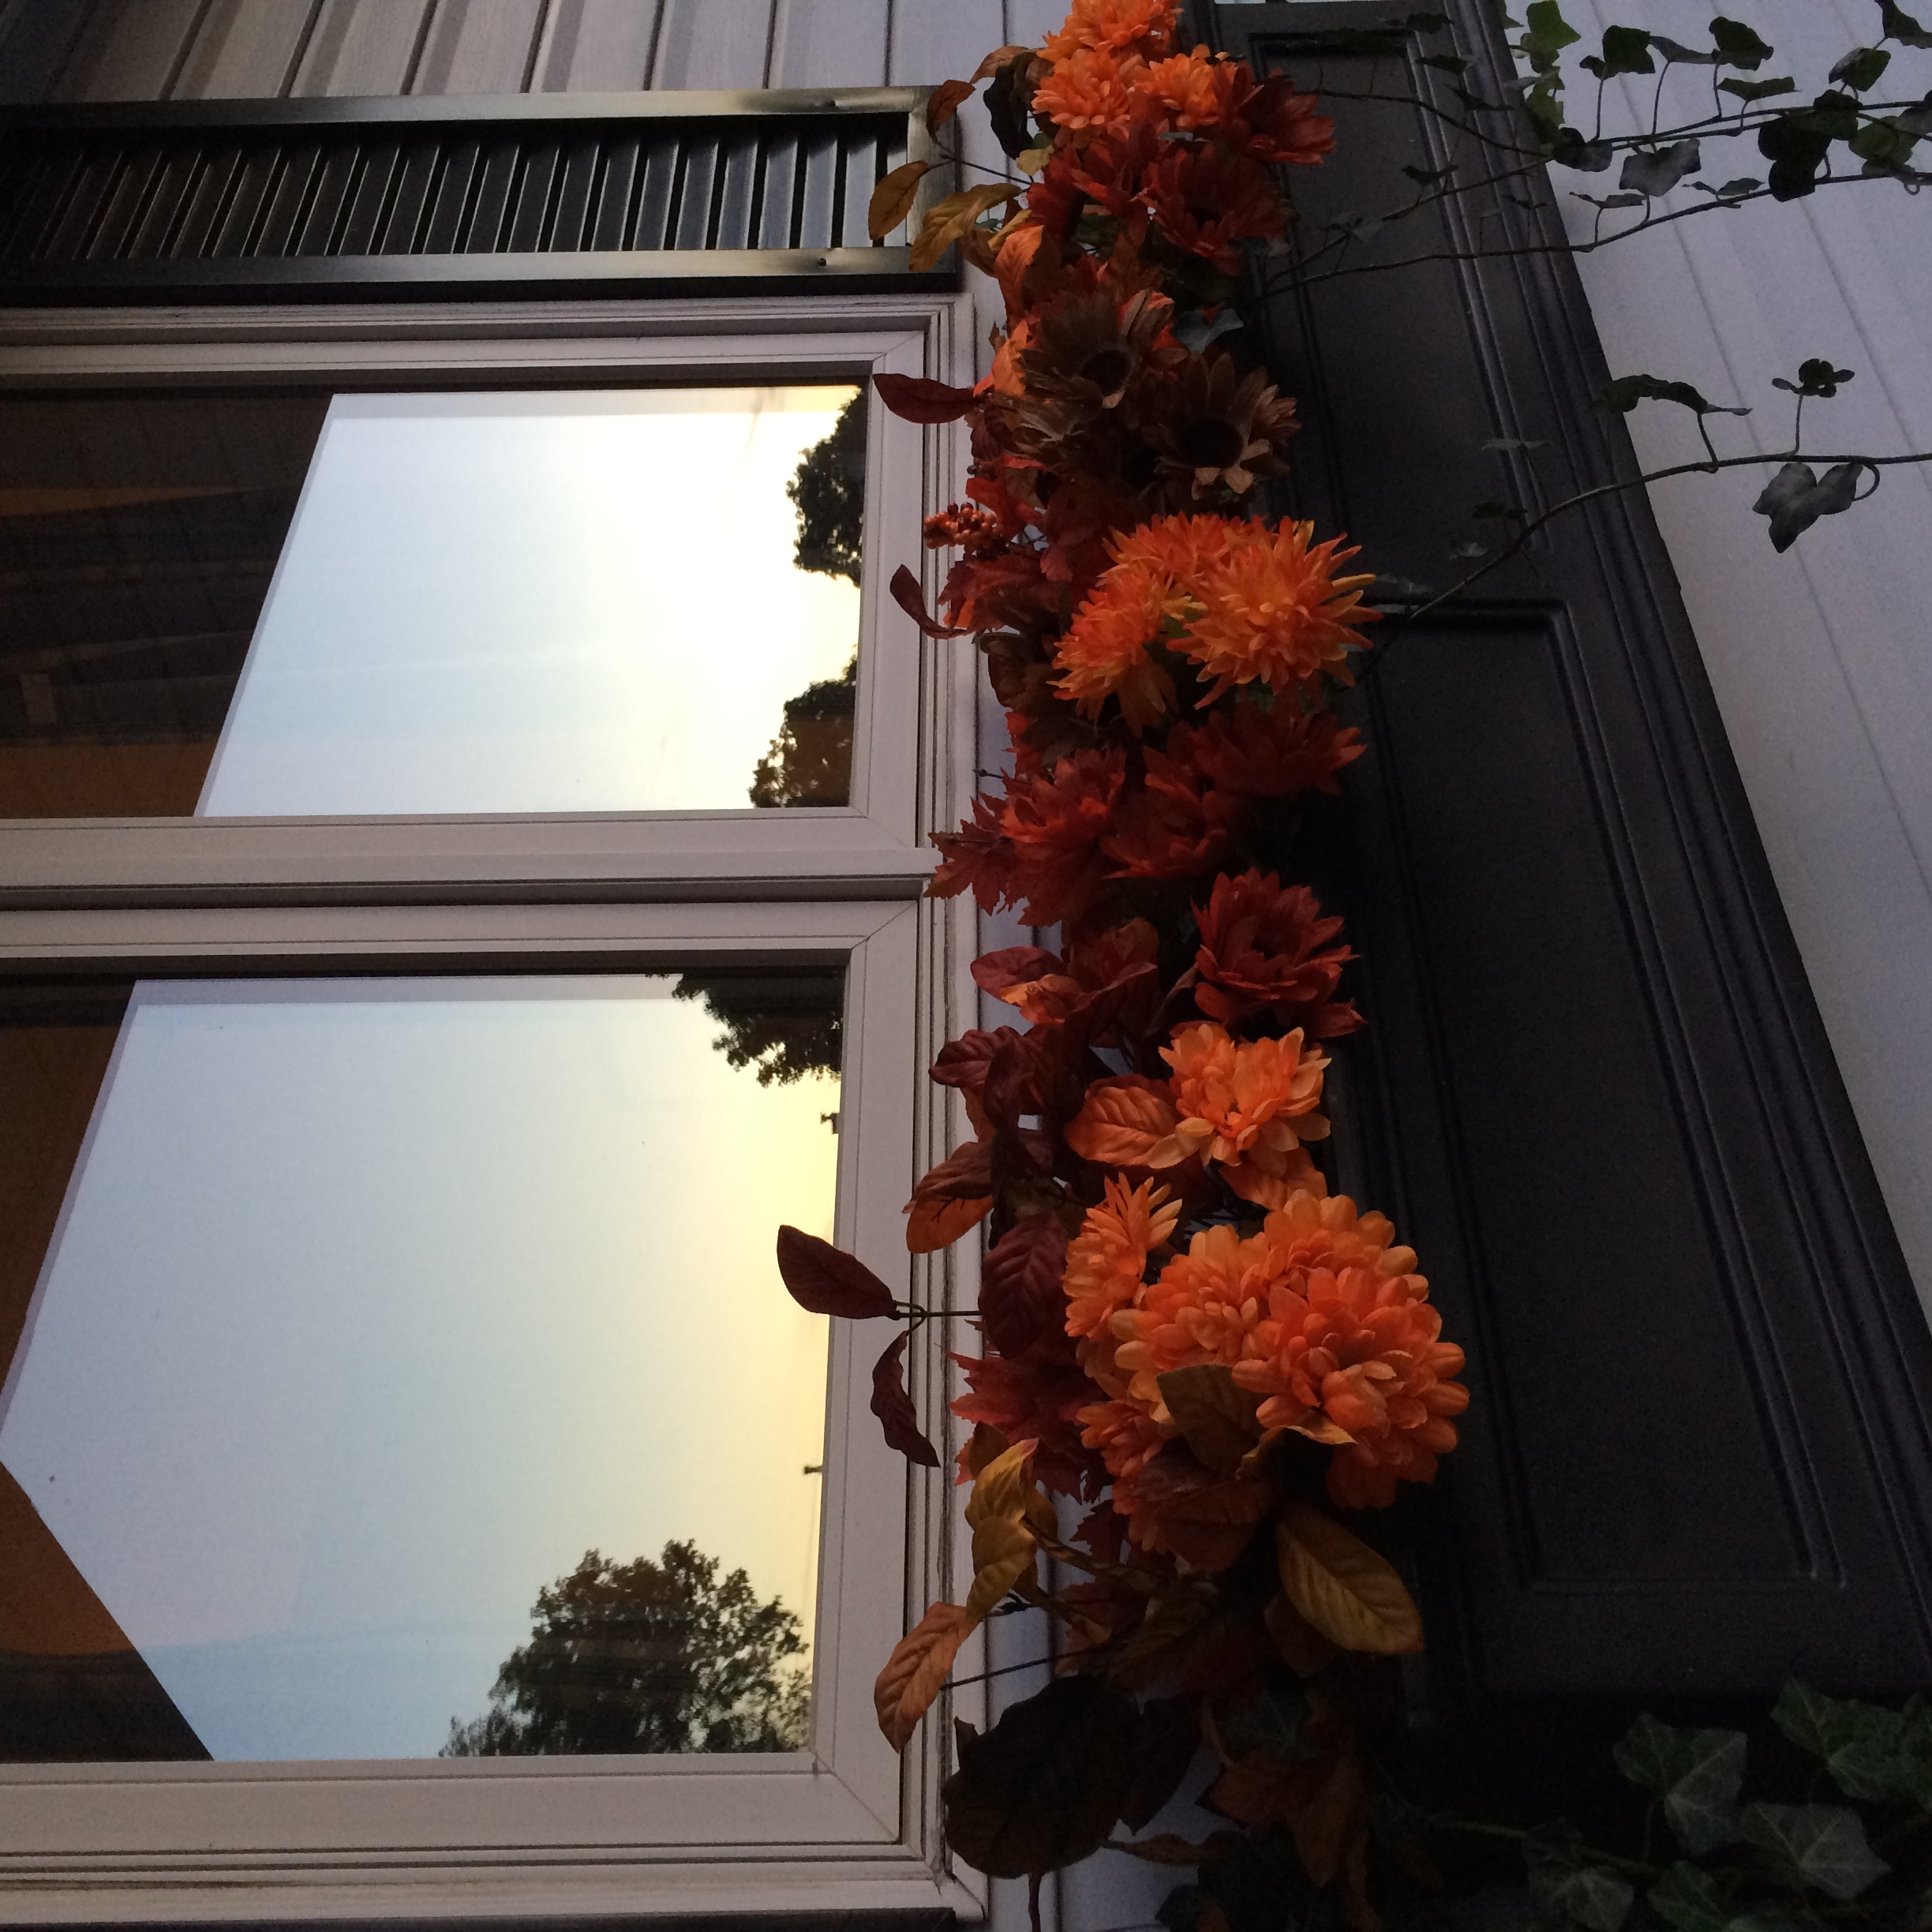
…and then a couple plants more for autumn colour…
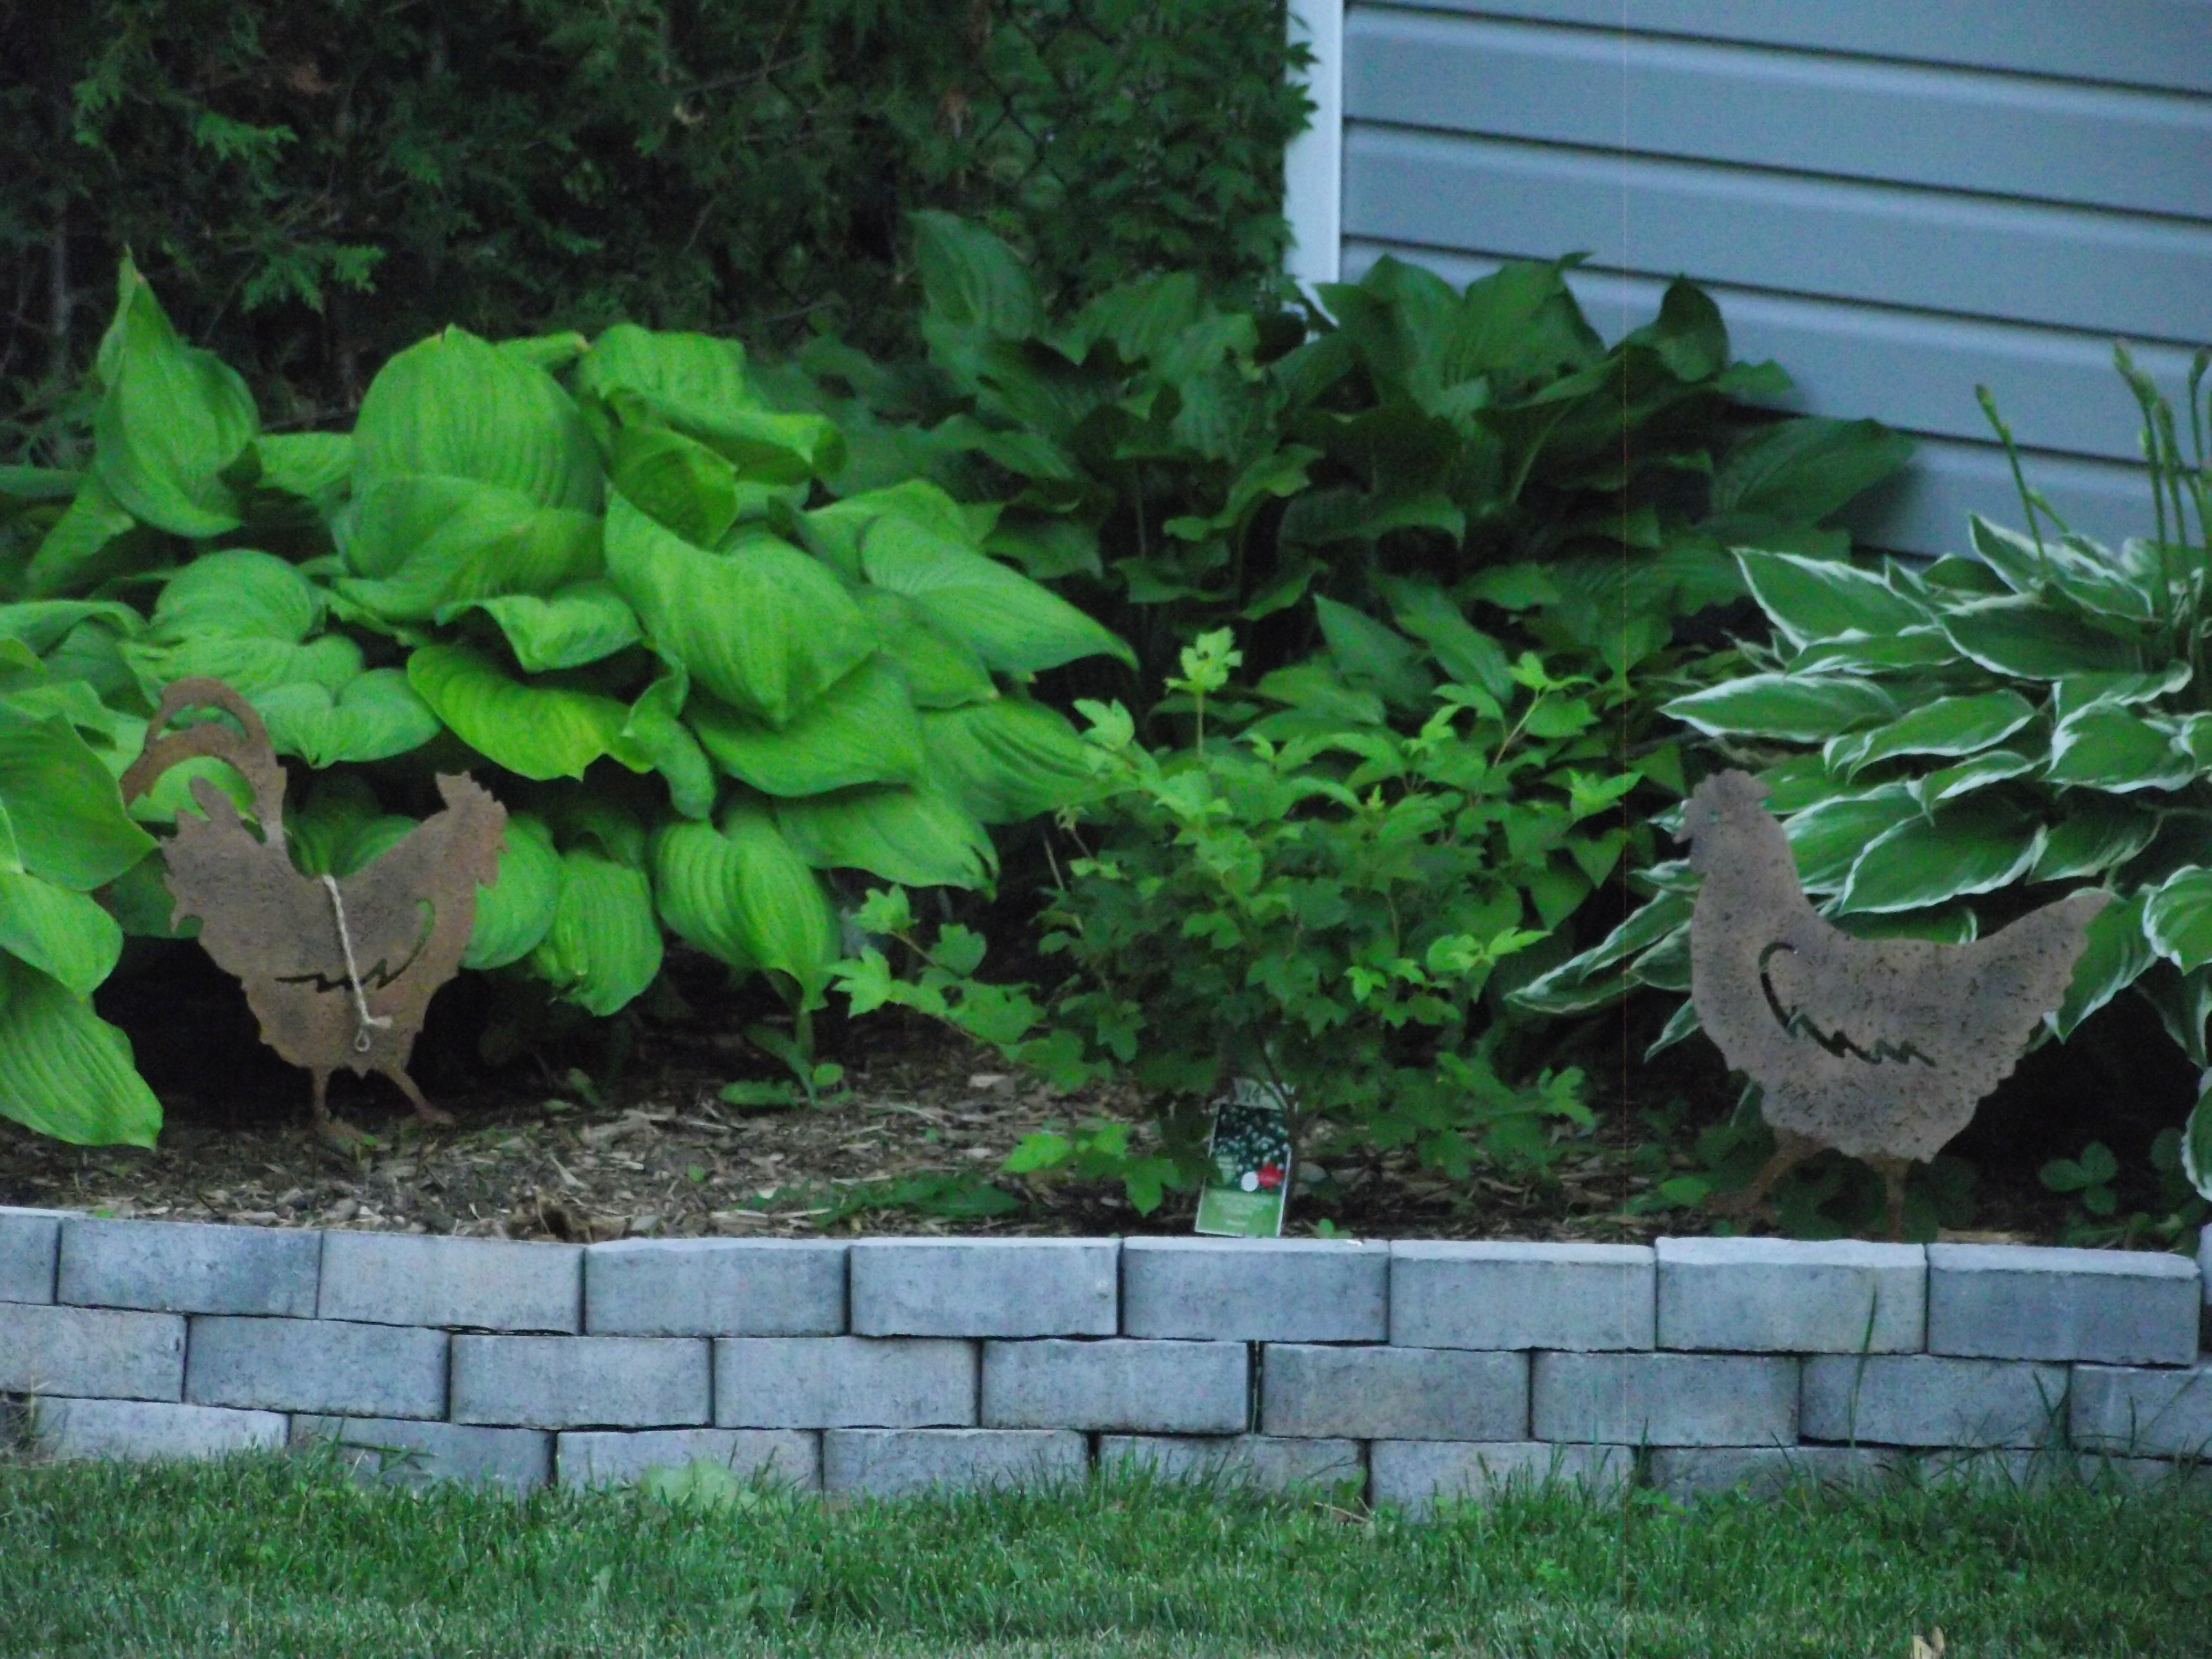
…and another planting bed beside of the garden shed. I planted a Snowball hydrangea bush here, which will grow to be 10′ high and 15′ wide…eventually. At the moment, this bed a half-way house for some displaced hostas. Next year they will be moved to their permanent home along the front of the deck.
Below, is a photo of my favourite planting bed located along the fence near the garden shed. I wanted a very natural and eclectic look, so I incorporated a “mosaic on glass” window that I made, three huge stumps from a 40-year-old tree that we had to to have cut down, a rusty old wire planter and a cute birdhouse.

Since I took this photo, the grass has become lush and green–despite this summer’s brutal heat. We pamper our grass with regular over-seeding, spring and fall fertilizers, regular mowing and by providing adequate water.
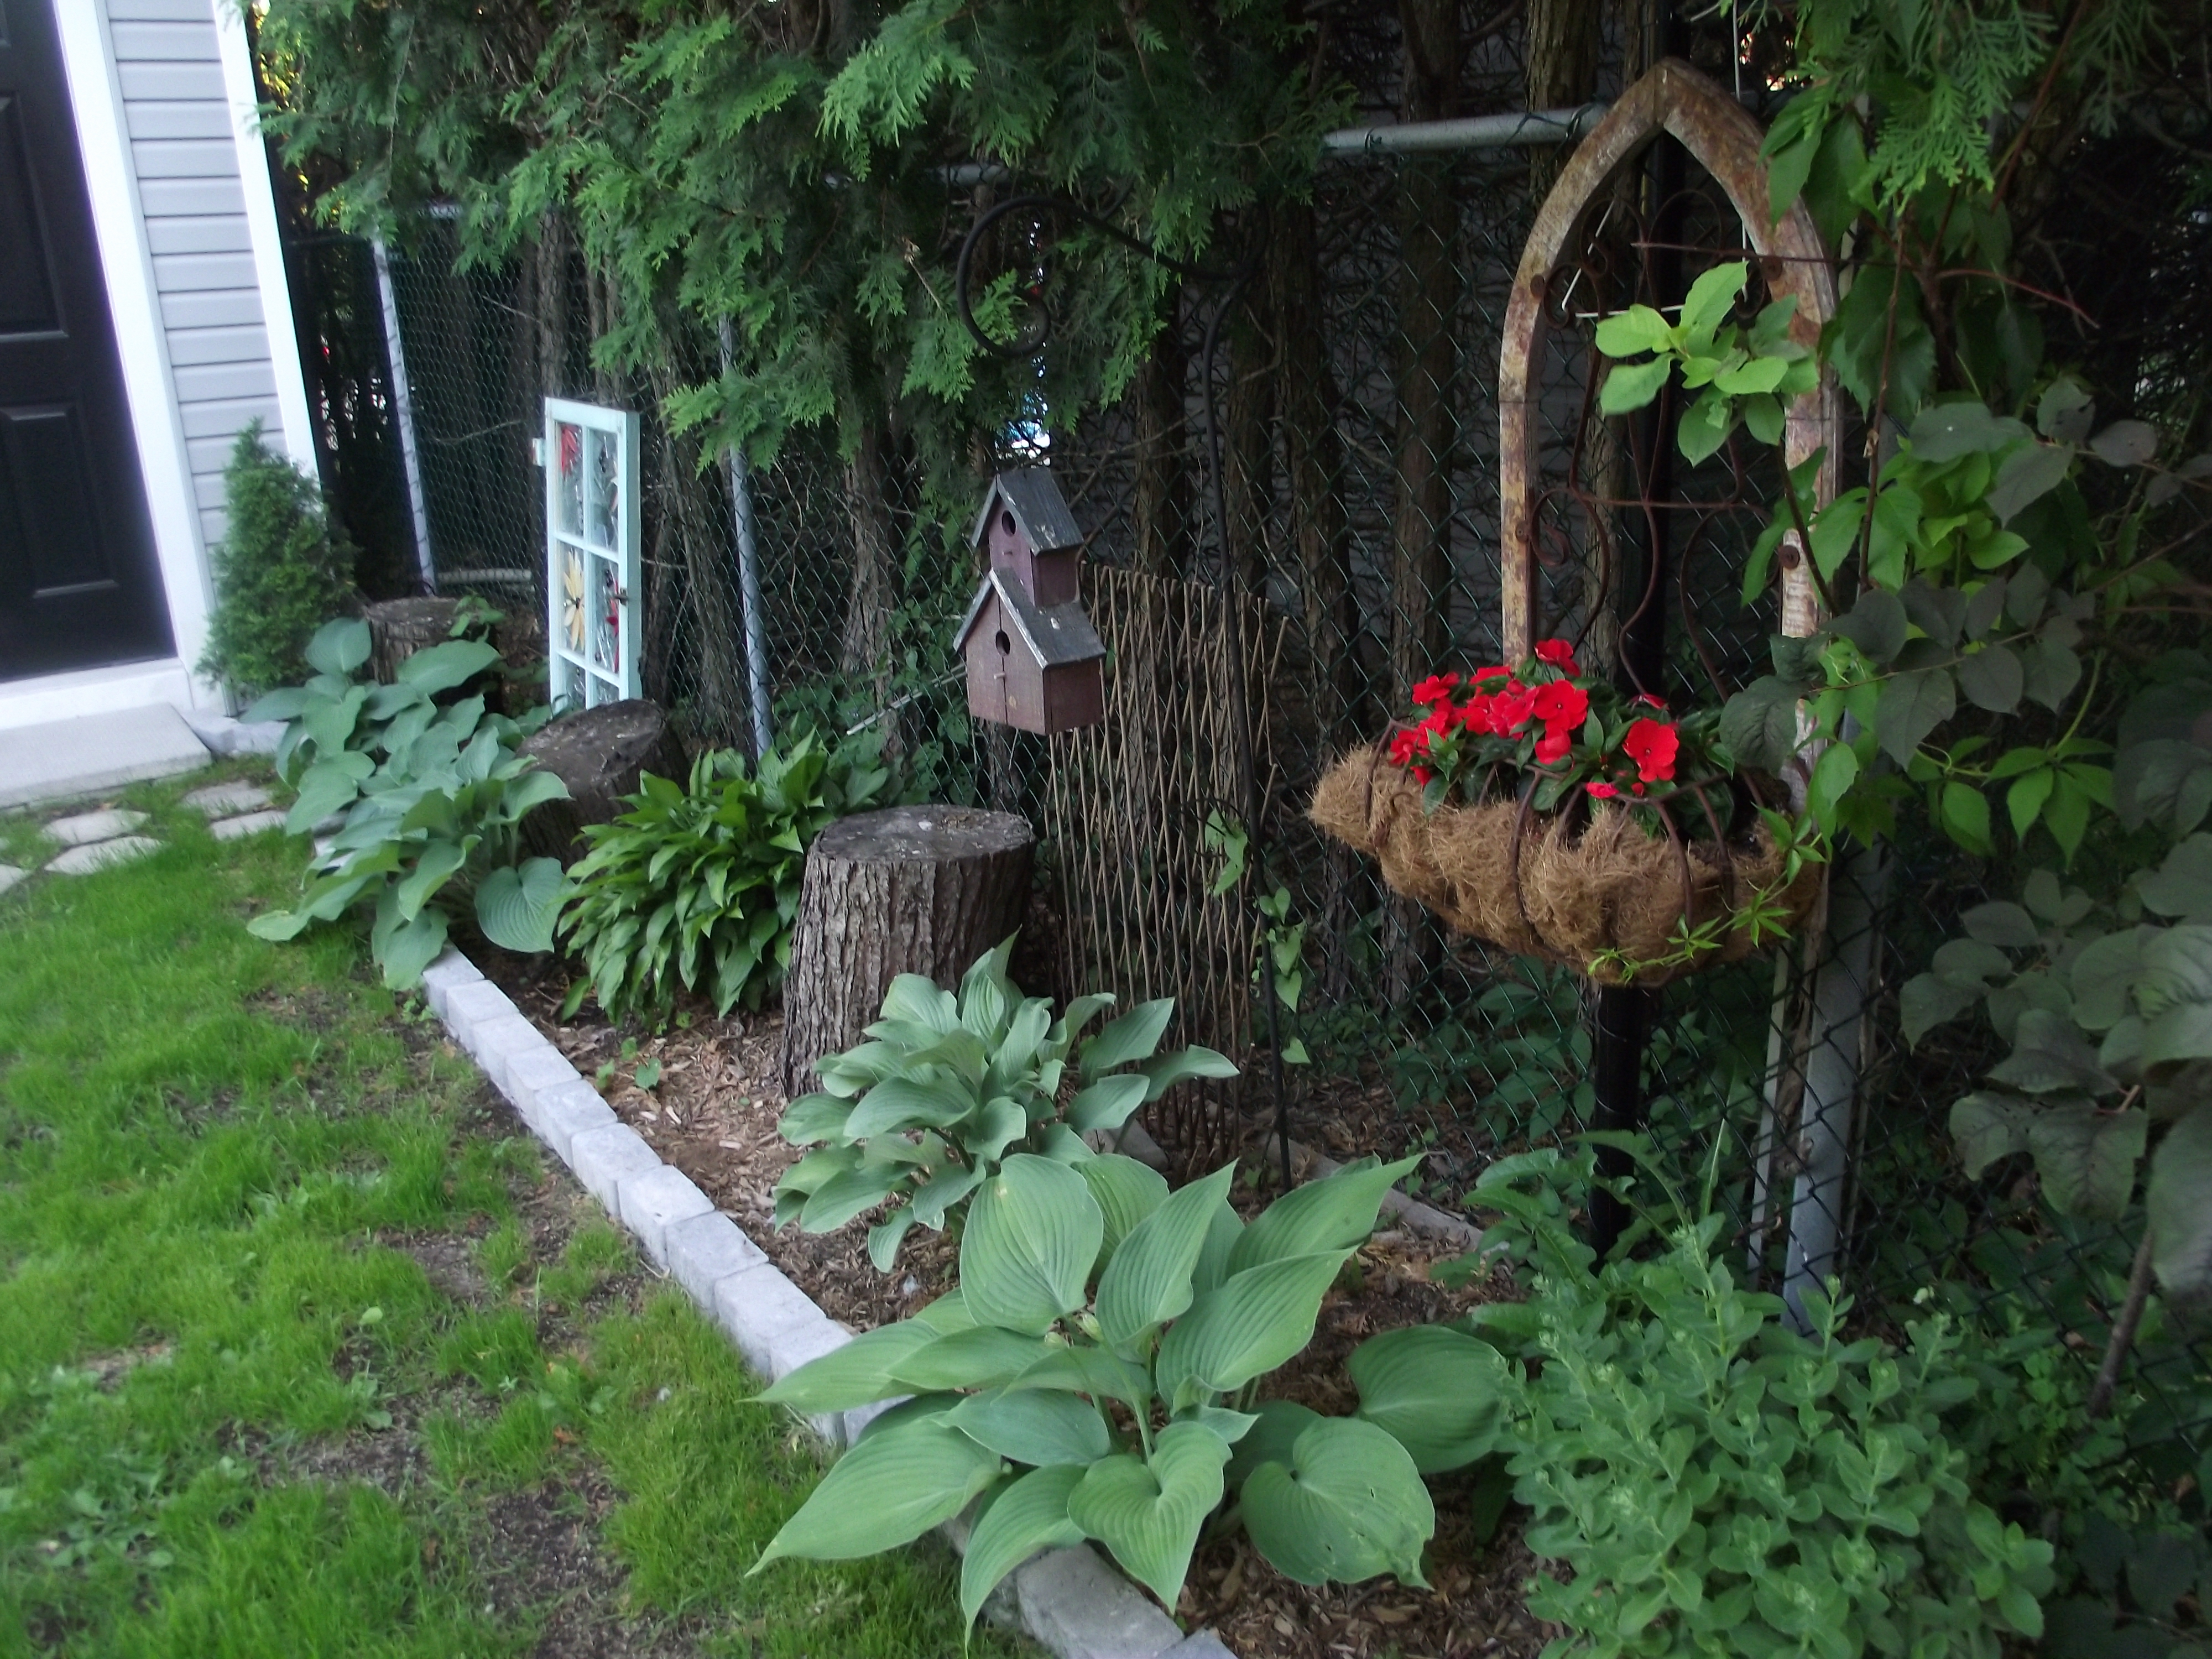
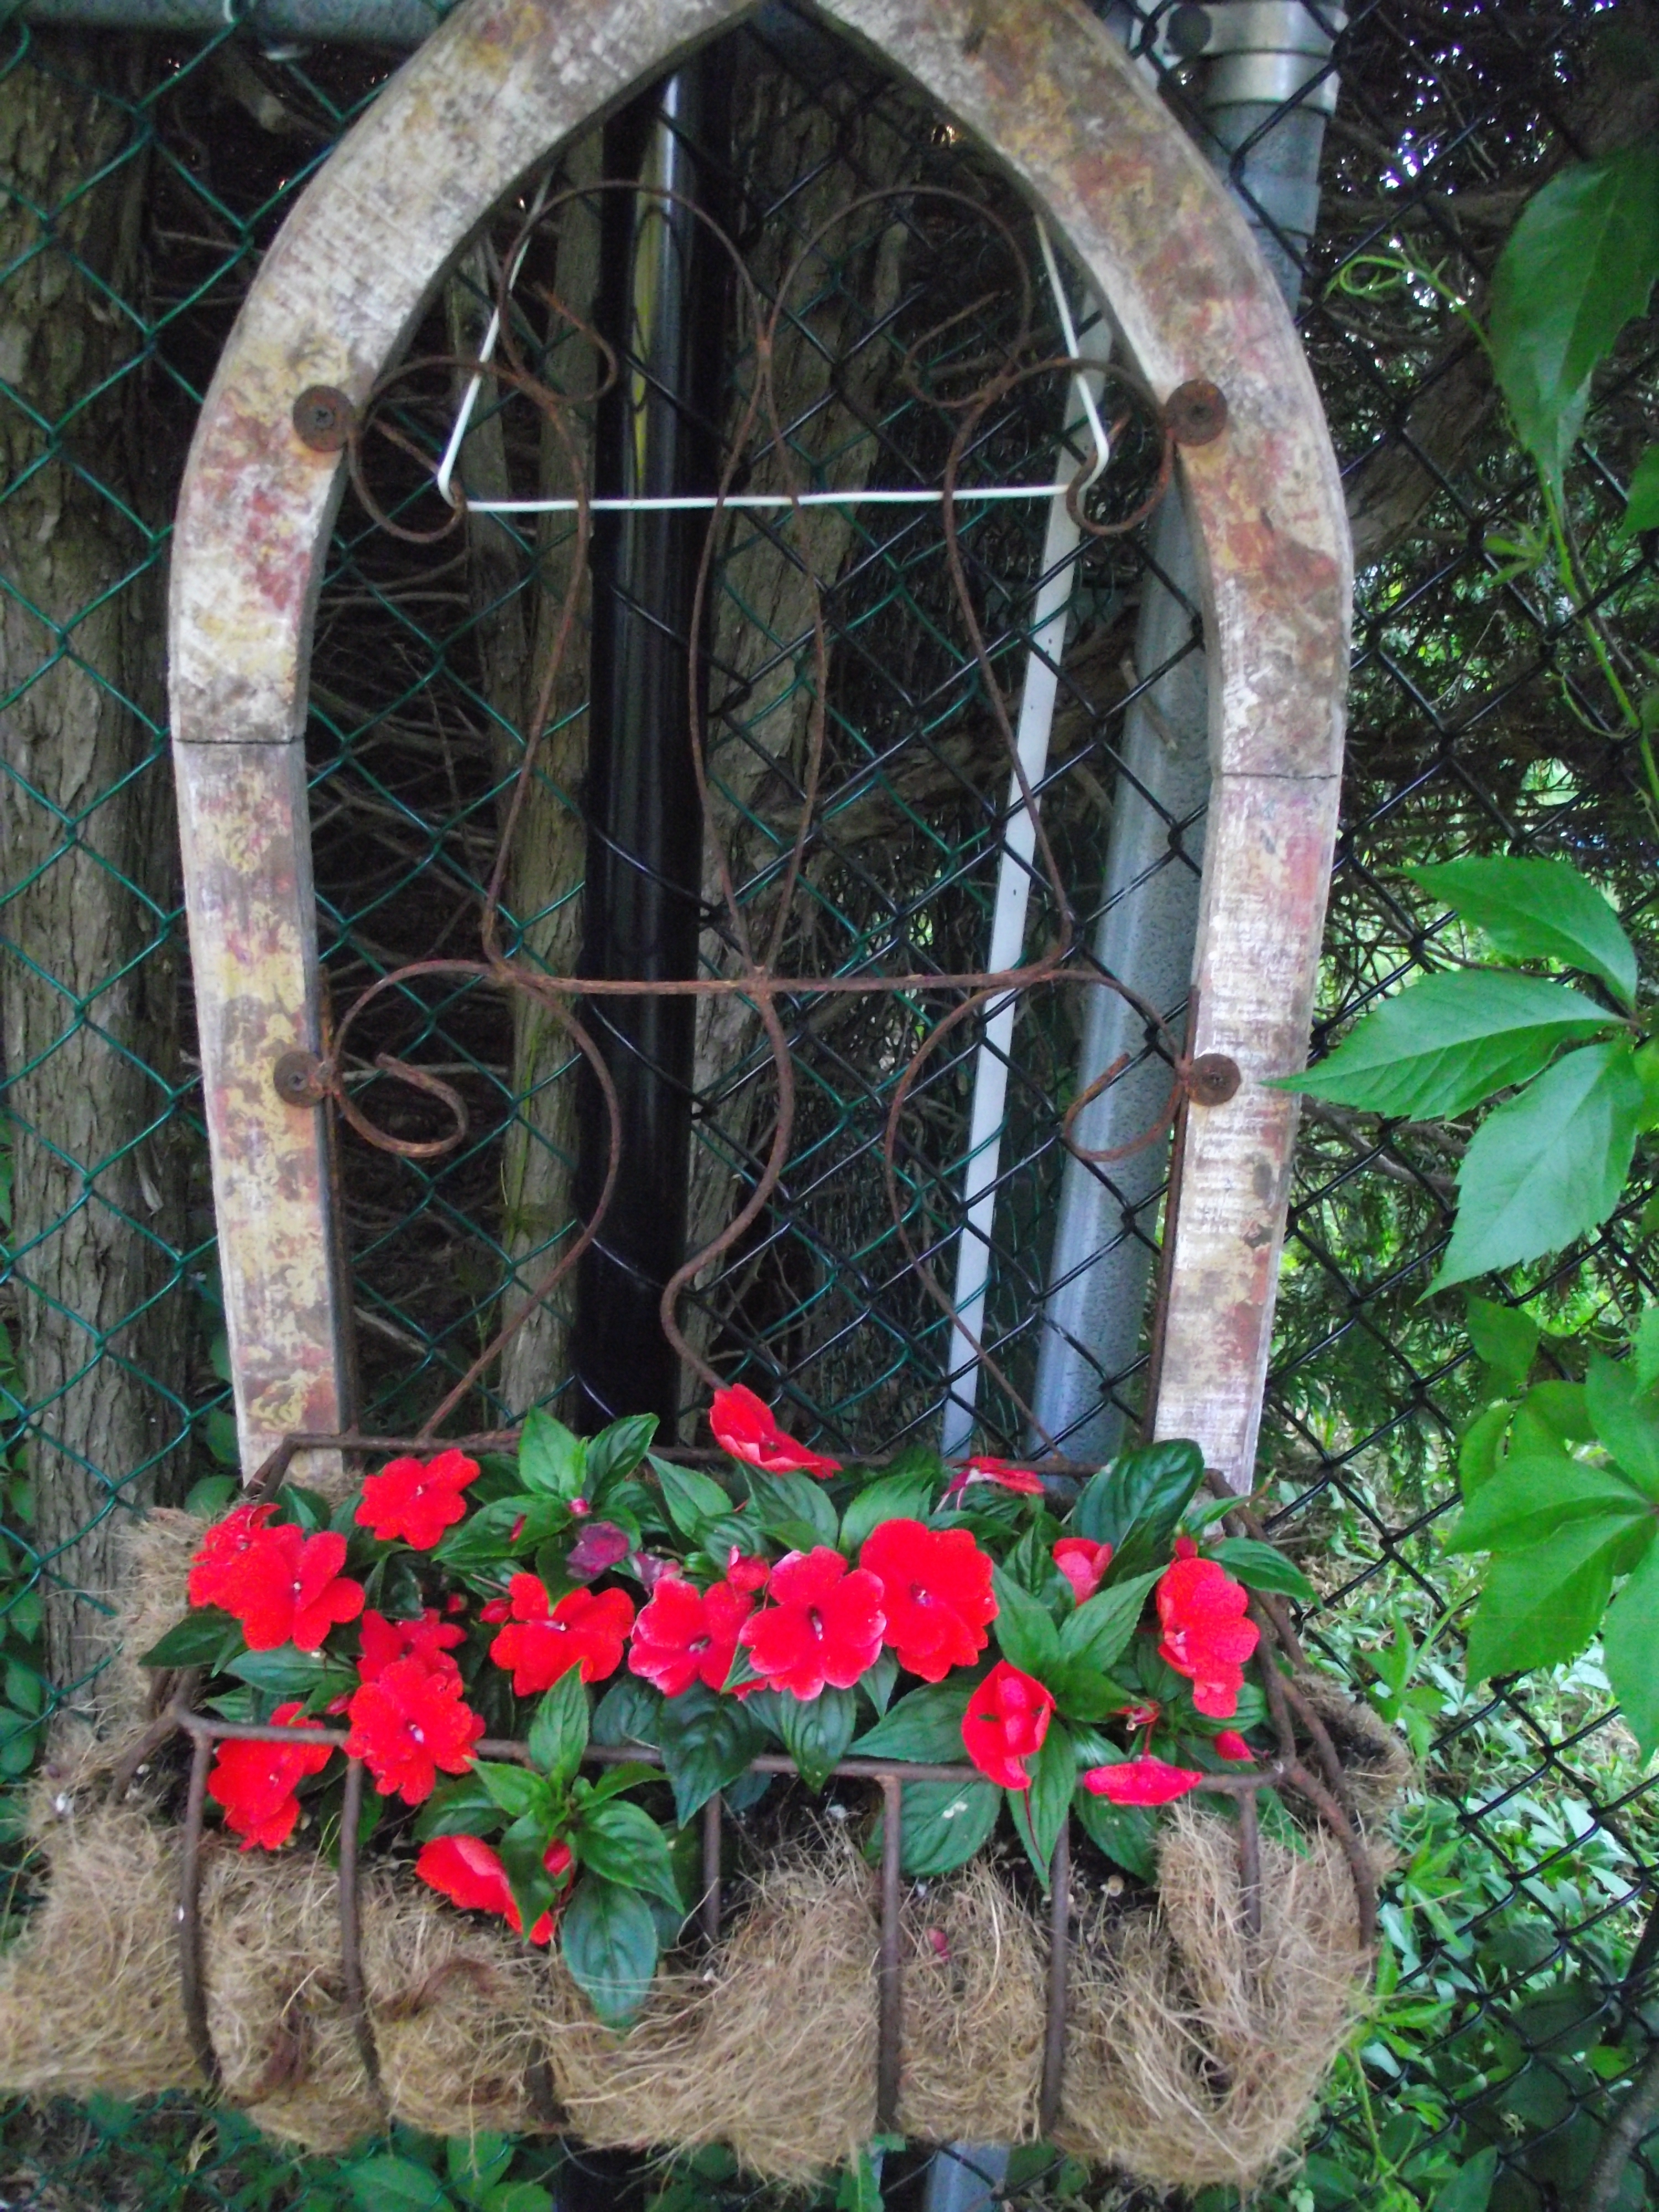
Here’s a closer look at this pretty and rustic planter that is hanging on the fence–a treasure I bought from a local antique dealer (very cheap).
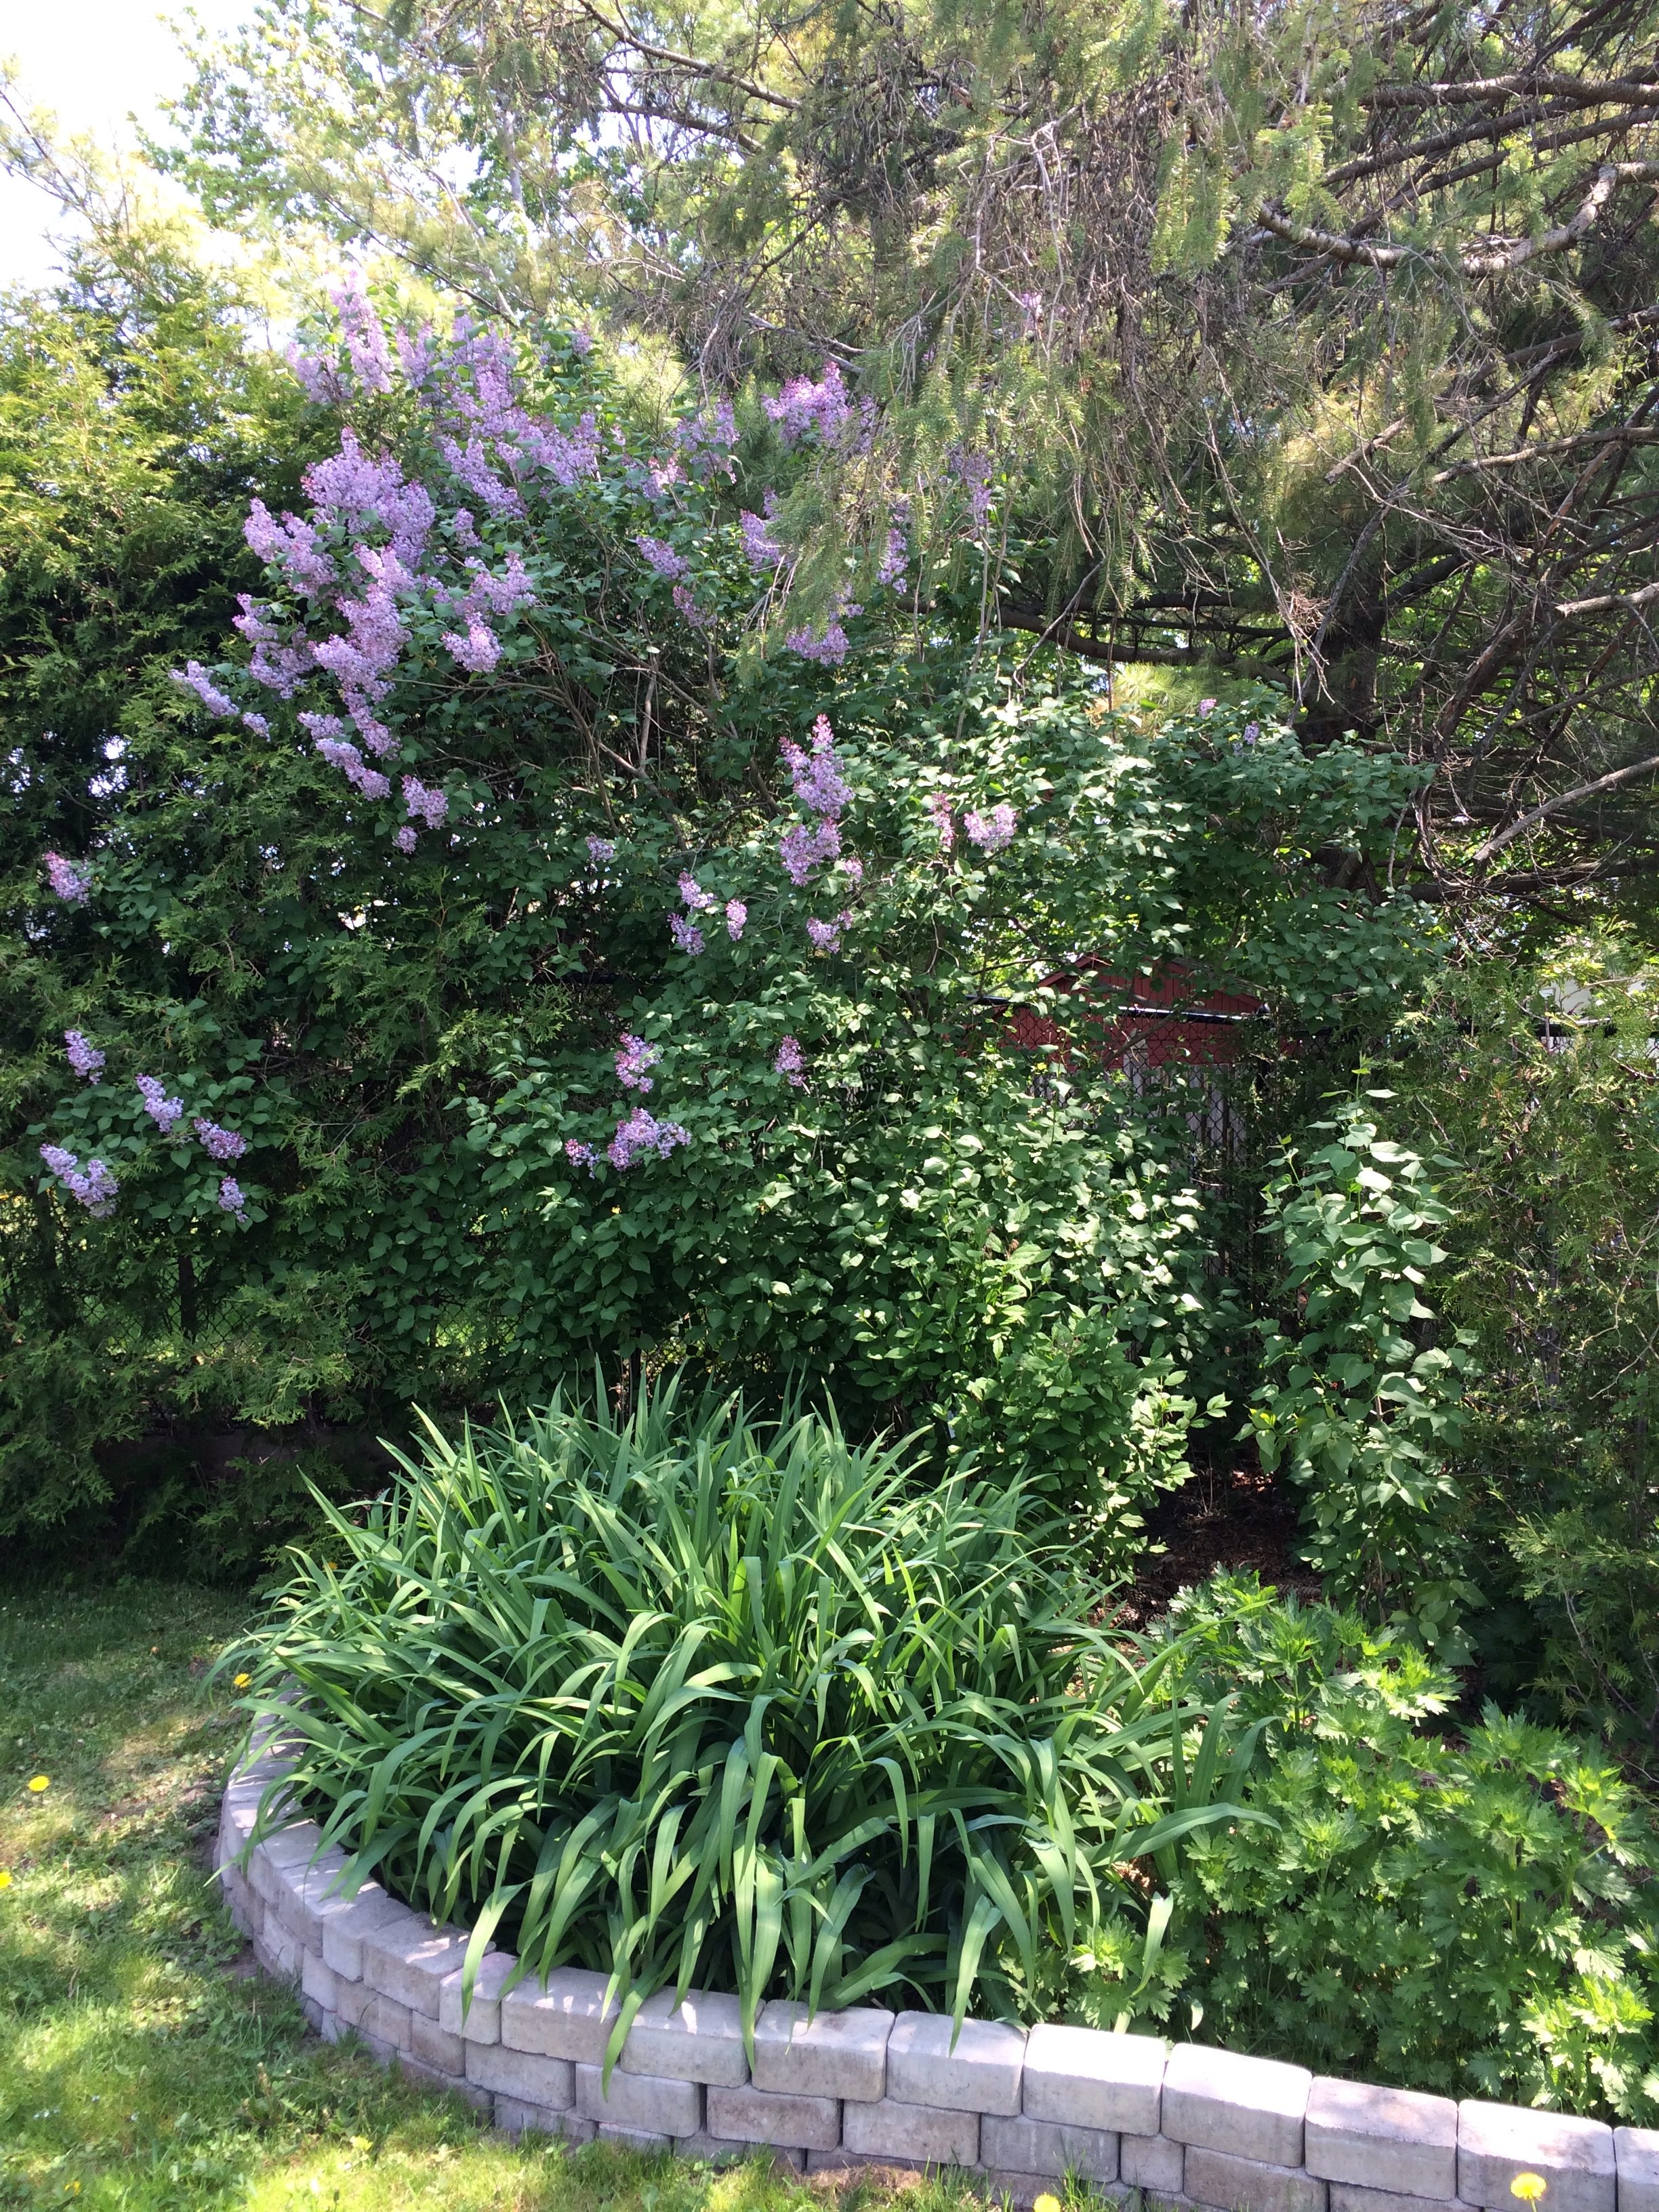
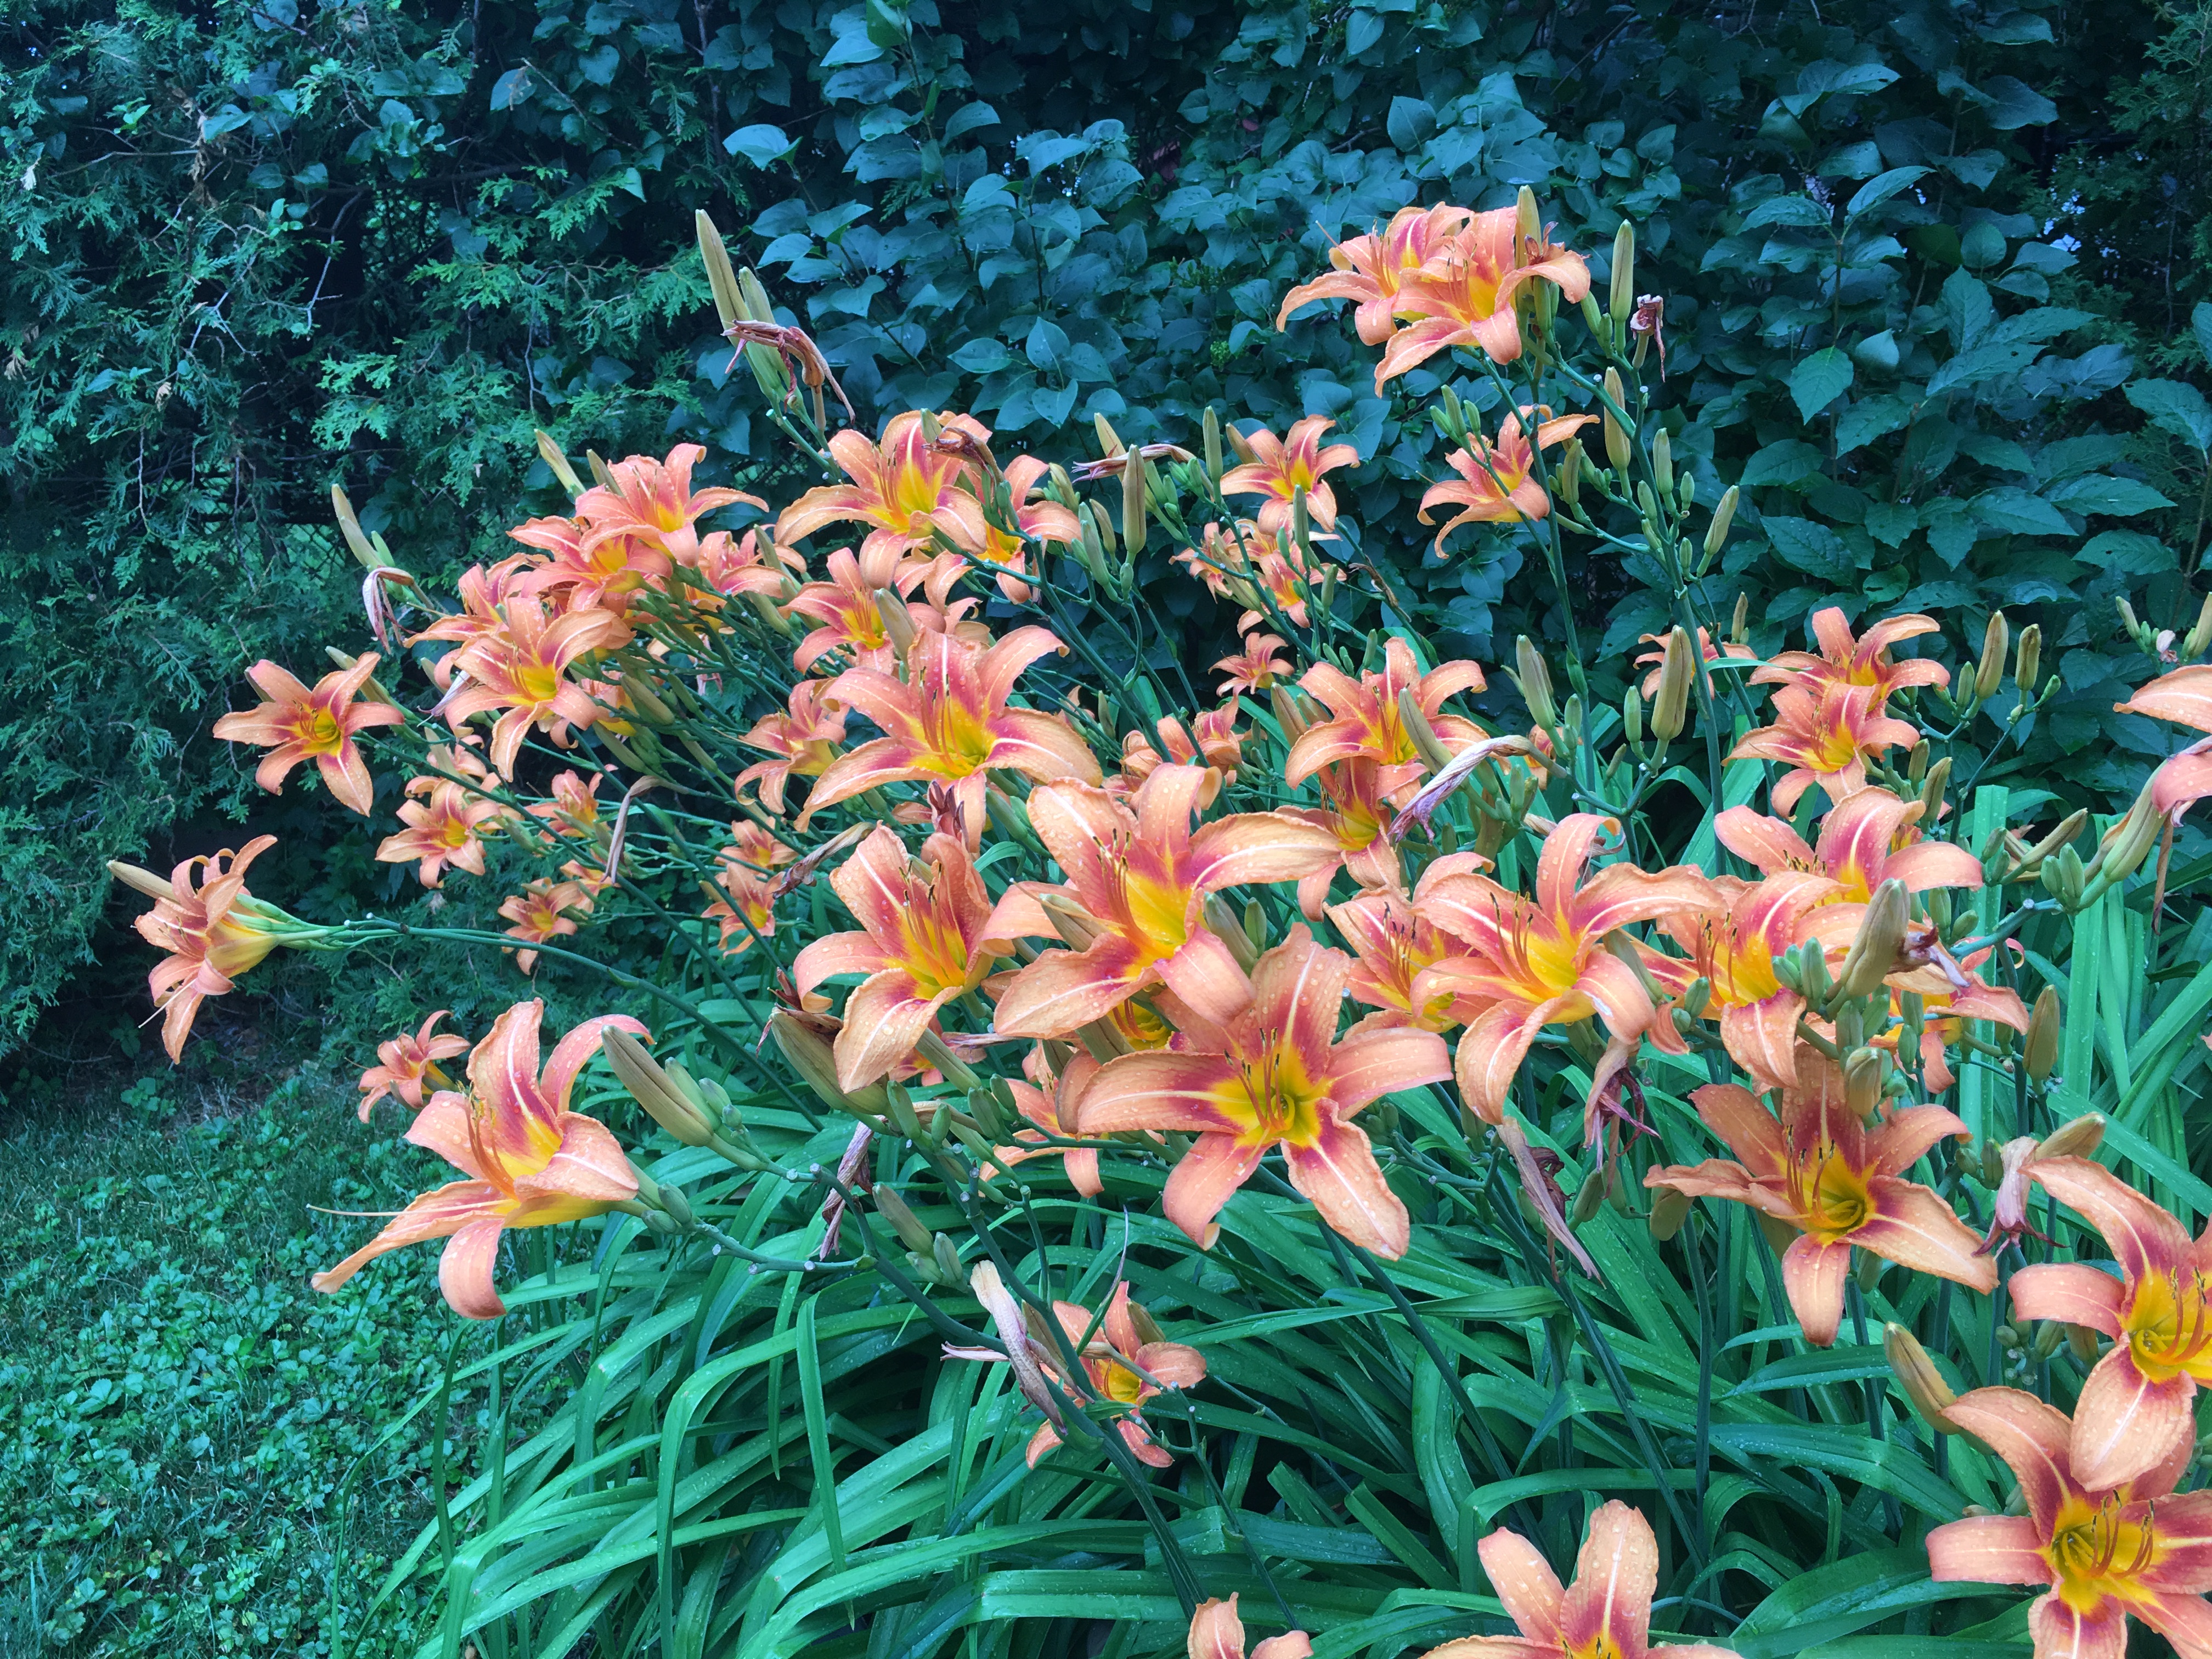
Next, is our orange lilies bed, with our lilac buses in the background. They totally fill up one corner of our yard.
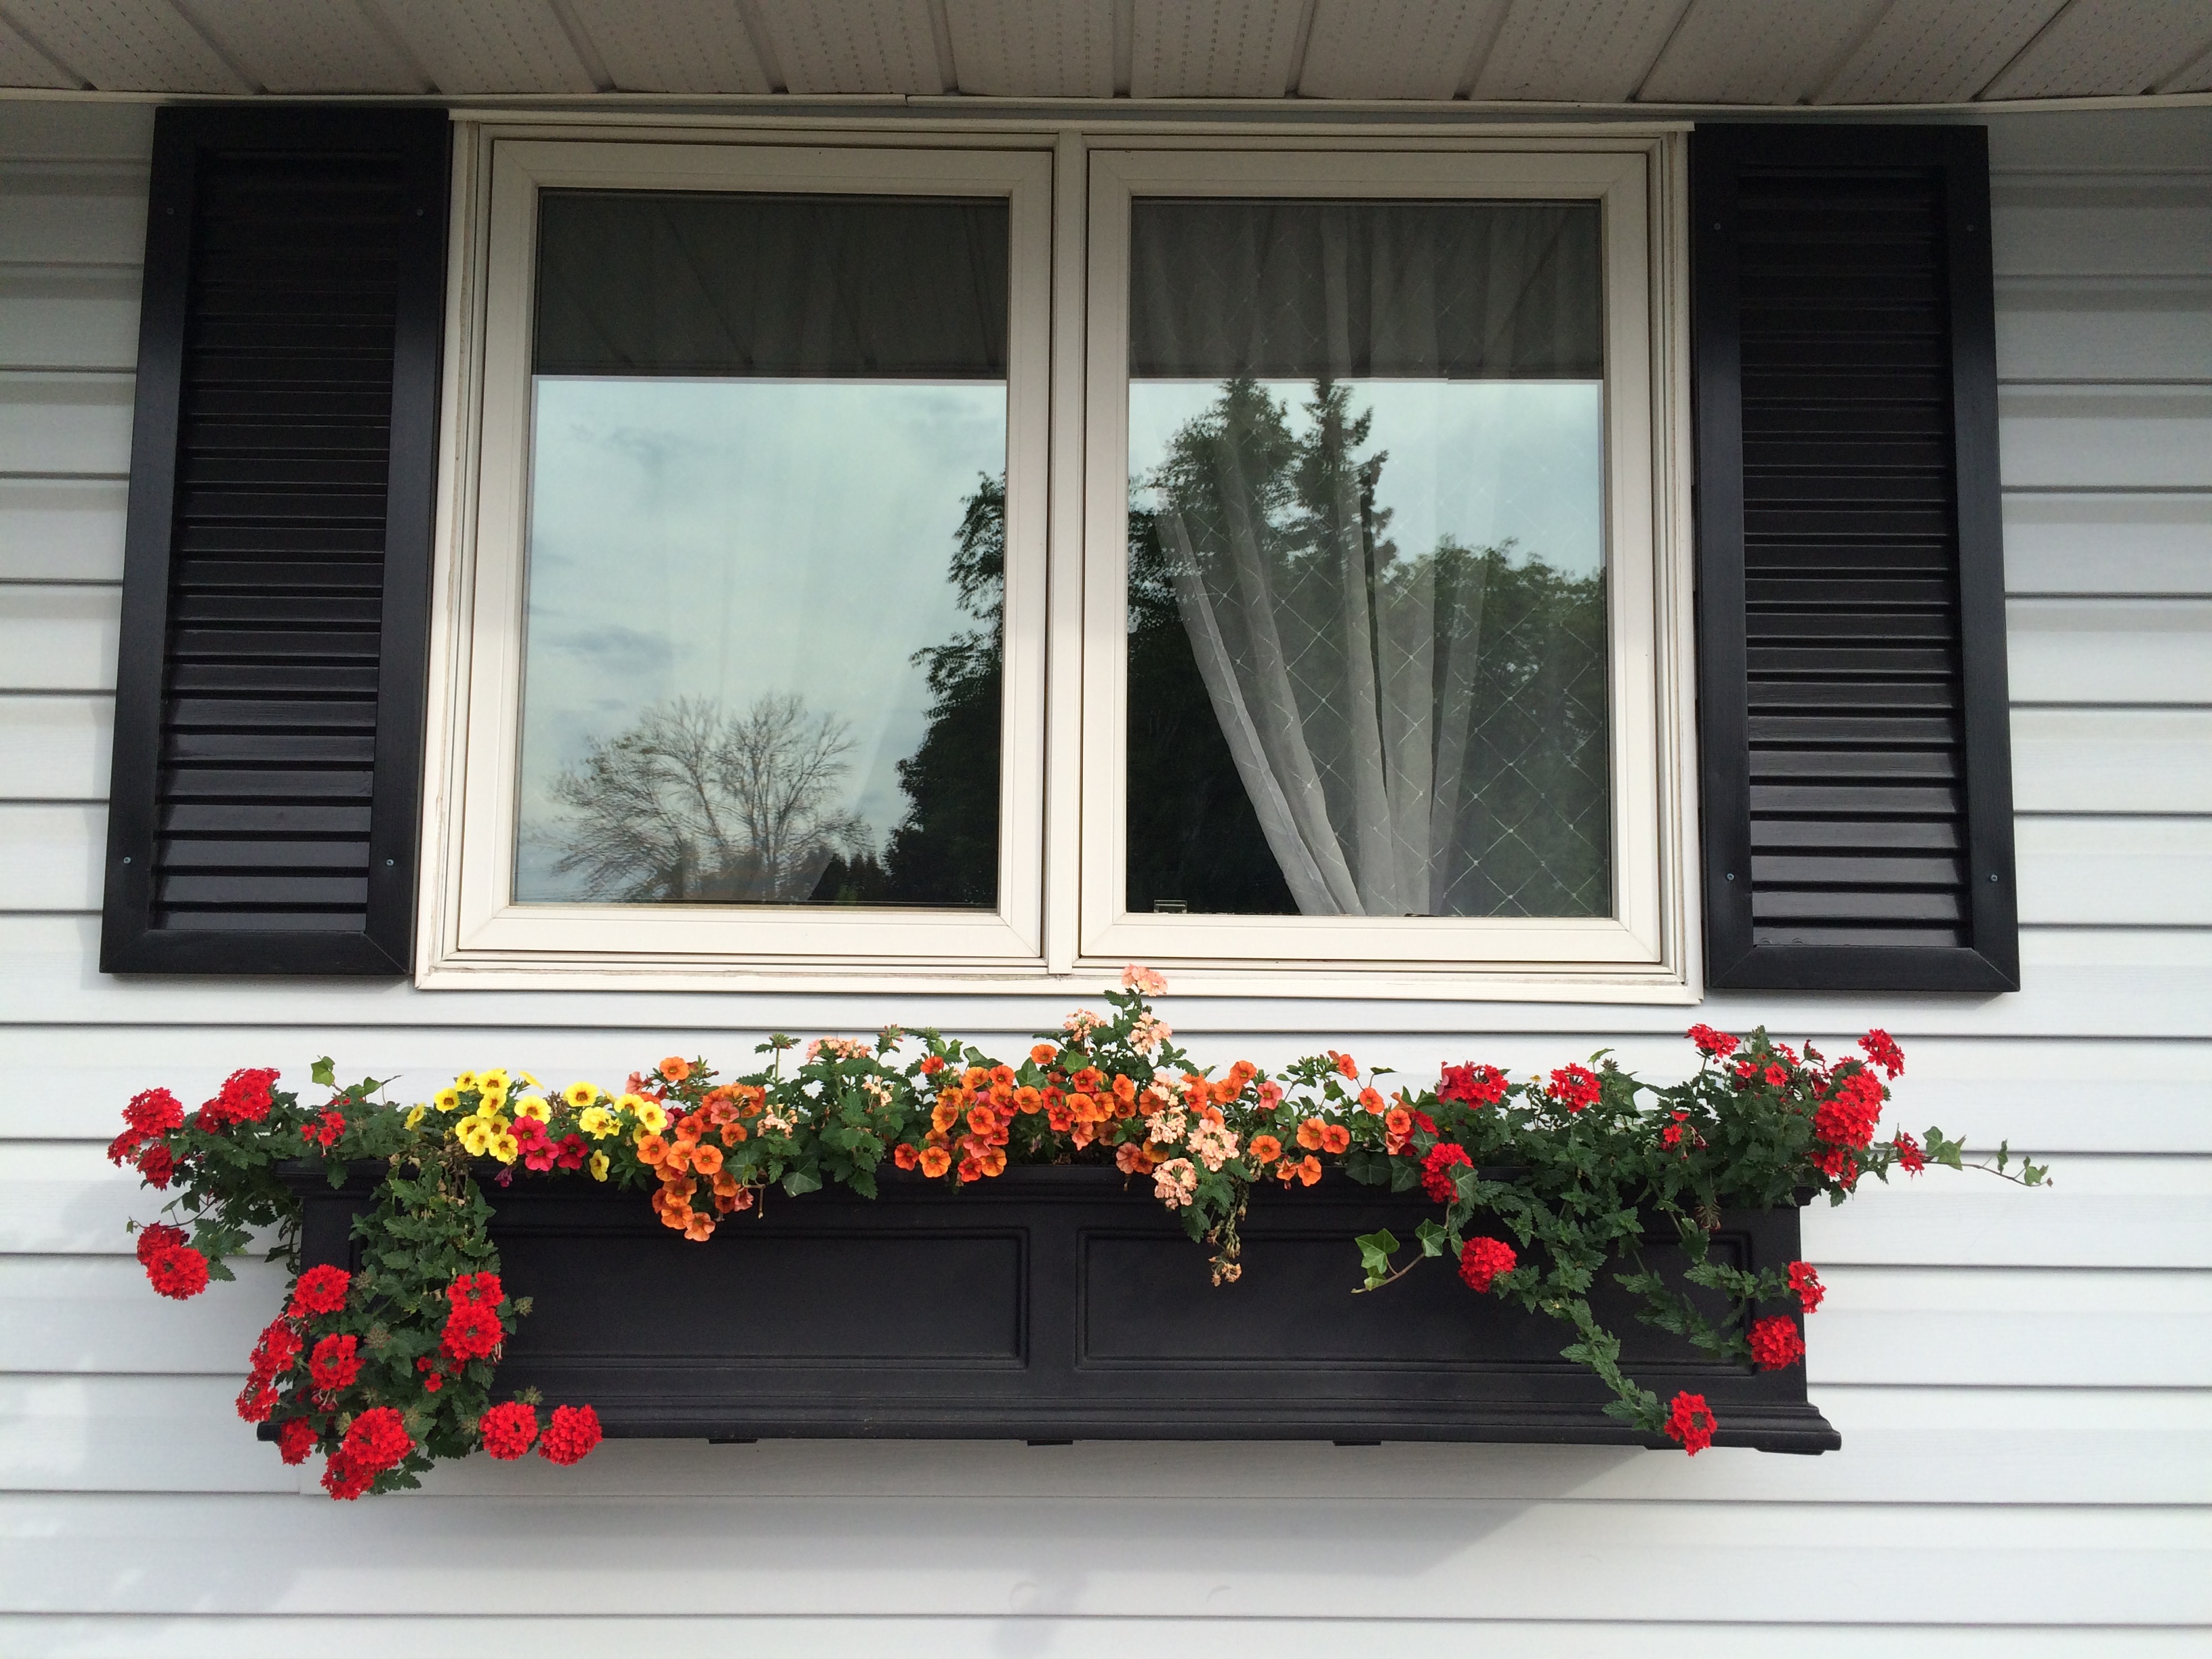
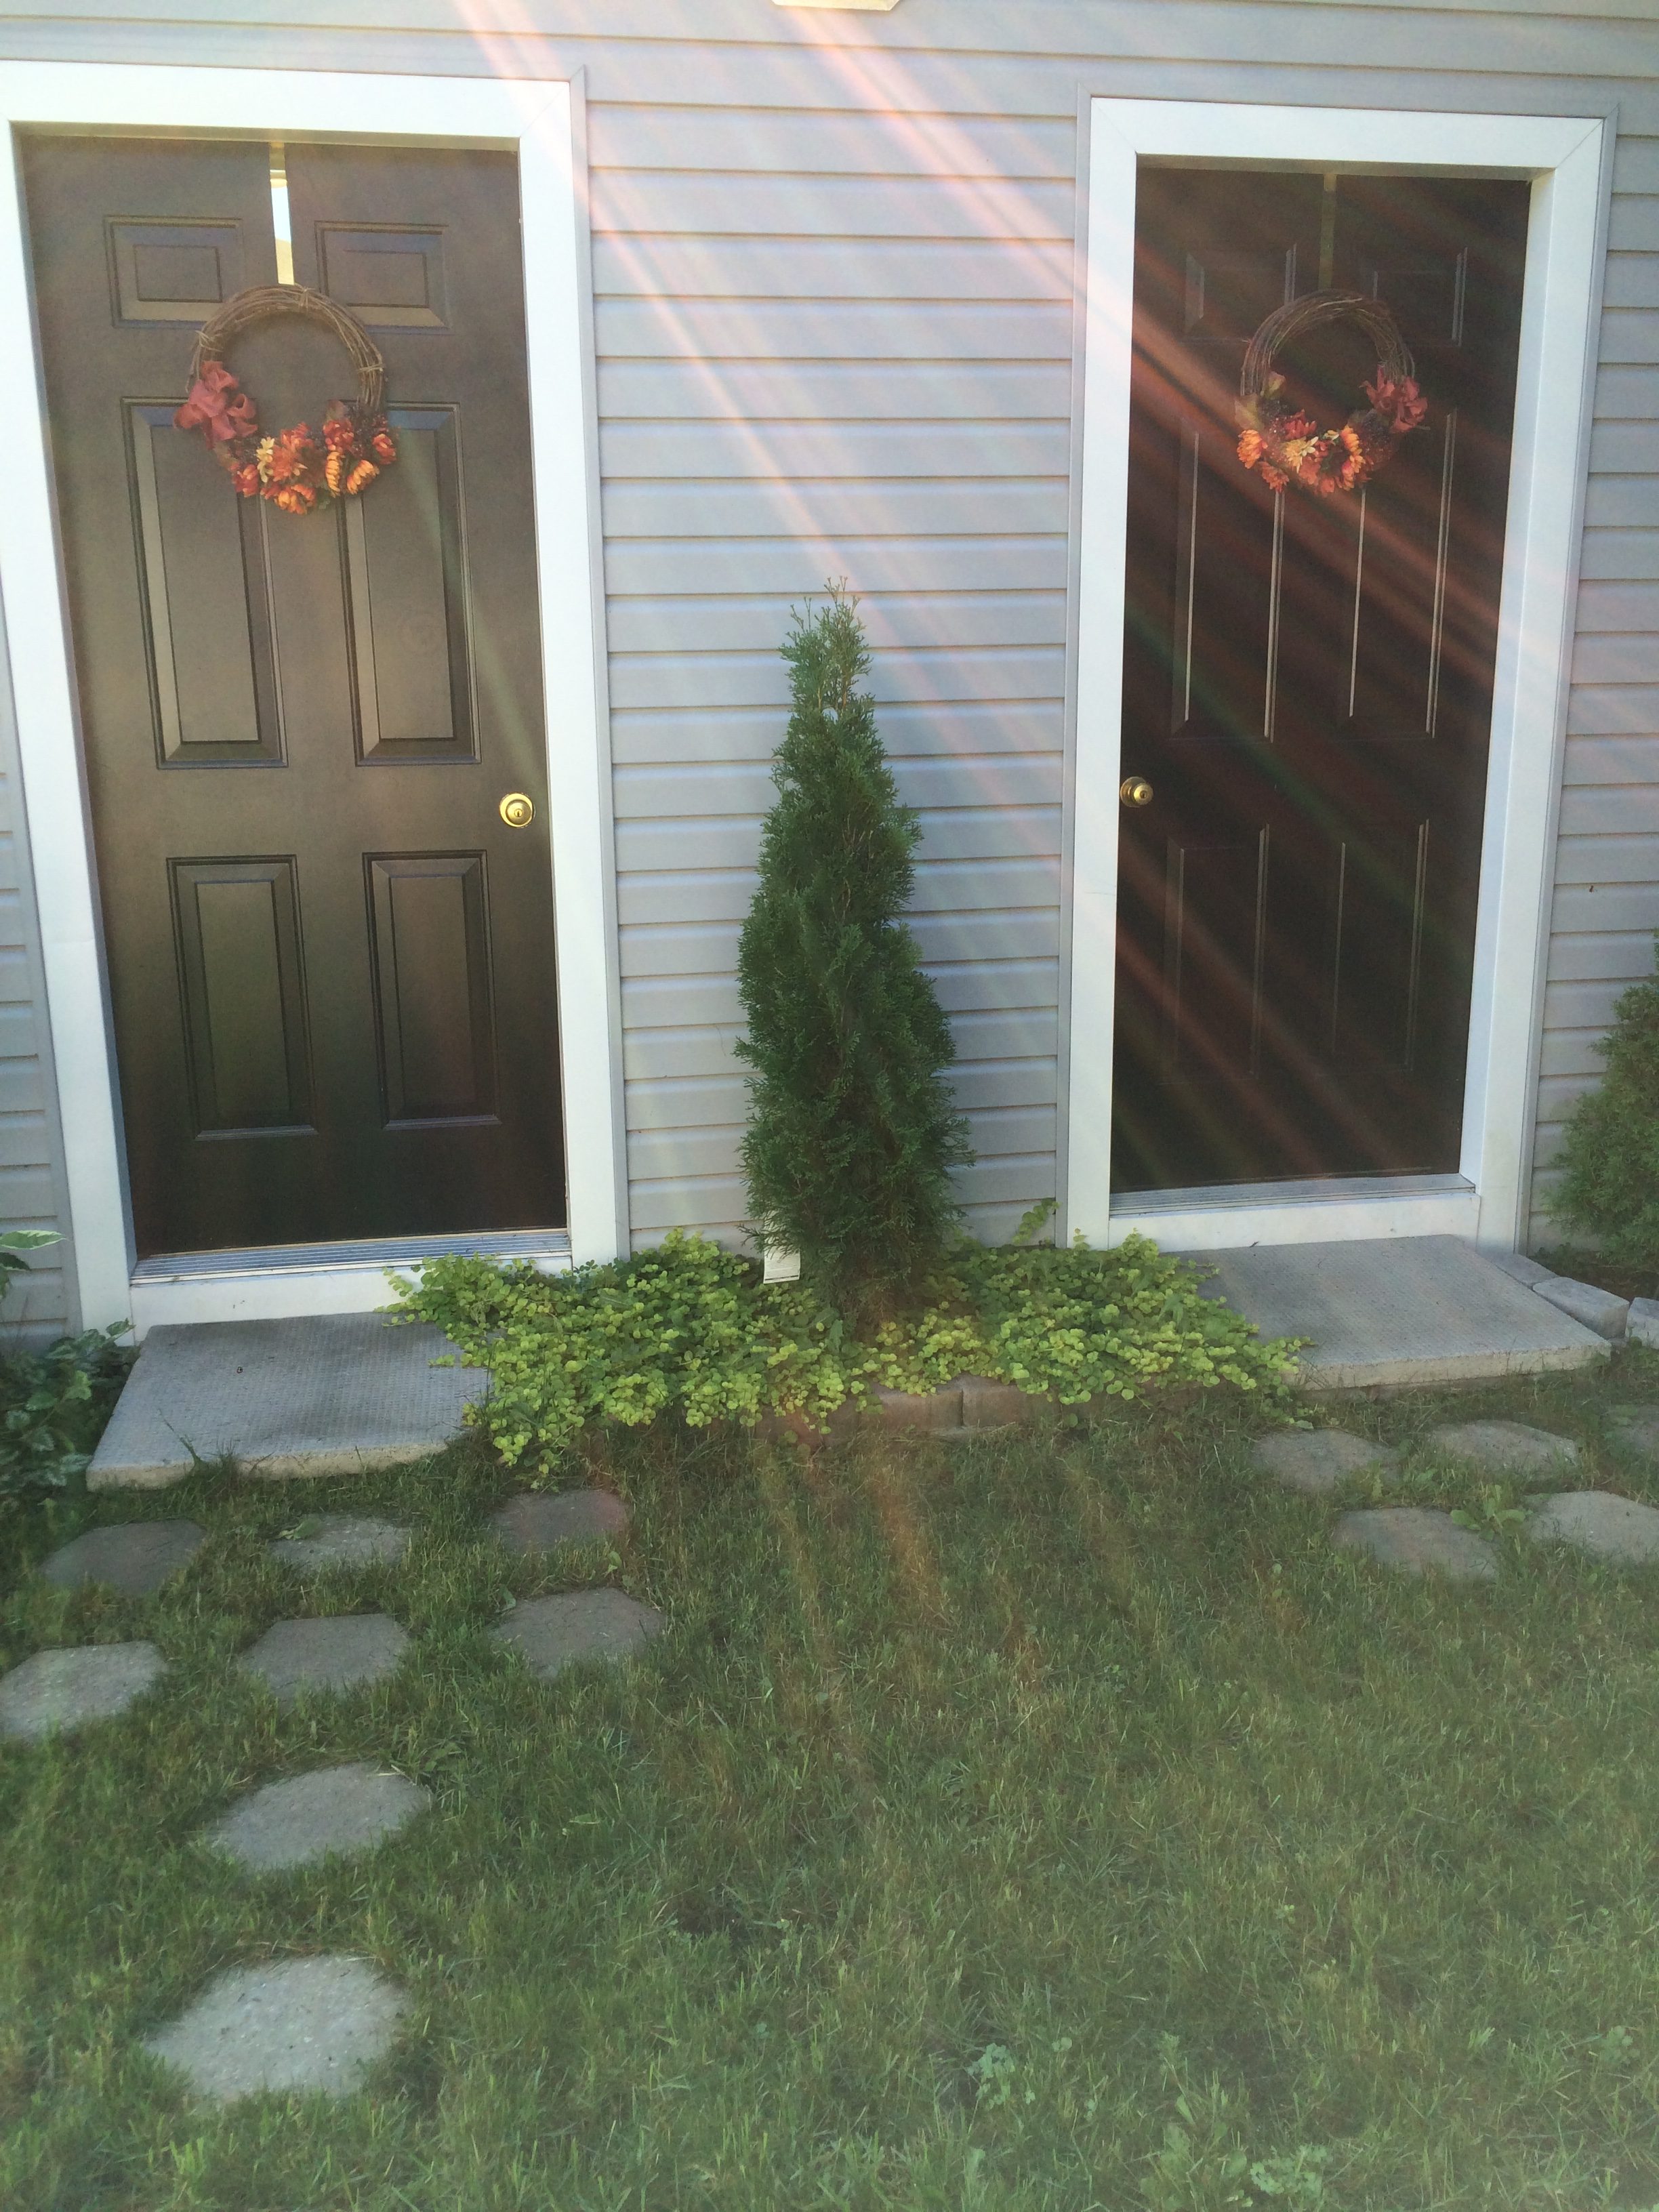
I painted the doors on our garden shed a shiny black to match the doors, window boxes and shutters on our house. I made two grapevine wreaths and hung one on each door. Such a pretty effect, don’t you think? A slender, slow-growing cedar tree adds a touch of nature! Again, using salvaged patio stones, we created a little walkway. I love how the vibrant green ground cover has eliminated weeds around the cedar and has started to soften the harsh edges of the patio slabs. Aren’t the sun rays pretty?
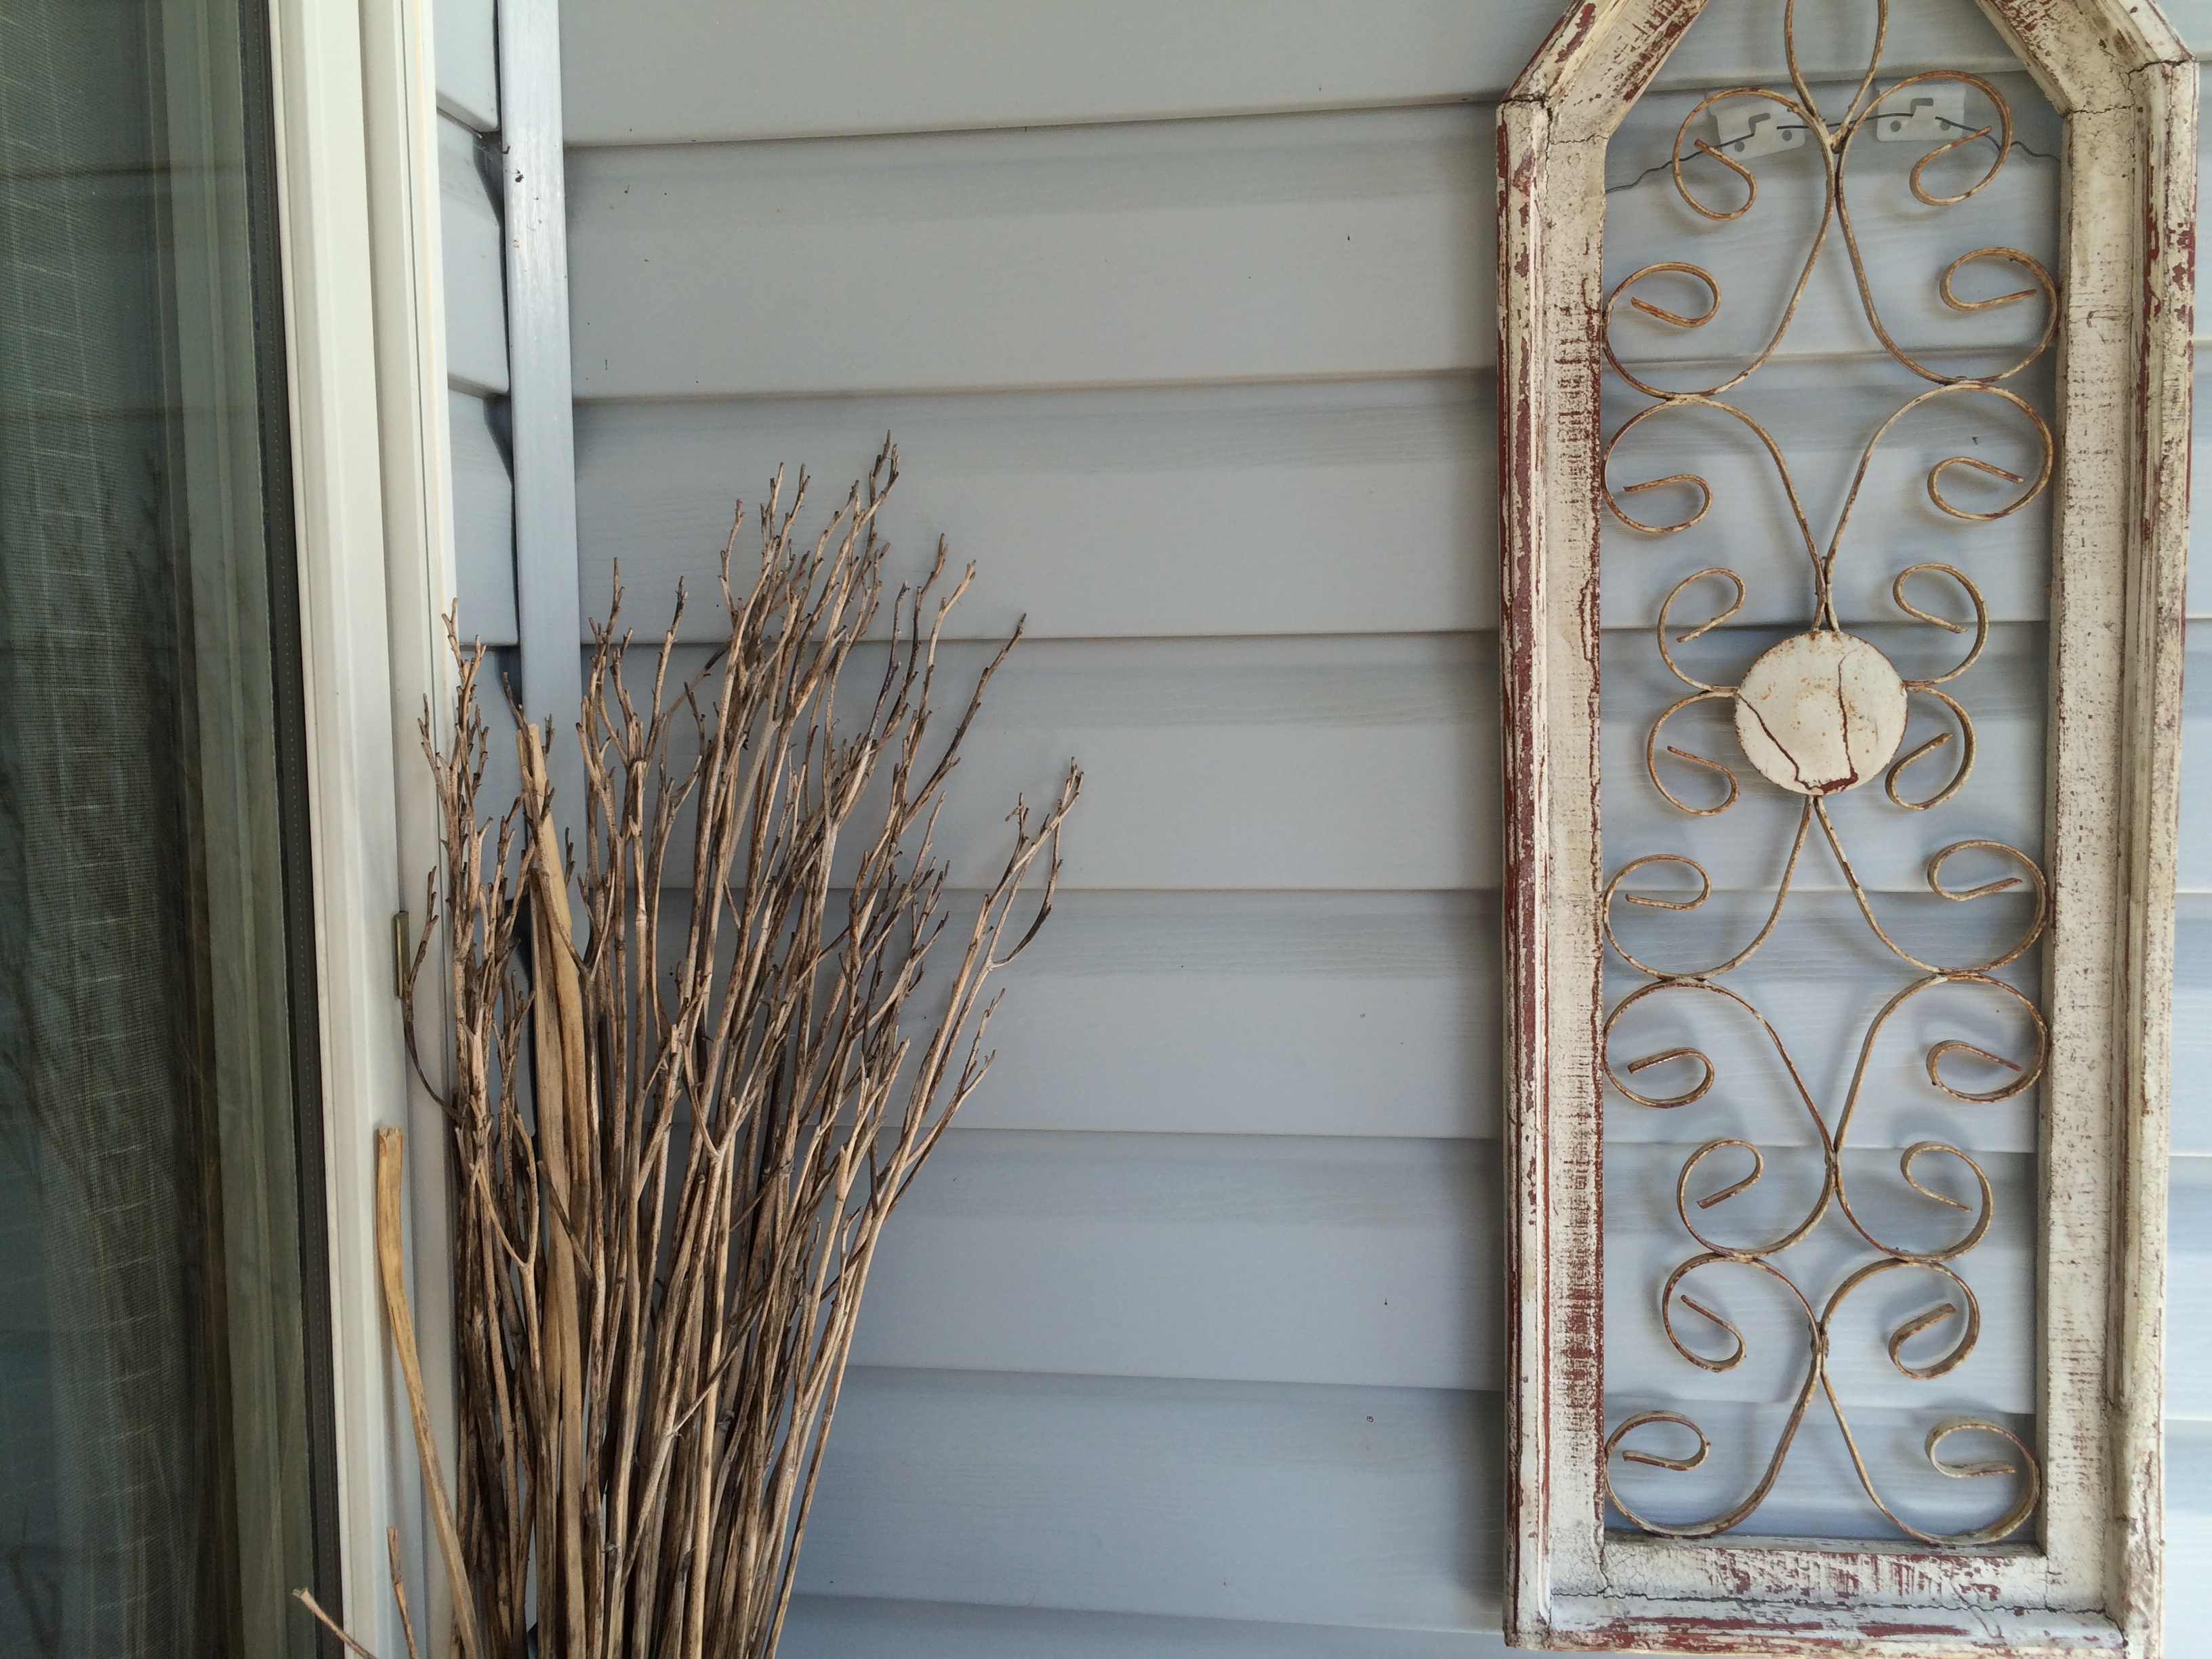
Just outside our back door, which opens onto the deck, there’s a wicker table (not shown in this photo) that I bought at Canadian Tire a couple of years ago and then decided not to use it where I had originally planned. Above it I hung a shabby chic grill that’s shaped like a church window–another antique yard find. The sheaf of straw-like spears in the corner are the 4′ high stems from last year’s orange lilies that I tied with some twine. (Notes: 1) after the lilies have bloomed and dried, the stems pull out effortlessly; 2) no need to use nails or screws to hang things on your house–you can buy “brick clips” and “siding clips”).
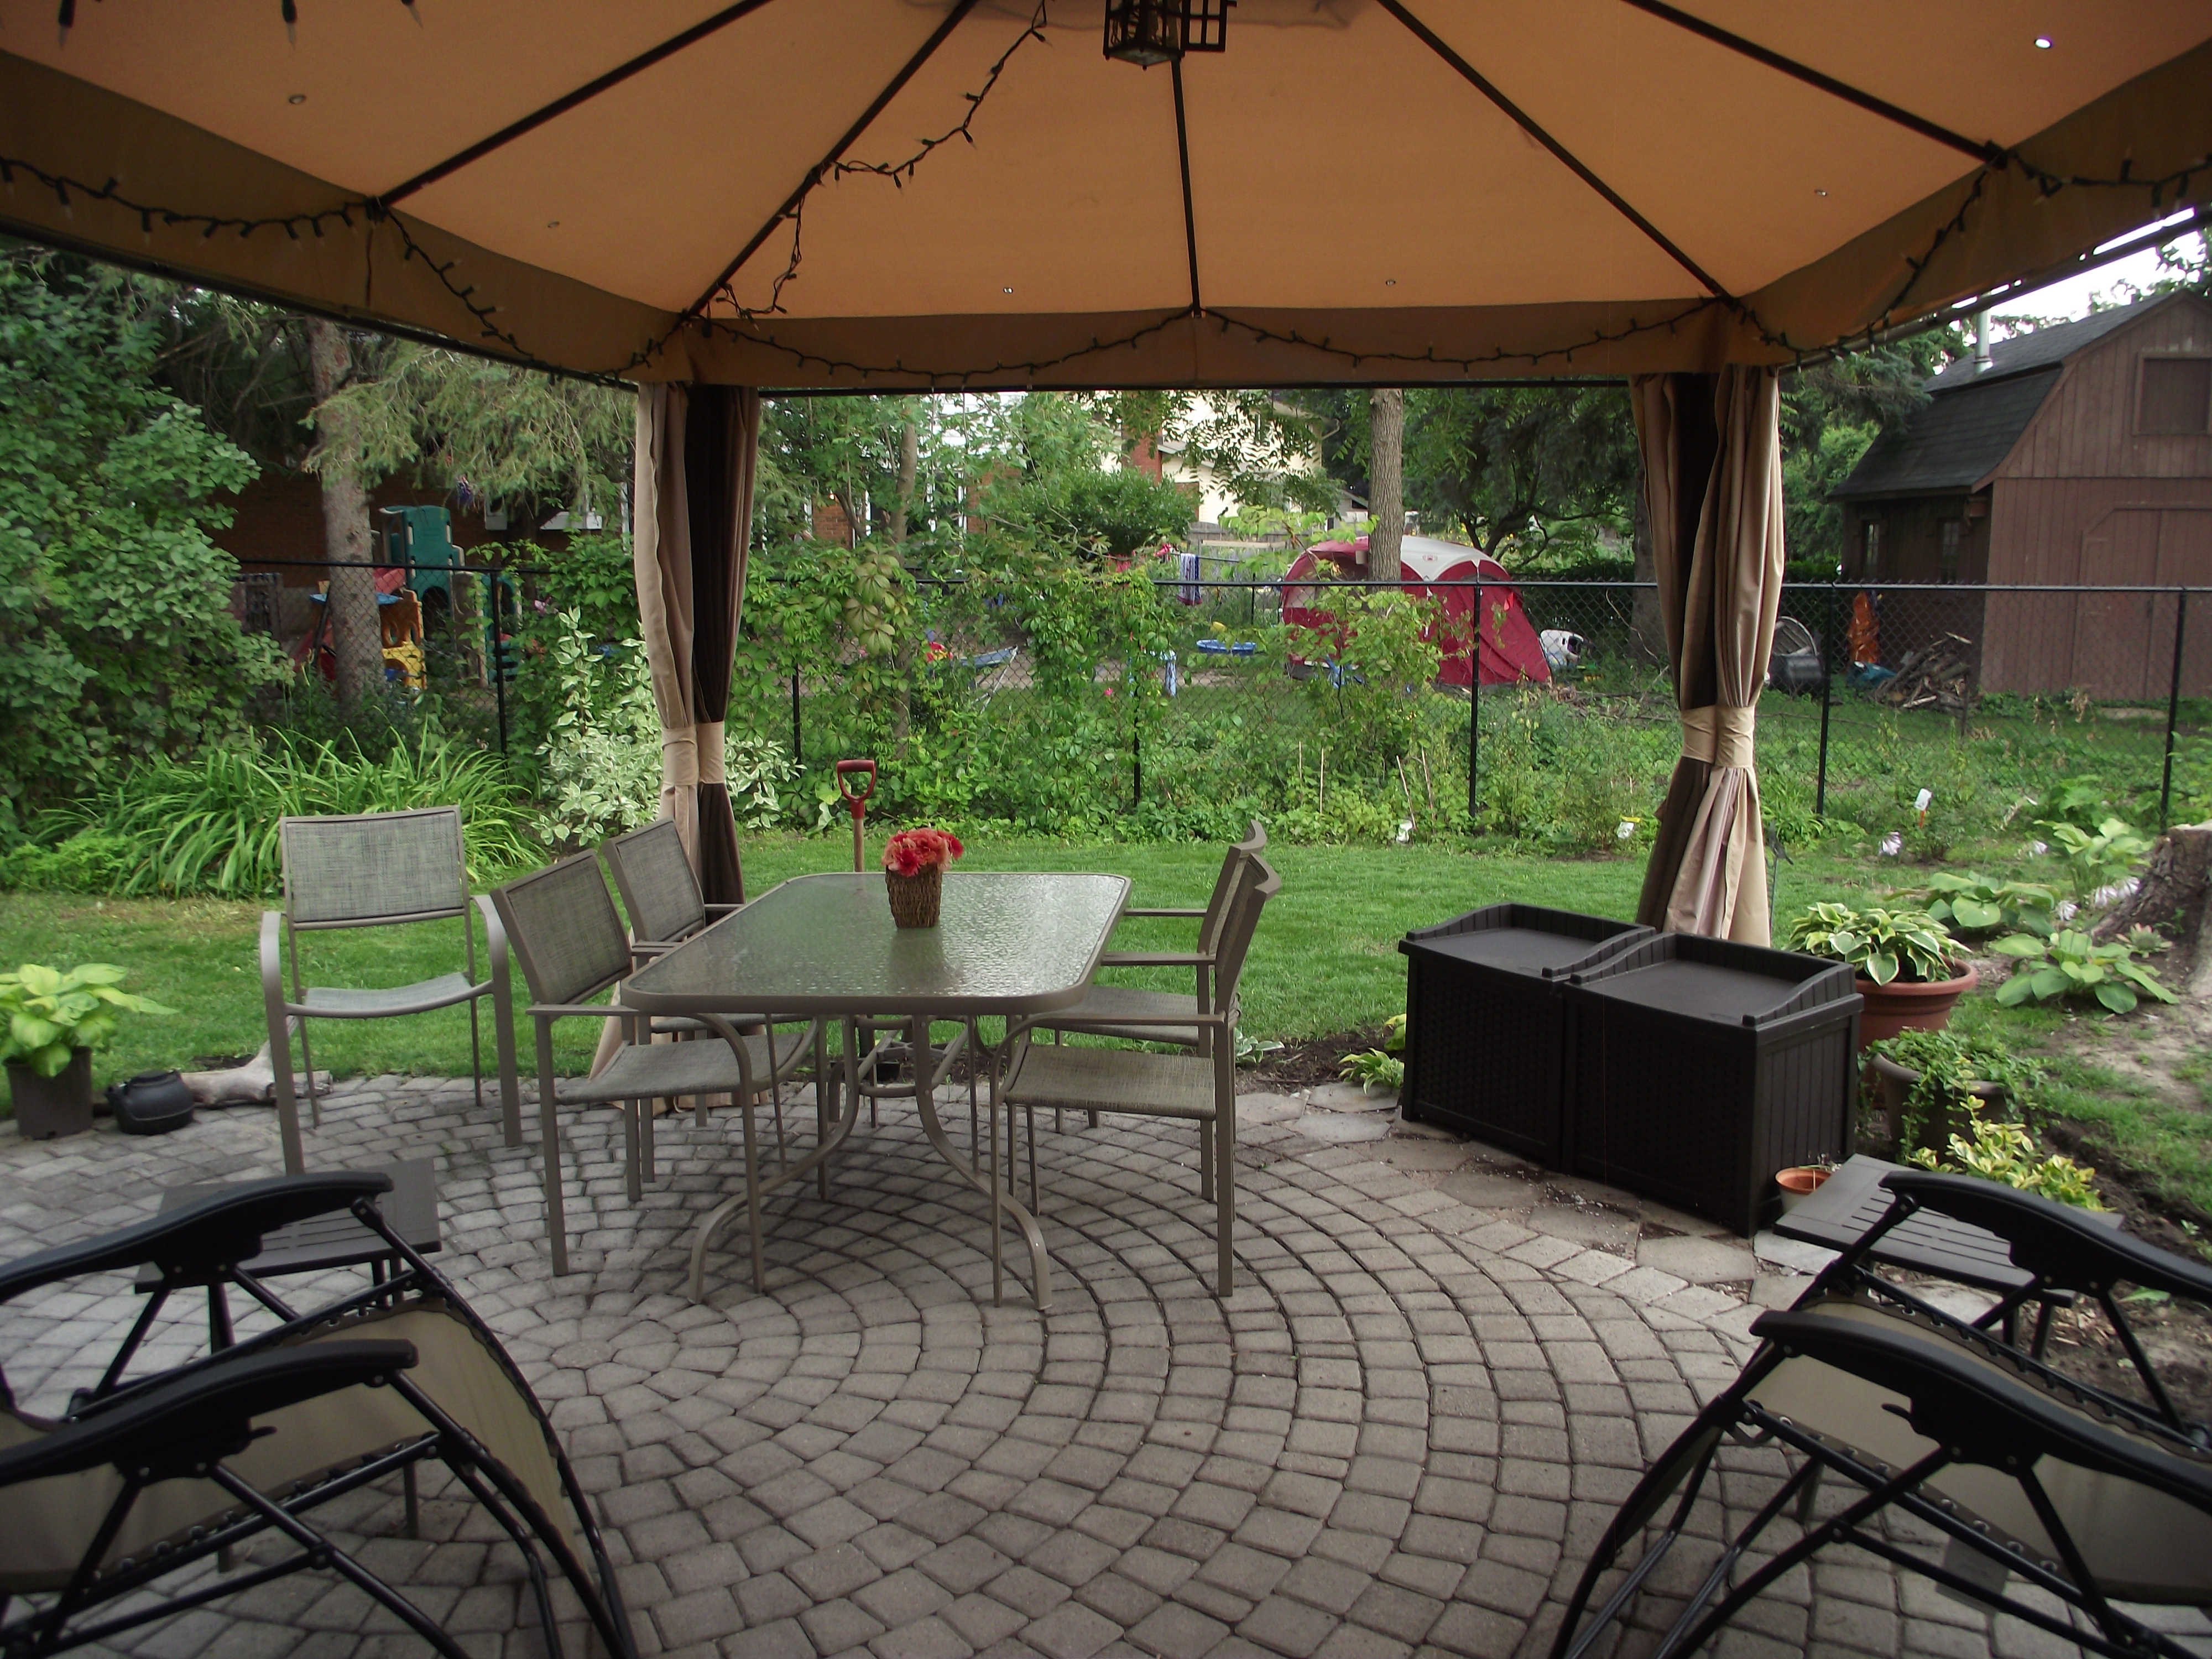
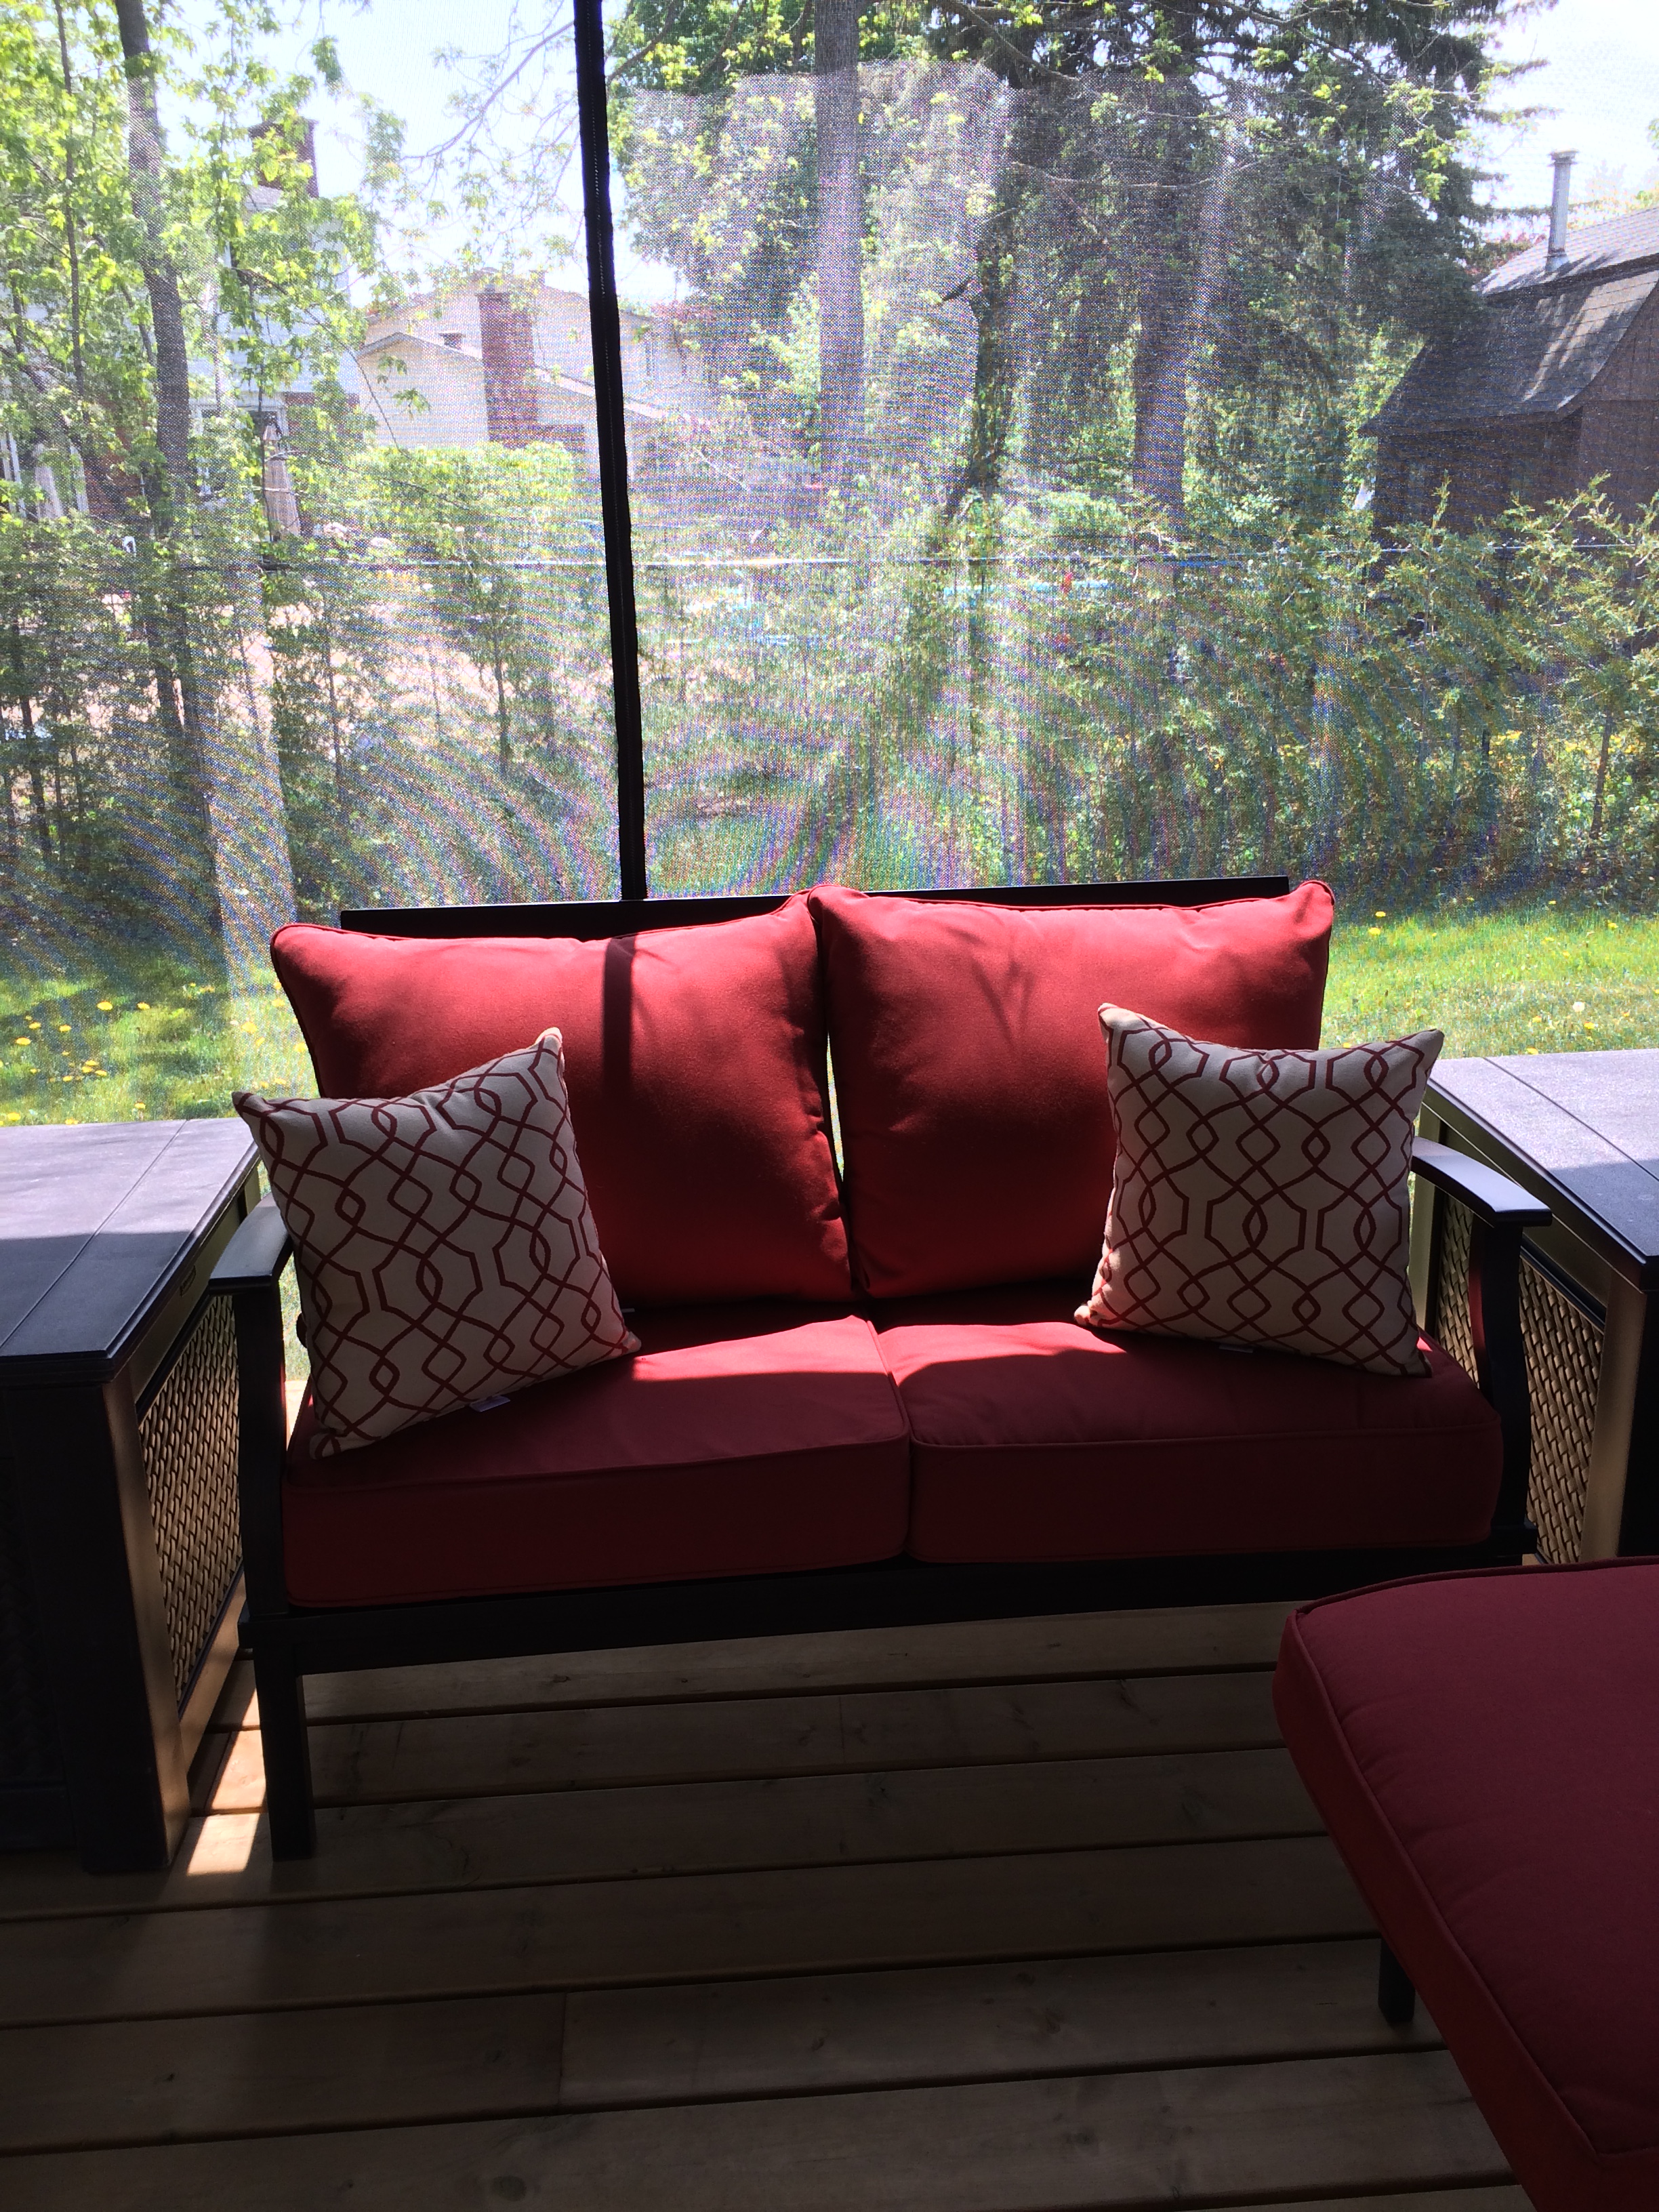
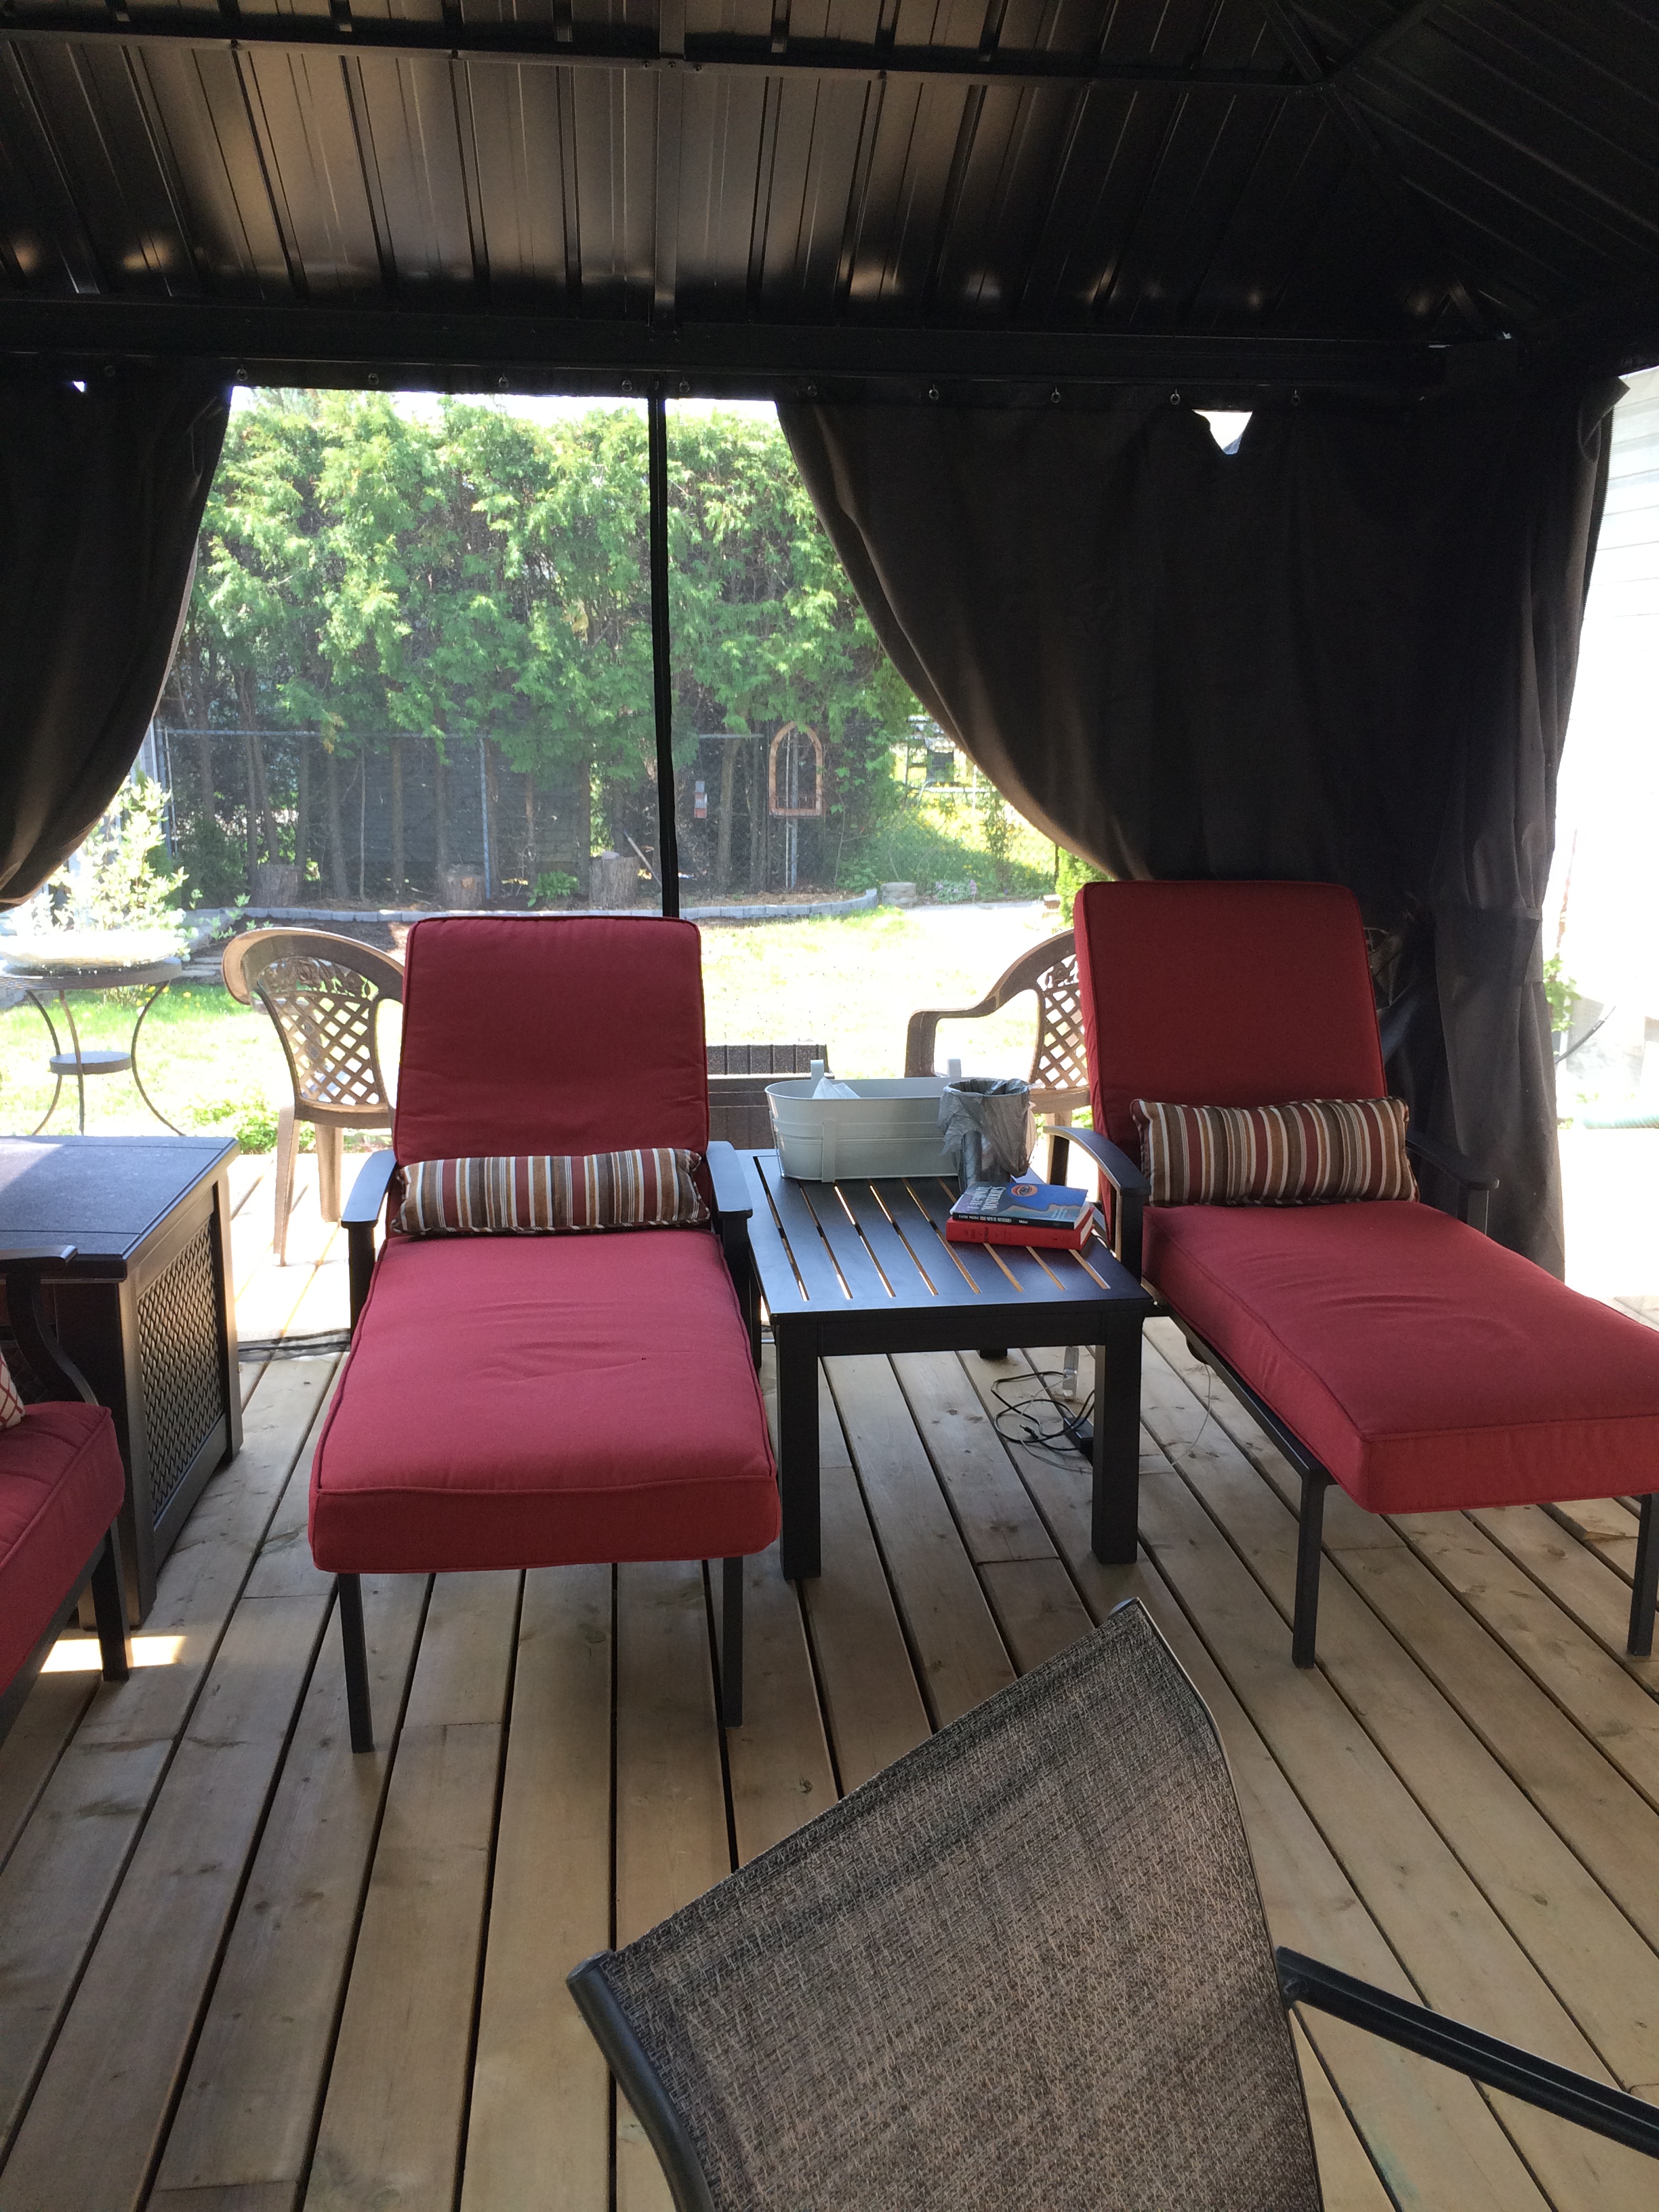
Here are a few photo of our gazebo, all ready for us to relax in. Some big square deck boxes store the furniture cushions and double as end tables. The chaise mattresses store nicely in a bigger deck box just outside the gazebo. Peter has hooked up some power cords for us so we can relax with our laptops, charge our cell phones, listen to our favourite tunes, etc.
I love to stretch out on a chaise with my laptop on my lap and my Bichon, Cookie, at my feet.
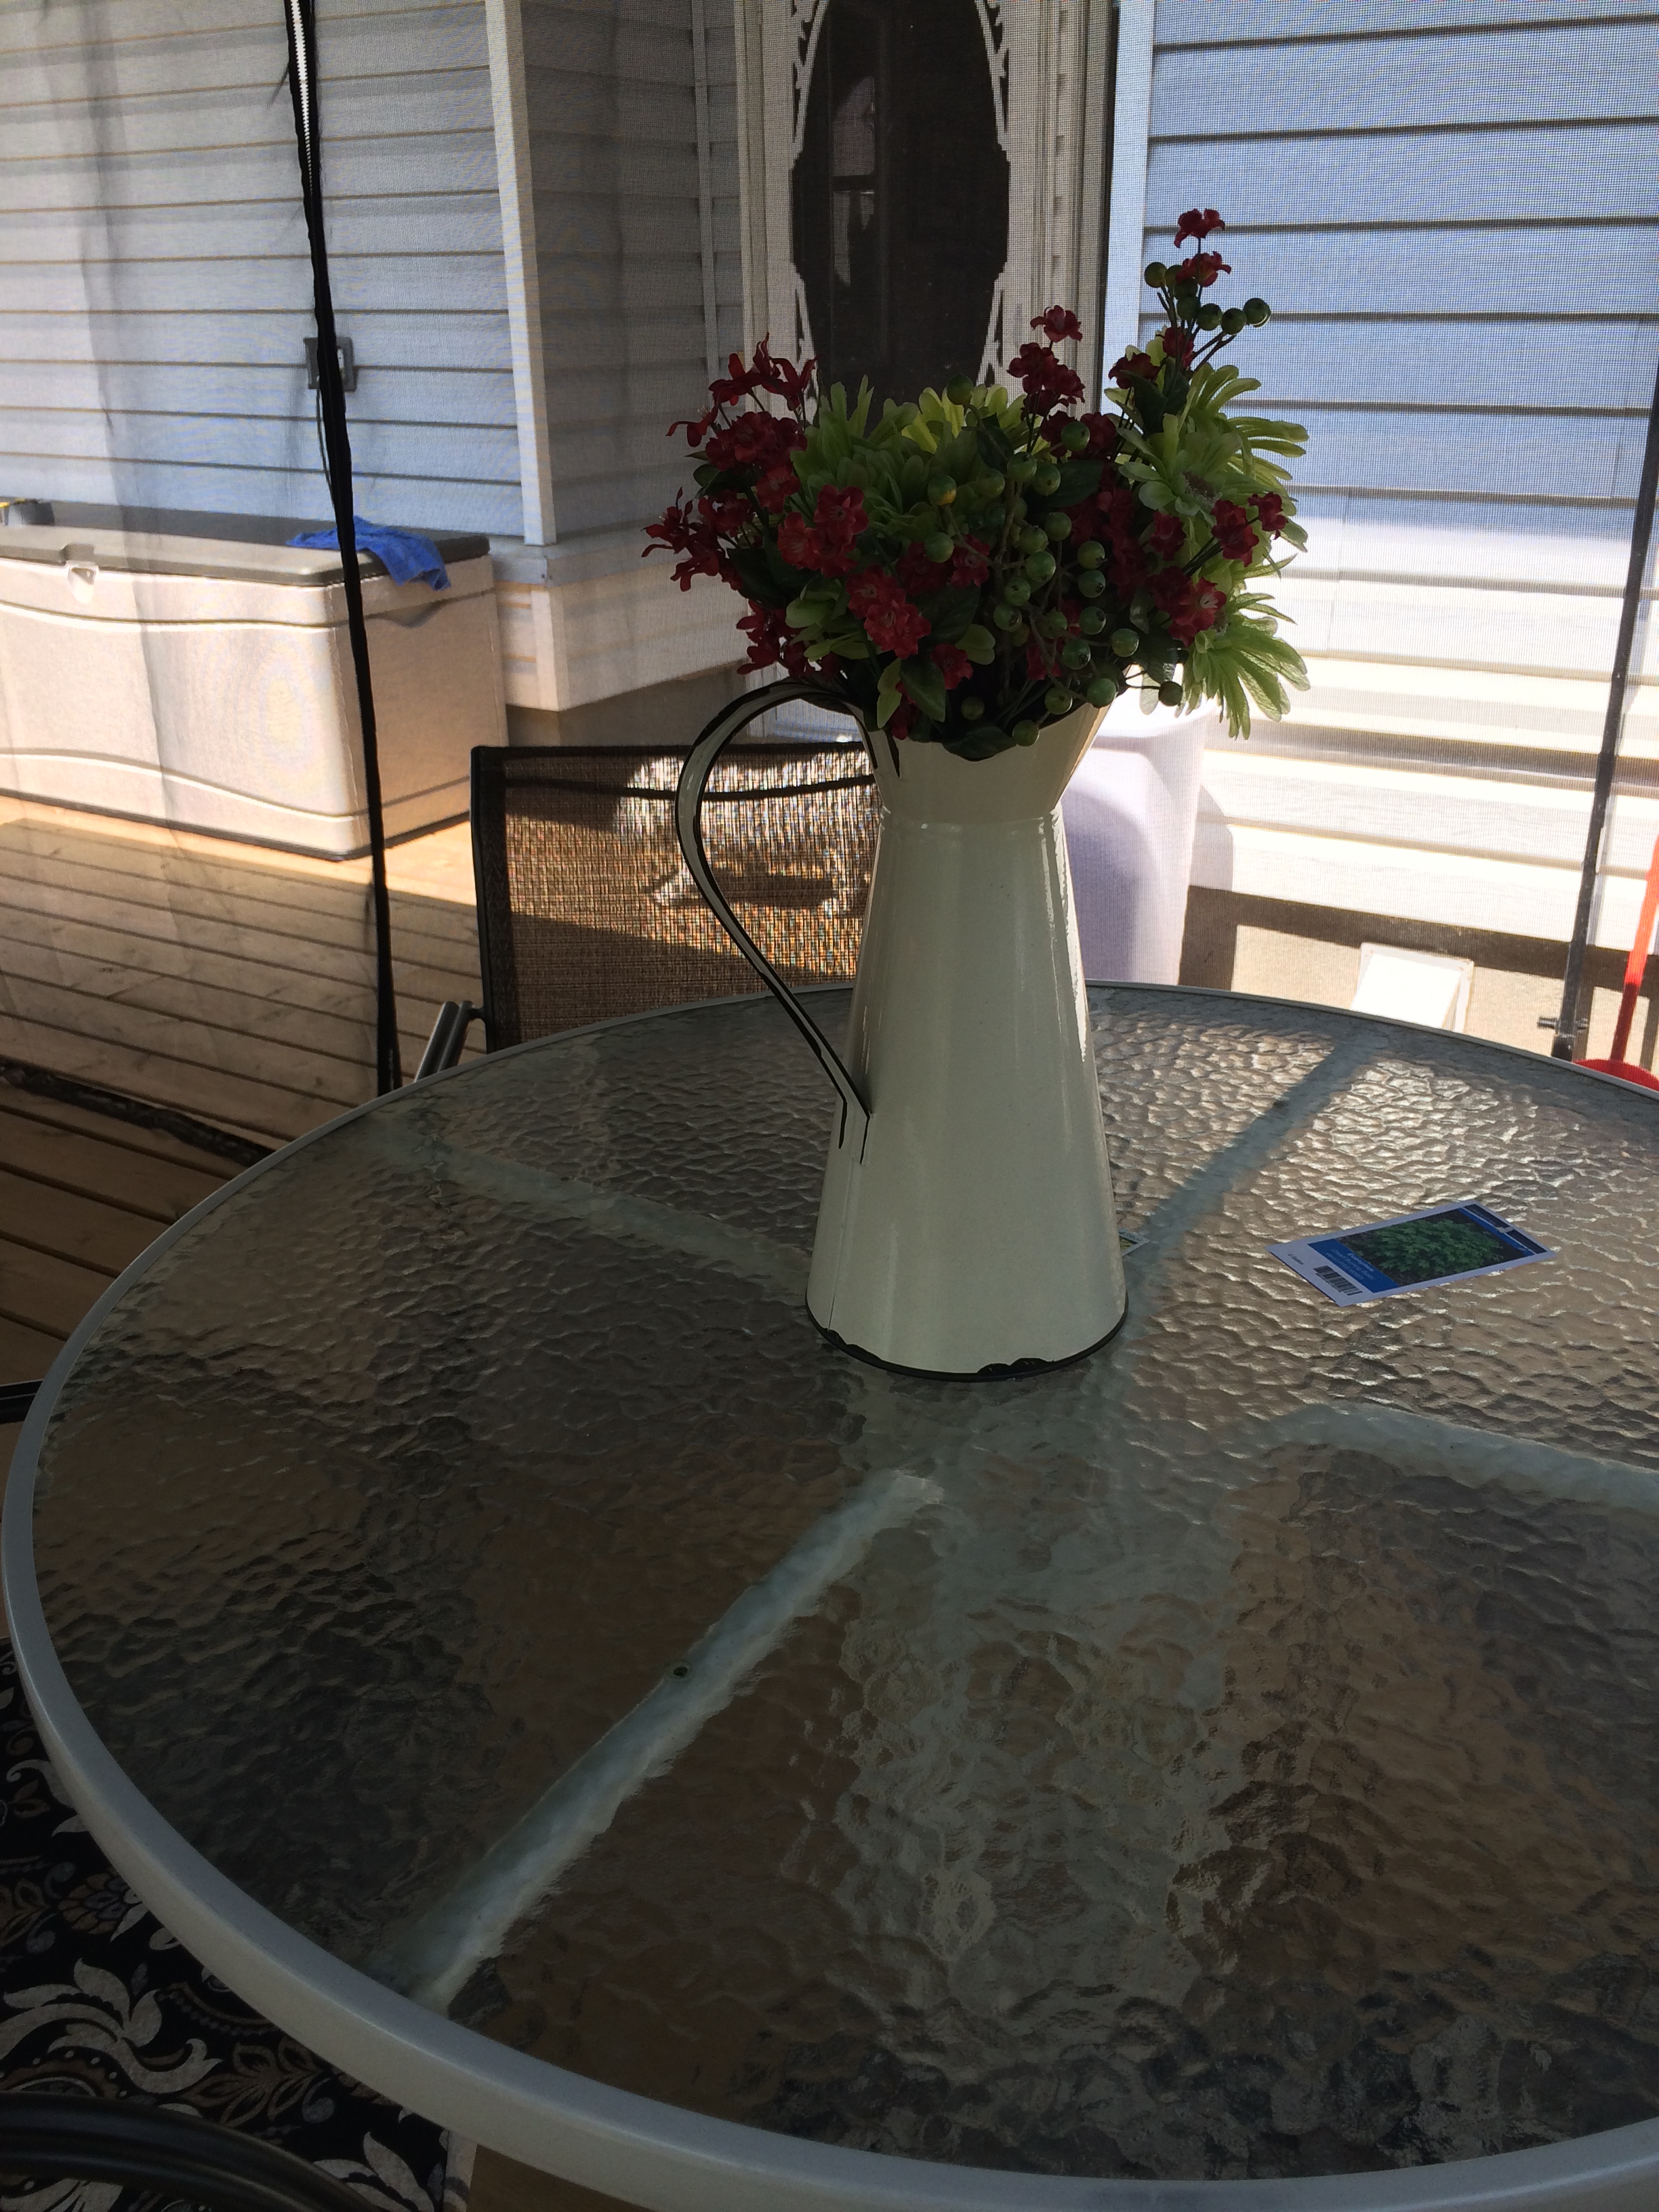
We love having our meals and snacks in the gazebo.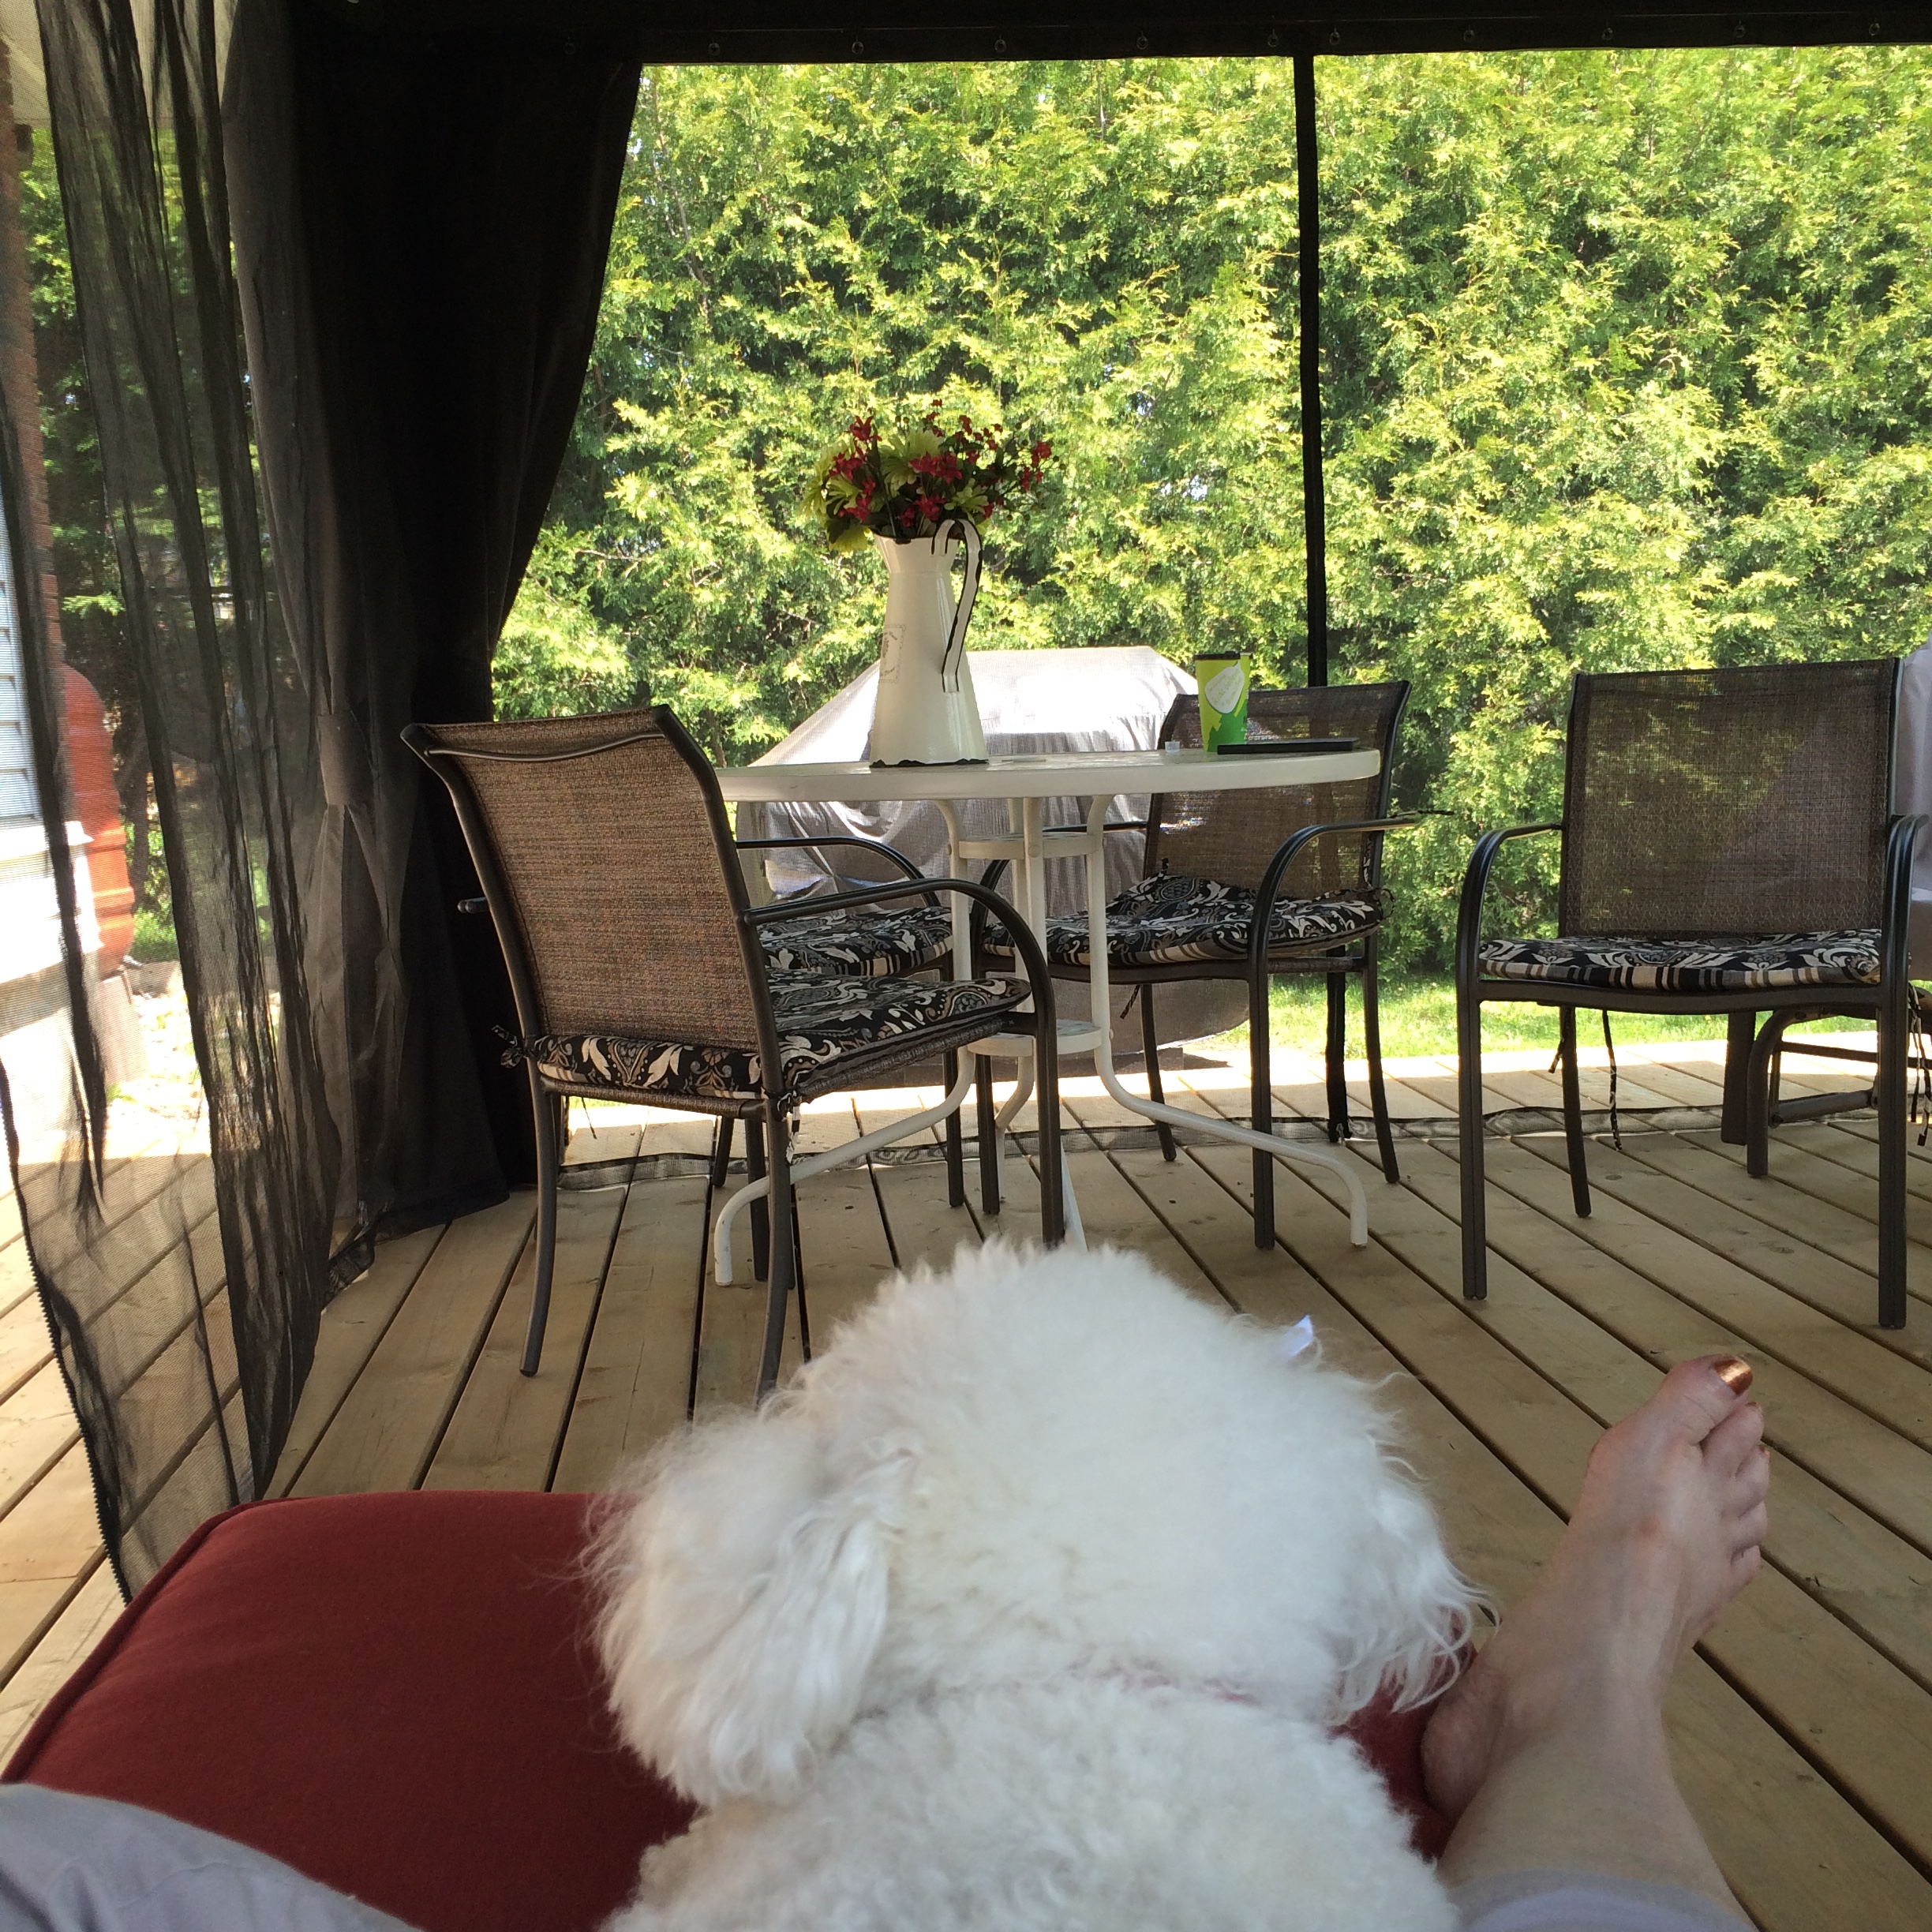
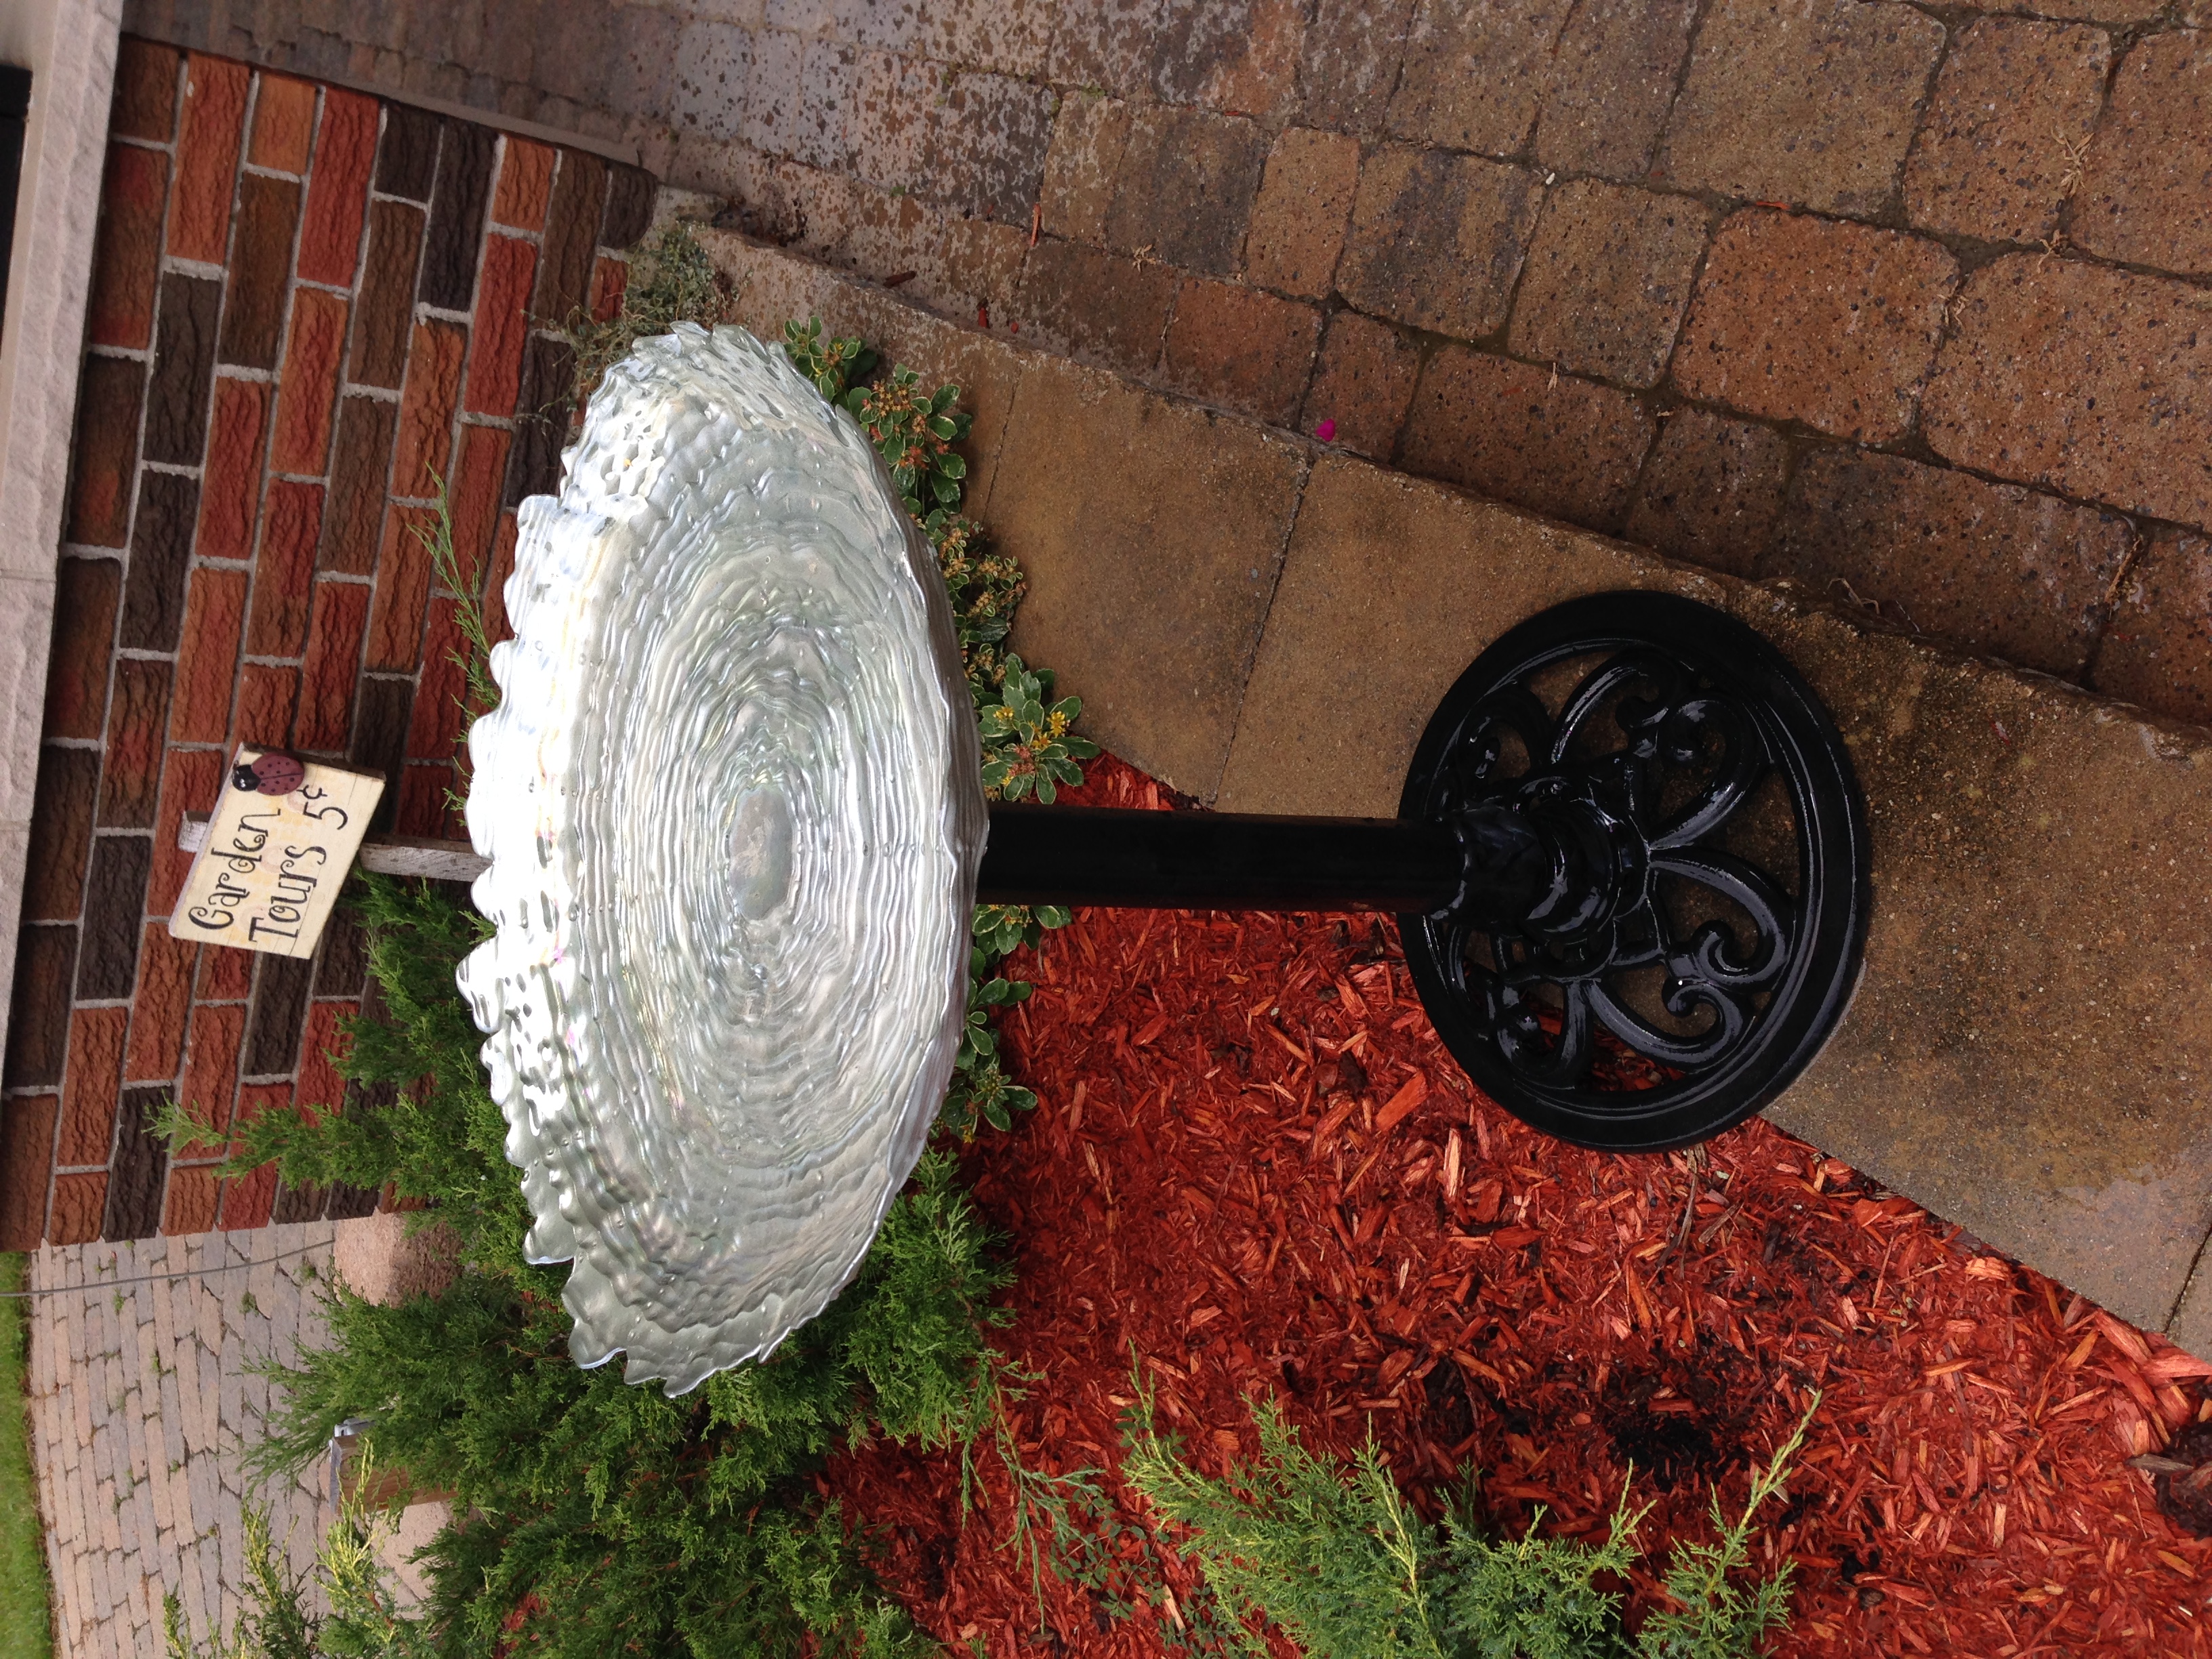
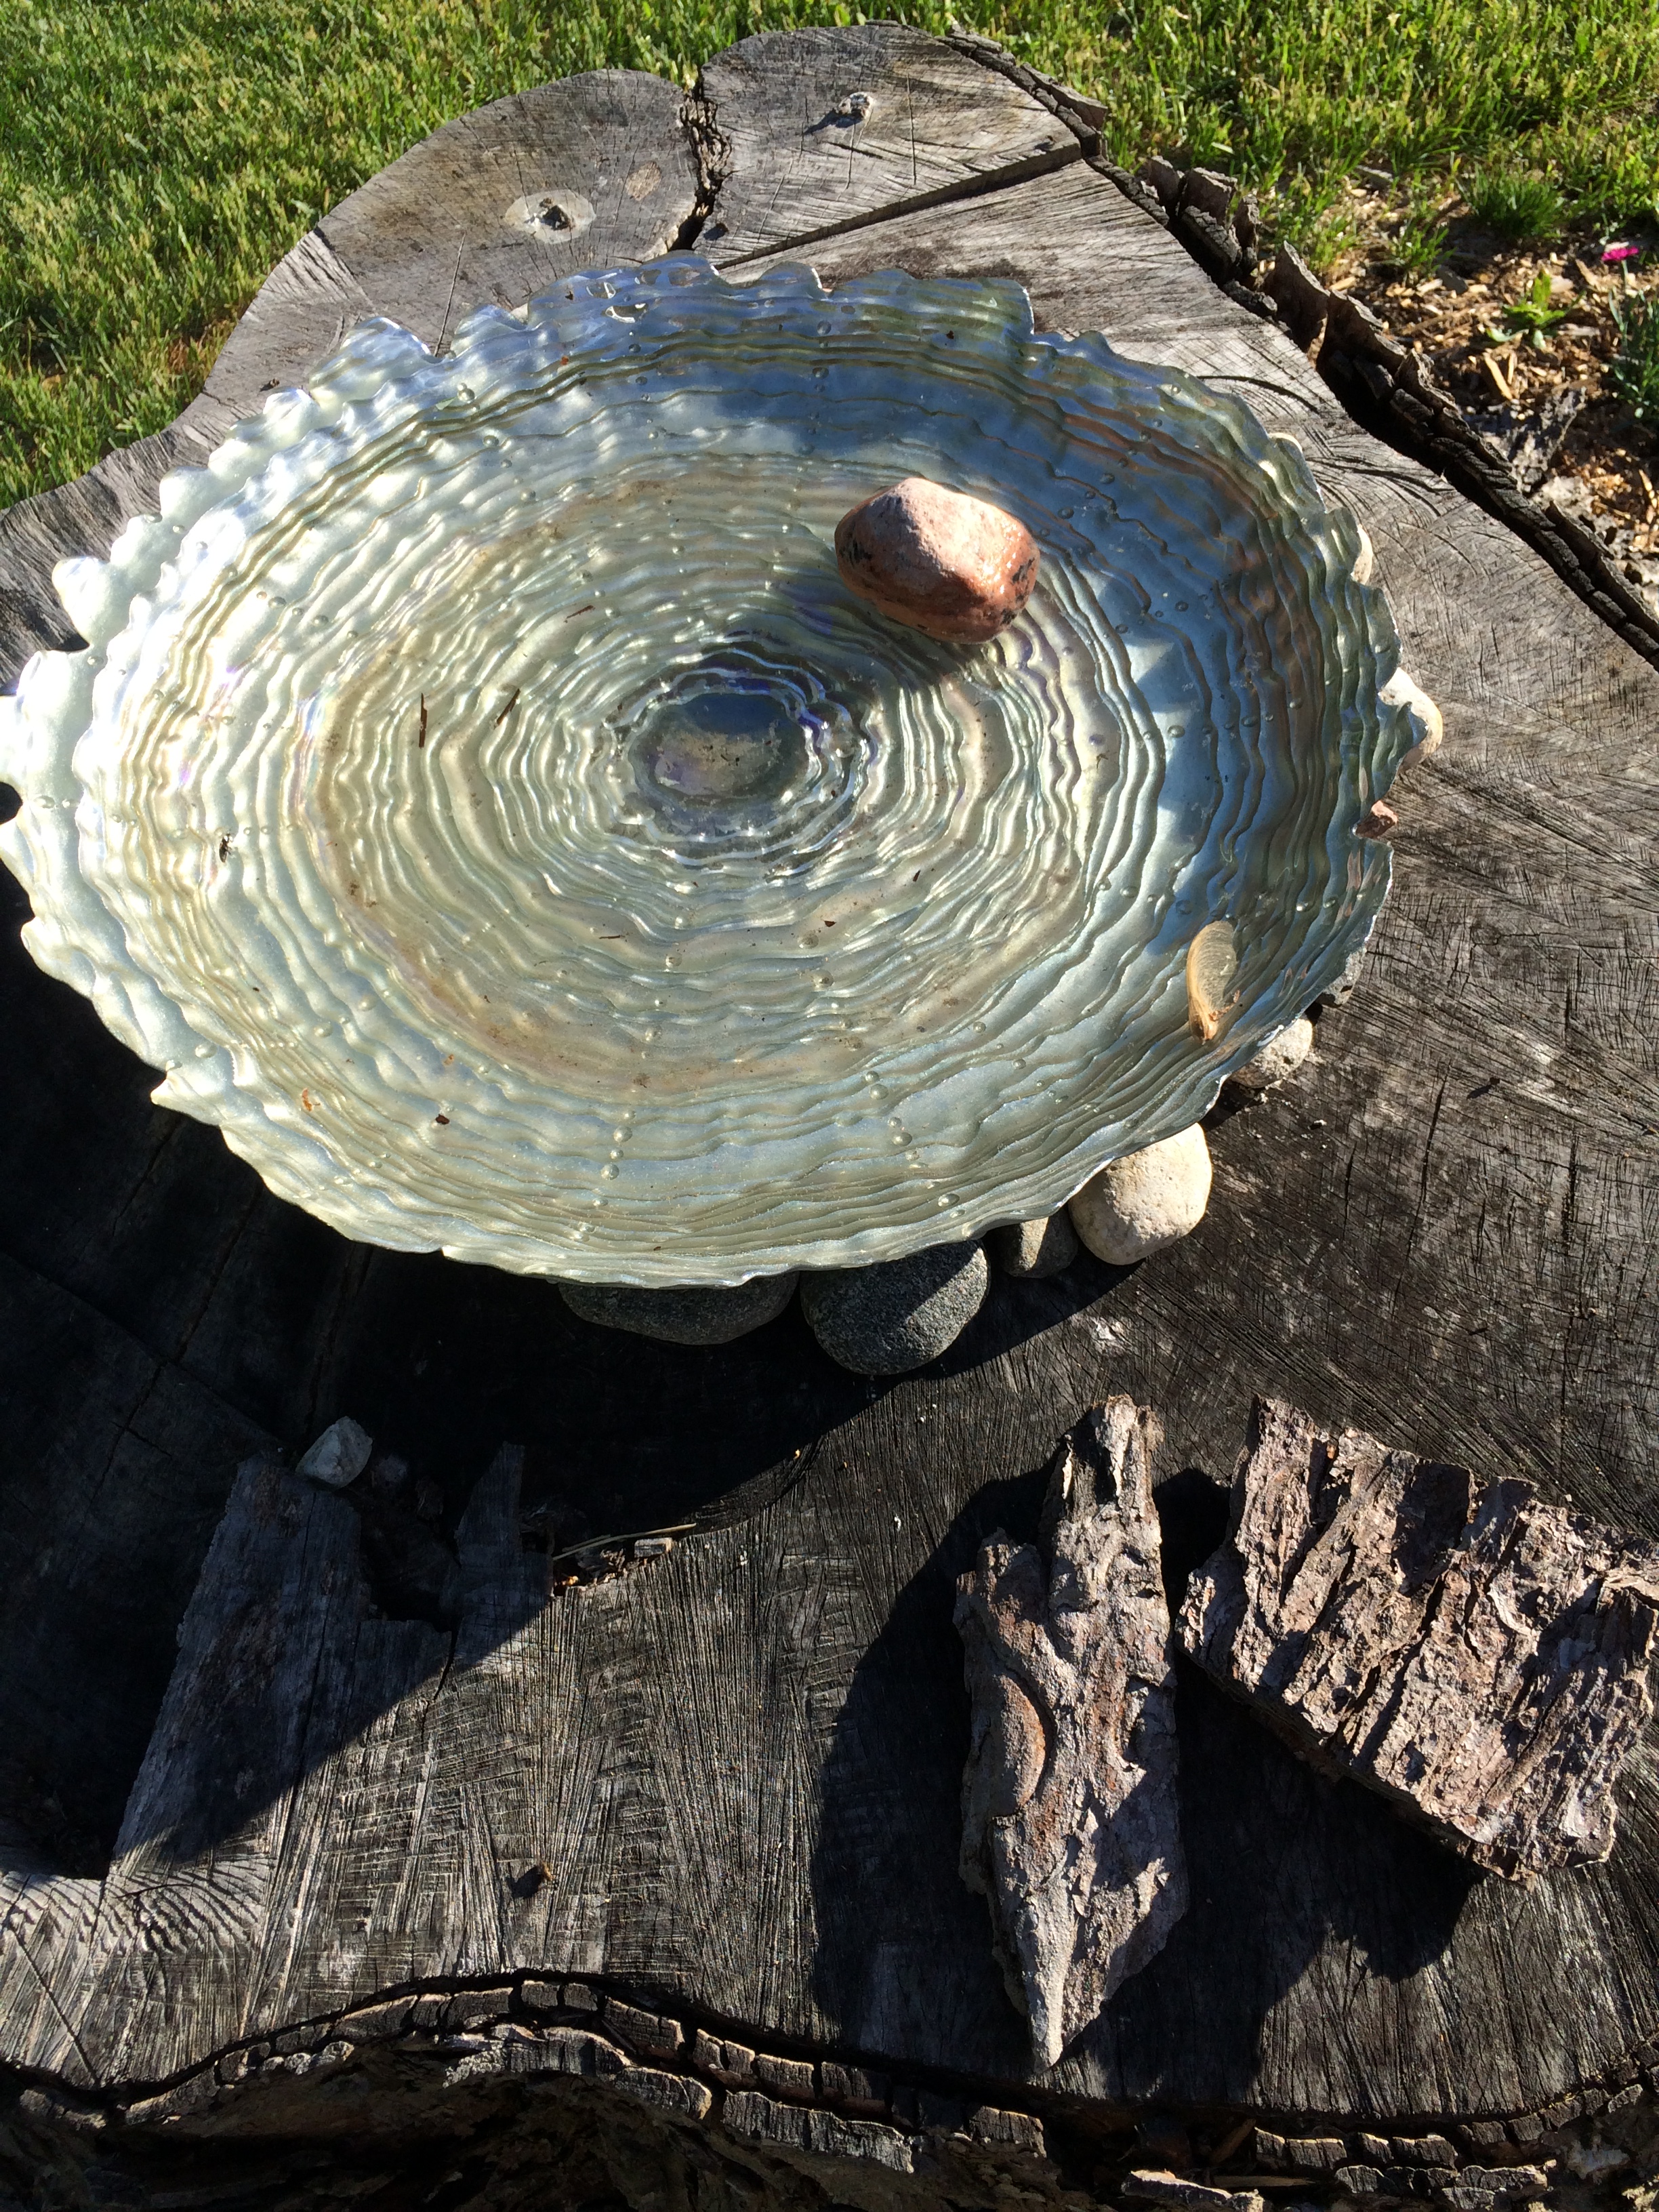
And, last but not least, is our STUMP! This stump is what’s left of a 40-year-old Silver Maple tree that had to be cut down. The stump wasn’t going to go away, so I turned it into a birdbath and planted some ground cover that is spreading around the base. I read somewhere that if you add a few stones to your birdbath, butterflies will light on them to drink. In addition to the stones, I also planted some pretty flowers that are guaranteed to attract butterflies. (Since this picture was taken, I have added some smaller stones to the birdbath and it seems to have done the trick–yay!!) Oh, I forgot to say that I bought this beautiful mother-of-pearl dish at a roadside antique shop during one of our Sunday drives. Cost: $10–colour me happy!
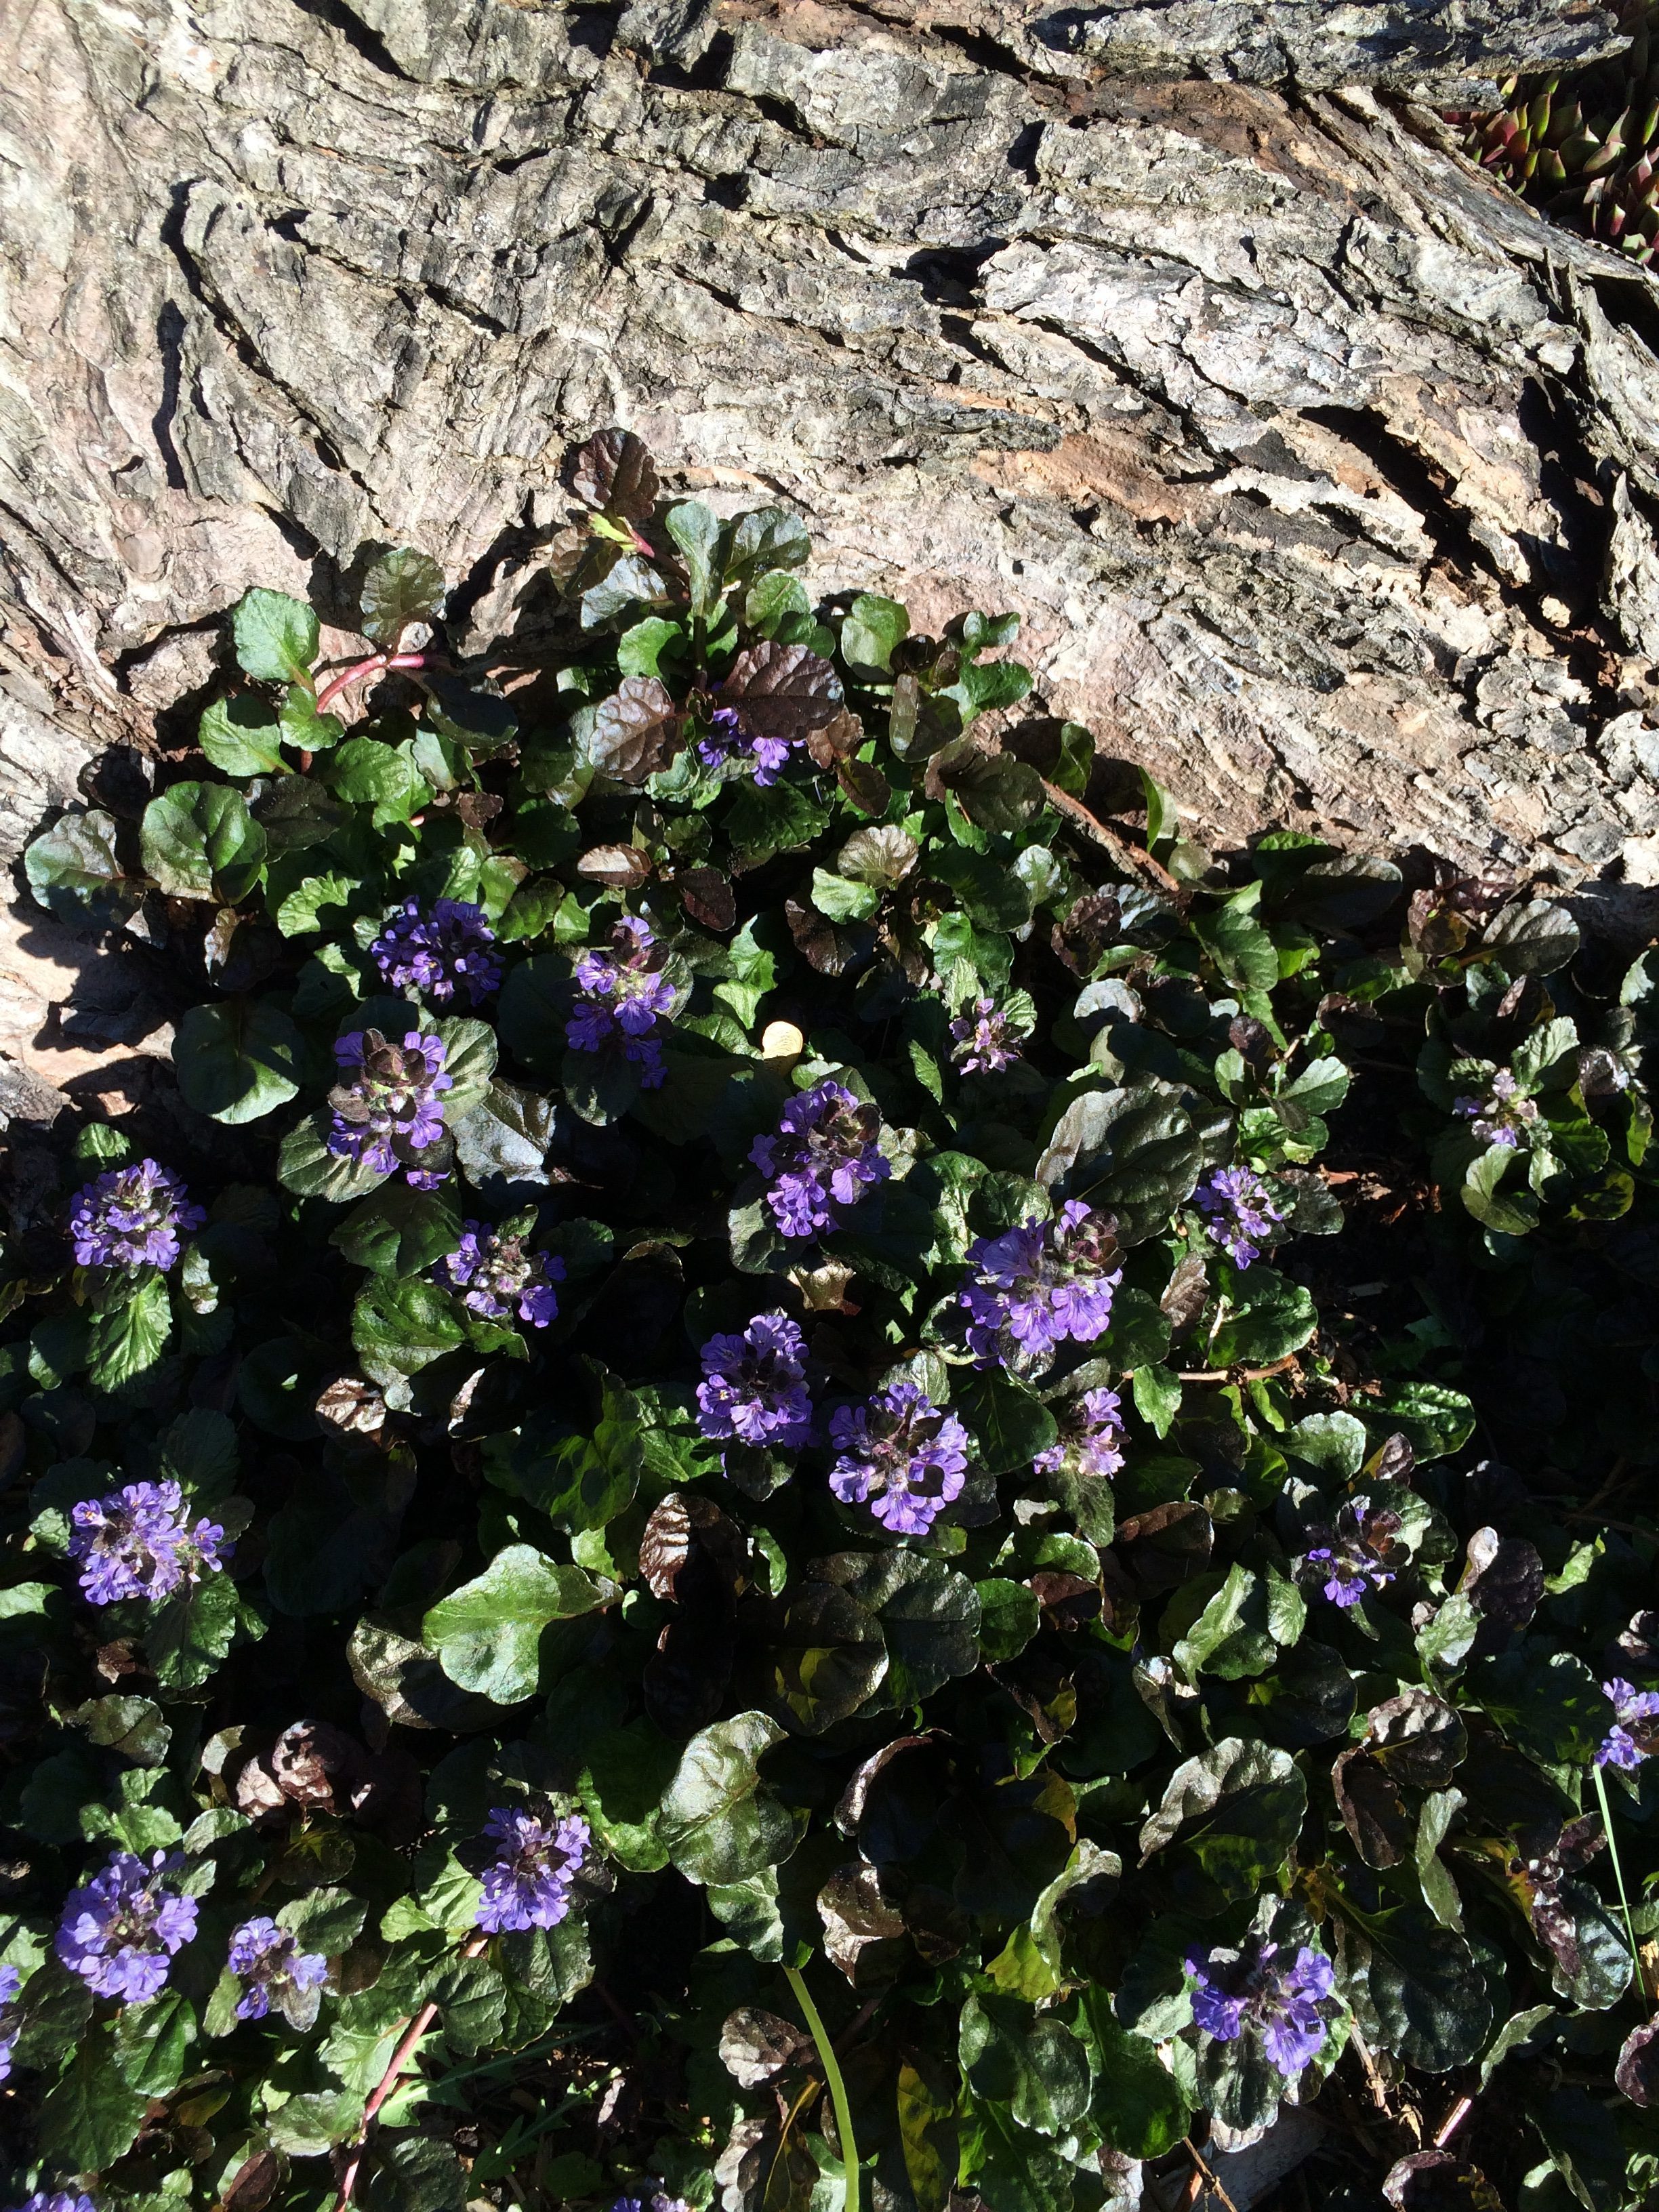
The next few photos show the pretty ground cover that I planted around the base of my “tree-stump bird bath.”
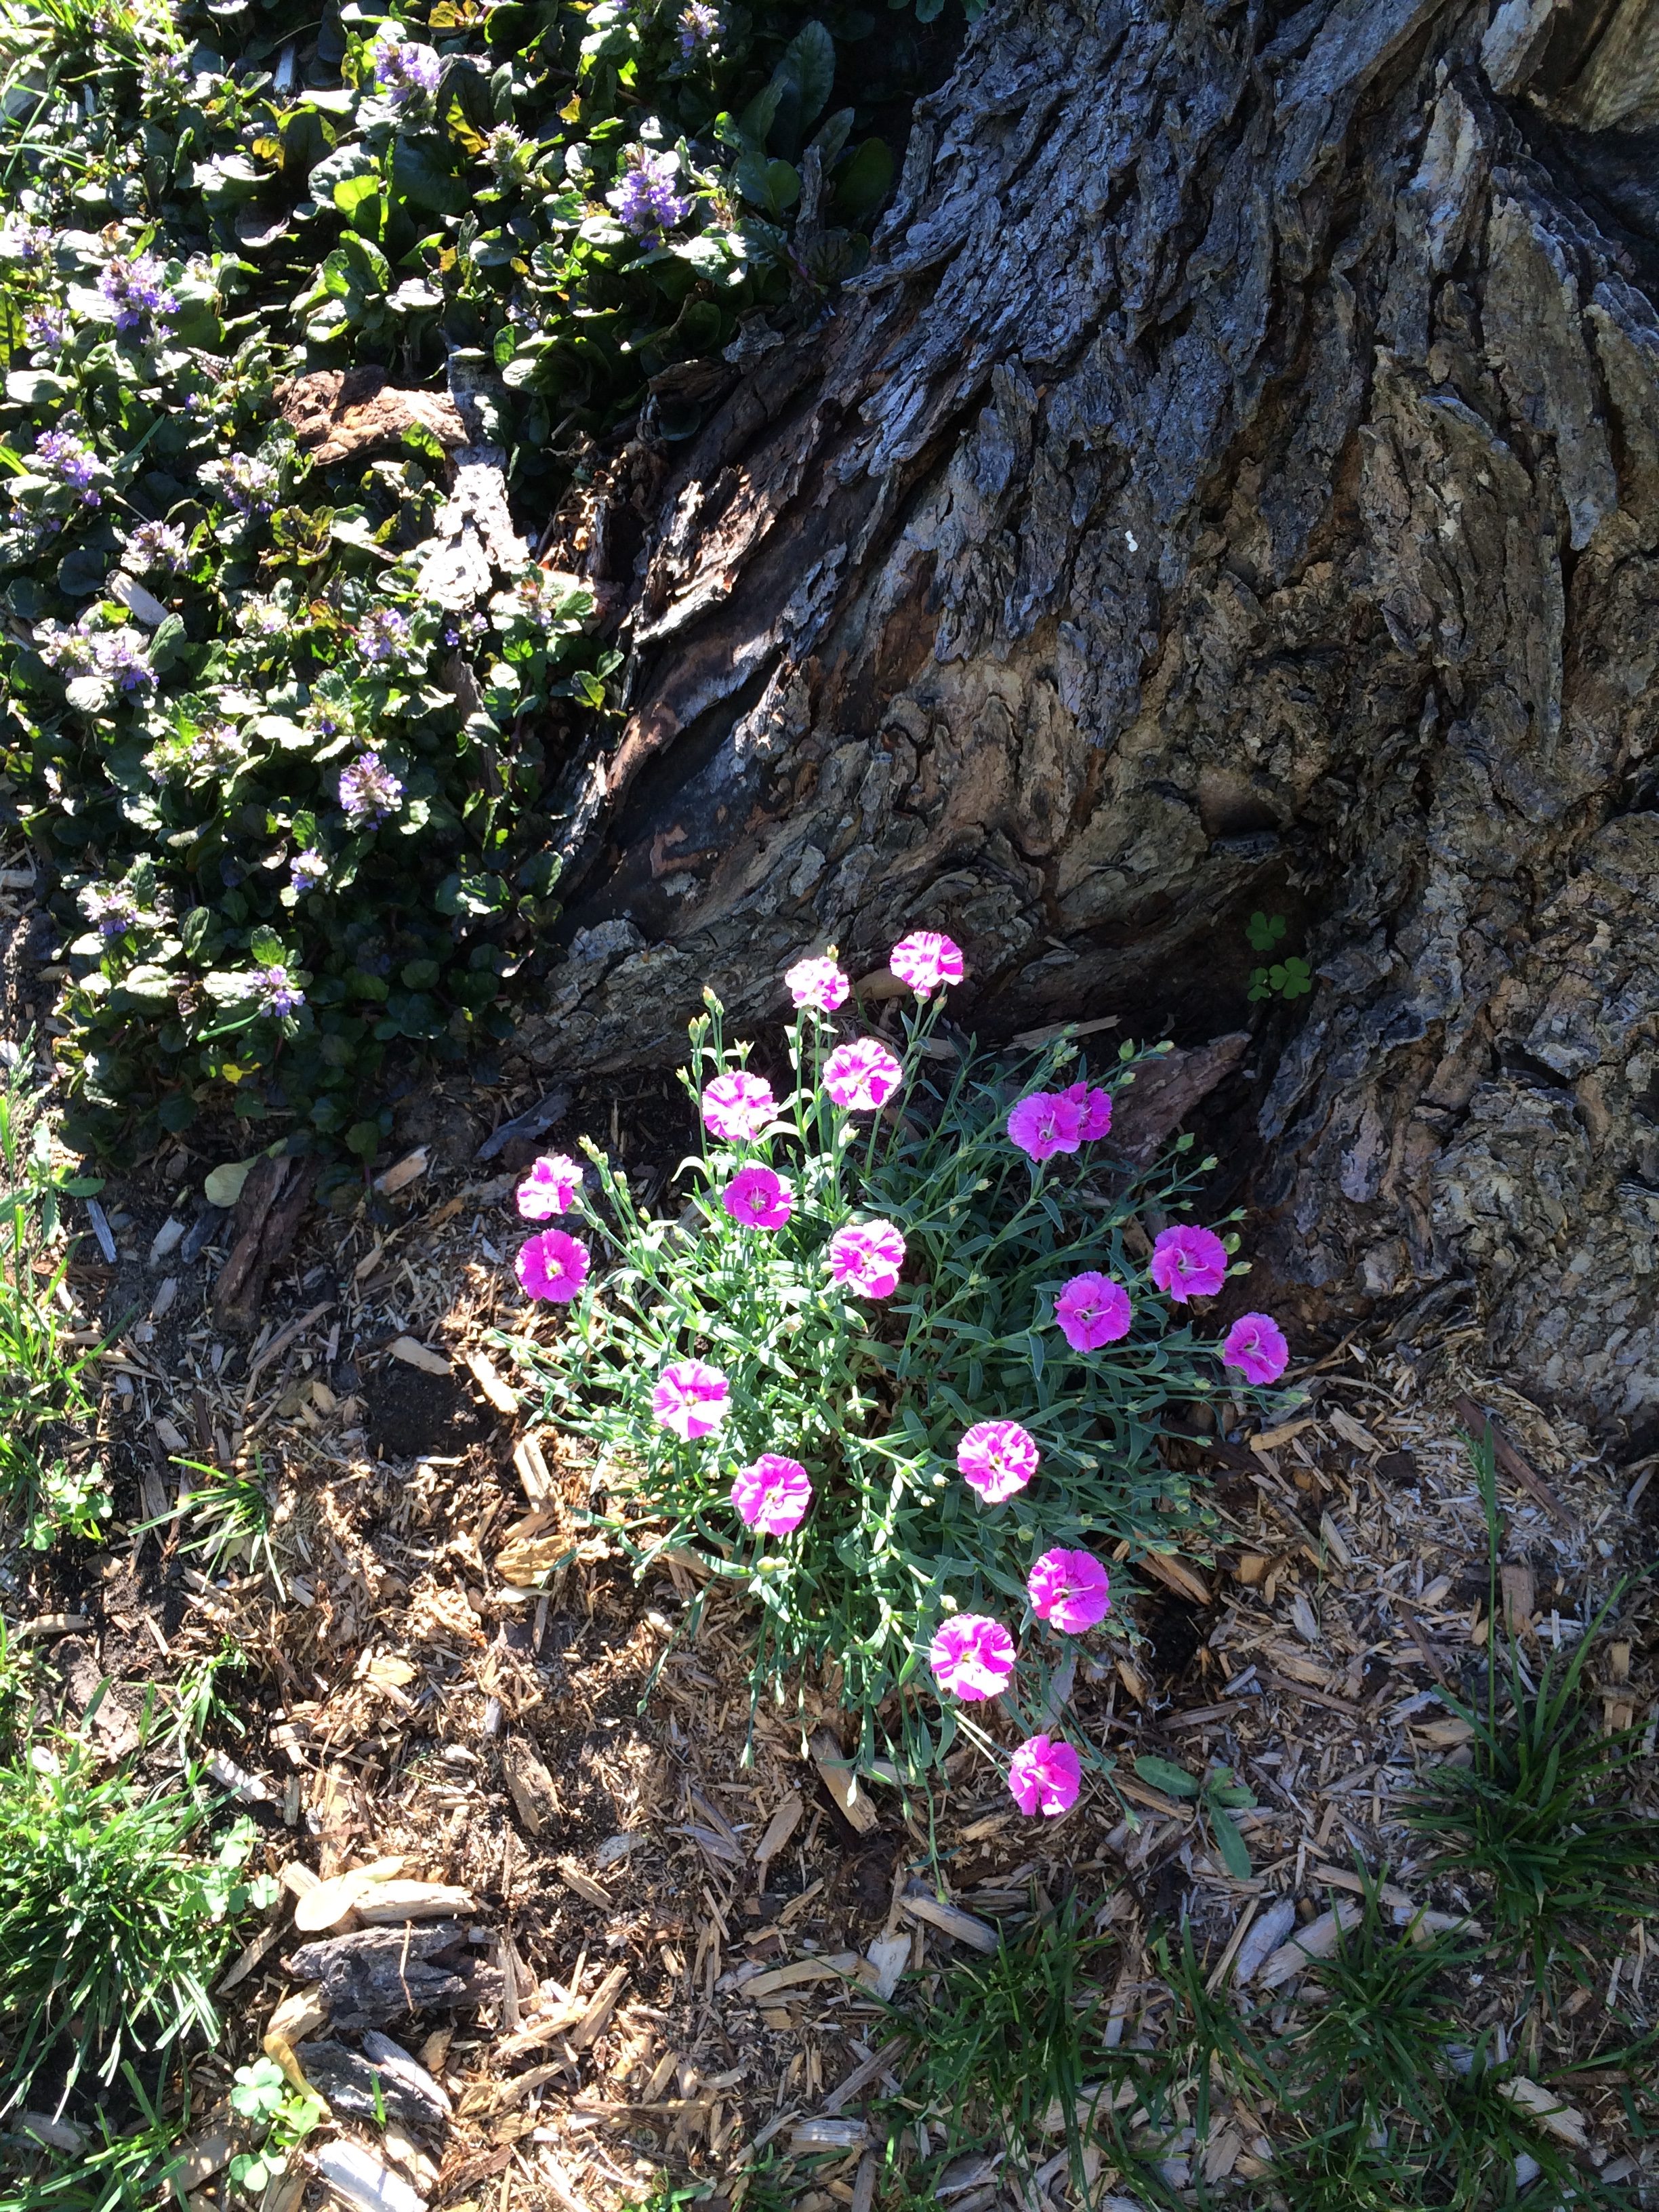
Here are the “butterfly flowers.”
That’s our progress, to date. We’re getting very close to the point at which we can stop planting and just sit back and watch our little patch of heaven flourish and grow into our beautiful secret garden–guests always welcome, of course!
The contractors are coming tomorrow morning to start gutting our bathroom for a total renovation. And as soon as they finish it, they’ll be starting on the kitchen renos! I’m dreadomg of the mess, but as the late, great, Dorothy Parker, New York columnist. always said, “I hate writing, but I love having written,” …that’s pretty much how we feel about renovating.
Thank you for stopping by. Check in regularly for more updates and have fun make your house into your special home.

 When we moved into our 1972 bungalow in 2013, we knew we had lots of work ahead of us to make this drab house into our cozy home. We were determined to do as much of it as possible by ourselves and on a shoestring budget. That said, when it came to our kitchen and main bathroom, we simply didn’t have the time, tools or expertise to tackle a full reno. So, reluctantly, I blew the dust off of my piggy bank and hired a professional bathroom and kitchen renovation company. Goodbye shoestring budget. Goodbye savings.
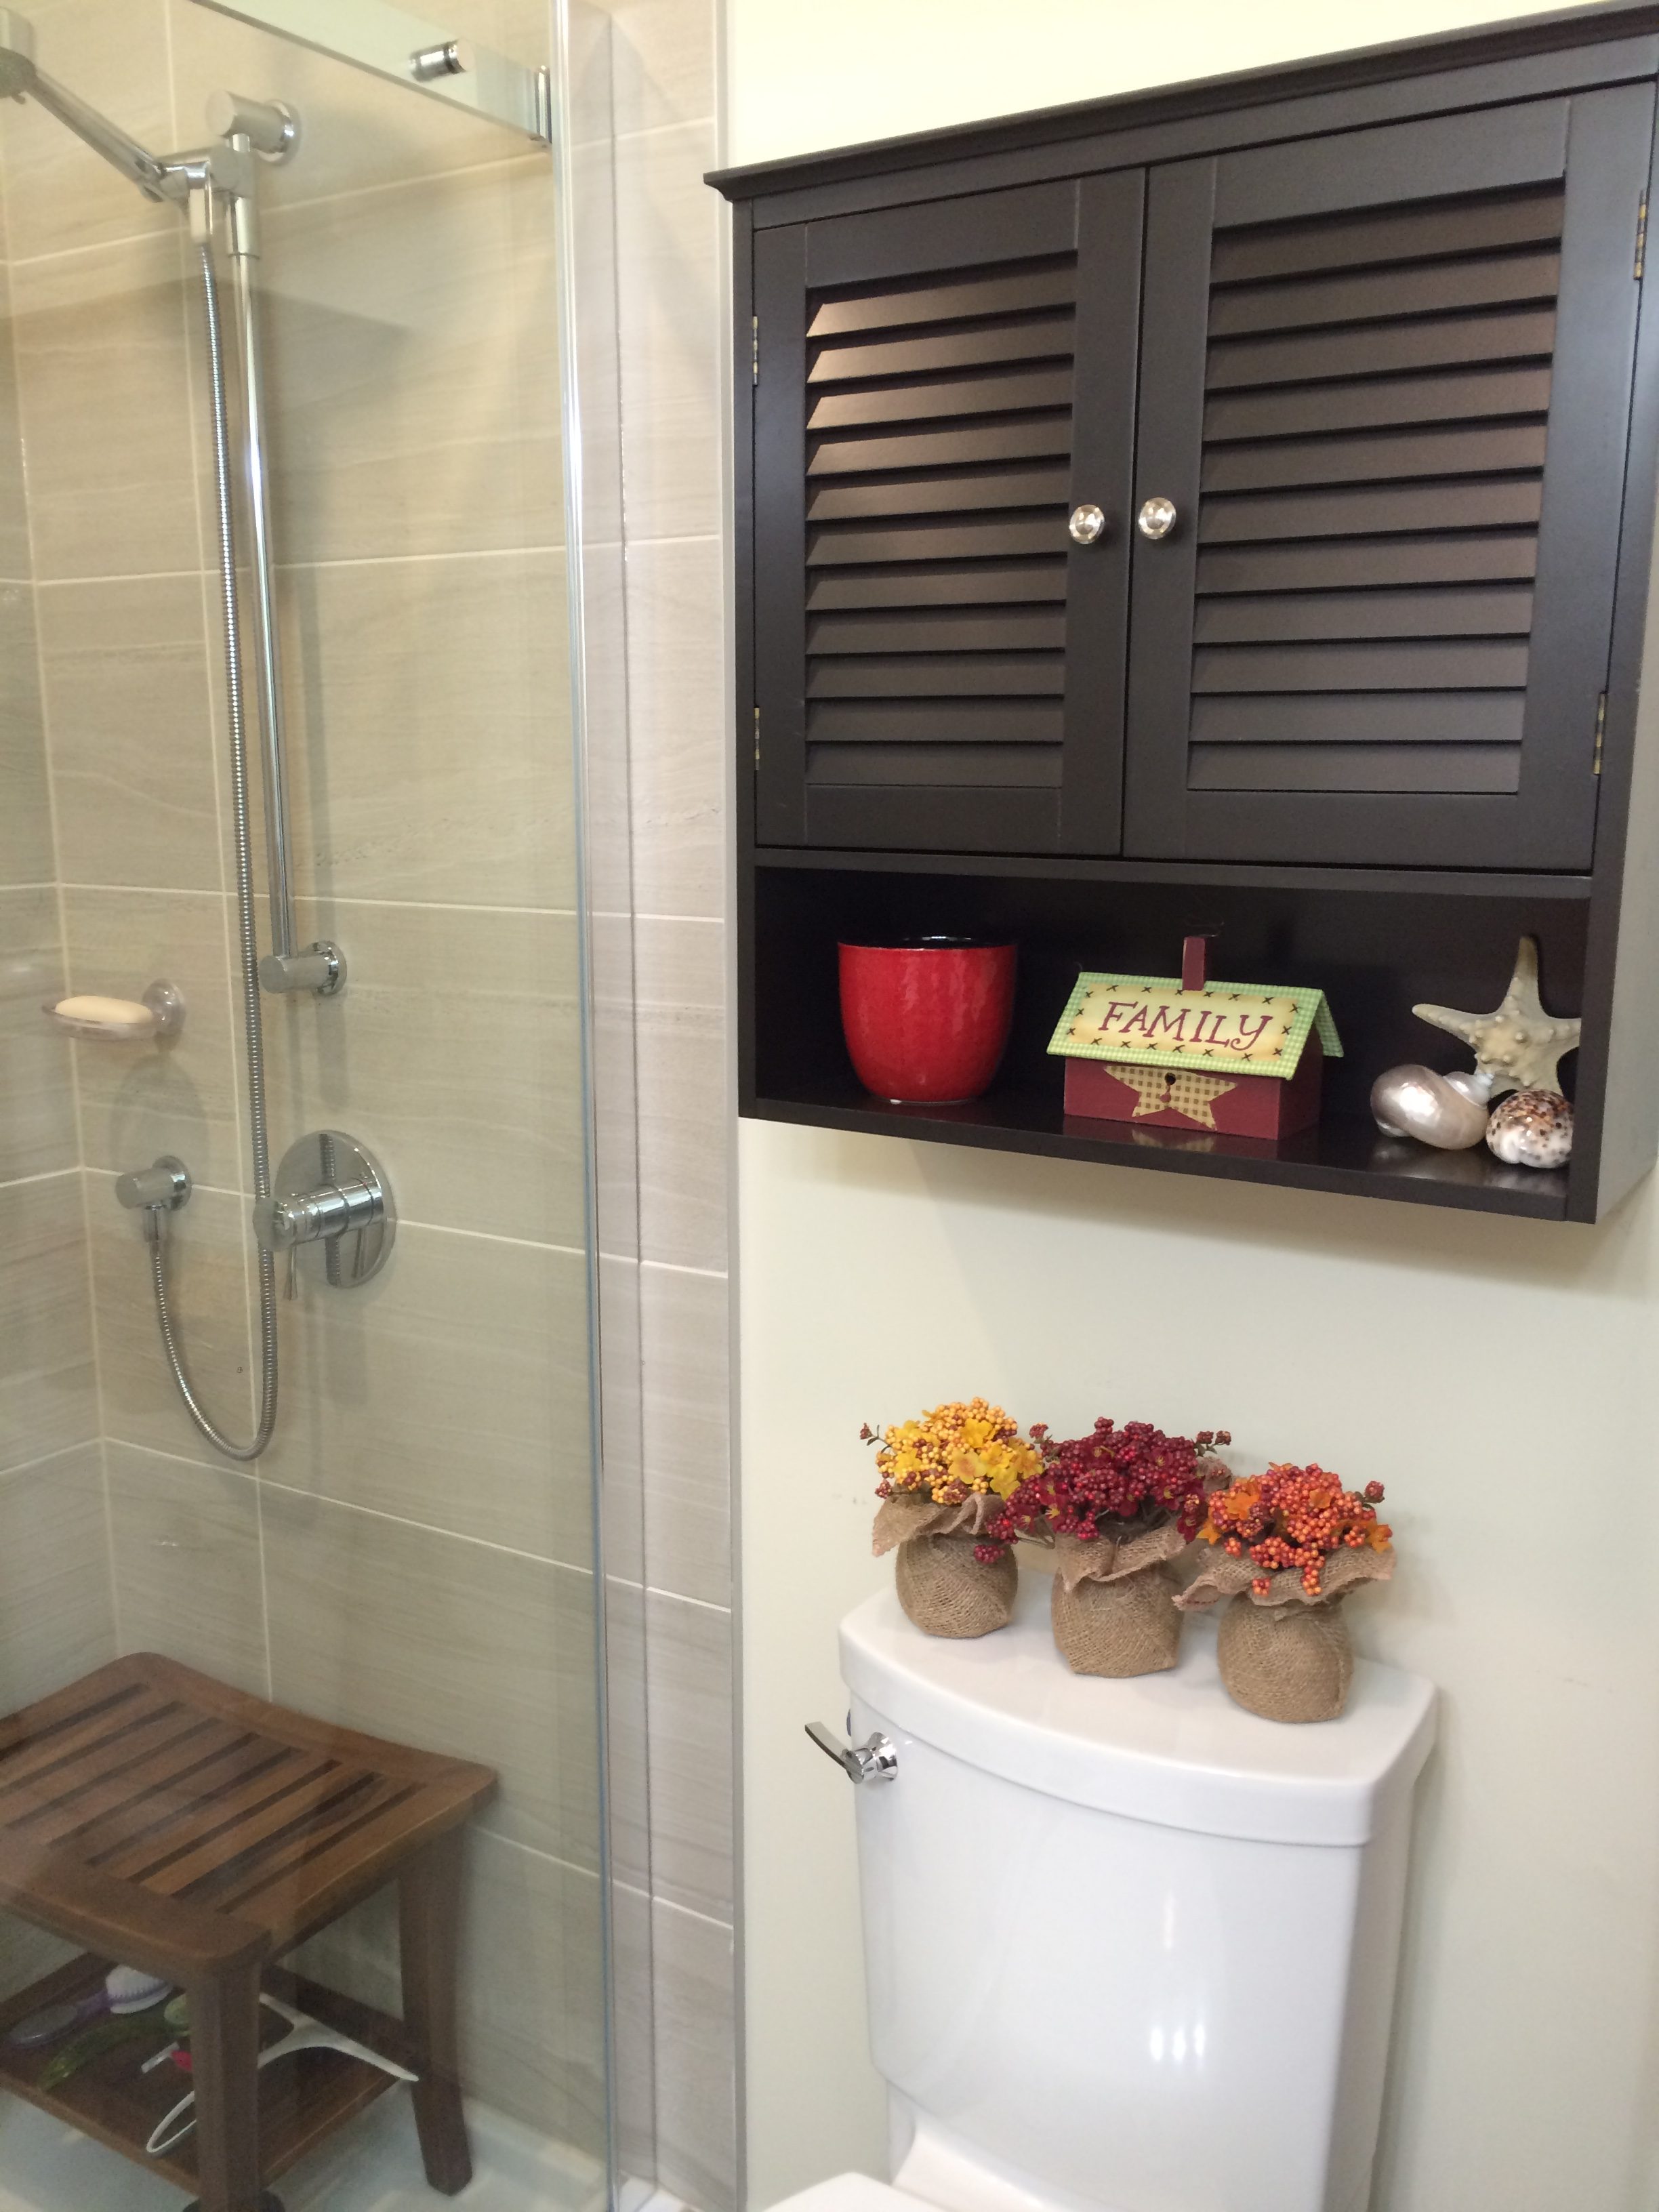
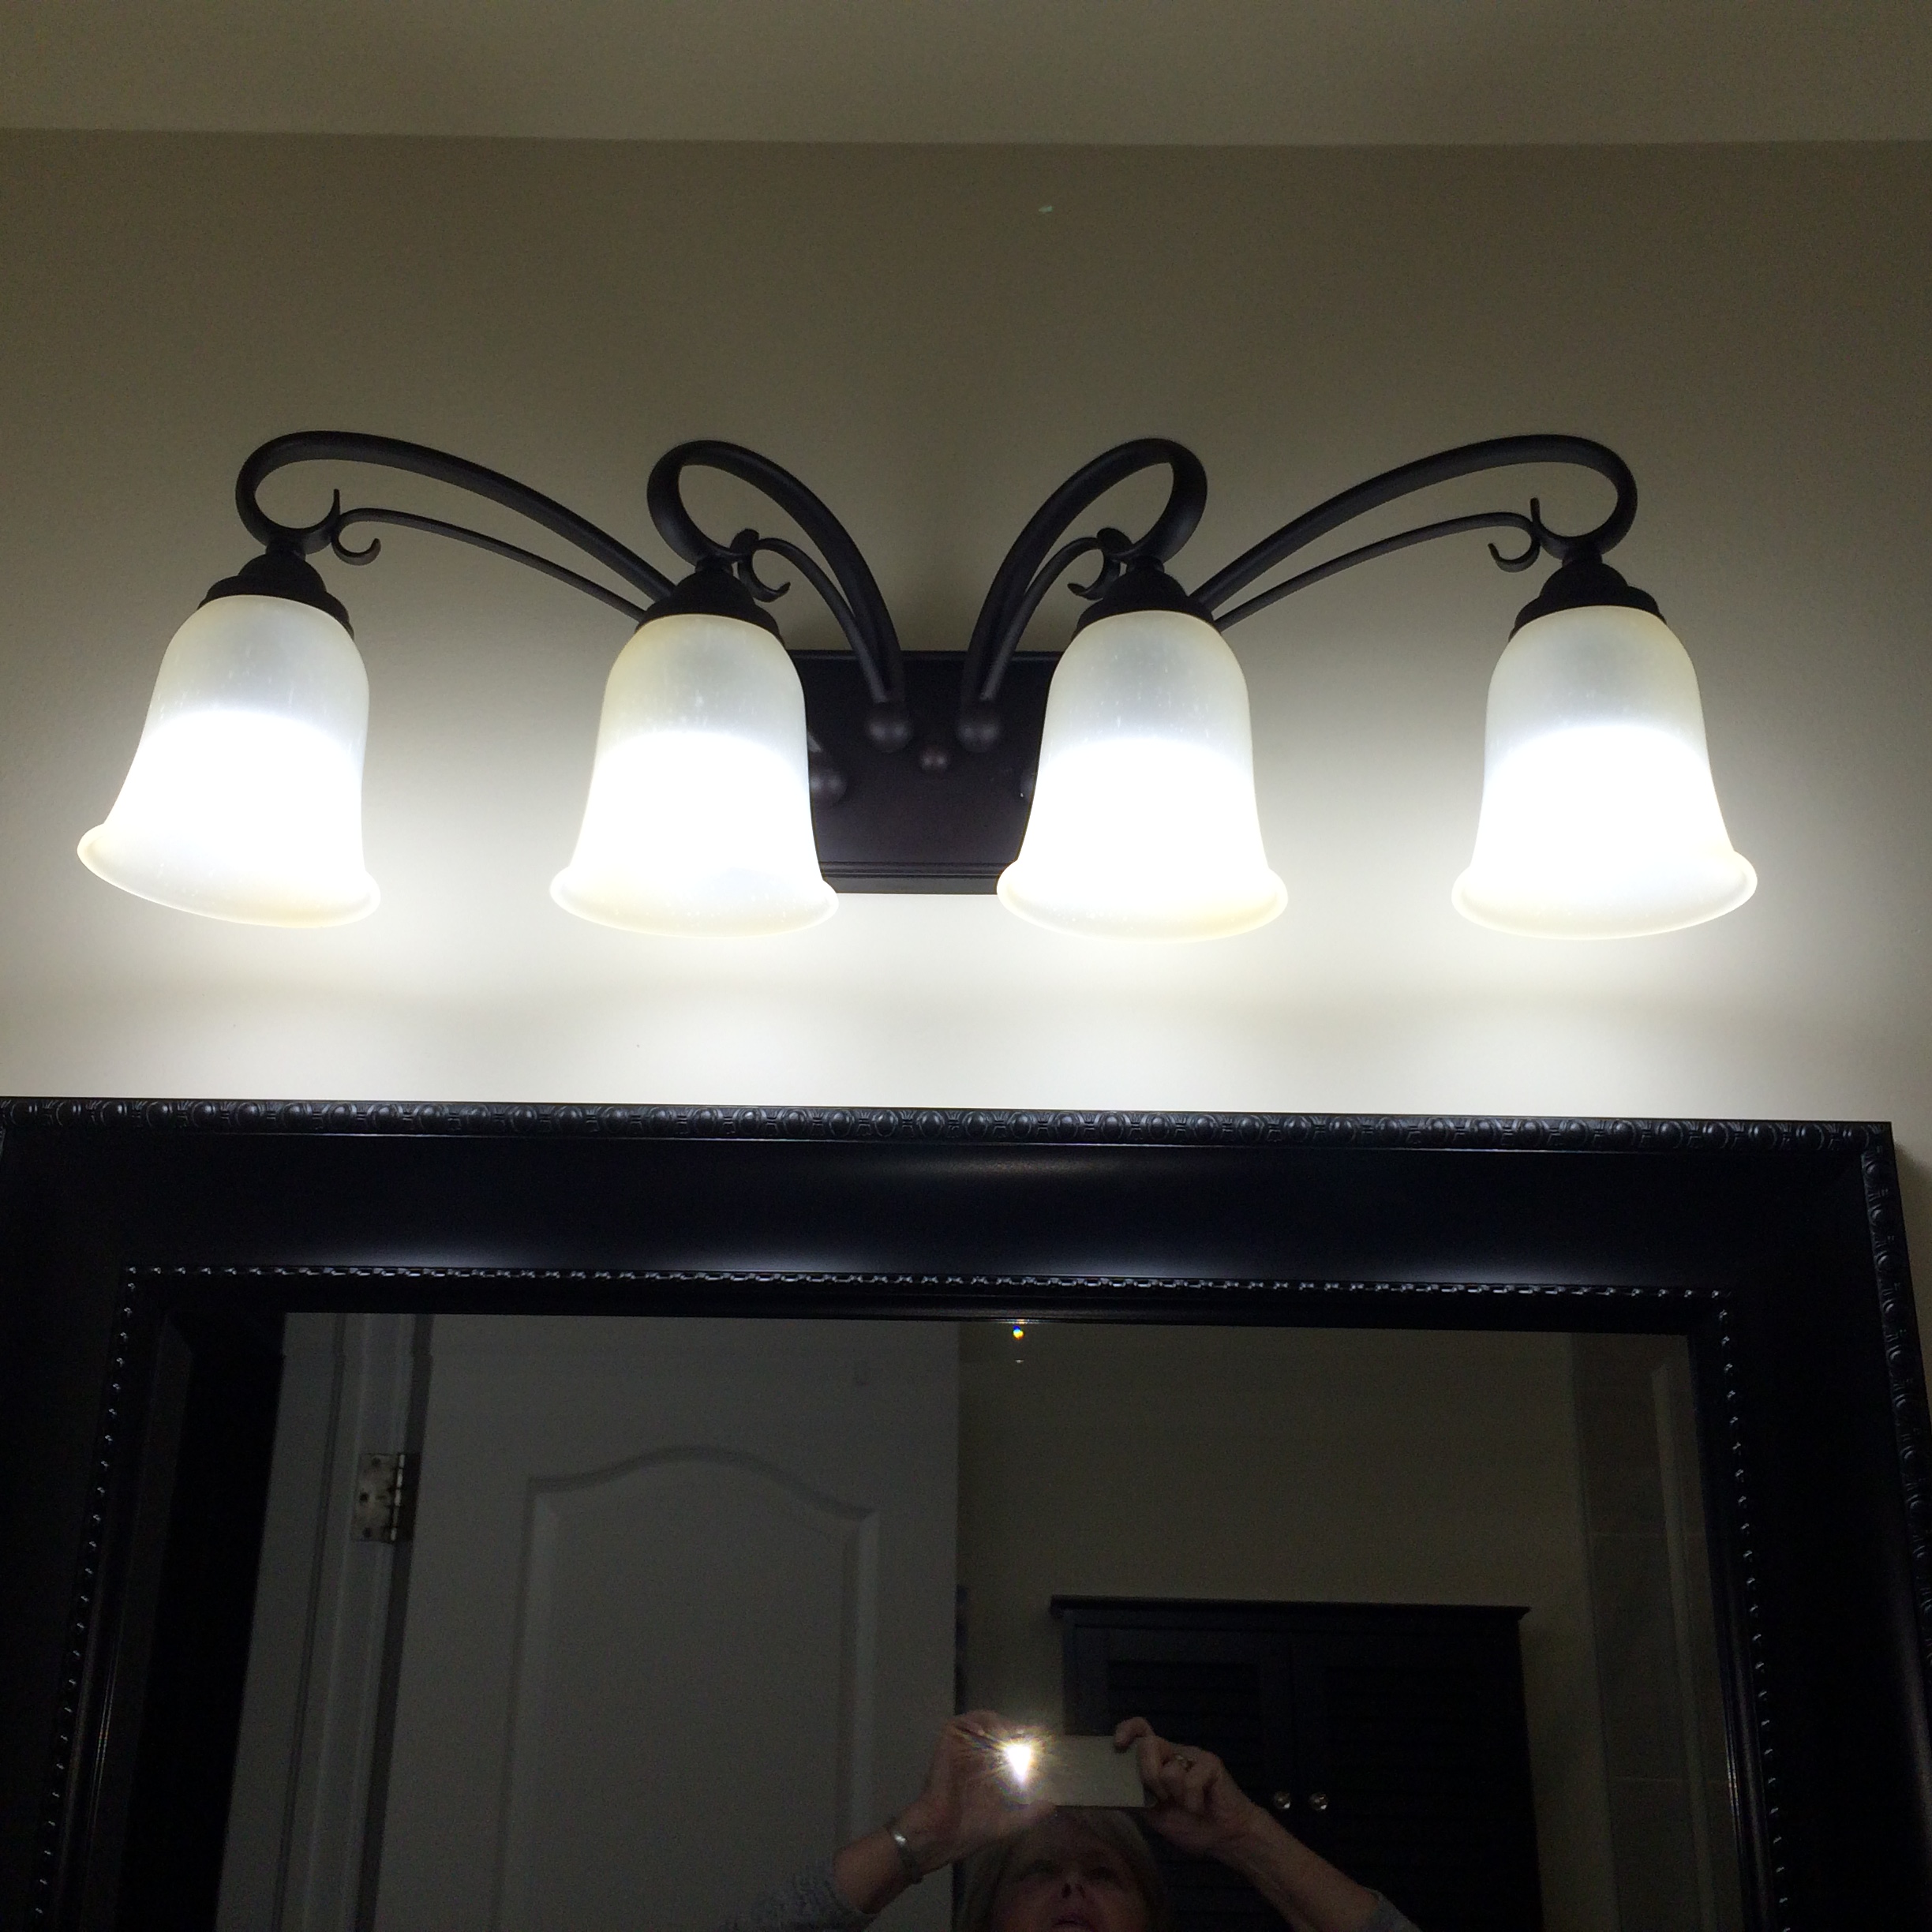
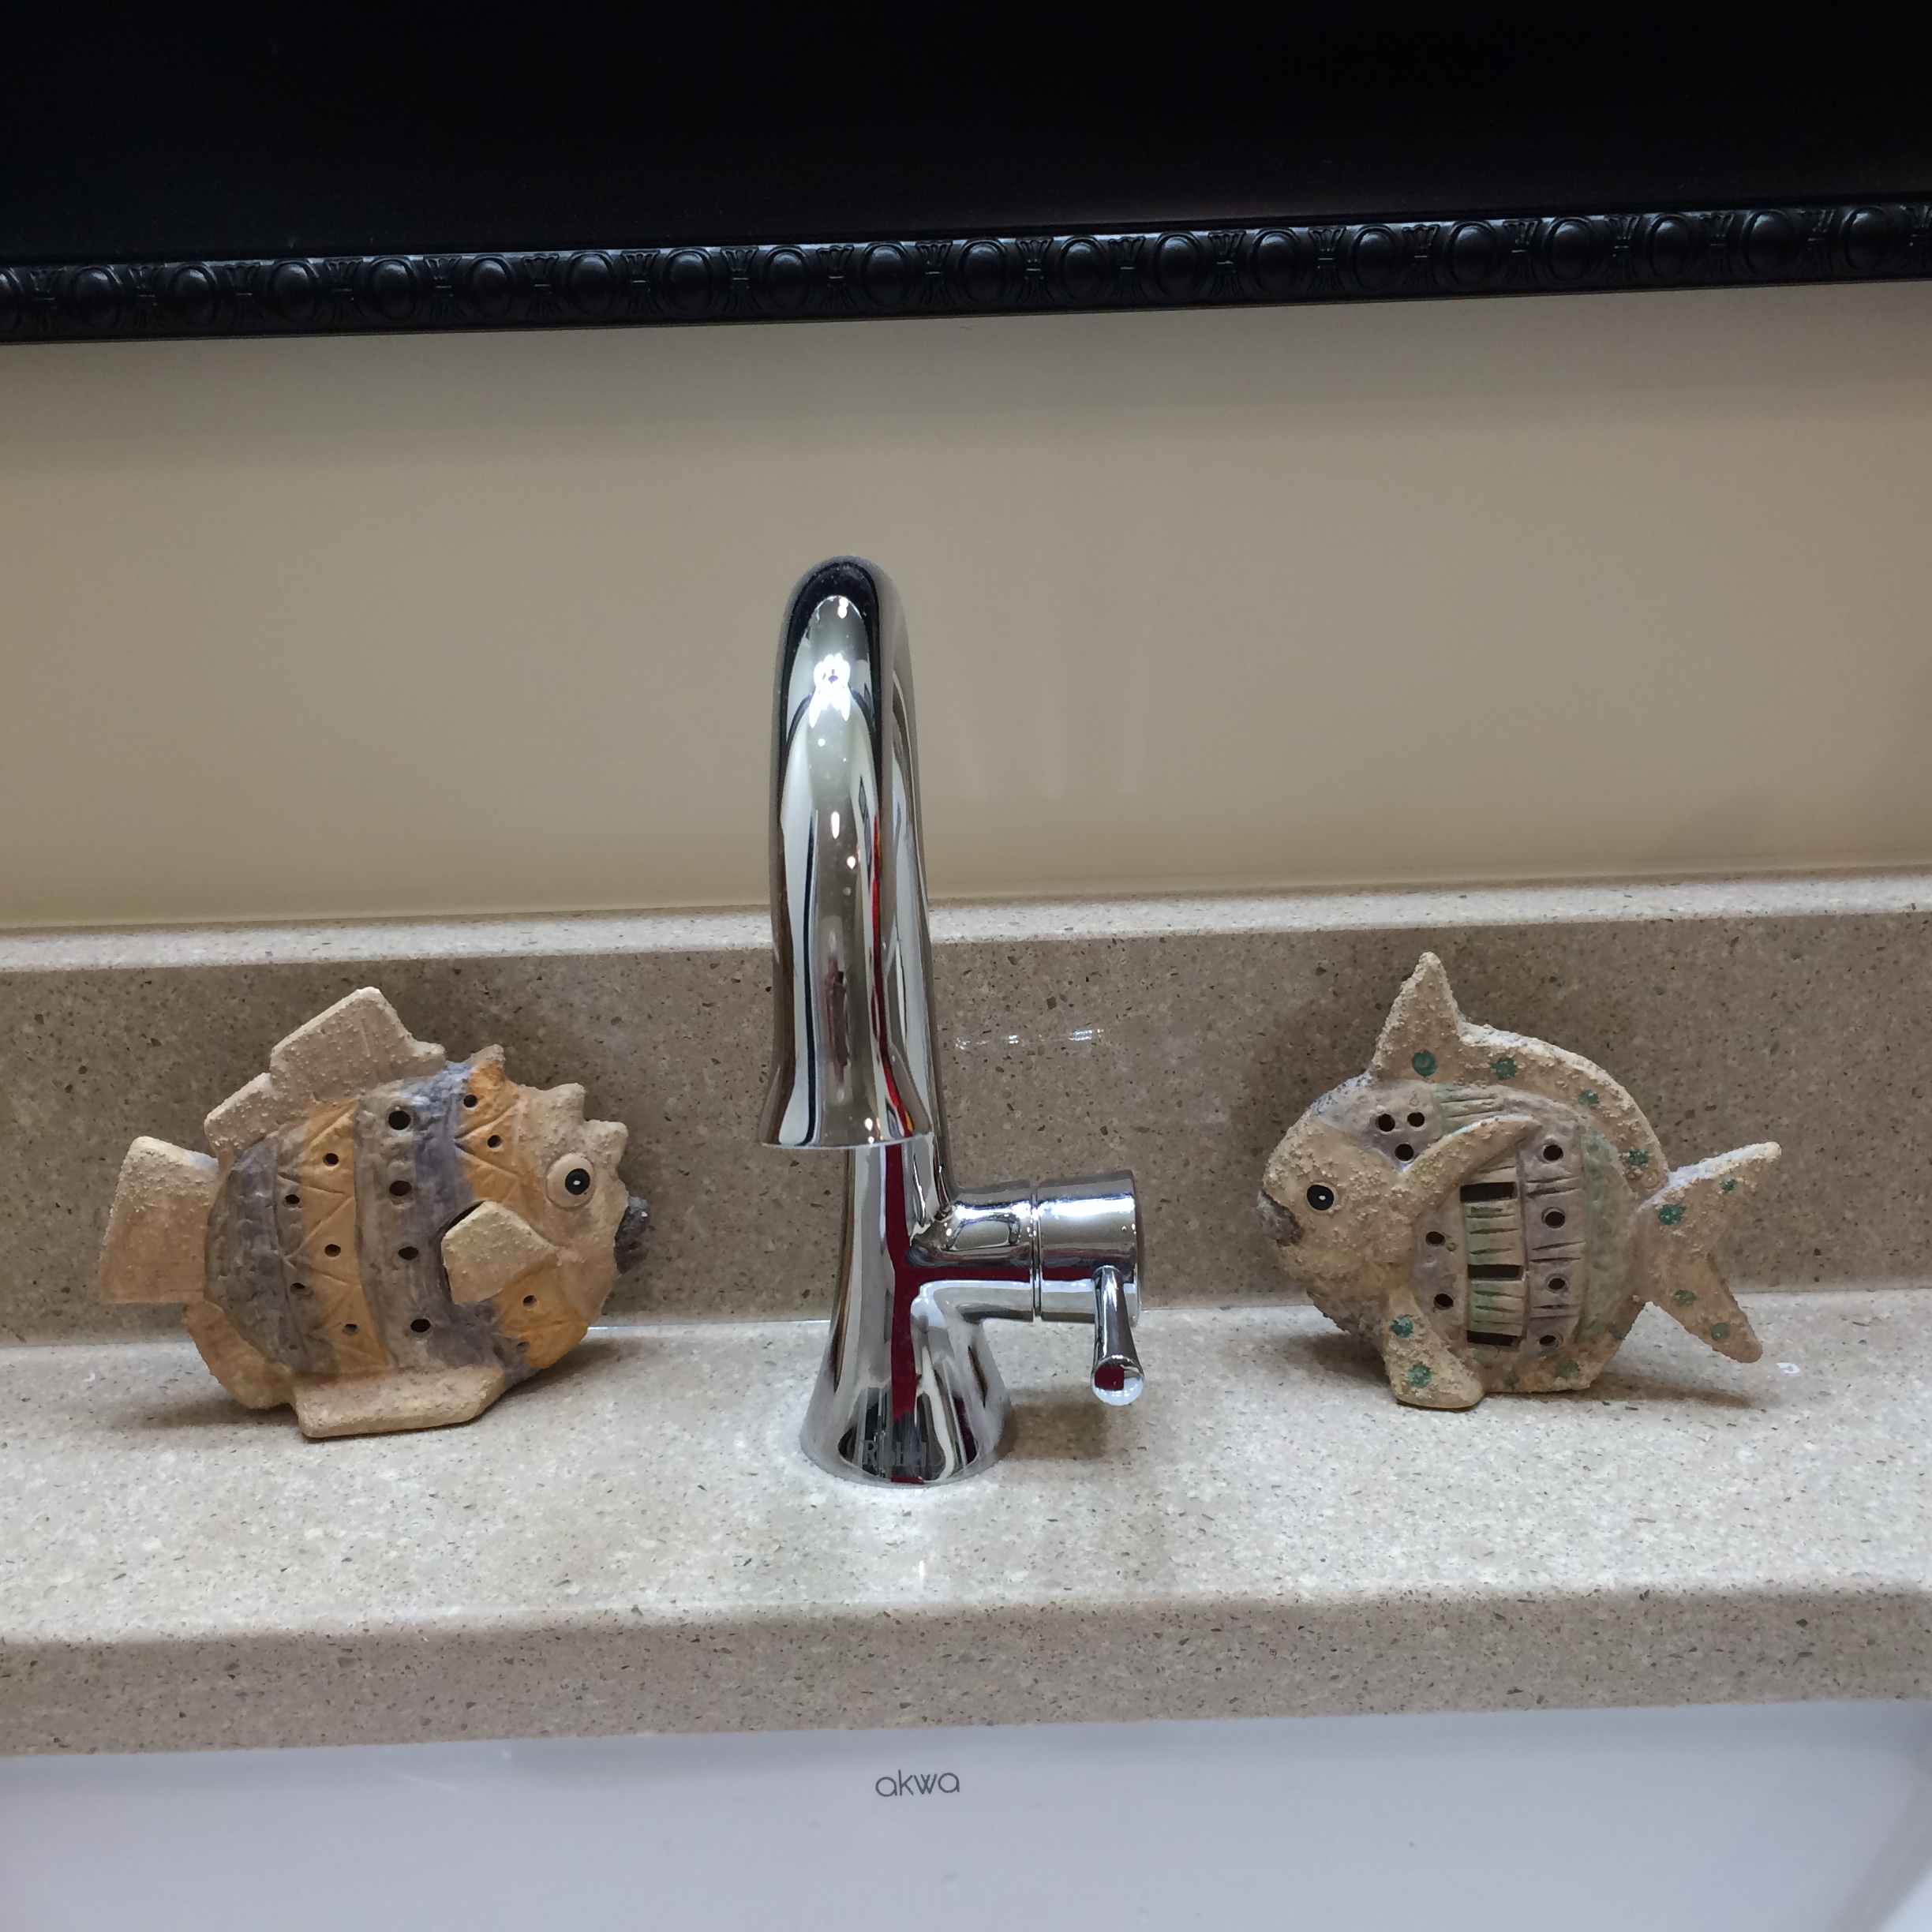
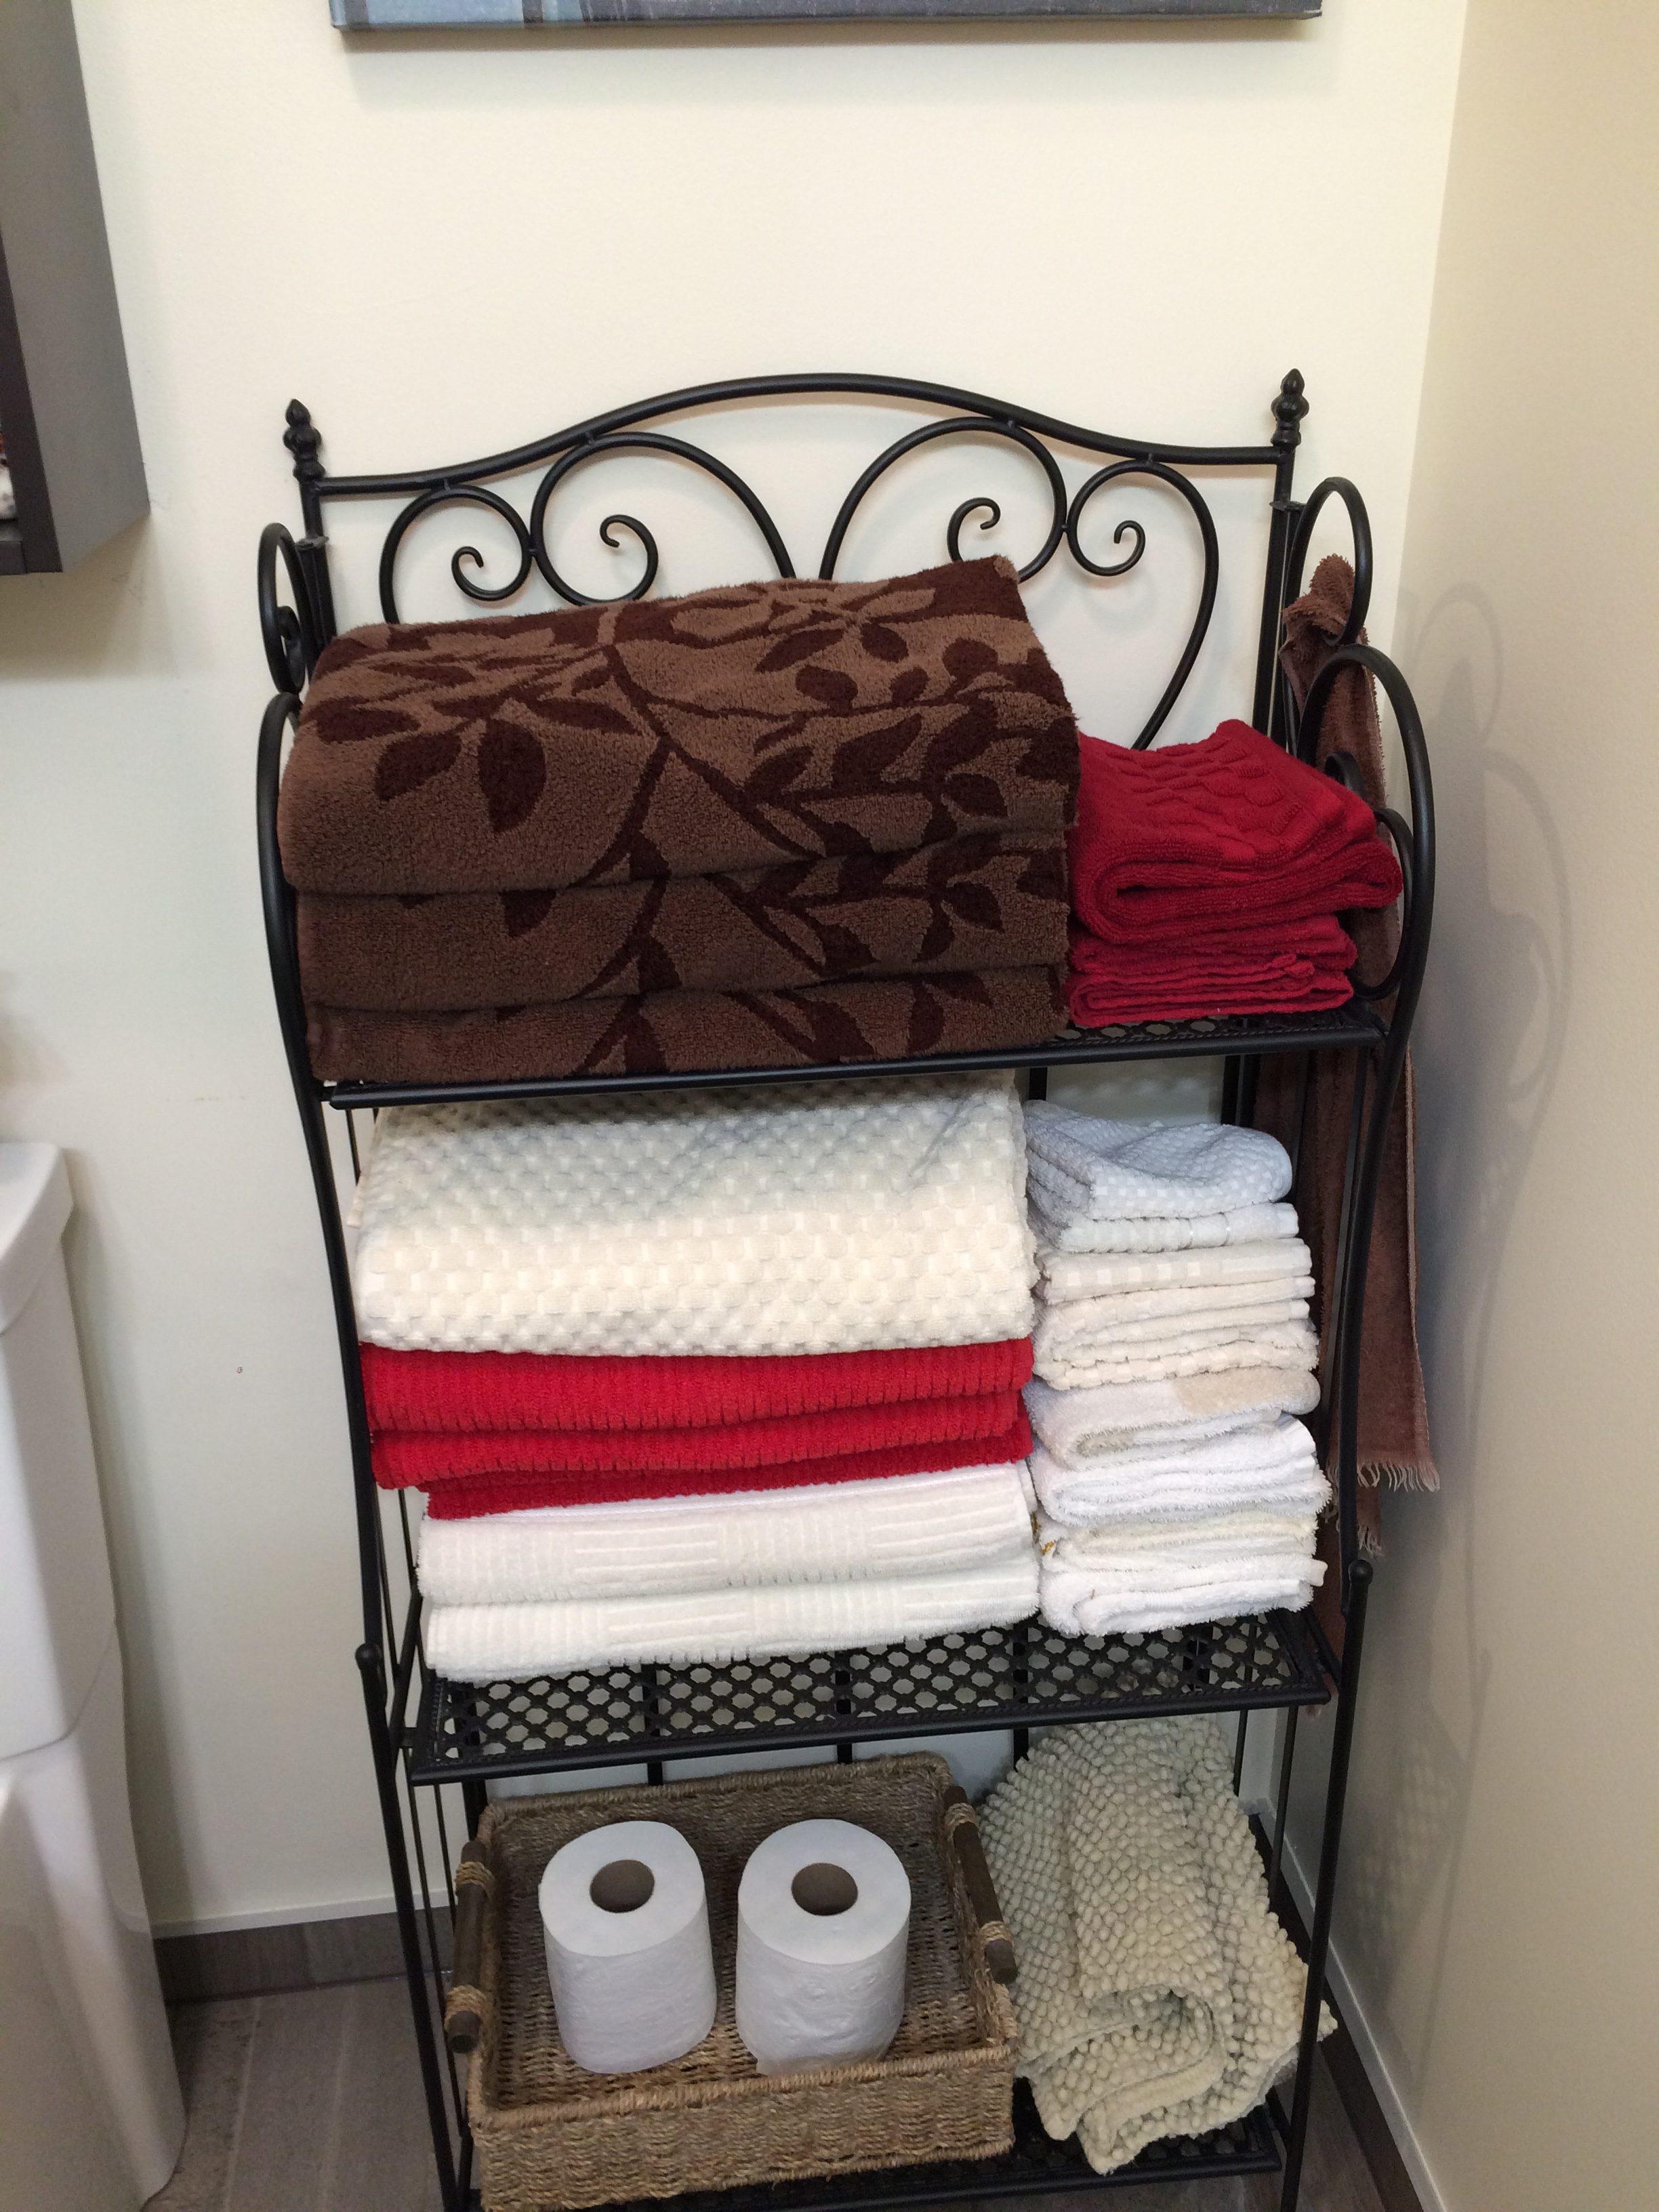
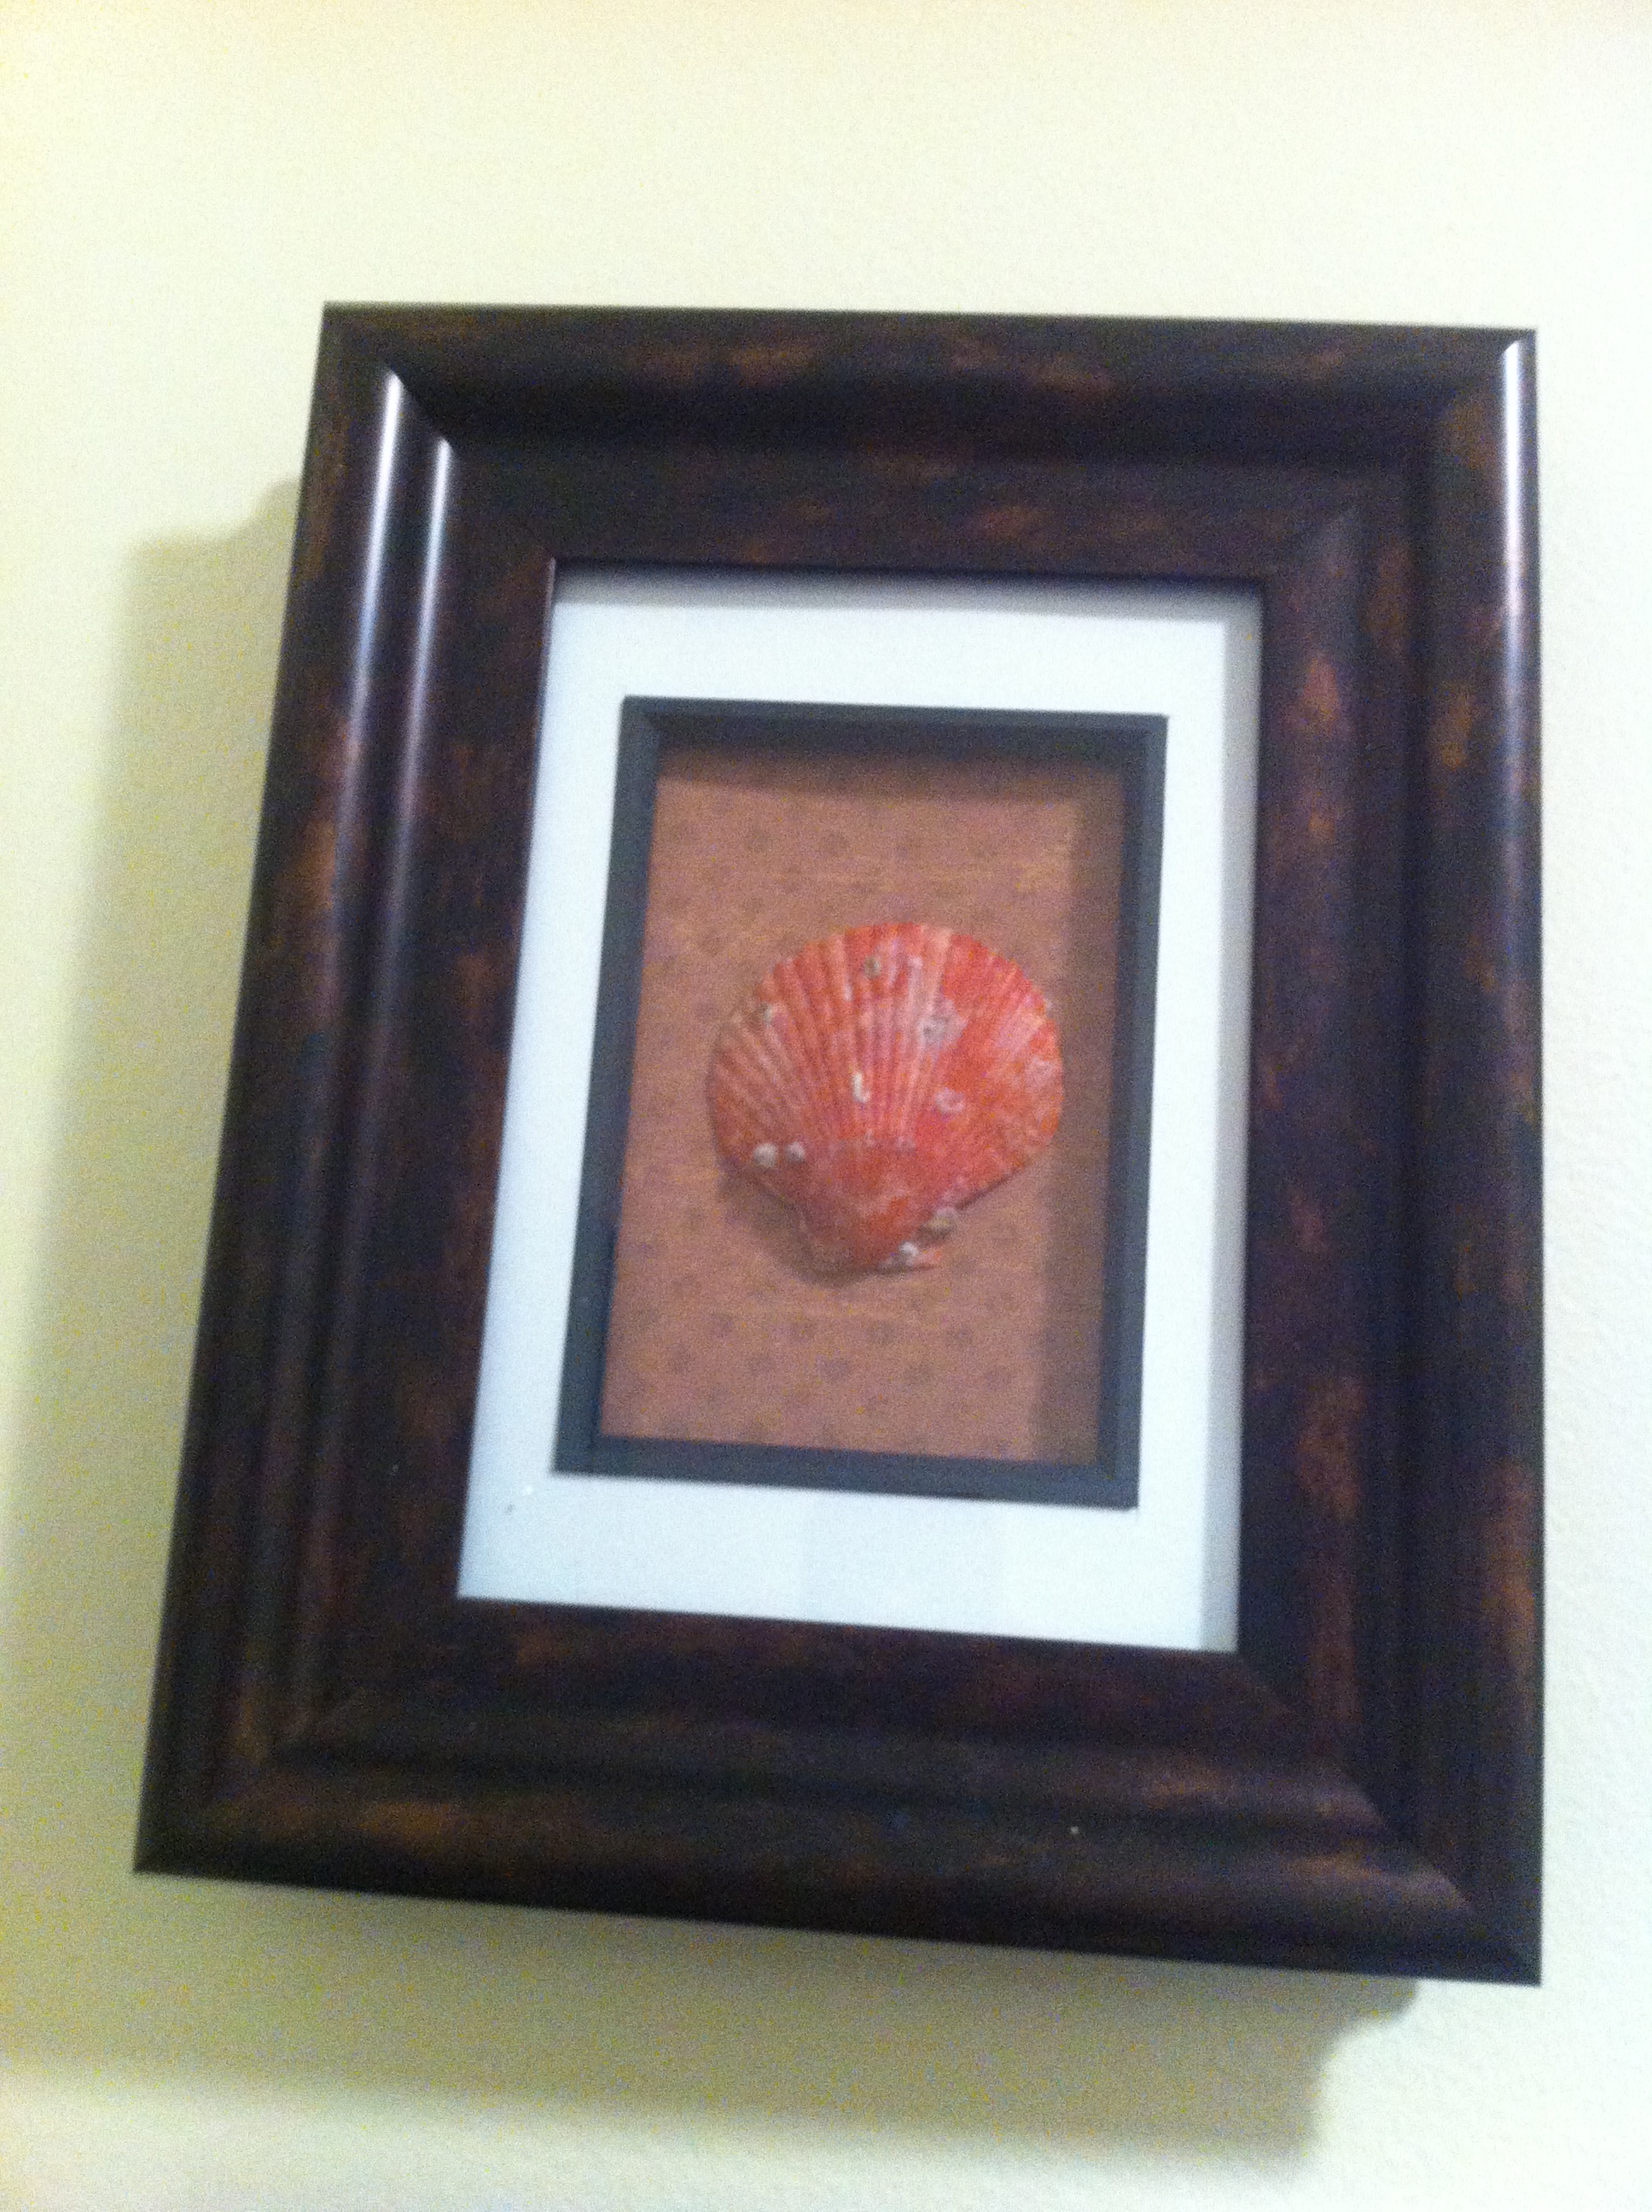
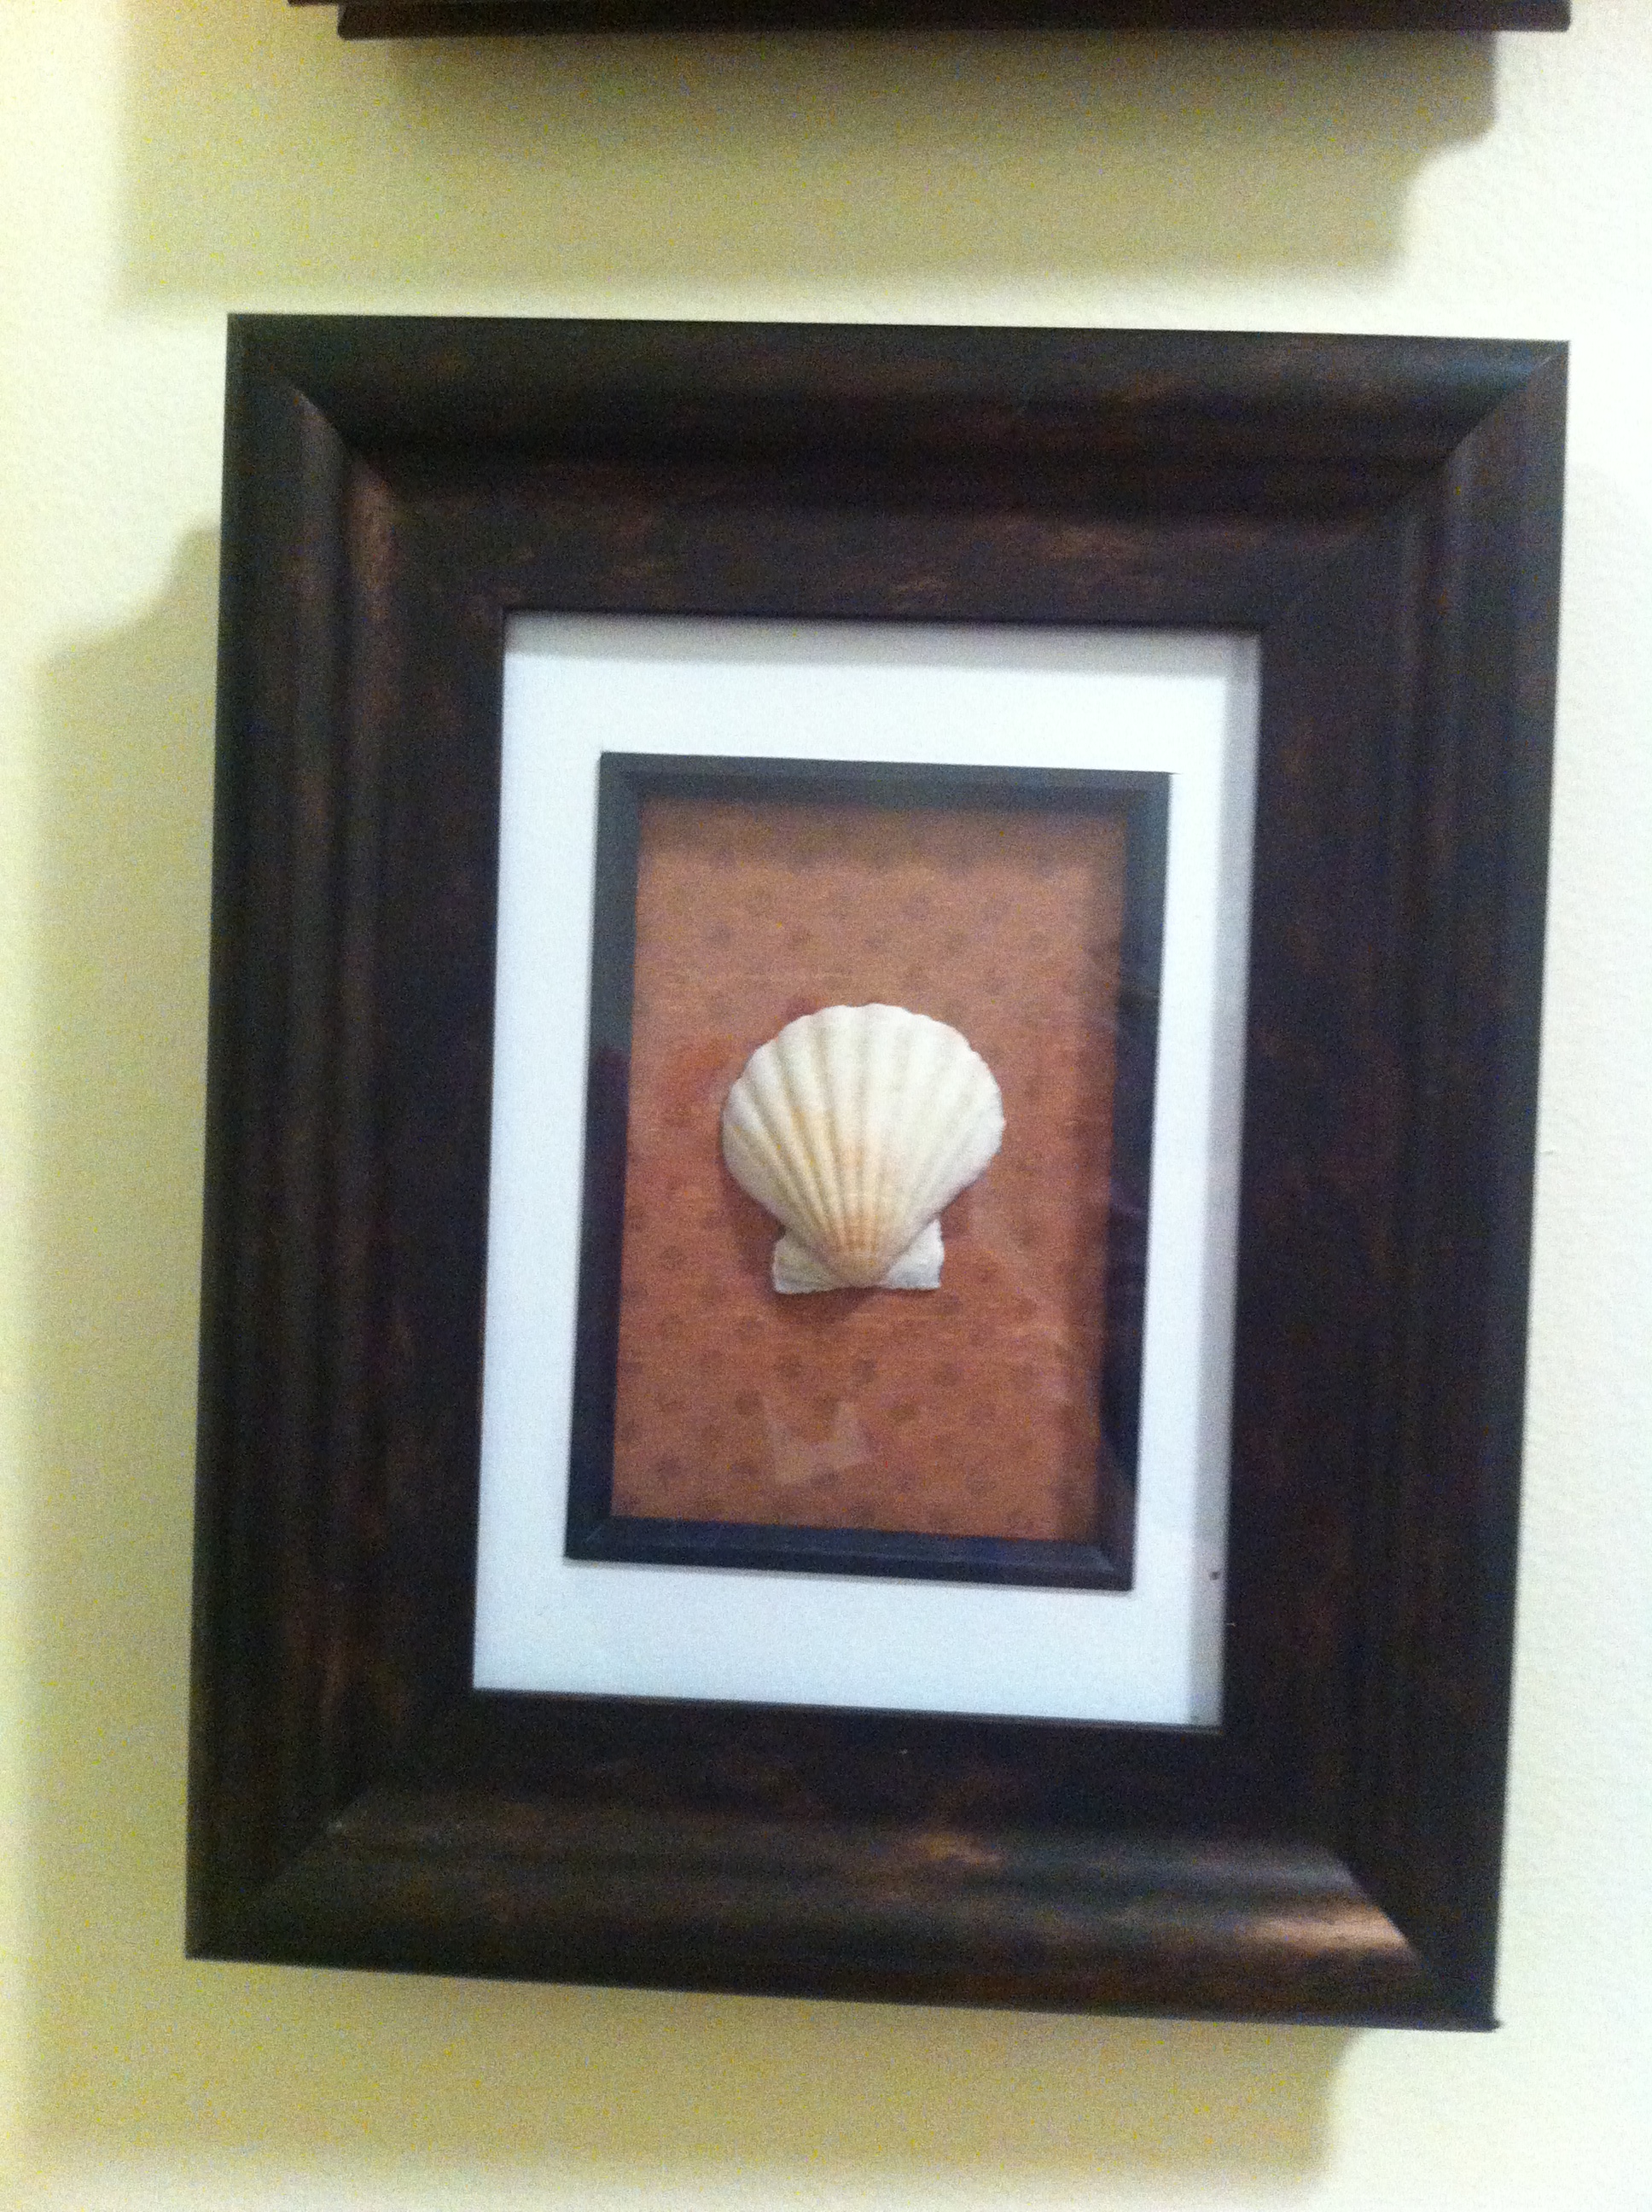
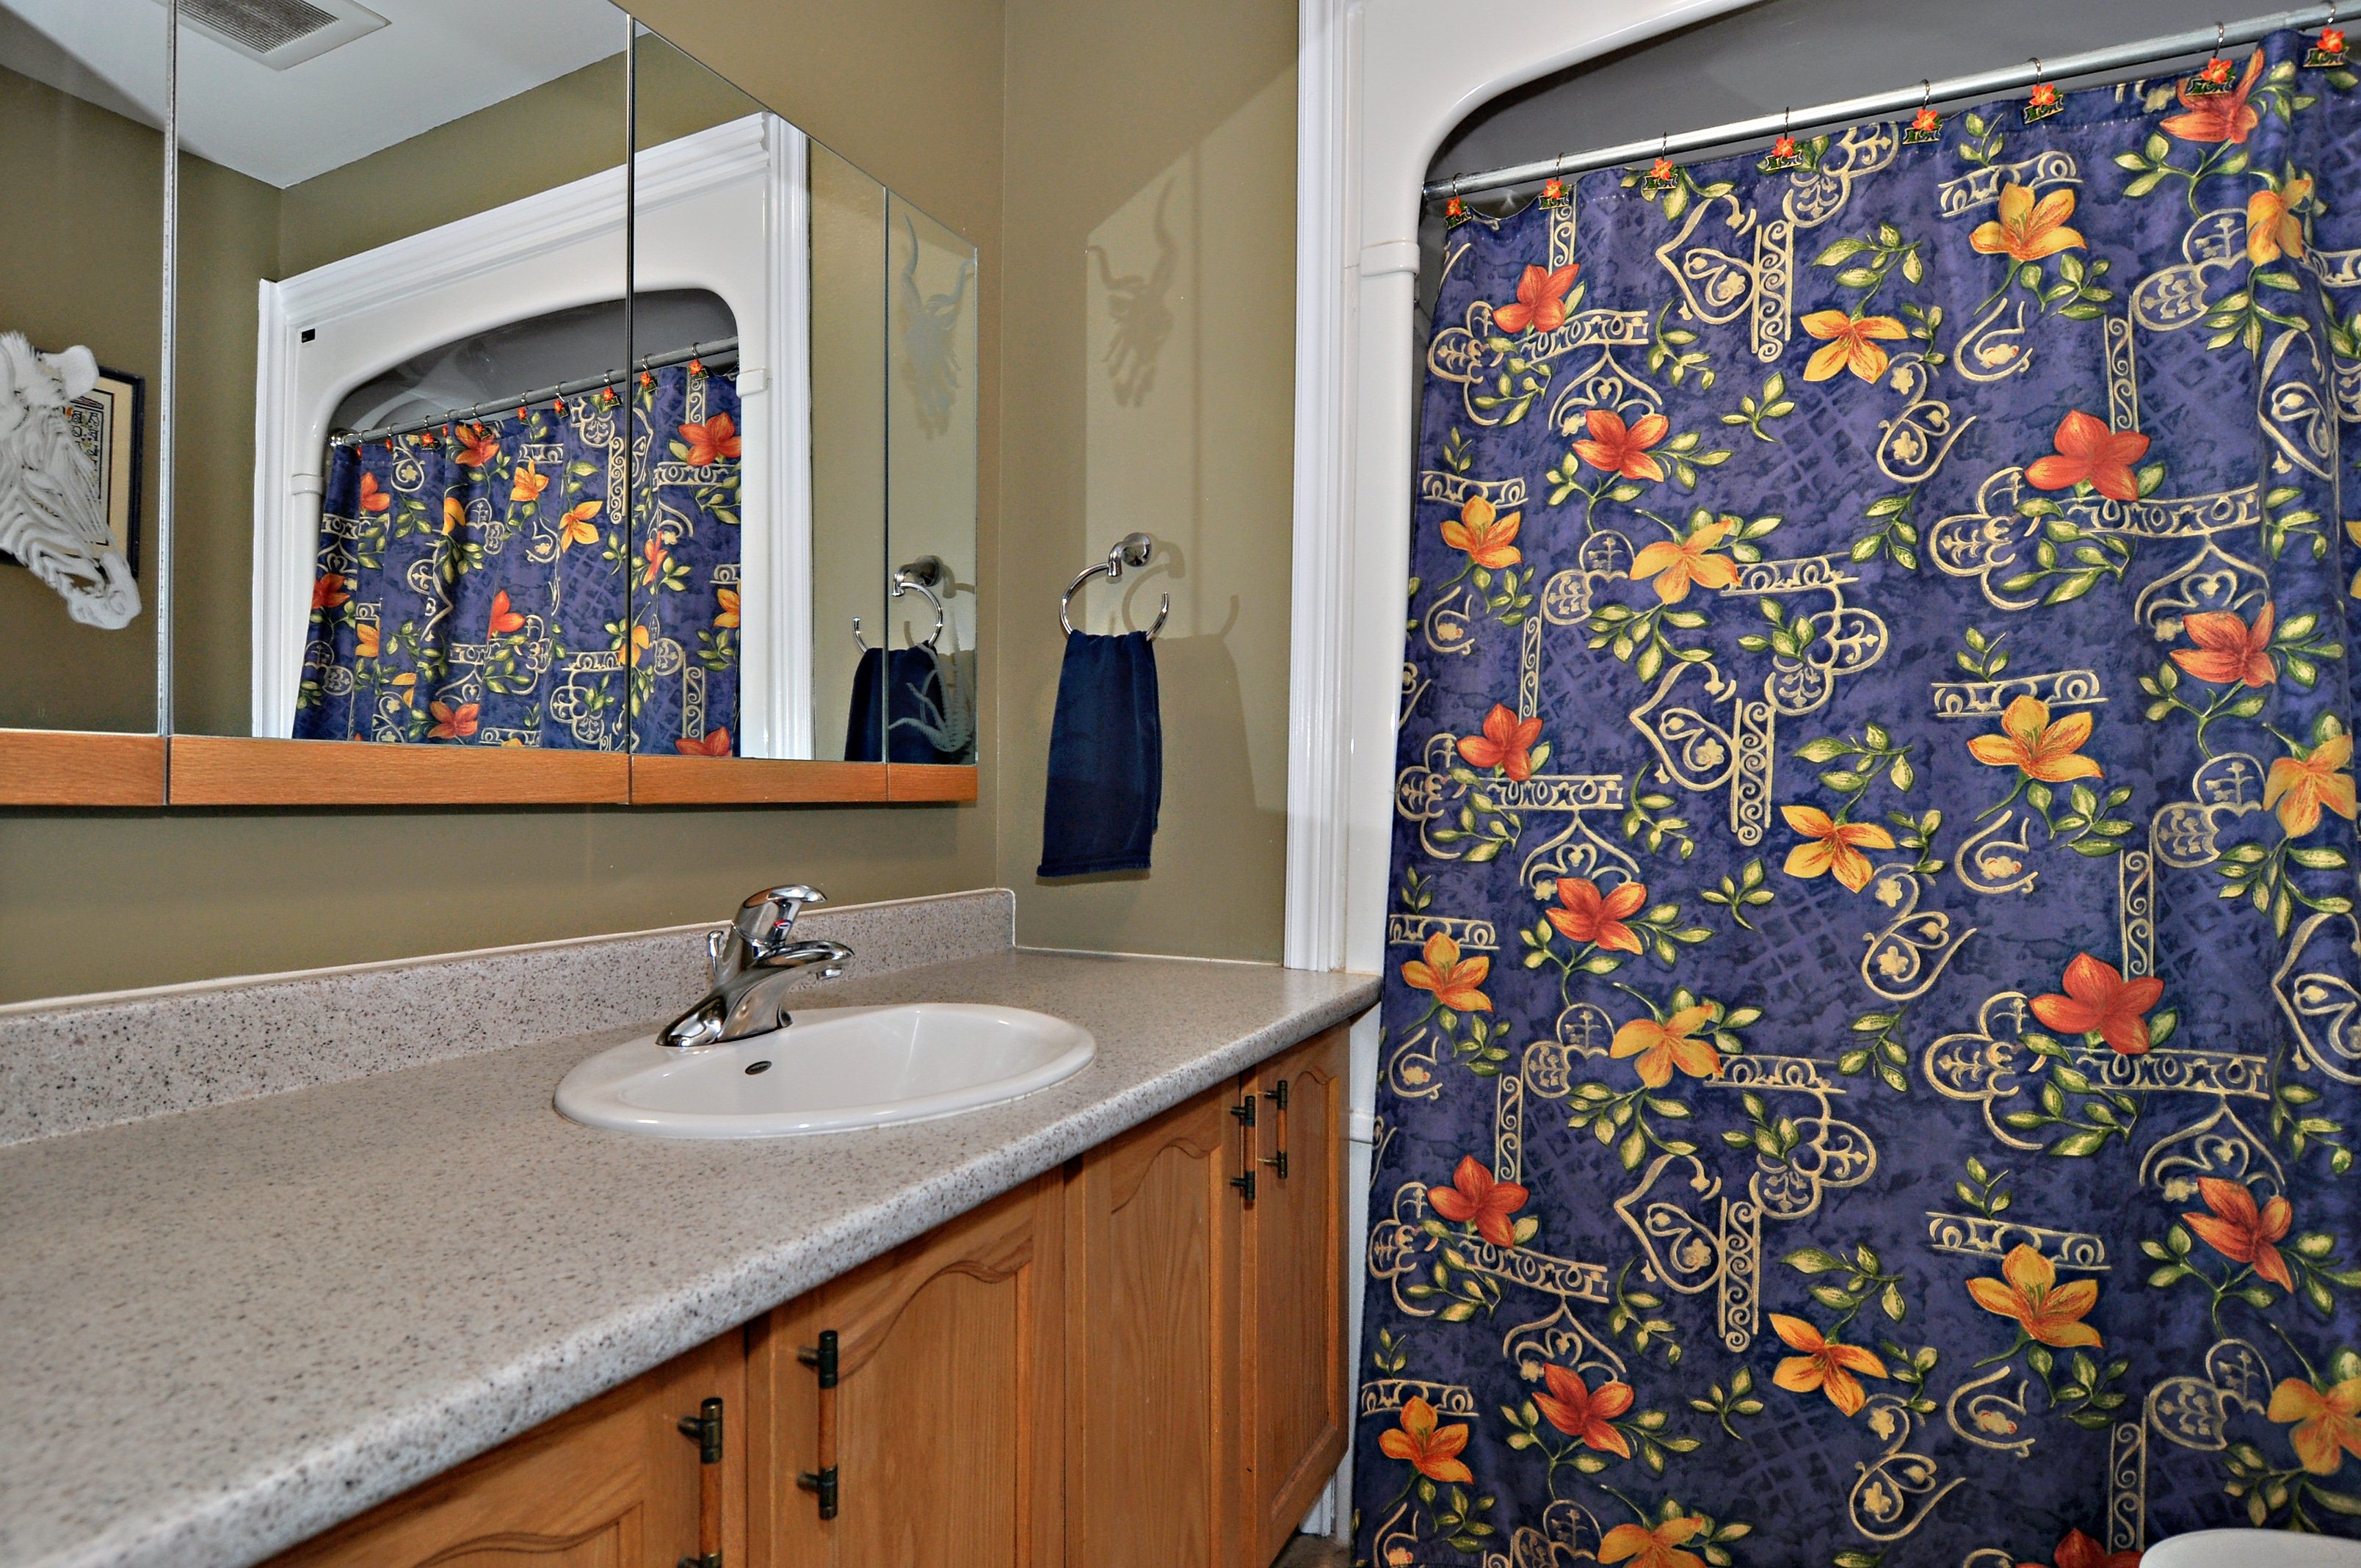 AFTER… Here is our new and improved bathroom.
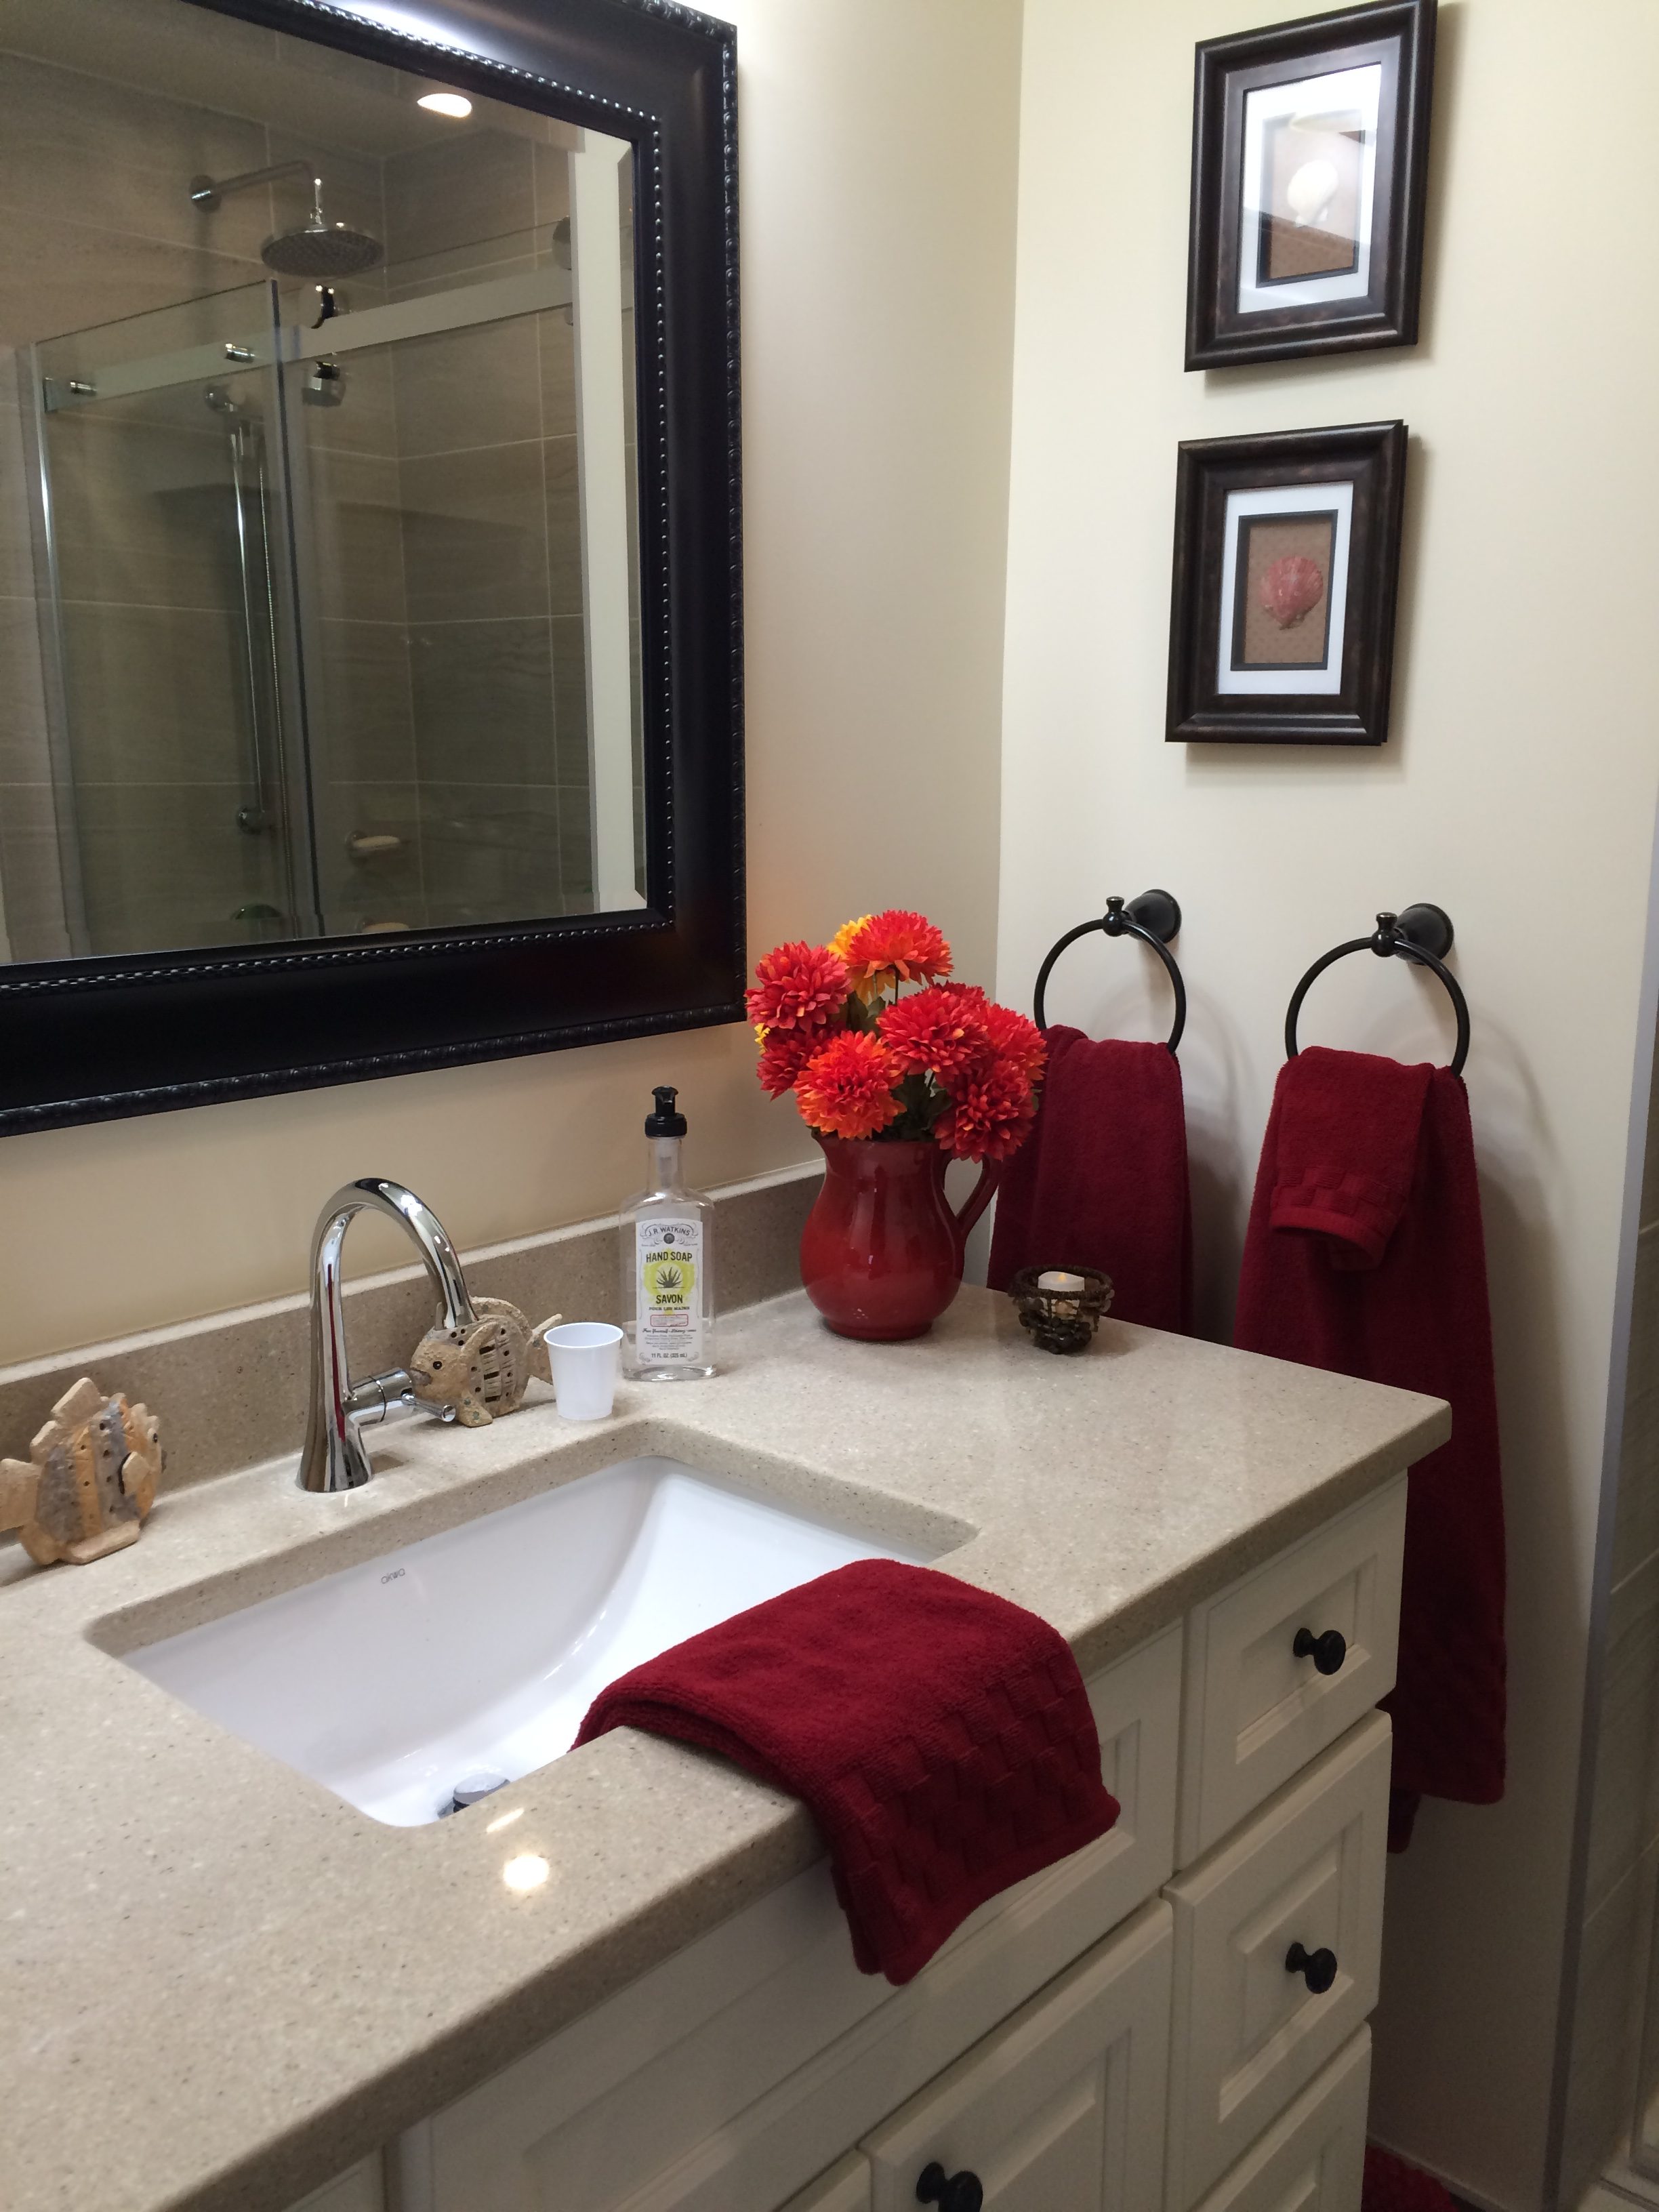


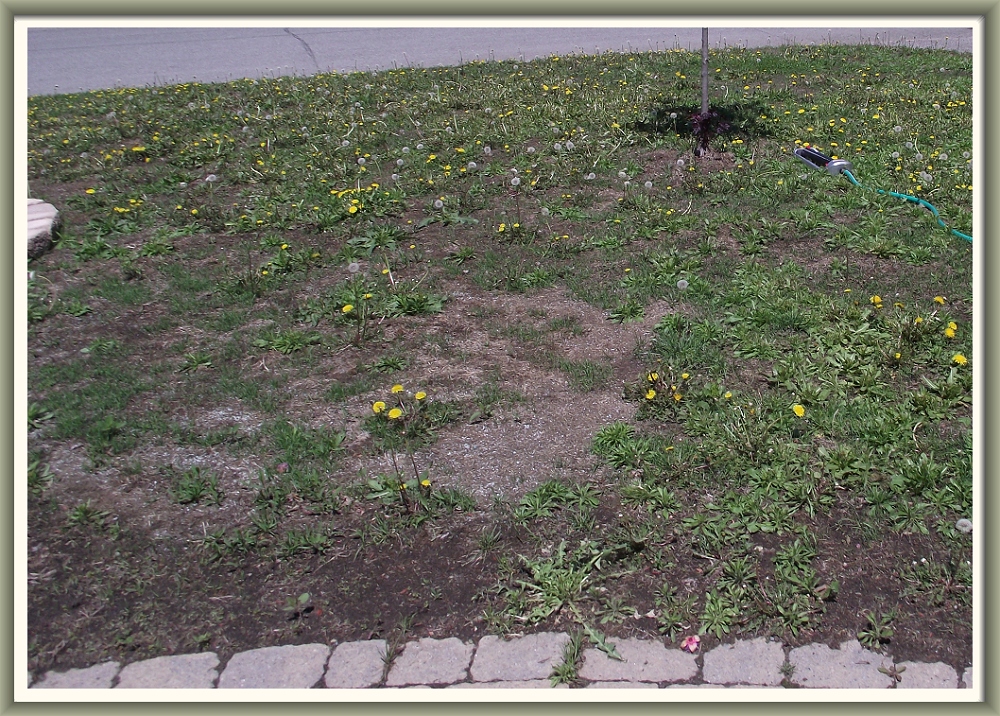
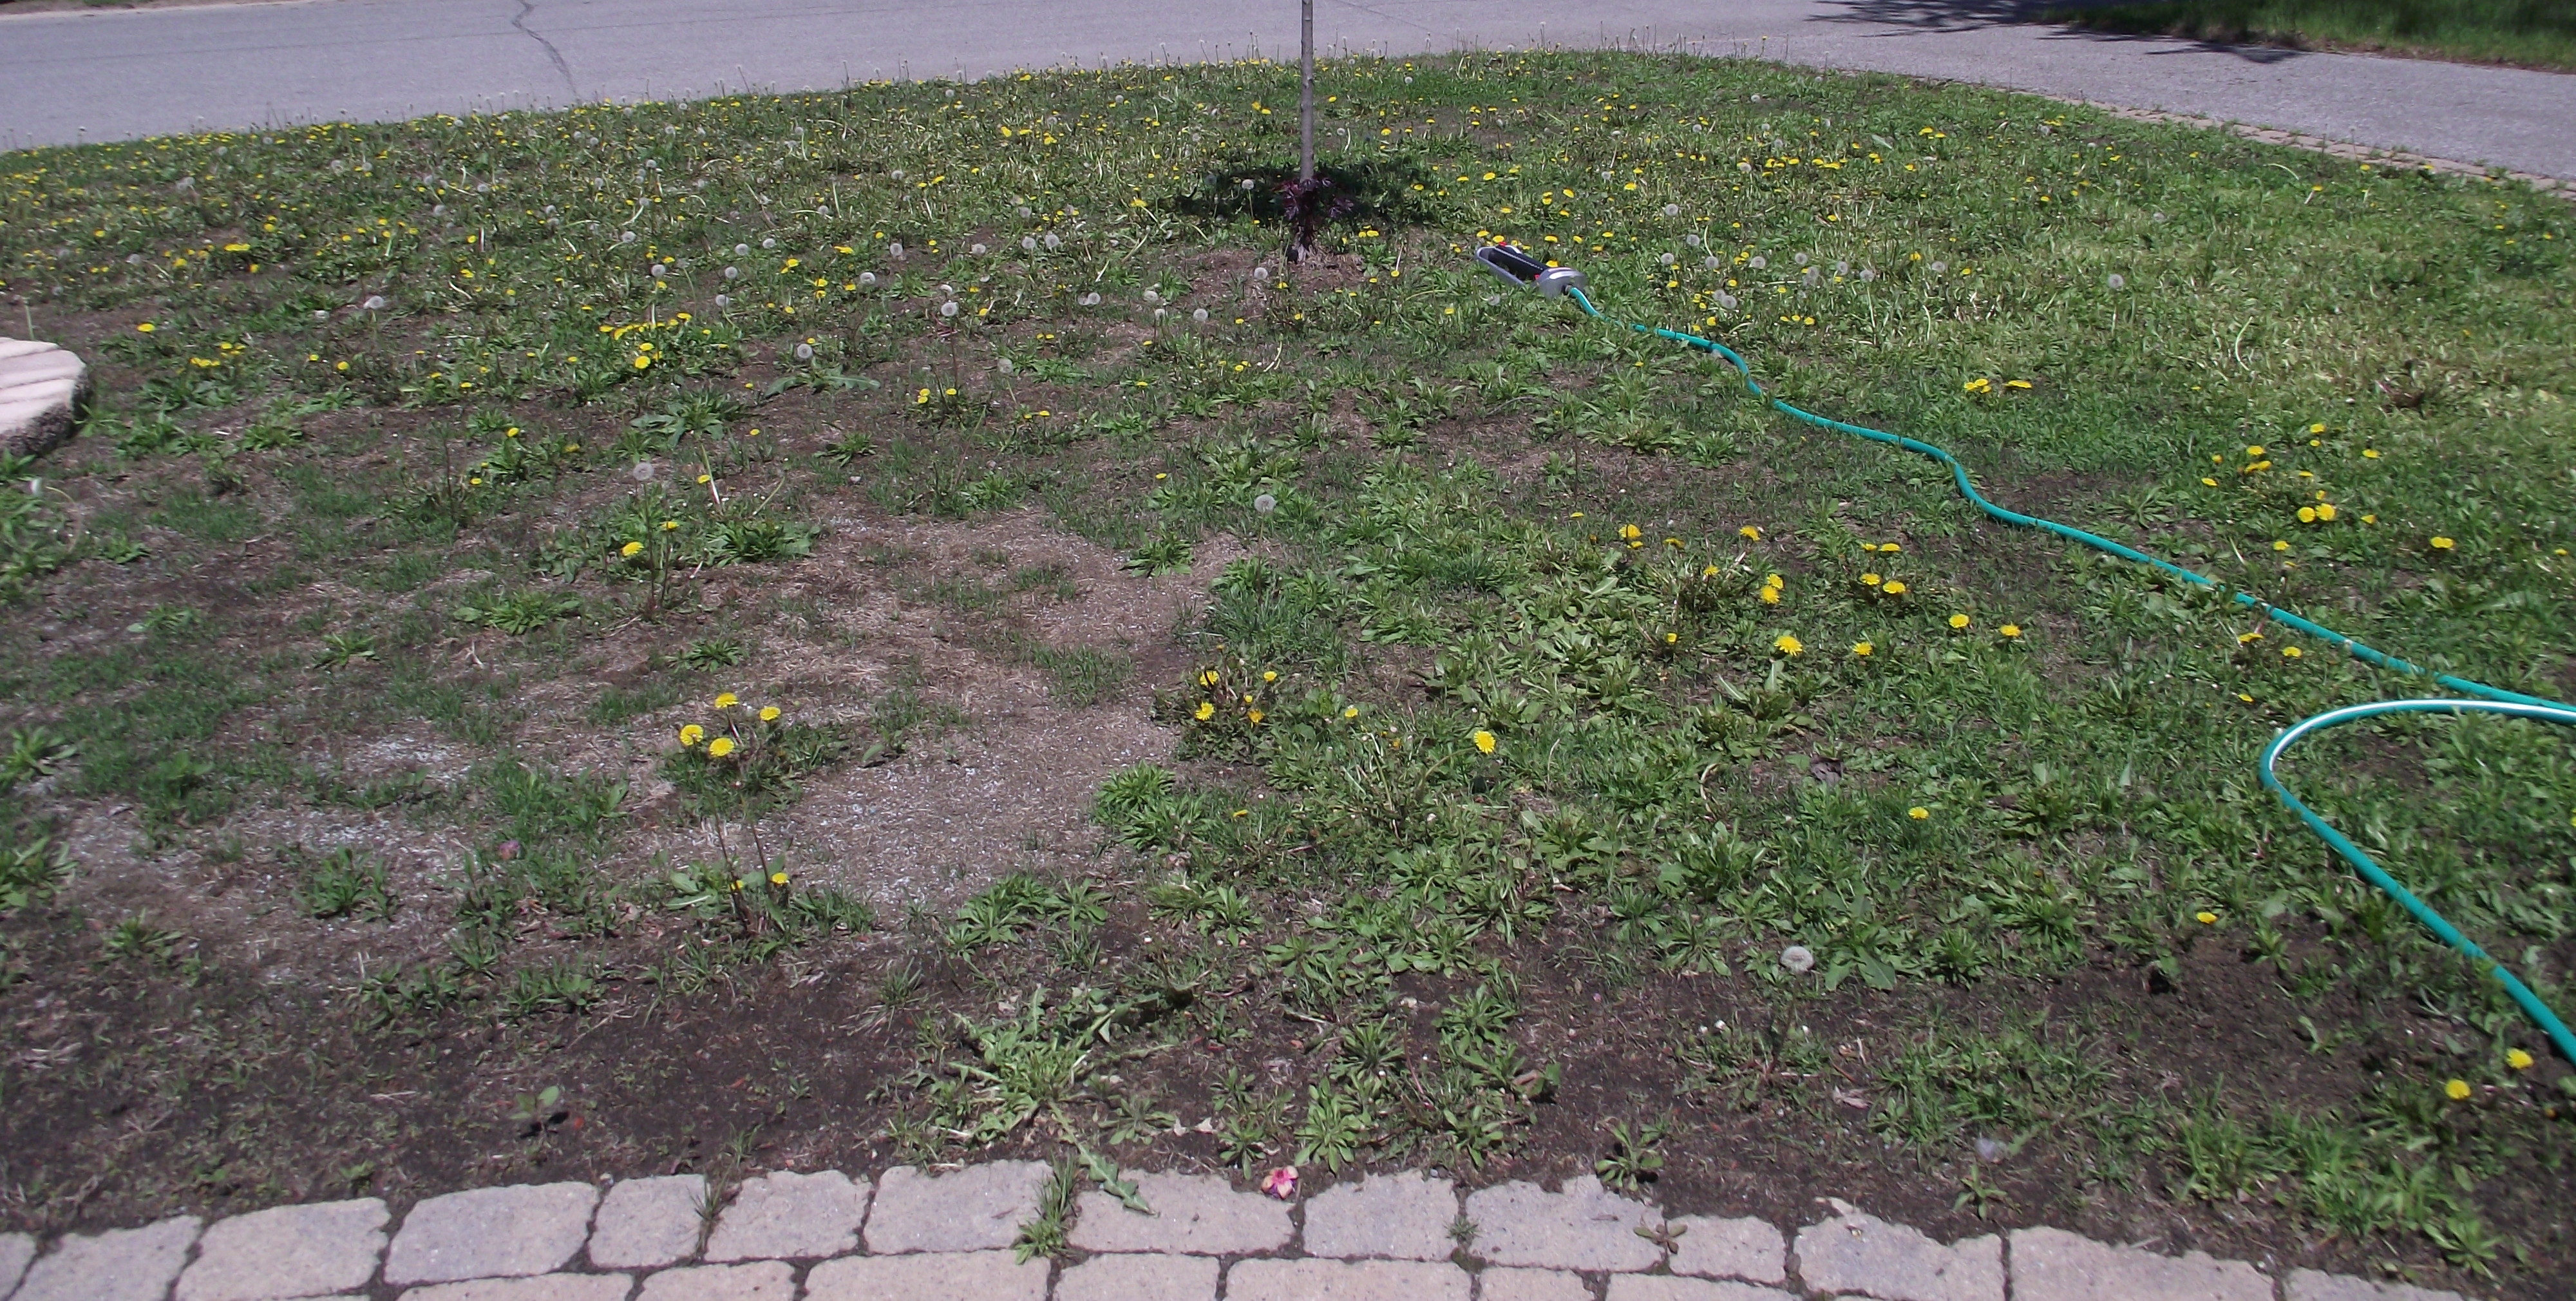 And, now, for a look back to our first summer here…the first photo shows our “lawn” in the spring of 2013.
 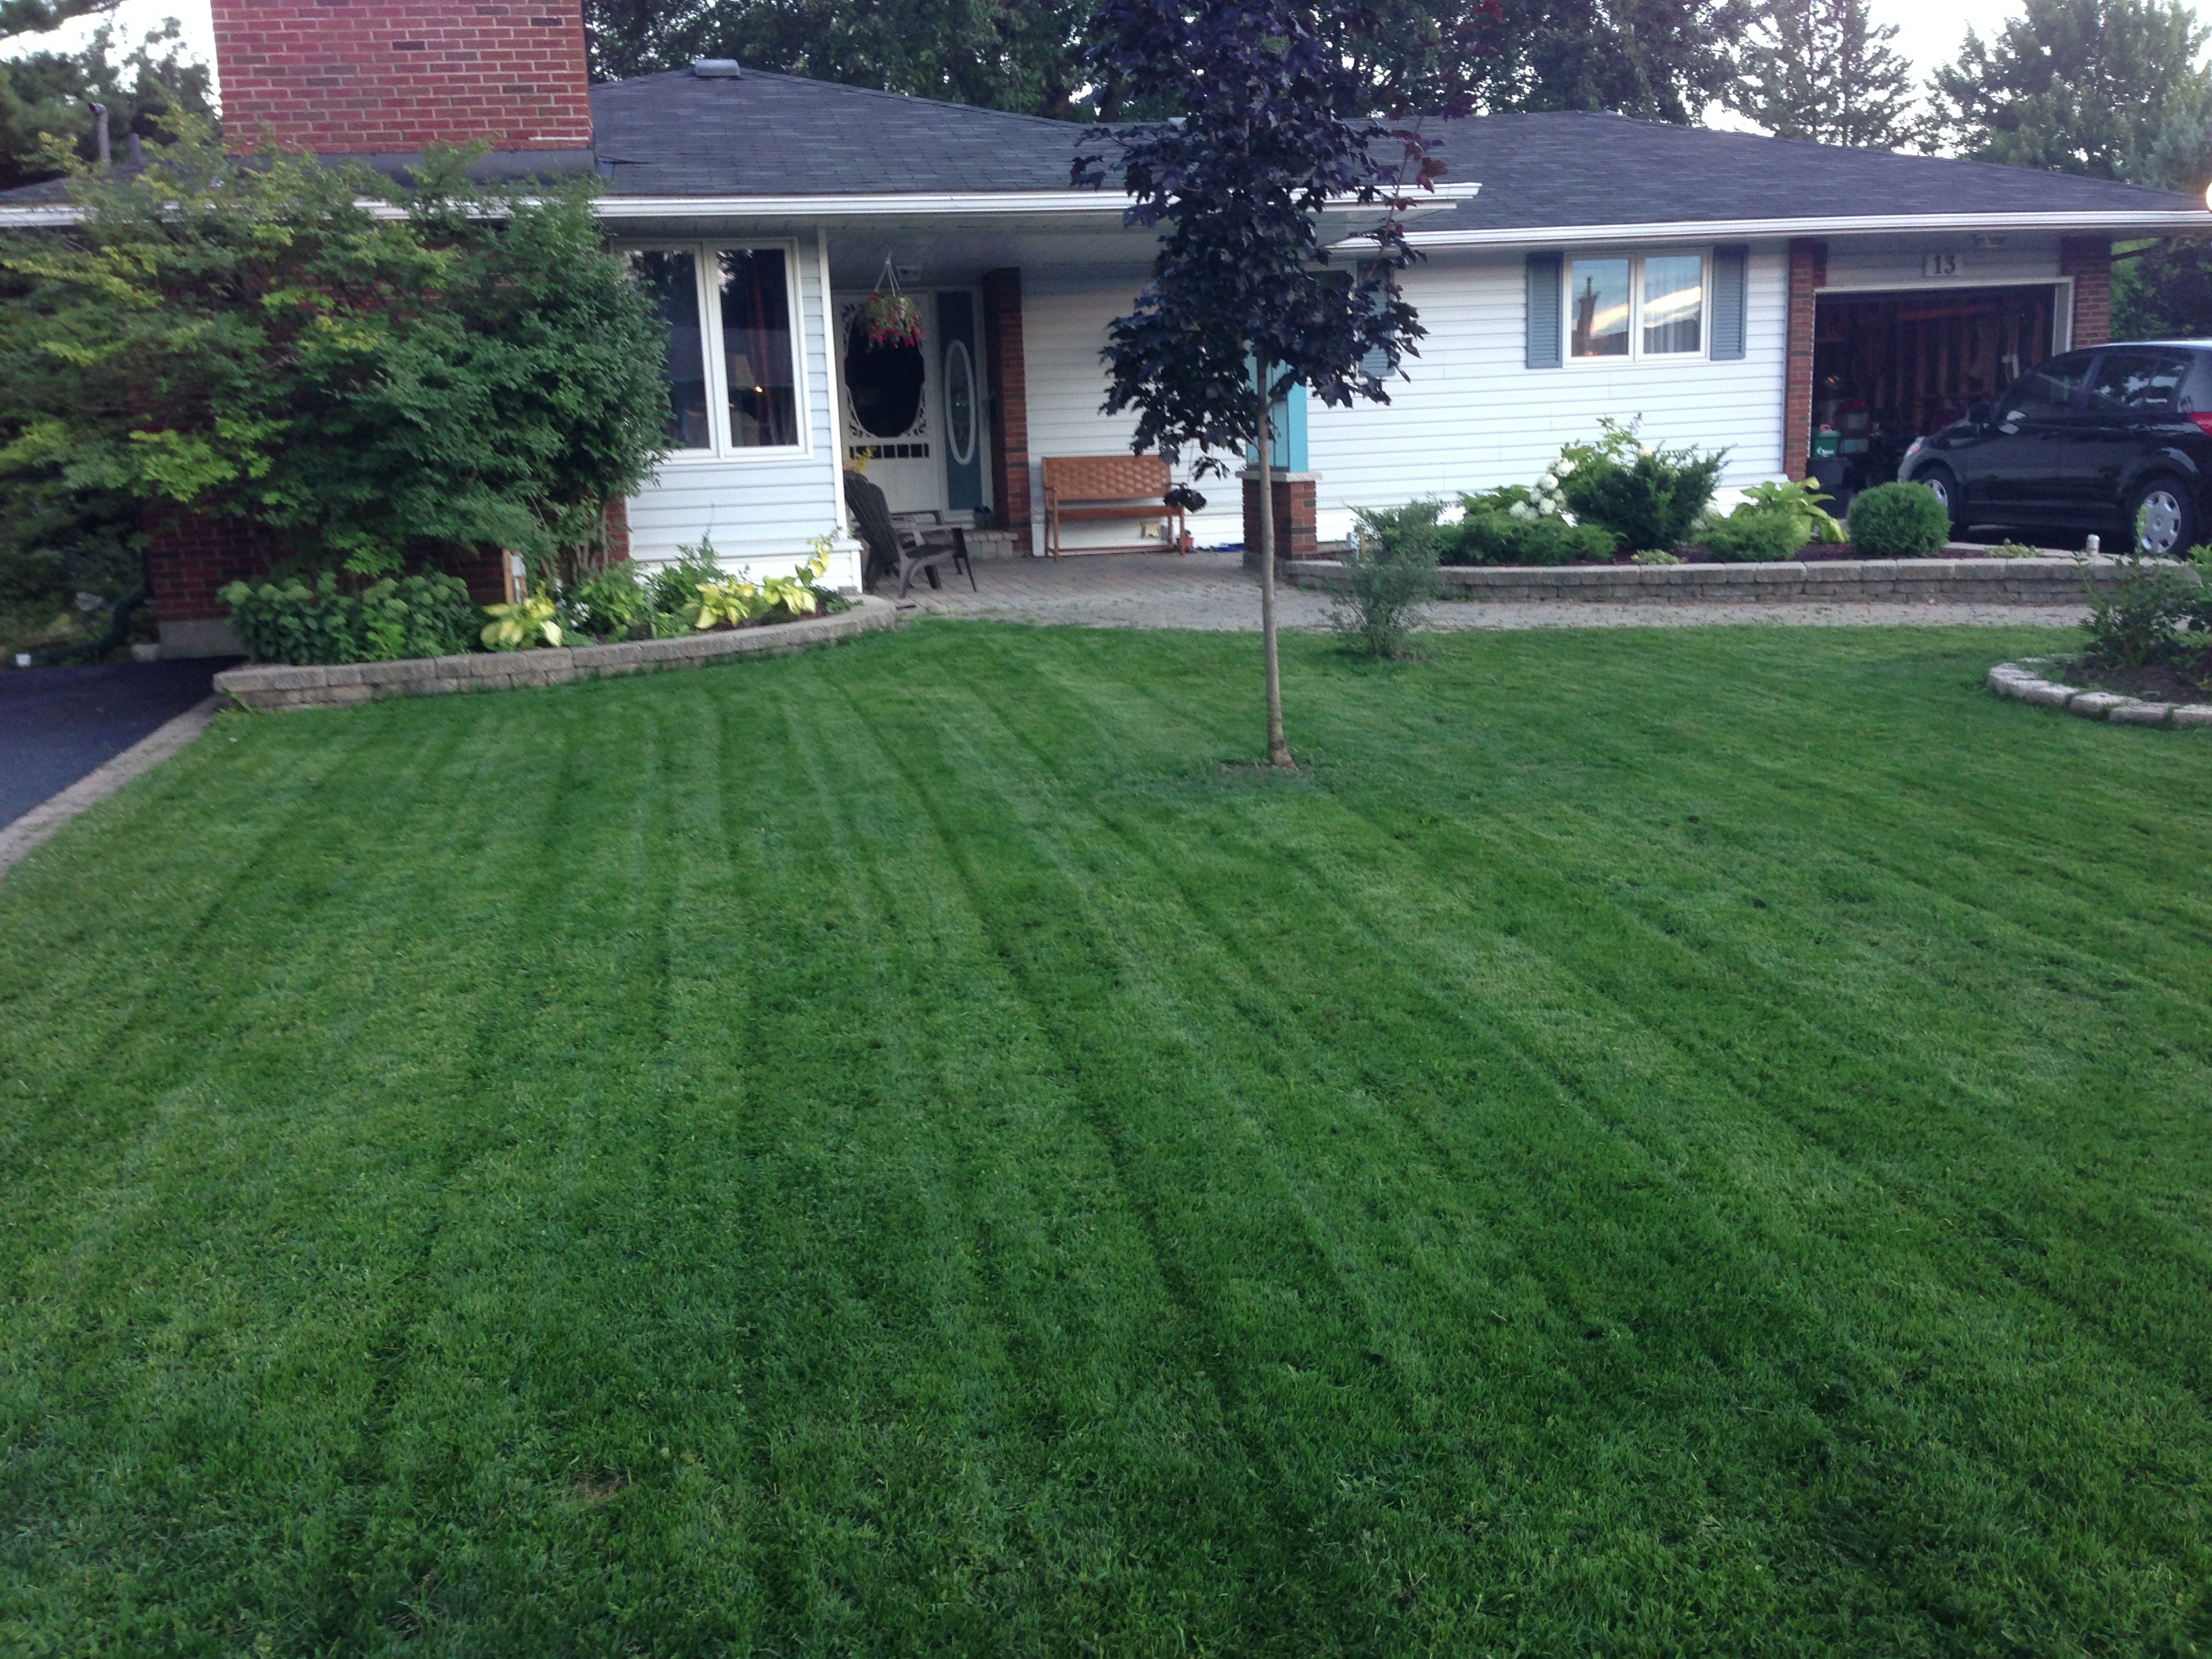 (I love my lawn…I really really love my lawn!)